Exploring Studio 180 Design rulers with the Island Batik Ambassadors
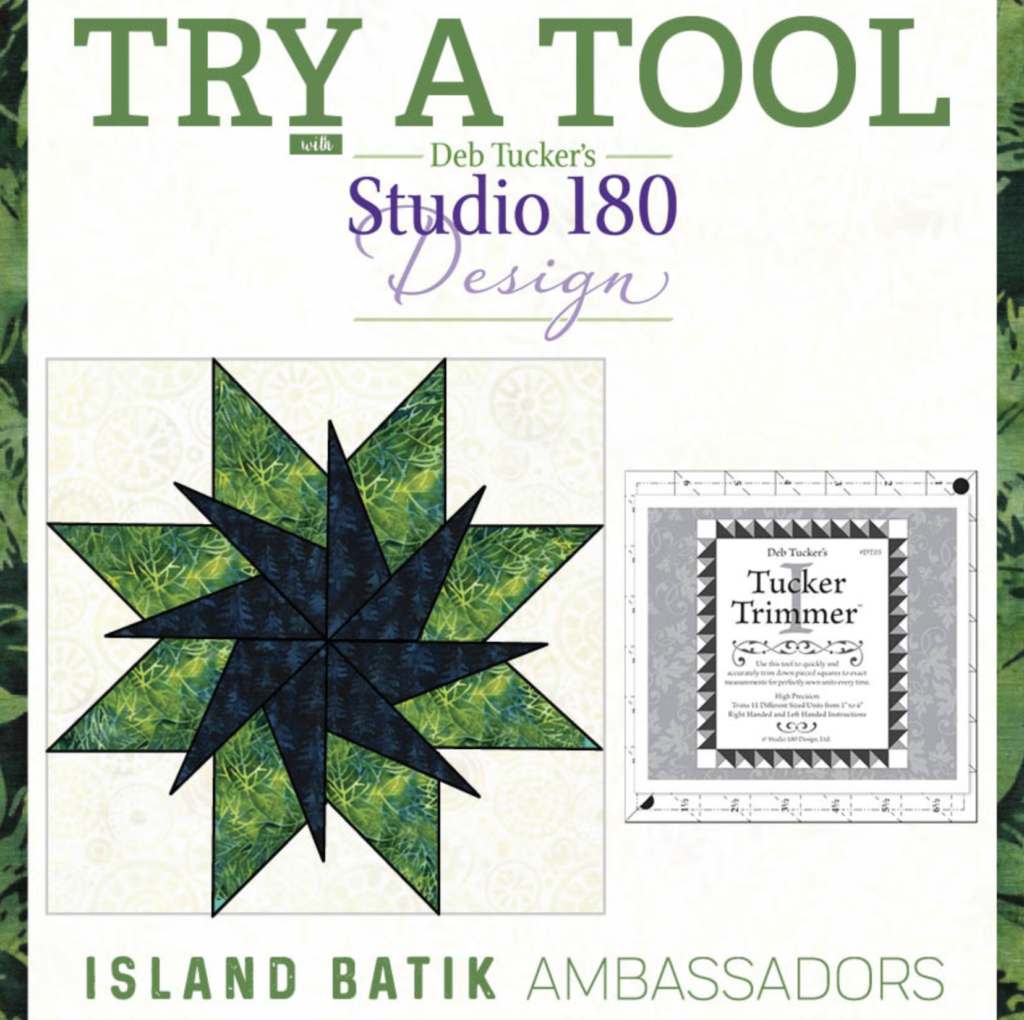
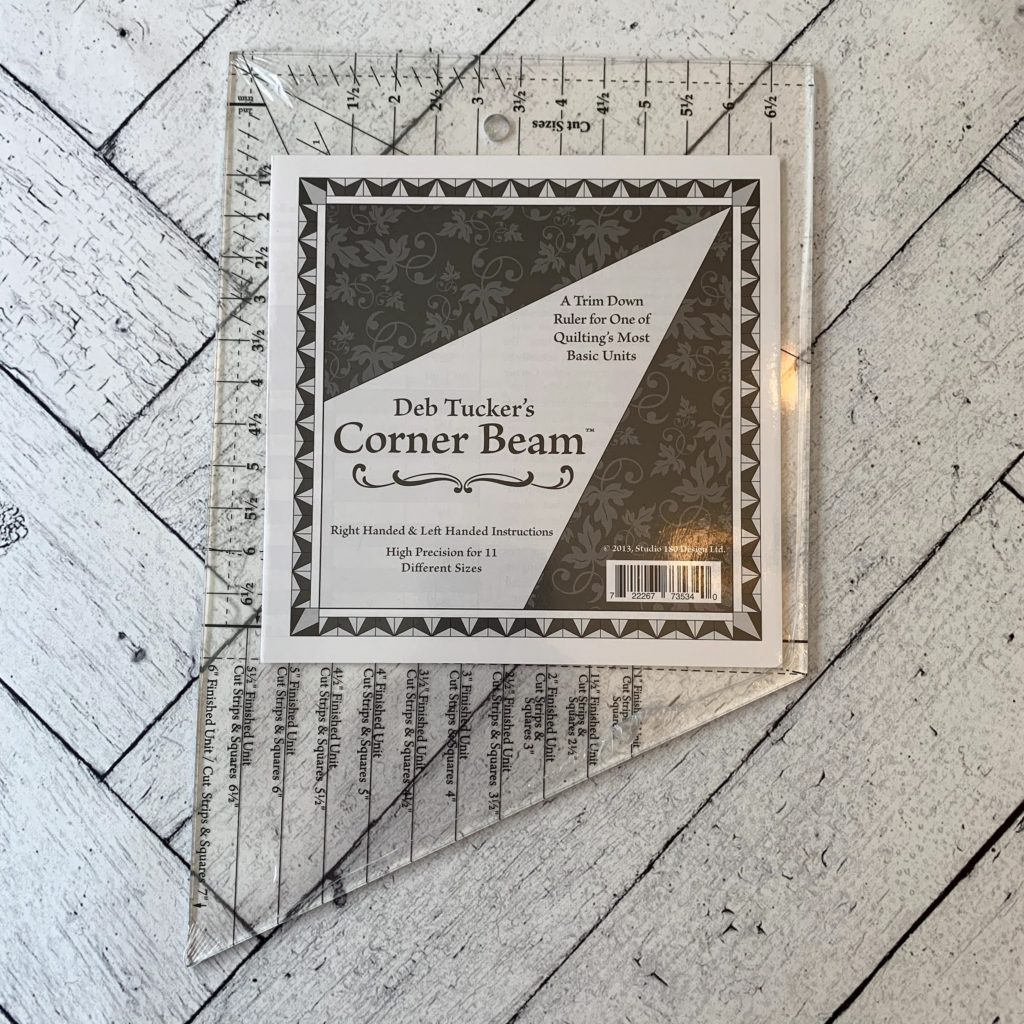
This month all of the Island Batik Ambassadors are playing with different tools from Deb Tucker, of Studio 180 Designs. I’ve used some of them in the past and enjoyed them, so I was excited to see what new magical gadget I would receive this month. I’ve had a good time designing a project to put my brand new Corner Beam ruler to work.
I was given the option to also use a design sheet that also uses the Corner Beam ruler to make a Sliver block. How could I resist?
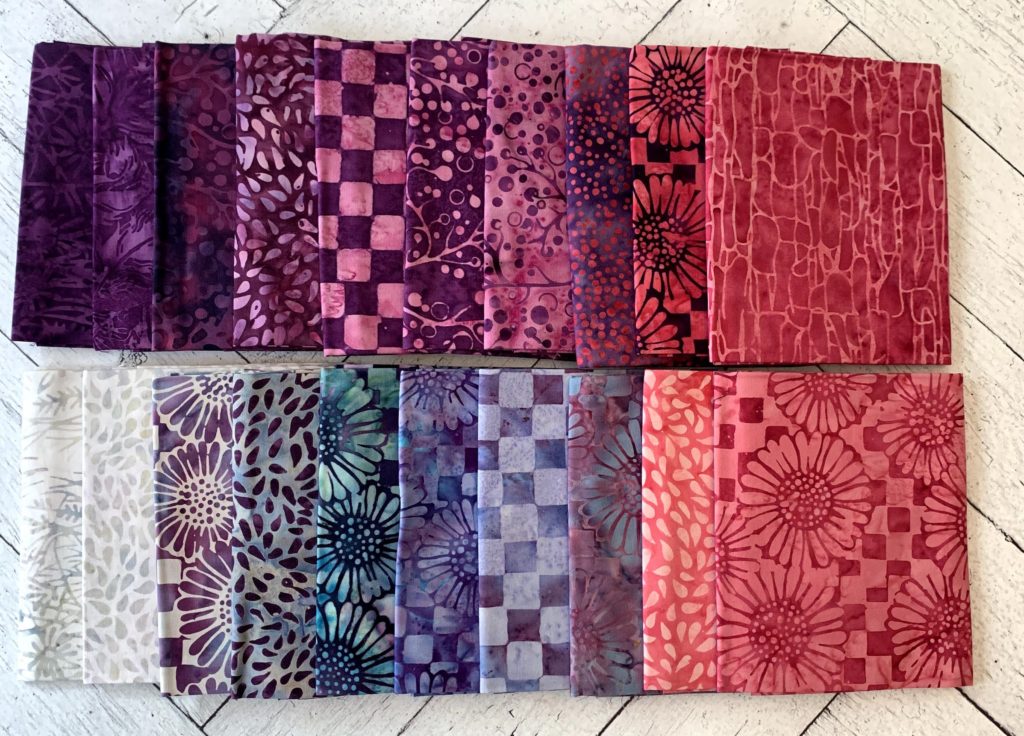
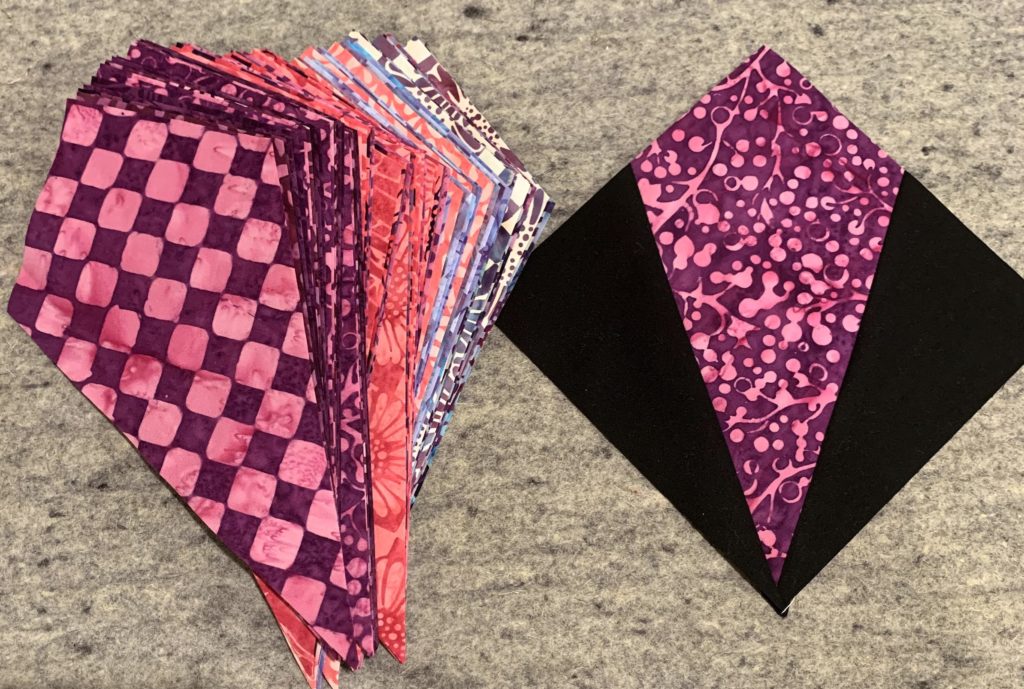
I started out my project with a fabric pull, of course. I decided to pair the Bloomers collection with my yardage of black solid. I was provided a fat quarter collection of Bloomers – 20 different prints. I used all of them for this project.
I began this project in Electric Quilter (EQ8). I drafted the Corner Beam and Sliver blocks, imported my Island Batik fabric images, and started playing.
This was my first draft. The Corner Beam instructions have advice on how to use the scrap fabric to make smaller blocks. I considered a pieced border, but it just felt too distracting. I’ve become a big fan of quilts with no border at all, too, which is probably a side effect of studying modern quilting.
The nice thing about using EQ8 is that I can get a good idea of what is going to happen graphically with my fabrics, before ever cutting into them.
I didn’t do any further designing after this. I was ready, and I hit the cutting table. First, I made sure to read the instructions on the Corner Beam.
It took me a few minutes, but I figured it out.
My first few blocks made me very happy – I love how easily they came together.
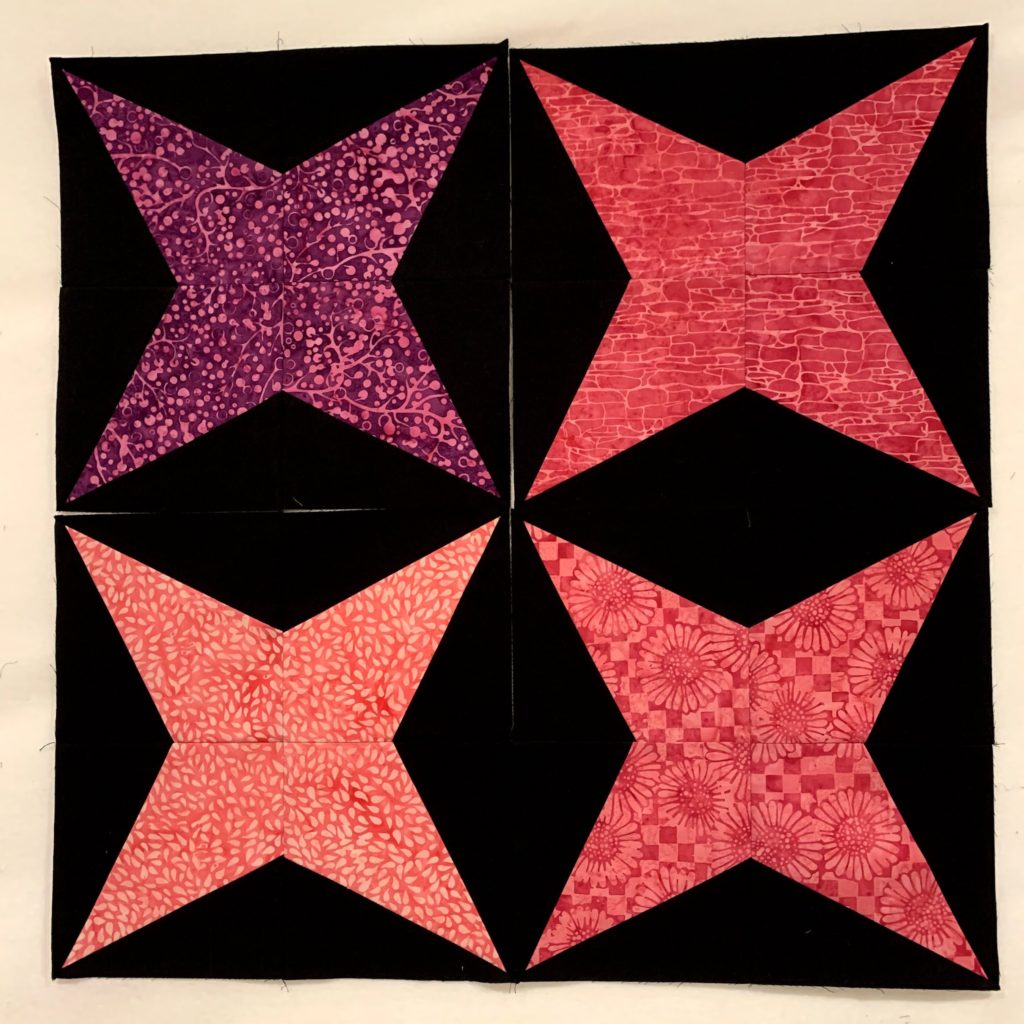
I put all of my combined units up on my wall once they were done. They look great!
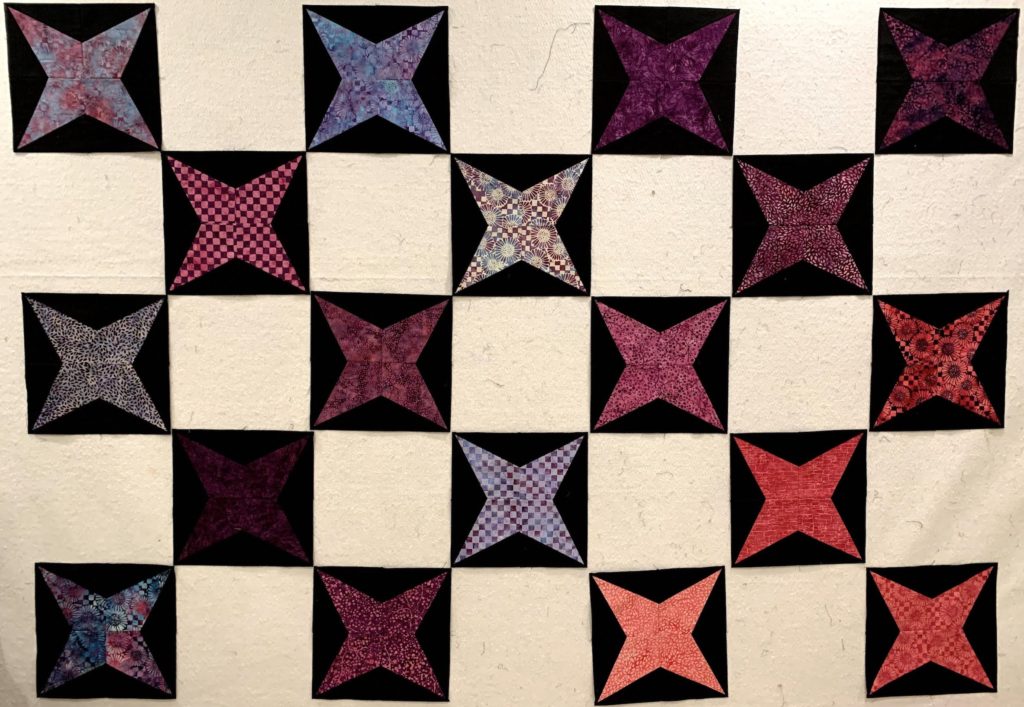
I had to lay out the quilt sideways. Shortness strikes again.
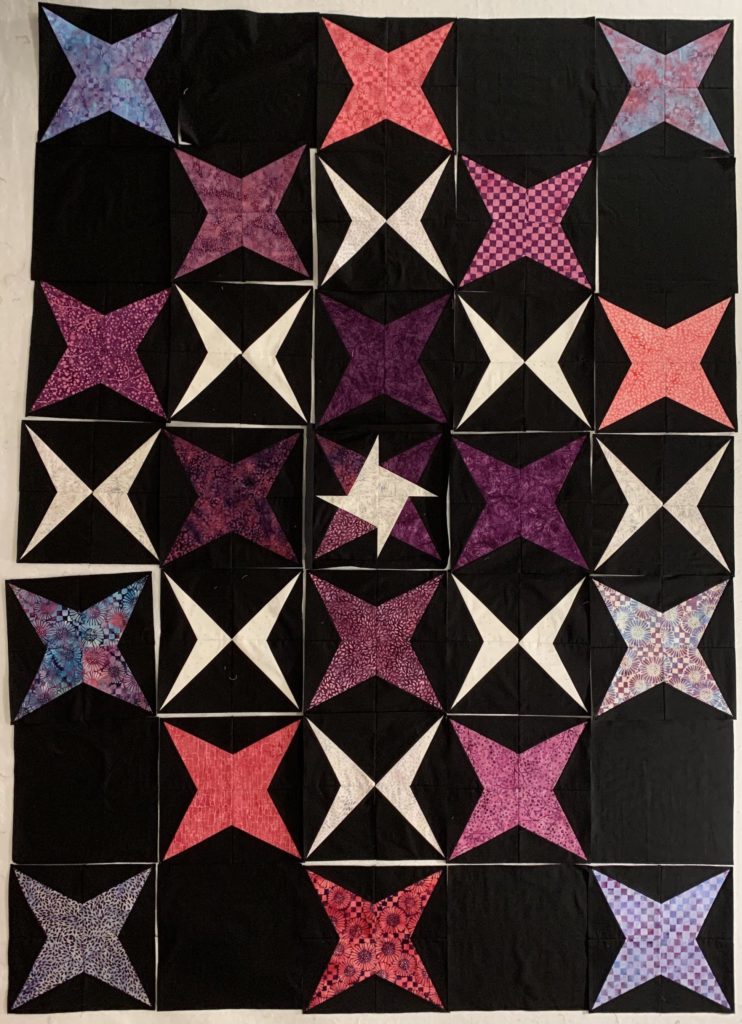
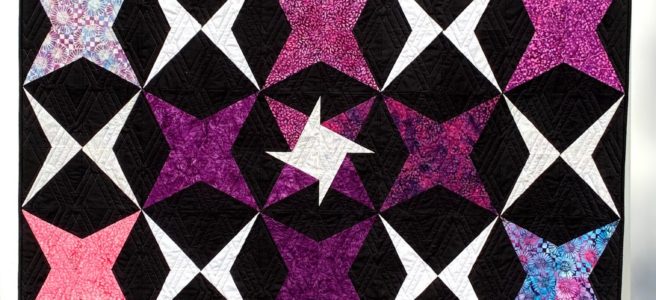
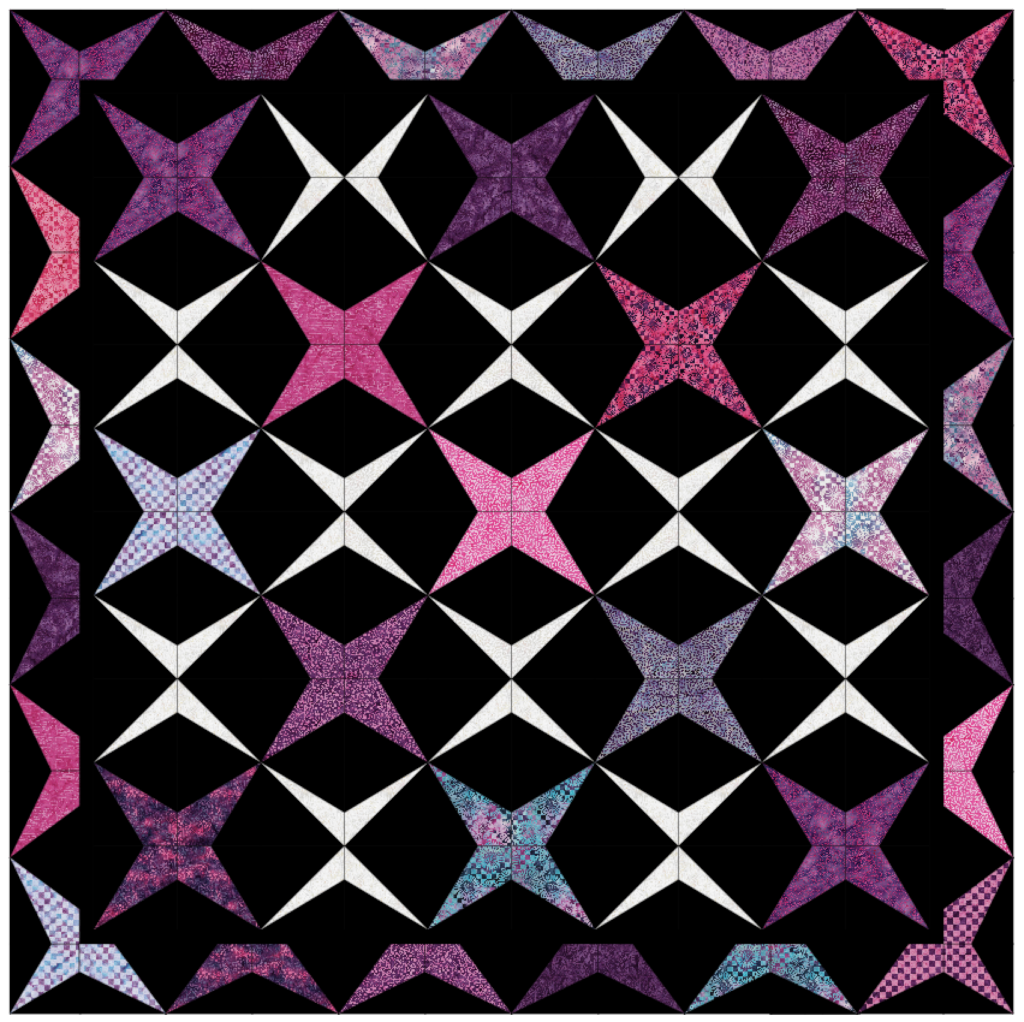
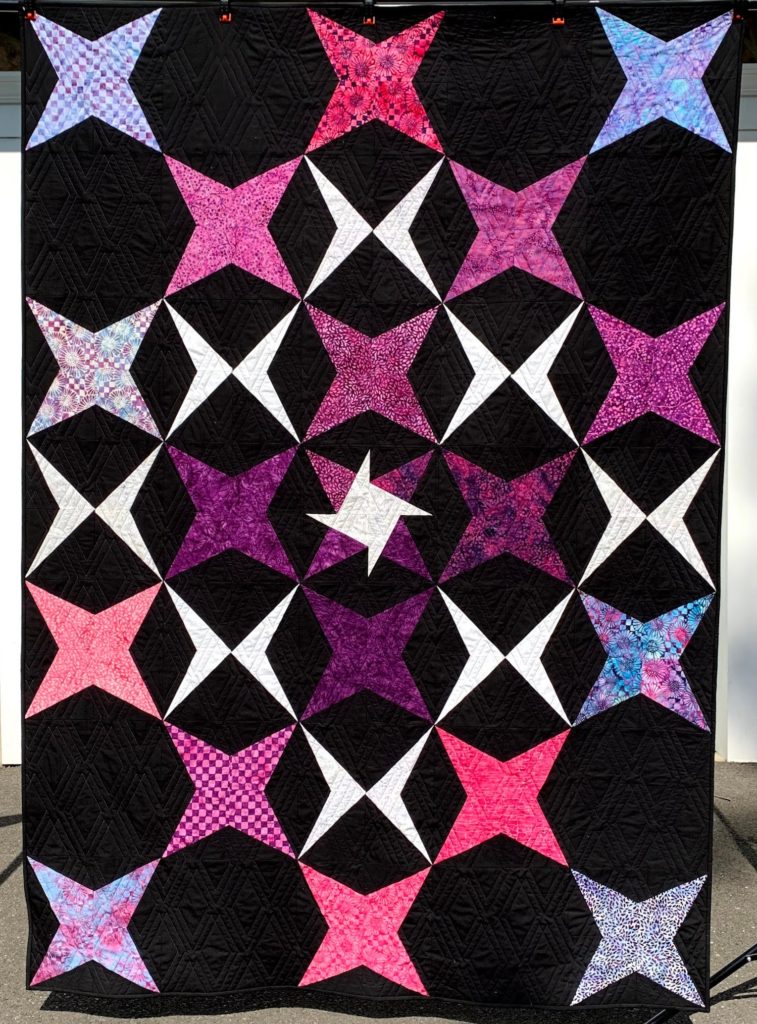
Tackling the Sliver blocks was easier once I had the rest of the blocks to motivate me. I decided to do some Sliver blocks and some solid blocks. As I was making the slivers I had one of those “I wonder” moments. The spinning star is the result. I like it.
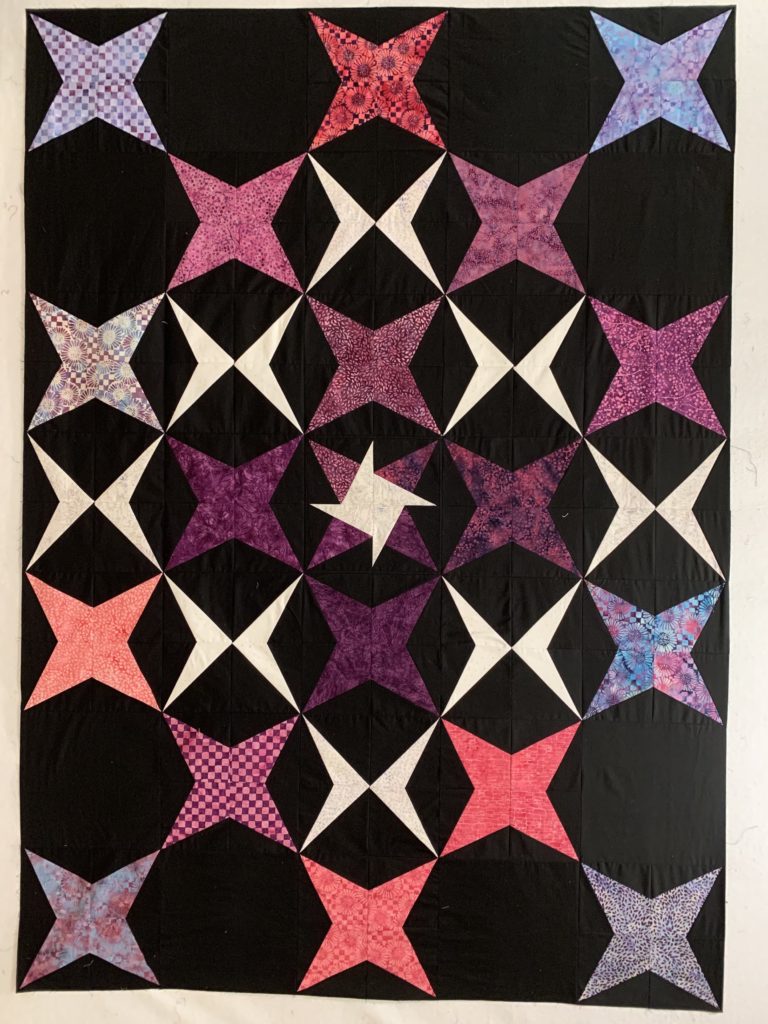
Here they are all sewn together. I always love how different the blocks look once they are assembled. Having those little background distractions disappear feels magical every time.
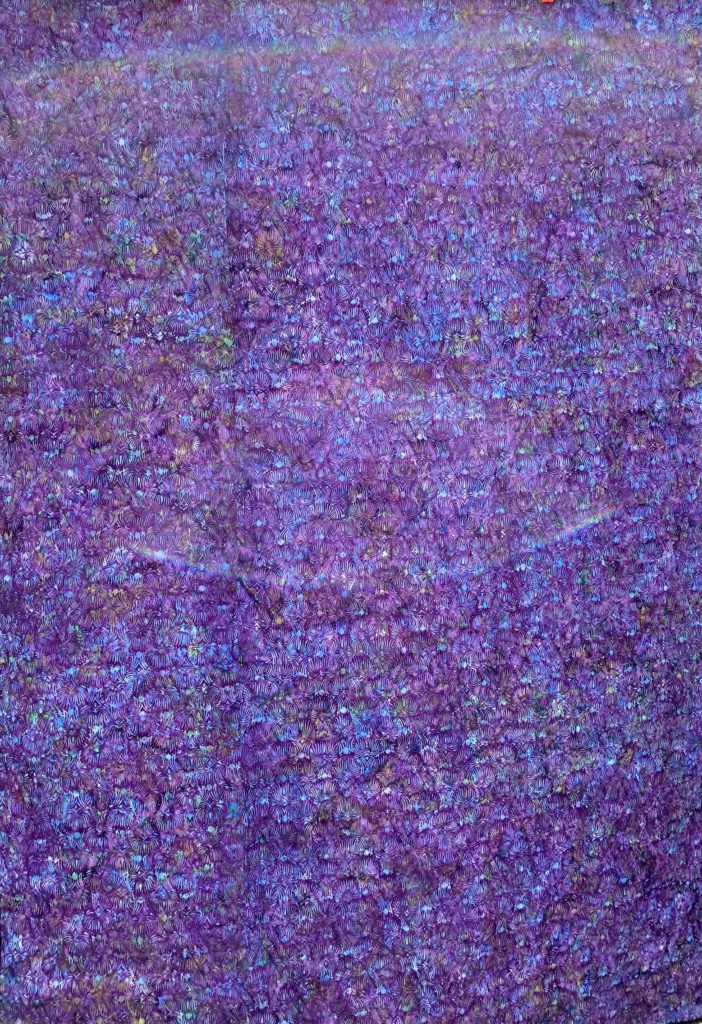
I used this lovely Island Batik print for my backing.
I quilted it using Aurifil thread in a lovely dark purple. I chose to use the Diagonal Plaid pantograph from Urban Elementz. It is one of my favorites. This time, rather than keep it square, I stretched the layout to make it look more like a diamond.
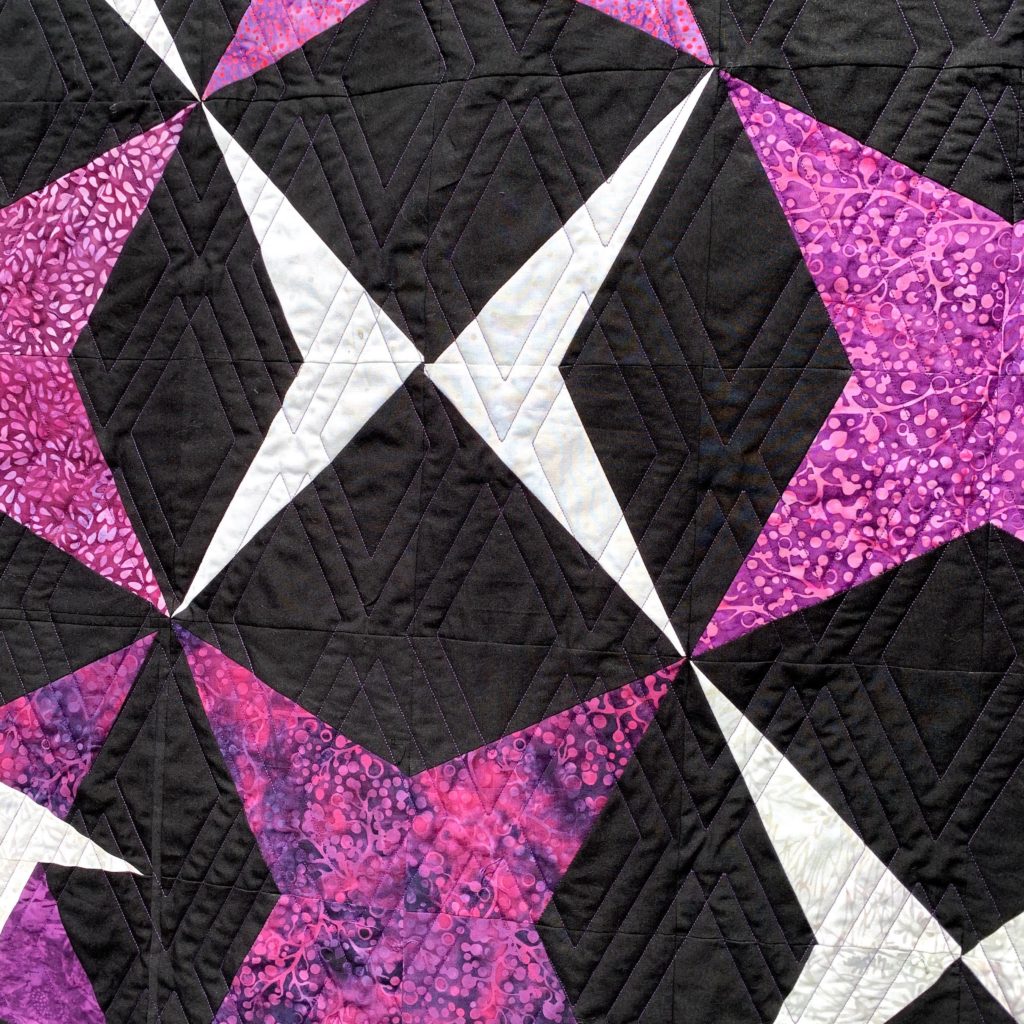
Whoops! Yes. That is an imperfectly pieced block in front of you. Even the best tools can’t make up for not paying attention.
I used the black batting provided to my by Hobbs in my Ambassador Box. It is lovely, and works so well with a black background fabric.
What do you think of my Corner Beam project? I’m pretty happy with my final quilt.
Have you tried any of Deb Tucker’s fabulous tools? Tempted? Need another push? You can check out my other quilts using Studio 180 Designs tools here
Be sure to visit the other Island Batik Ambassadors to see what they’re making here:
- Carolina Asmussen ~Carolina Asmussen
- Megan Best ~ Best Quilter
- PamelaBoatright ~ PamelaQuilts
- JenniferFulton ~ Inquiring Quilter
- Vasudha Govindan ~ Storied Quilts
- Joanne Hart ~ Unicorn Harts
- Mania Hatziioannidi~ Mania for Quilts
- CarlaHenton ~ Create in the Sticks
- ConnieKauffman ~ Kauffman Designs
- EmilyLeachman ~ The Darling Dogwood
- DeniseLooney ~For the Love of Geese
- LeahMalasky~Quilted Delights
- SallyManke ~Sally Manke
- Maryellen McAuliffe ~Mary Mack’s Blog
- Kathleen McCormick~Kathleen McMusing
- CarolMoellers ~Carol Moellers Designs
- Gail Renna ~ Quilt Haven Threads
- Sharon Riley ~ Sew Riley Designs
- MichelleRoberts ~Creative Blonde
- Gail Sheppard ~Quilting Gail
- Jennifer Strauser~Dizzy Quilter
- JenniferThomas ~Curlicue Creations
- AlisonVermilya ~Little Bunny Quilts
- SandraWalker ~mmm! quilts
- SuzyWebster ~Adventerous Applique and Quilting
- JanetYamamoto ~Whispers of Yore
I really like that you chose to incorporate some solid blocks and let the sliver blocks create a secondary design, and the spinning star in the center is a nice touch! I have yet to try any of the Studio 180 tools, but they do sound like fun!
It looks great and had you not pointed out the oops I wouldn’t have noticed. The stretched squares add a nice touch to the finish.
It’s a beautiful quilt and the black sure makes the colorful batiks brighter. I think I’ve done a similar block (without the sliver) in a paper pieced pattern. I do like the first layout you showed I think all sliver blocks. Thanks for the review of the tool.
I think your quilt is beautiful and brilliant! I’ve sewn a project with Bloomers too. The pinks and purples look so vibrant over the black background in your quilt. Love it!
All your choices worked out well. I love the center block, too. It’s a fun combination of the two blocks.