
Have you seen the video demonstrating Applipops circle templates on Facebook? I caught it a few times, and I was deeply intrigued. I decided to reach out and see if they would send me a set to try out, and they VERY generously sent one to me! So, now that I’ve tried them out, I can tell you how amazing they really are. Plus, I have a 10% discount to share with my readers.
*While I did receive a generous set of tools, I have not been compensated for this review in any other way. If I hadn’t loved them, I would have thanked the company for their generosity and sent them back, and you never would have heard a thing about it.
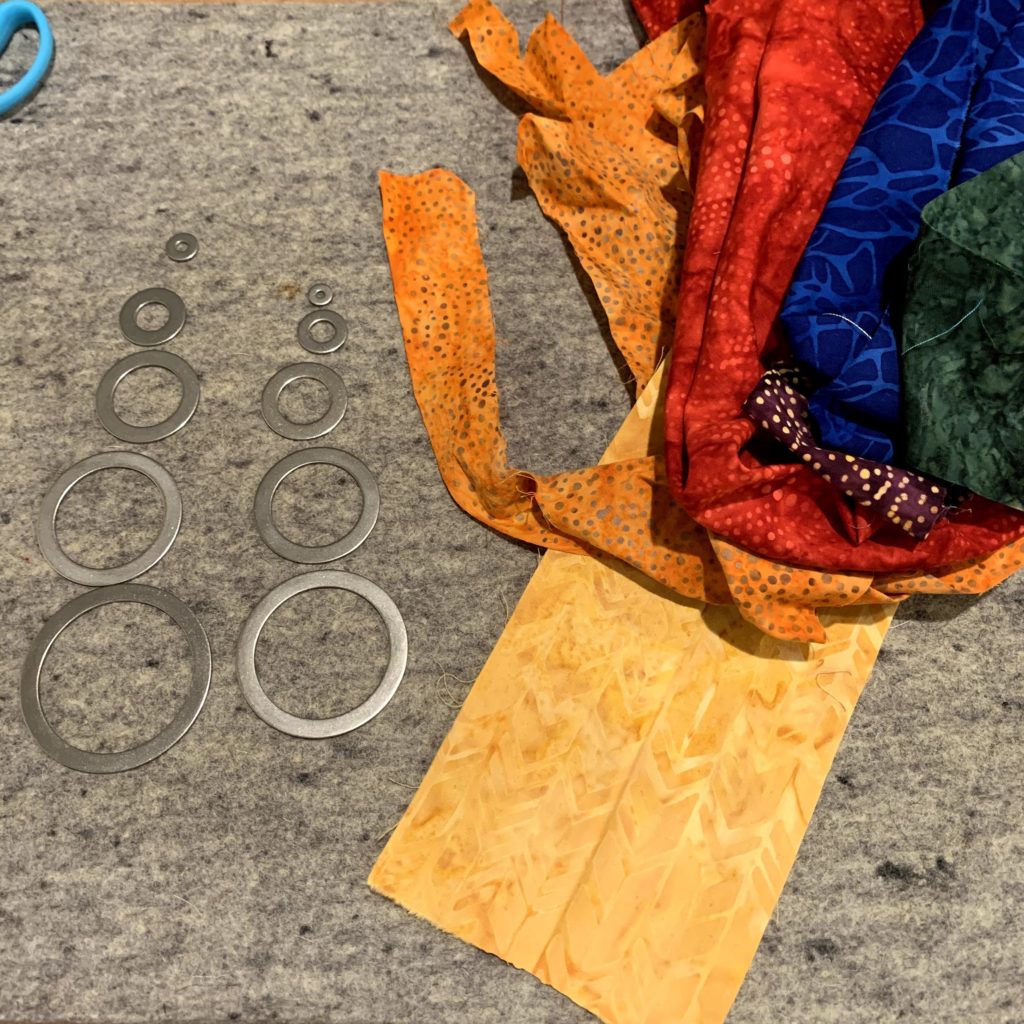
I began with a pile of Island Batik scraps, a white background, my set of Applipops, and my Magic Mandala template from Karen Marchetti. (You know I need to use at least two gadgets in every project, right?)
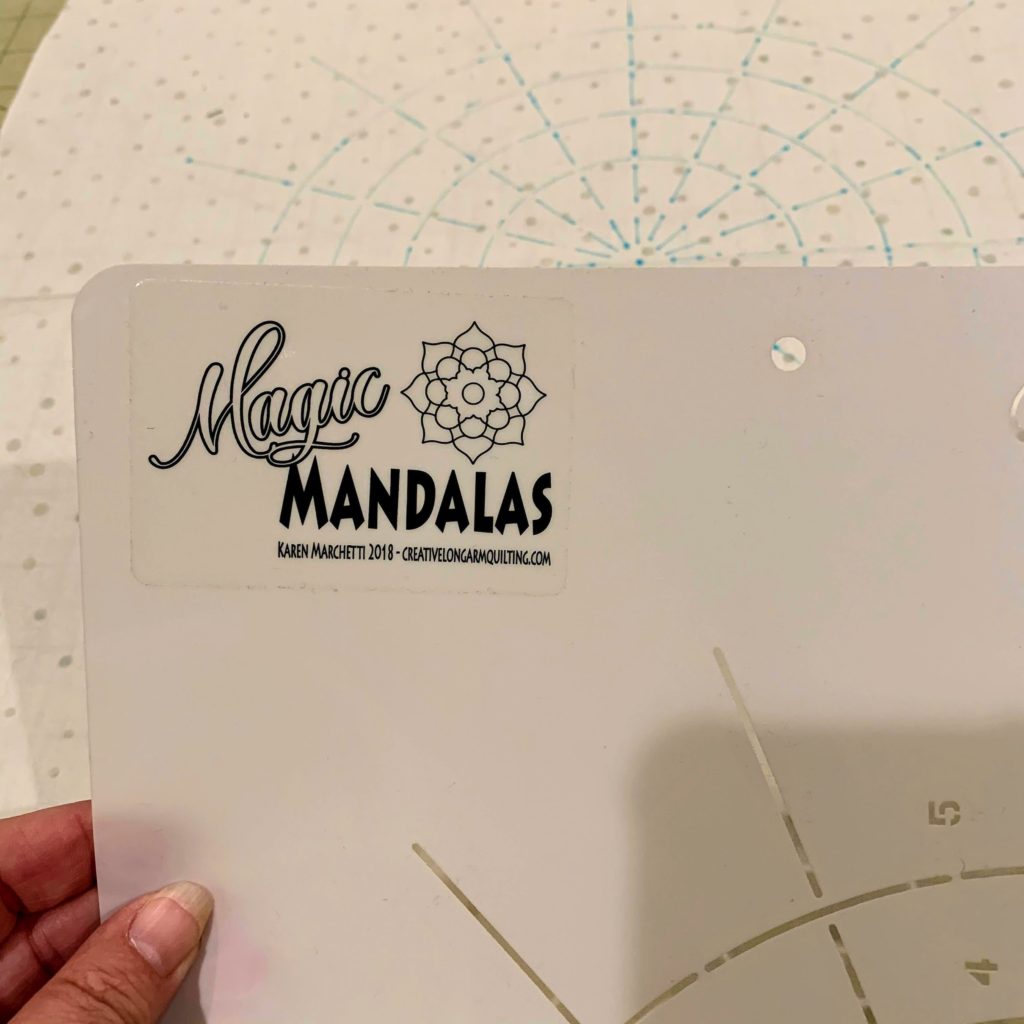
First, I marked my background with a grid, using the Magic Mandala stencil and a blue water erasable marker.
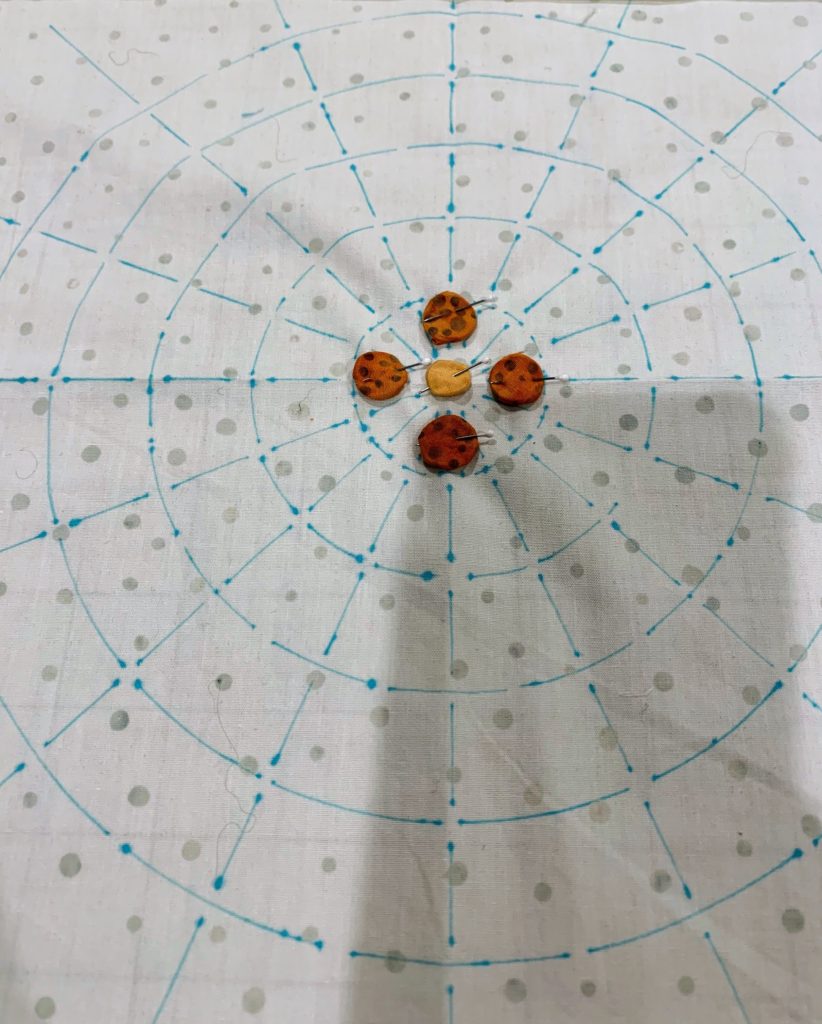
Then I started making circles. The tiniest circle in the set was the perfect starting point. I began with a warm yellow, working in color order. I used the next size up for each round.
For starch, I sprayed some of my Niagara spray starch into the lid of the can. The instructions recommend a liquid starch, but I have enough of this spray stuff for several lifetimes, and I think it worked pretty well.
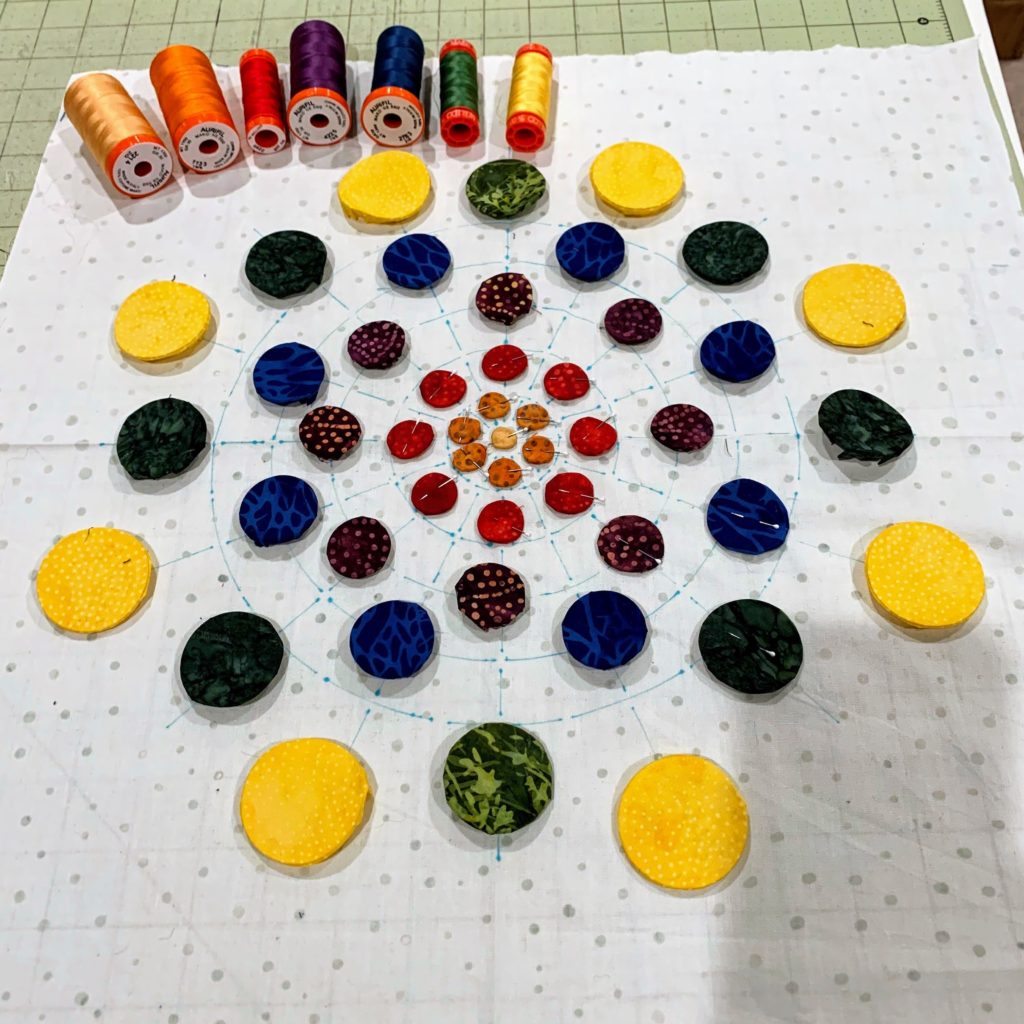
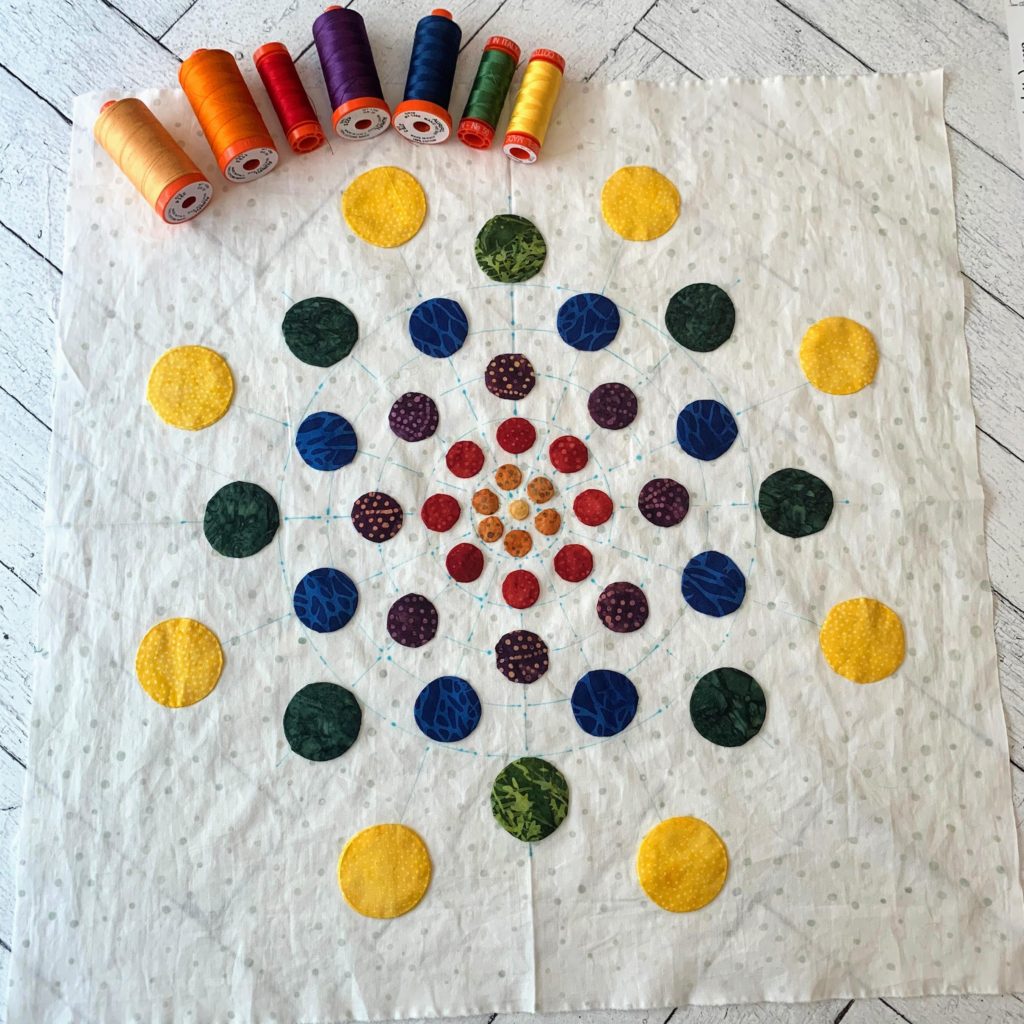
I laid out a bunch of circles on my grid, making a pattern that went in rainbow order, of course. The circles start with the smallest unit, then each round changes color and size. I think I used all of the sizes, too, from 3/8″ to 2″.
I just pinned them down, then pulled out a selection of Aurifil threads to match. They do make such pretty thread colors. The appliqué on this one was all done by hand. It was the perfect project for a lazy Saturday.
Making perfect circles with these tools couldn’t be simpler. You cut a little scrap of fabric, lay it on top of one circle, and press another into it. Trim up your fabric, and brush it with liquid starch. Tease the fabric towards the center of the circle, using your fingers. Then press it, let it cool, and remove the Applipops. Press it one more time, and stitch it down. It is so easy, and the results are amazing.
Definitely watch your fingers while pressing your pieces. Do not use steam – your iron is lifted off of your ironing board a bit, and the steam takes the path of least resistance, which points right at your fingers. Also, after pressing, the templates are hot. Let them cool off before handling them. This seems basic, but I scorched my fingers several times at the beginning.
For quilting, I layered in a scrap of Hobbs Tuscan Cotton Wool blend batting, along with a backing of Island Batik. The Cotton Wool blend is my favorite Hobbs batting – fluffy and firm – it shows off my quilting so well.
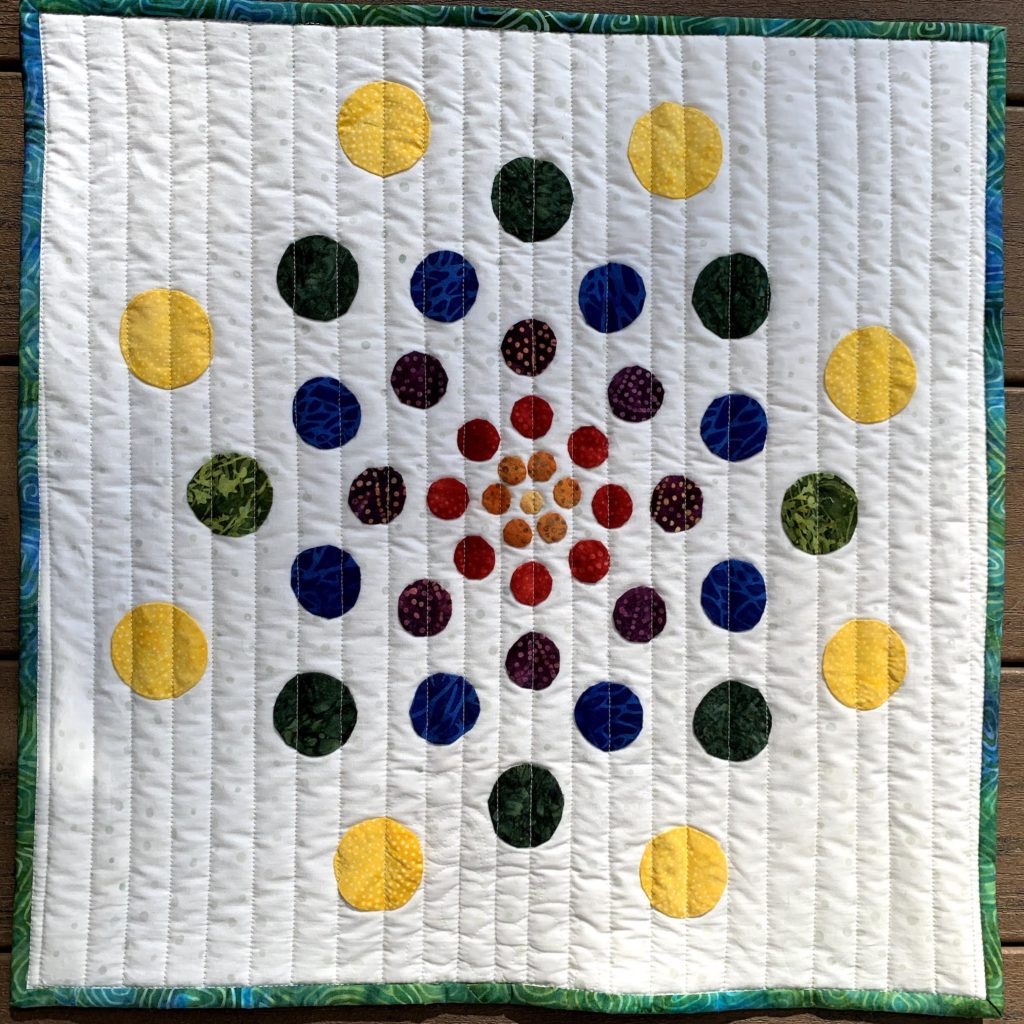
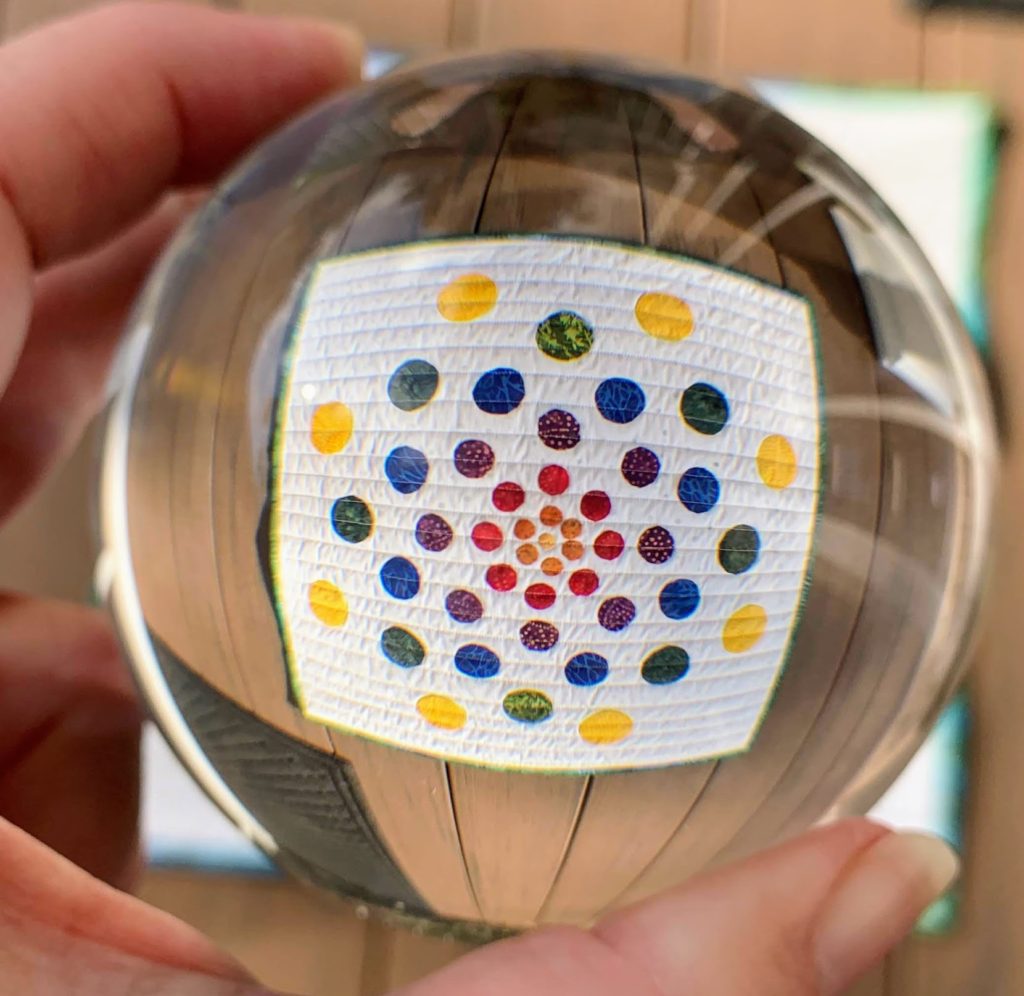
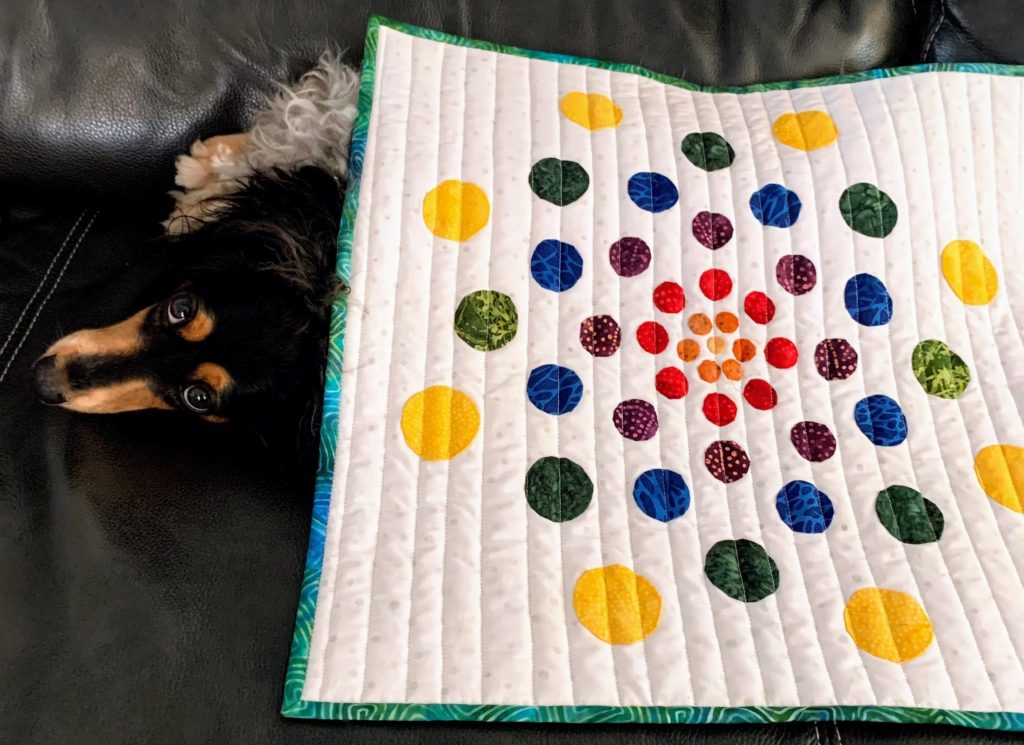
To quilt it, I just did straight lines. I couldn’t come up with anything more exciting. I think the straight lines are perfect, though. Especially because I have a few more layout ideas. I’m thinking of a series of quilts using the same size and quilting pattern, but different circular patterns.
This one finished at 19″ square. It’s a great size for experimenting. I have enough of this background to do 2 or three more in this size.
I can’t wait to put my mini quilt gallery back up in my new studio. Or maybe the foyer of the new house. Hmmm.
One thing I noticed people saying again and again in the comments on the promotional video was something along the lines of “I can just get washers from the hardware store to do the same thing for less”. This was clearly someone who hadn’t tried a set out yet. I asked Jillian (the inventor’s daughter) about how she handles that kind of question. Here is her response, shared with her permission, of course.
I LOVE it when people say they’ll go to the hardware store ! I invite people to try and that way they can see the difference in what we’ve fabricated:
1. Highest quality stainless which will NEVER rust or corrode or break. It’s a forever investment. Can’t say the same for metal from the hardware store. Nothing sticks to them, you can use glue and still you’re able to peel the fabric off your applipops.
2. Applipops are thinner than a dime, 5x the industry standard for thinness, which means you won’t be left with a thick edge in your finished circle. Hardware store washers are much thicker.
3. The concentricity, or nesting value of our applipops, with the exact spacing between inner and outer diameters. We have created an inner and outer diameter that moves incrementally in 1/2”. You might get one right size at the hardware store, but you won’t be able to find one that sits inside it, all the while giving you just enough room to hold your fabric.
4. Speaking of holding your fabric, we’ve beveled one side of the washer and left the other side flat. This gives options in how you make your fabric sandwich. Flat to flat gives the snuggest hold, bevel to bevel, the loosest. The bevel ensures your fabric stays unmarred.
5. The inner diameter of these is what you can’t find at the hardware store at all. The 2 1/2” outer diameter circle has an exact 2” inner diameter. All of this precision allows you to cut around your fabric sandwich WITHOUT measuring and you have a perfect seam allowance.
I’m so glad you asked that question!! We know the Applipops are an investment. For sure they are not cheap. For us, they are an Indispensable tool in our quilting basket and have made previously unthinkable patterns or ideas DOABLE. And Fast. And, actually EASY. And it’s just not possible to replicate what my mom has invented with a hardware store washer. You might find one or two washers that “nest” but that’s where the similarities end. 🙂
Are you ready to order a set for yourself? Go to the Applipops website, and use code “DIZZY” to get 10% off! I will be using these guys again and again. You know my style of appliqué is usually pretty unstructured, but I do love that my circles were so perfect without a struggle.
So glad to see this review. I have seen that ad, and been fascinated by the idea. Yes, I thought about washers, but I figured the thickness would be an issue and finding the sizes to fit inside as well. Thanks for sharing this, Jen!
What a great response about “hardware store” washers; and what a cool product. I honestly had not seen them before and love what they have created; and what it allowed you to create!
Your finished quilt is gorgeous. I can’t believe how quickly you made it!
The Applipops look amazing! I wish these had been around when I made my Serenity Mandala quilt… 308 batik circles – all turned over paper templates and stitched down. I had to cut the back away from EVERY SINGLE ONE to remove the papers.
These are definitely going on my wish-list!
Thanks for this review! I hadn’t heard of them until your post on FB. Look like a really clever and useful tool. Right now I don’t do much hand applique, but I’m taking needle turn applique at QuiltCon virtual next year so that might change.
I love the project and the review and hints! I must be under a rock that I missed the advertising from these – I am sure it will haunt me.
Great review and great project. I must be living under a rock….I haven’t seen the ad. Now, I am sure, the ad will find me and hunt me down until I succumb!