
It’s time for a project update! It’s either blog or do homework, so here I am! I’ve been making great progress on my Andover Century Solids project. Shockingly, cutting 100 pieces of fabric up is taking a long time. It takes me about 3 minutes per half yard. (100 – 1/2 yards of fabric, at 3 minutes per 1/2 yard equals 5 hours of fabric cutting). I was telling Elizabeth, my creative coach, about how cutting is taking so long. I am considering these extra steps to be a gift to Future Jen. I’ve already got two more quilts planned with all the colors of the rainbow.
I can’t stand to do more than an hour or two of cutting at a time. I still have 28 more pieces to deal with as of today, but I started piecing already. You know I can’t do all of my cutting at the front end of a quilt. I don’t have that kind of attention span.
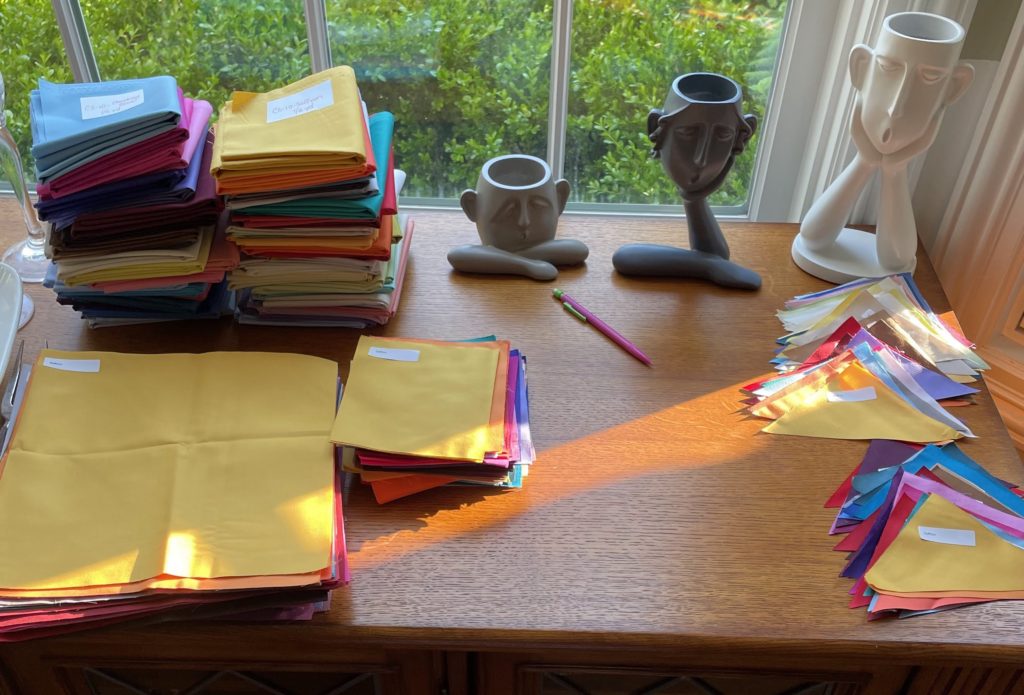
Look at this glorious stack of fabrics waiting for me. Ahhh.
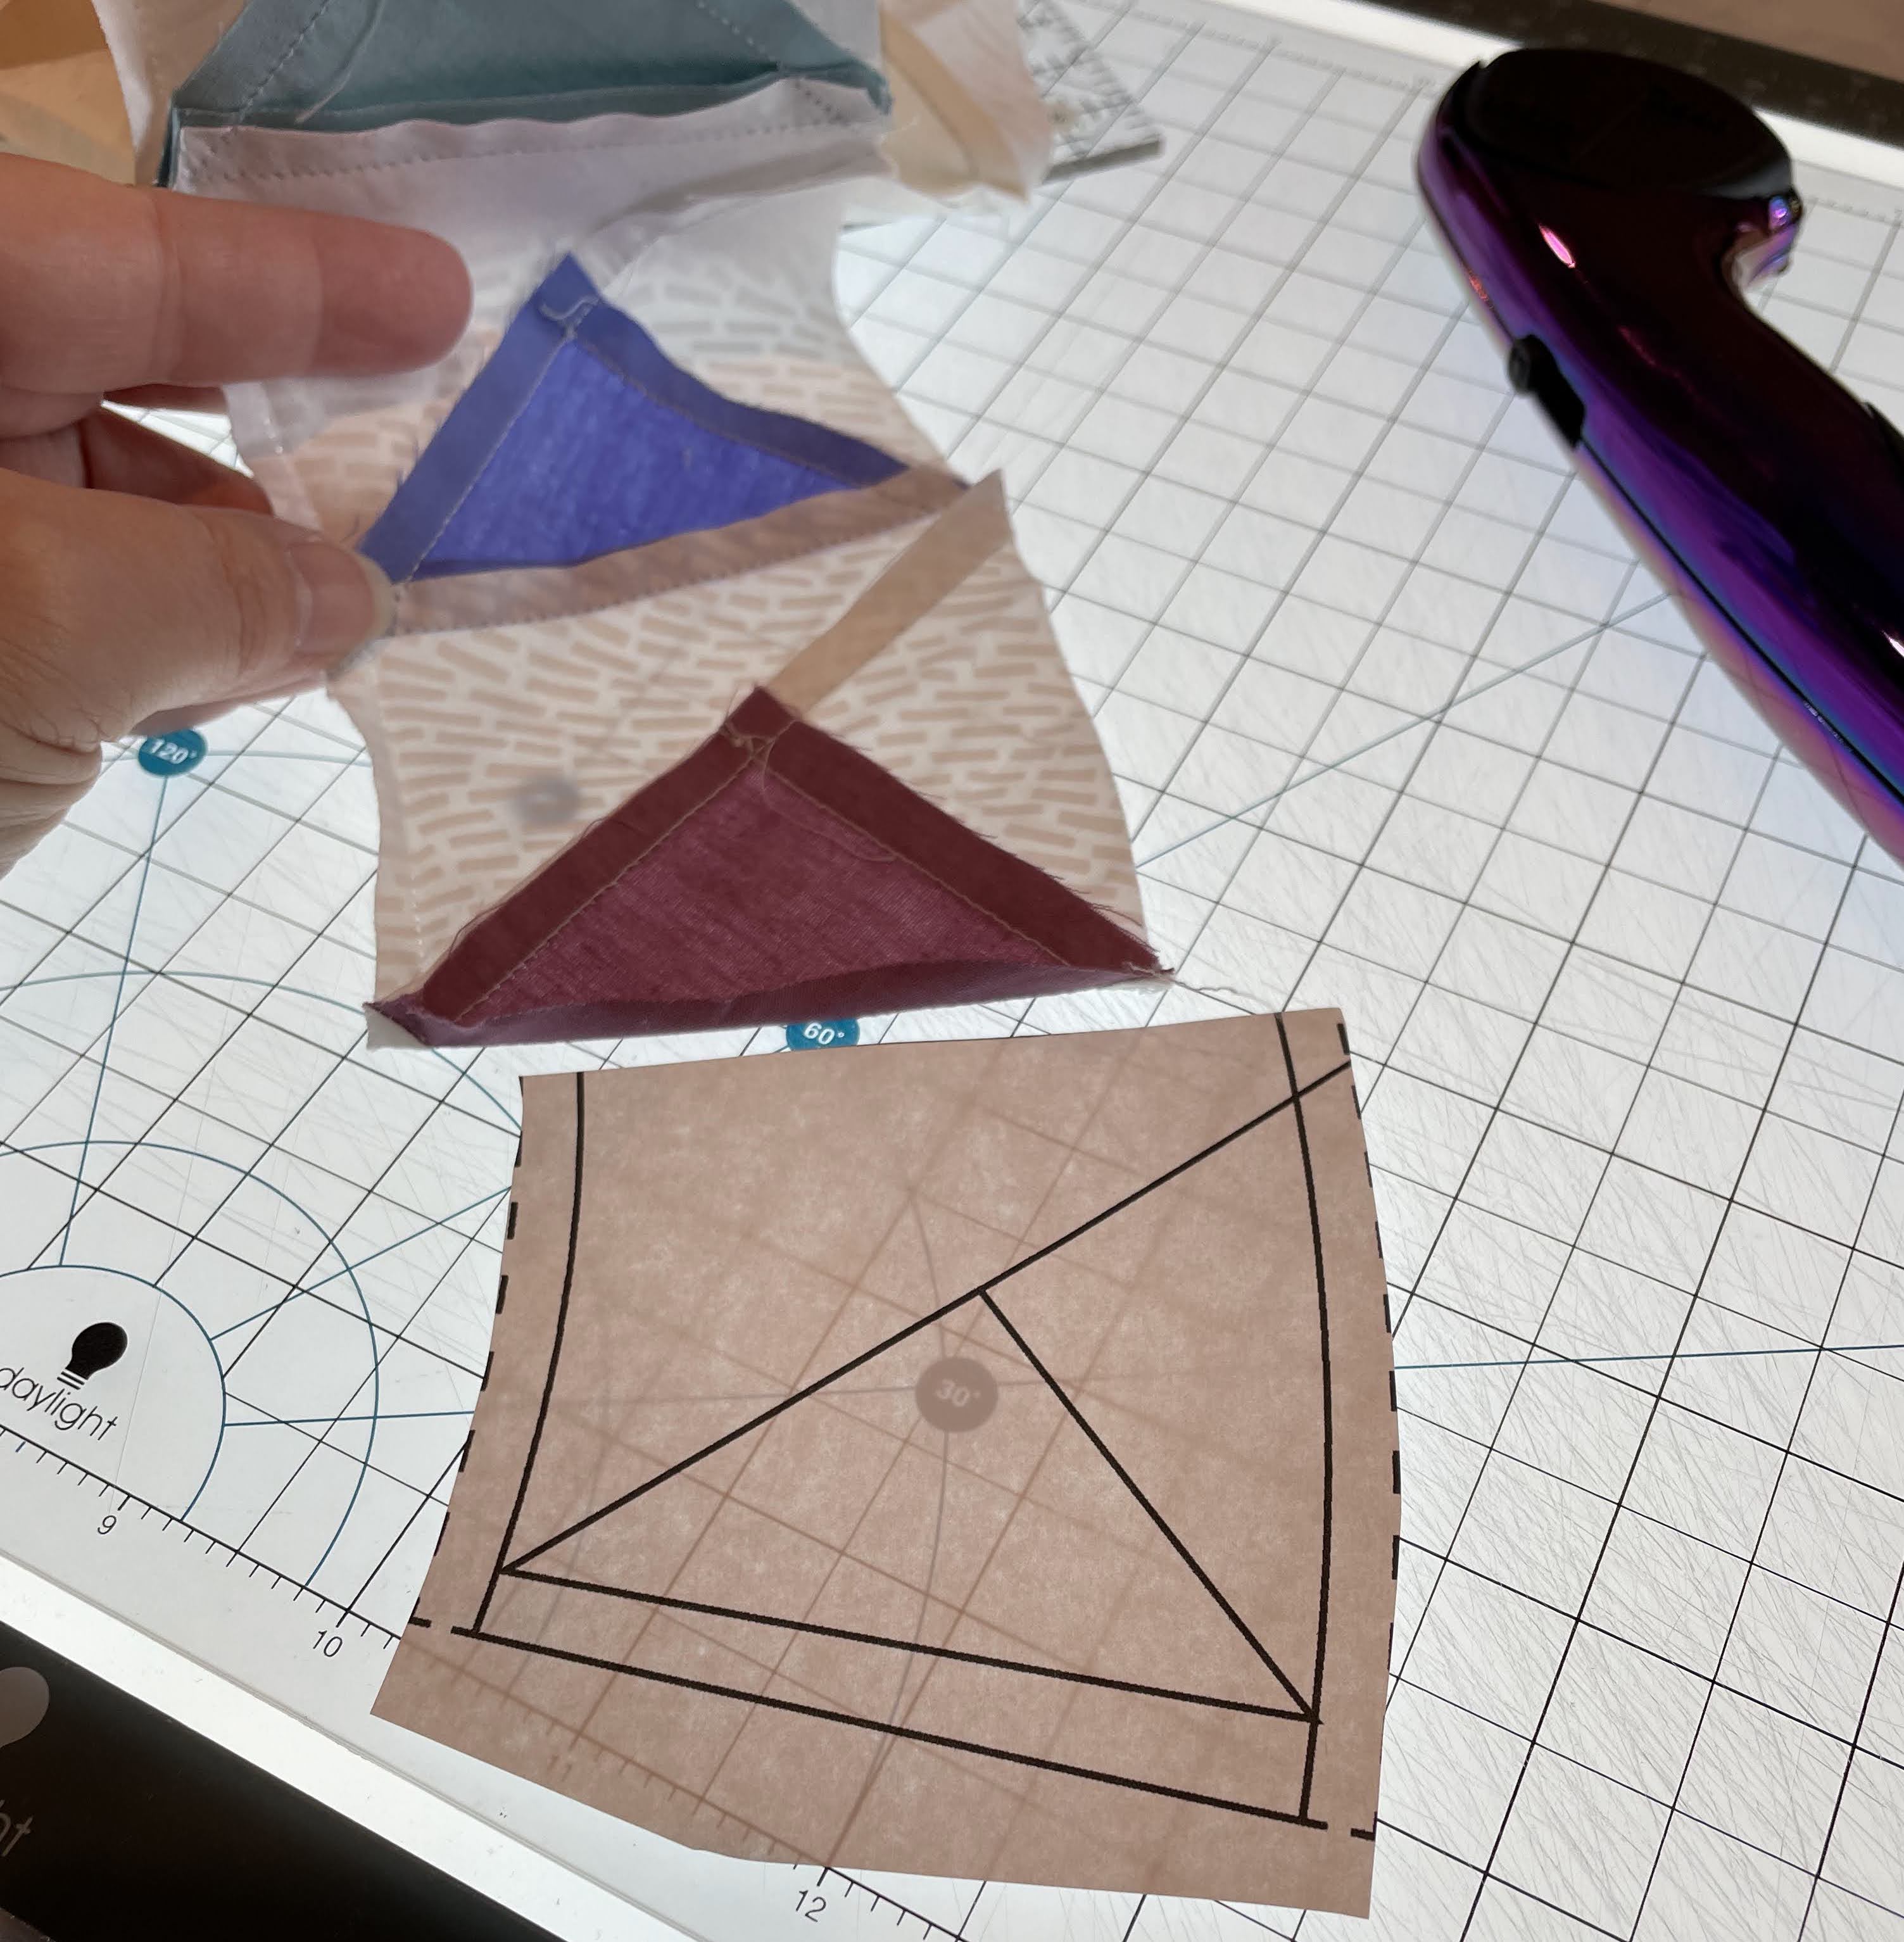
Figuring out how to generate the foundation templates was a bear. Adobe Illustrator is challenging, but I am so glad I pitched this project – sometimes I need the urgency of a deadline to learn new things, and this has done the trick. I still need to figure out how to do it as a printable pdf for normal people, but I’m on the right track. I did it kind of fast and dirty for myself, which did lead to some errors and re-stitching this morning.
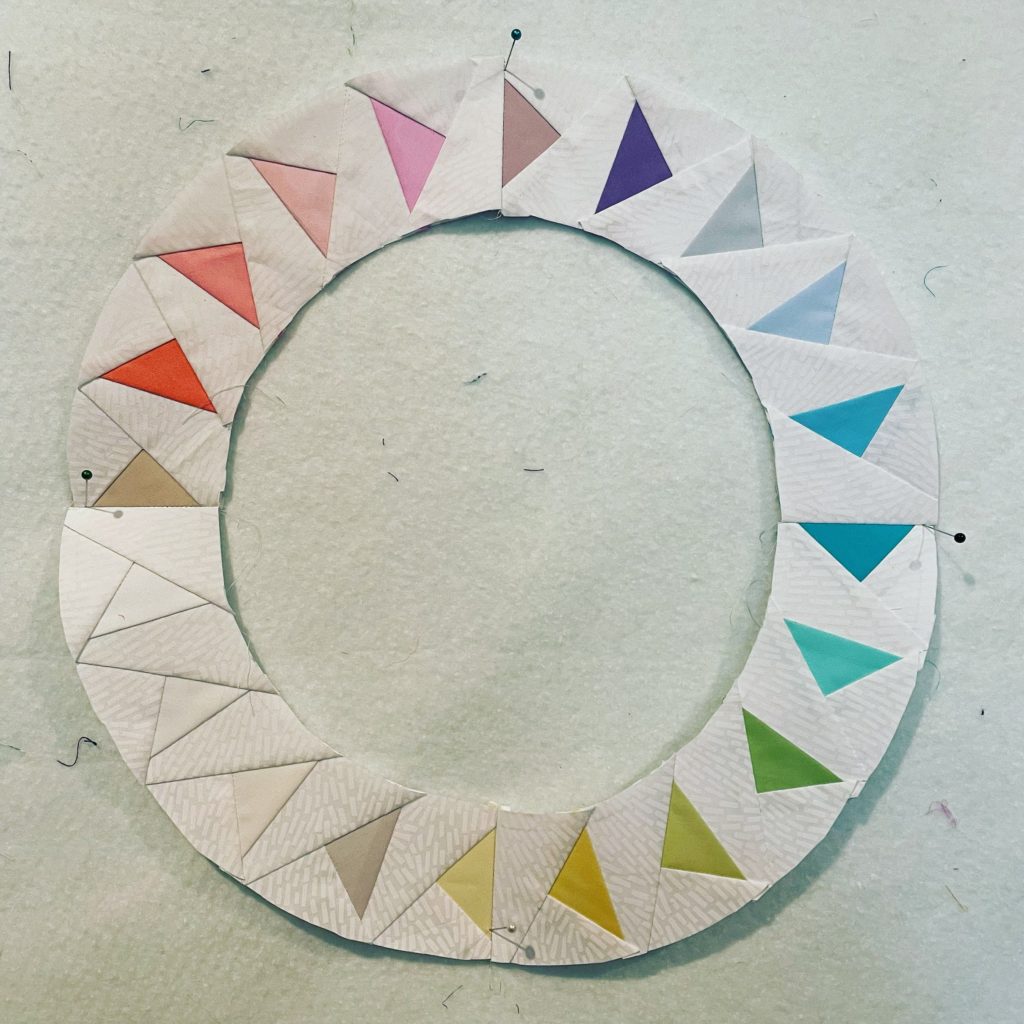
I started with the first ring, skipping the solid center, because I wanted to make sure the foundation would work correctly. All good so far. The biggest challenge has been keeping the colors sorted, but the labels have been very helpful. Of course, I forgot the #1 rule of foundation piecing, which is that you need to reverse your templates. So, the quilt is spinning in the other direction from what I pitched. I didn’t offer to correct it, and the client hasn’t mentioned it. I’ll flip the illustrations in the pattern (so much easier than re-sewing).
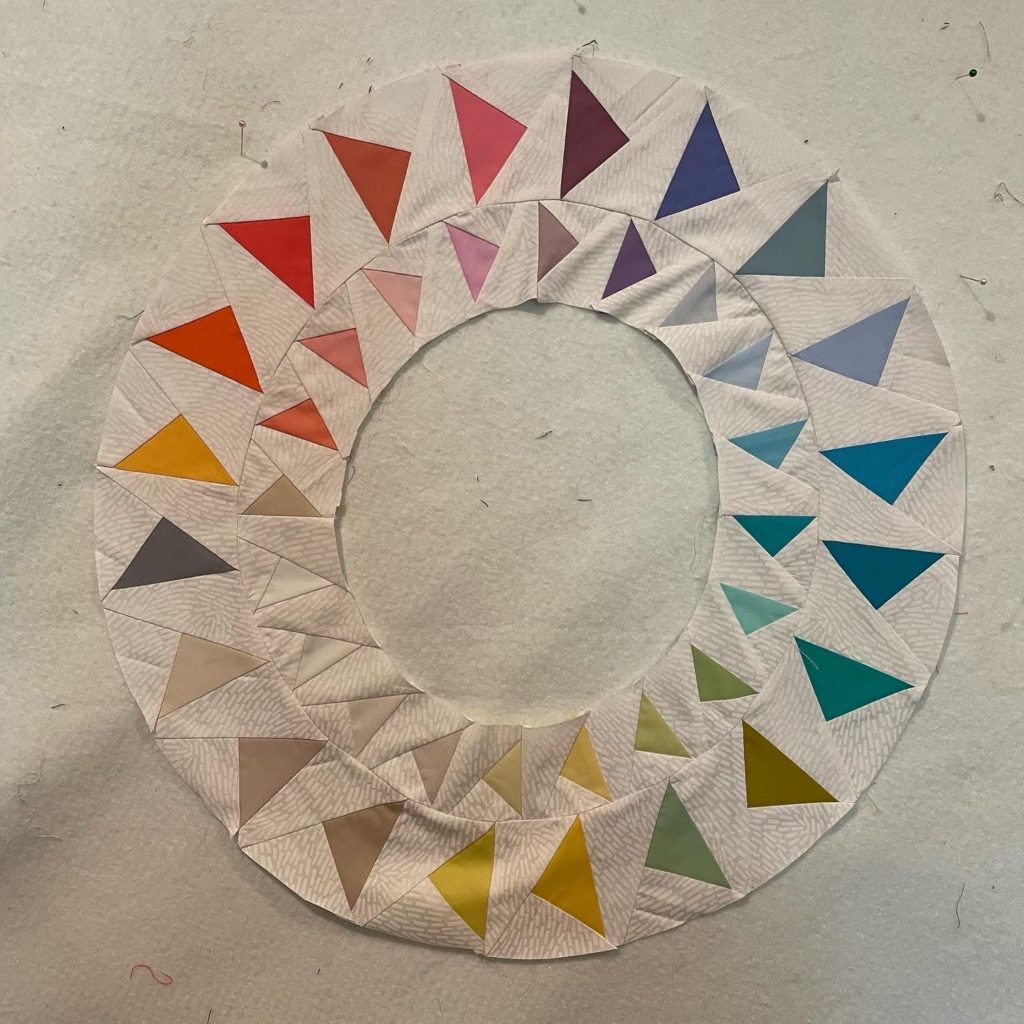
Ring #2 went together easily, too. When I attached it to the first ring, there was more ruffling than I expected. I just shrugged my shoulders and went to bed. I woke up in the middle of the night realizing my mistake. I had skipped adding seam allowances to the end of the foundations, and I forgot. I mistook a thin piece of background for seam allowance, which made the ring too small. I then spent two hours un-picking and repairing the error. I’m so glad my brain was working while I was sleeping, as this mistake would have made the whole quilt look weird.
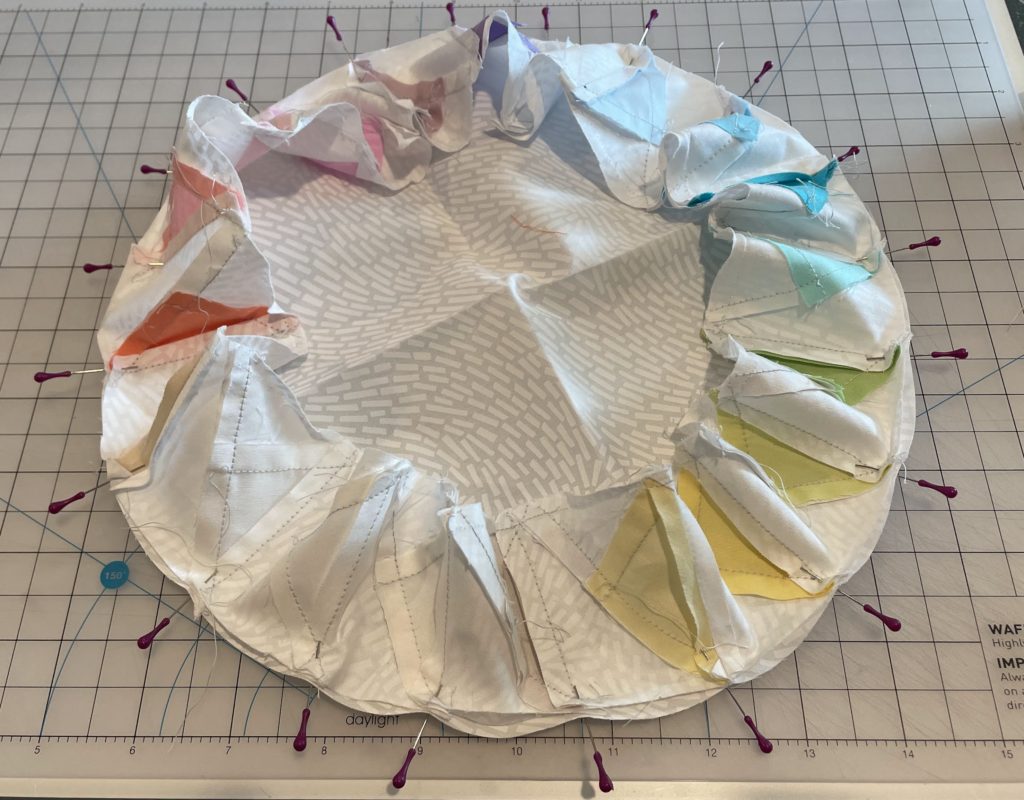
Here’s a shot of how much I pin when I do inset circles. (Thanks to Deb Fisher for giving me an intensive bit of inset circle practice last week!)

One aspect of the pattern I wasn’t sure of was this little bit of background. It is an extra seam that I could skip by shifting where the arc ends. I left it this way, initially because re-drafting the arc in Illustrator would take me some time. Now, I like this pieced bit. It gives a good registration mark to make sure the swirling of the geese is at the intended angle.
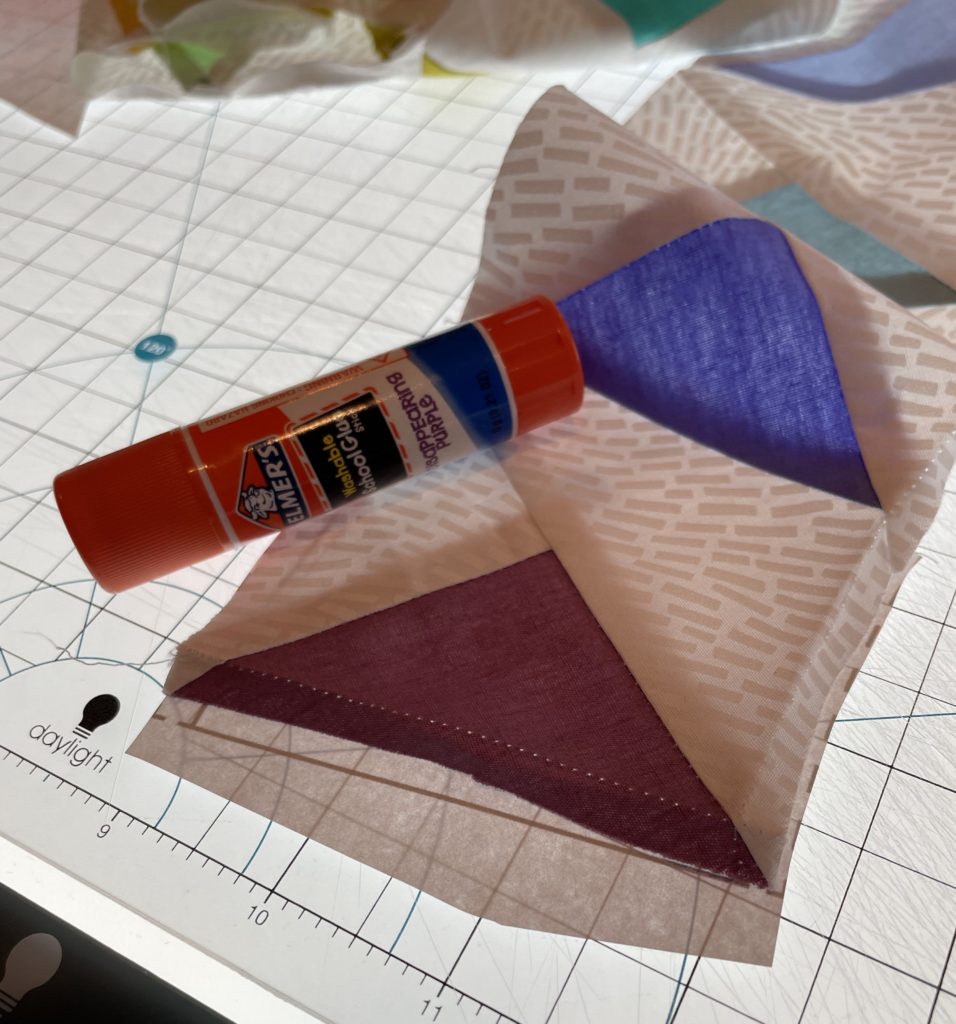
Once I made the repair, it is all perfect. I printed out the last little bit of the foundation, glued it in place, then stitched on the missing bit. All better.
Here is the third round. I’ll get more process photos for the next one. I’ve got so many notes – my son observed that it looked like I was generating a report on quilting. He’s right. I’m taking copious notes as I go to make sure I write the best pattern I can for this. I realize it will be a challenge, and I want people who download the pattern from the Andover site to be successful.

I decided to add in the Andover logo now. I dislike doing satin stitch around appliqué (so boring!) and it will be more difficult to manipulate the quilt when it gets larger. I’m pleased it is in there now, and all safe and sound. I was a little worried about misplacing it in my chaotic studio.
So, this is where I’m at for tonight. I have a few more pieces to cut for round 4, which I will do first thing tomorrow morning. I’m really hoping to get both of the last rounds done tomorrow. Hopefully two in one day is do-able. Then it’s just figuring out the corners!
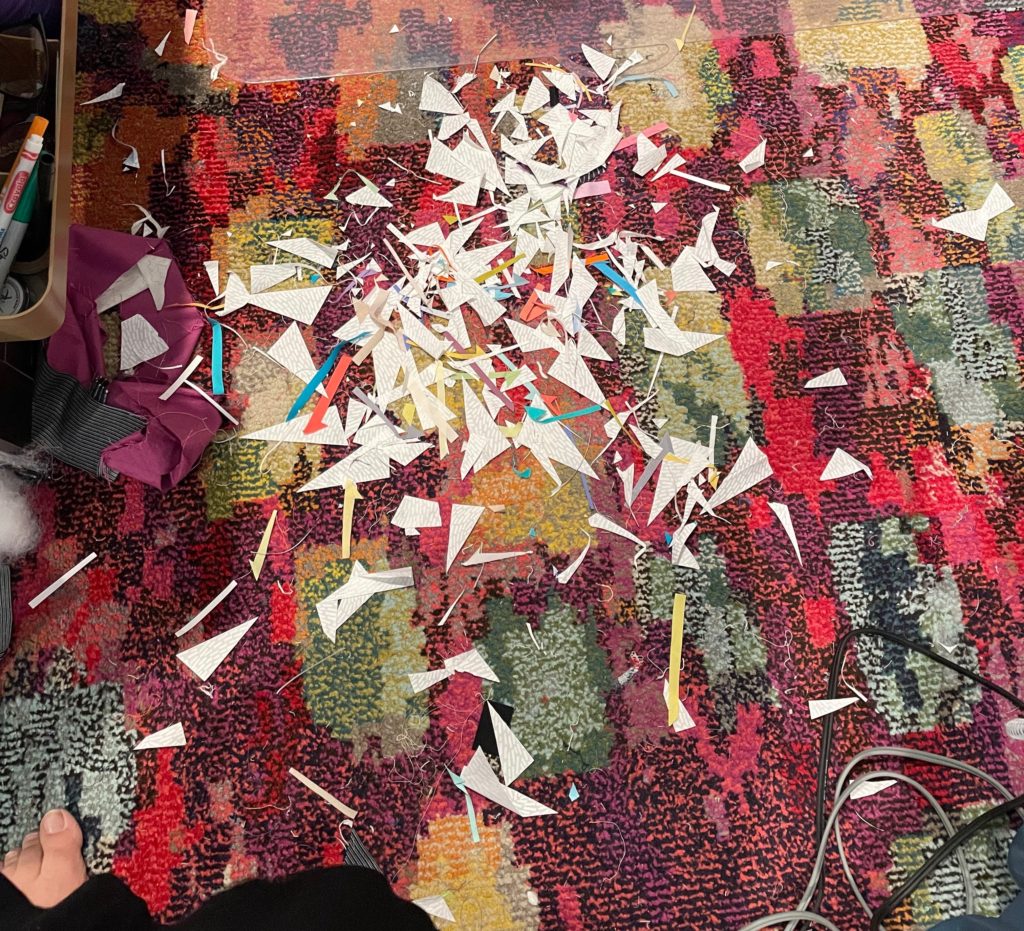
This is what my floor looked like after round 2. I won’t even bother trying to clean it up until this bad boy is loaded onto the longarm.
My last challenge will be choosing a name for the quilt. So far “Sit and Spin” is in the lead for me. Especially with the big red circle in the middle – it reminds me of my favorite toy growing up. There is more than one reason I chose “Dizzy Quilter” as my online handle.
Did you miss my explanation for this project? You can find it here.
Honestly, I really like the geese pointing in the way they are pieced, like they are moving clockwise through time. It looks like you are learning a lot and having fun along the way; all marks of a great project in my book!
I like it, too! And yes, this is my favorite kind of project – stretching all of my skills.
I’m grateful for people like you whose brains can figure out things like this. My brain cannot do it.
Me, too! Usually I suck up to engineer-quilters. They know all the tricks. I guess some of it is wearing off on me.
What a great quilt this will be! You did a fabulous job on the design and I am sure people will go nuts for the pattern. I imagine this will travel so you do need to sew around the “a”. A straight stich or buttonhole or even an invisible hem stitch will work fine and save you the time of the satin stitch. My other hint is to do a less dense zig zag twice, just not as boring watching that satin stitch going round and round. Good luck finishing it!