I’m taking a class in graphic design right now, and I just watched a documentary on design briefs. I hadn’t realized it, but I work with design briefs whenever I submit a project proposal. Here is how my latest project is going, and it all started with a simple idea. This is how I work when I’m designing for a client.
I had a potential client reach out to me with a request – would you design us a quilt using flying geese in a circle? We want it to feature 100 different colors, with 4 rows of 25 geese. We need it finished in 6 weeks. My response – ooh. Can I make all of the rings of geese different sizes?
I was heavily inspired by the work of Sarah Bond. I’ve sat in on her class making flying geese in a circle, so I understand the construction process.
This is paraphrasing, obviously, but not by as much as you might imagine. Andover Fabrics is looking for a quilt to use as a booth banner. The key elements were to use all 100 shades of Century Solids, keep the Andover logo in the middle, and flying geese in a circle. We shot inspiration photos back and forth a few times, and then I went to work in Adobe Illustrator. After doing a quick sketch, I gave them a proposal with my fees, and also included a hefty amount of extra fabric for future private endeavors. I don’t often get the opportunity to ask for a complete collection of solids, and I jumped on this chance.
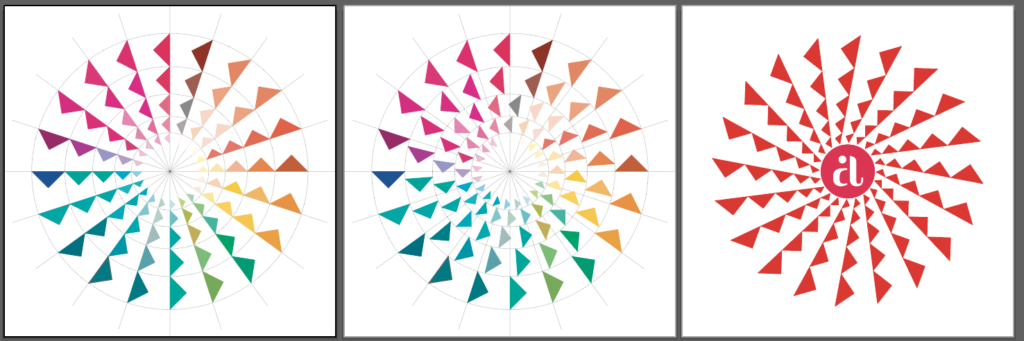
We eventually landed on 5 rings of 20 flying geese, to make quilt construction easier. This way the quilt can be put together in quadrants, rather than all of the rings being joined at once. I opted to make the rings narrower in the center of the quilt, larger in the outer rings. That way as the color gets more intense, there is more of it. My initial coloration is very rough, due to lack of a good swatch array in Illustrator. I knew colors would be adjusted once I had the fabric in hand. I finalized my design, sent in in the client, and gave them a fabric estimate. They responded by sending me 72 yards of fabric.
The largest ring size was determined by the client’s requirement that the quilt be based on a charm pack. So, each goose has to be able to be made by a 5″ square cut in half on the diagonal.
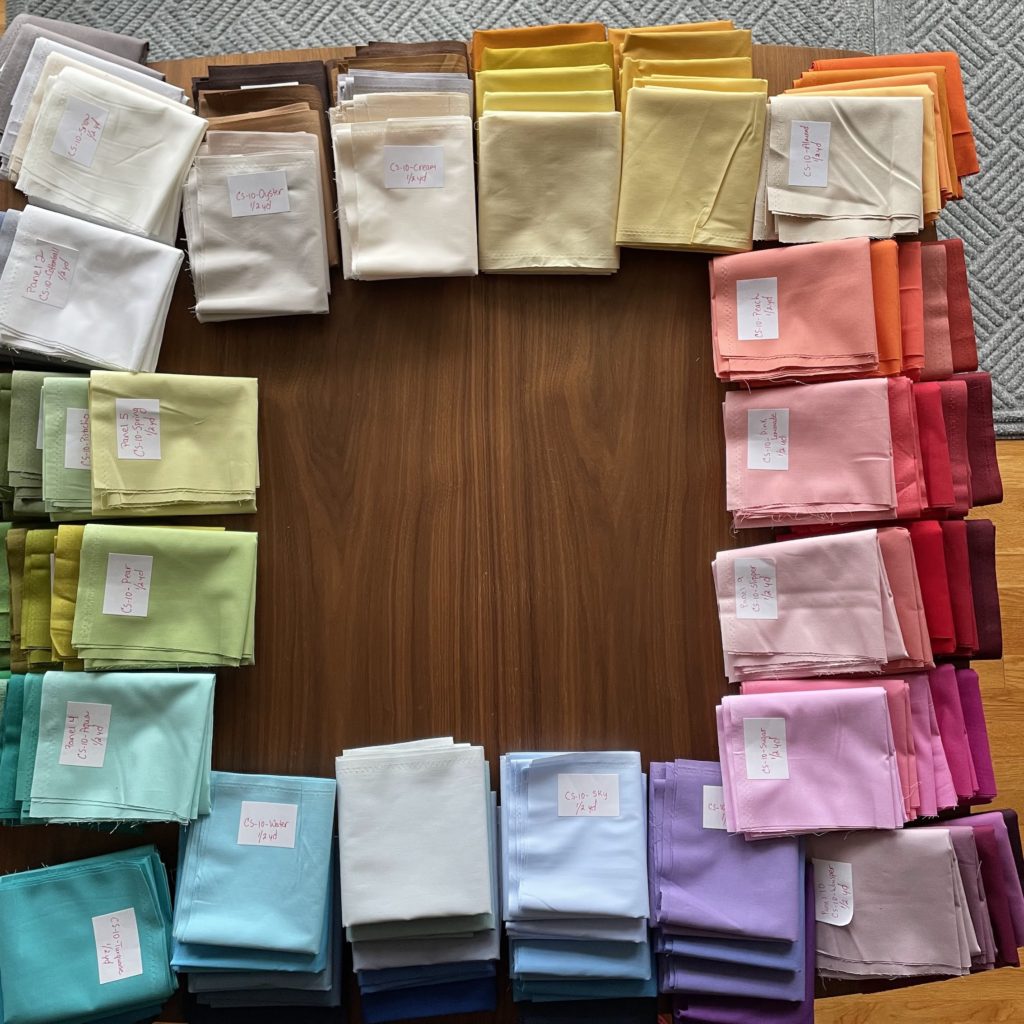
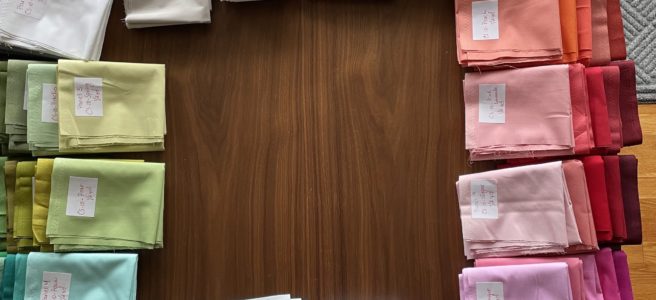
I spent a few hours petting the fabric, cooing too it, and sorting it into 20 groups of colors, each with 5 steps of intensity. Then I let it sit on my kitchen table for a few days. My family wasn’t as enamored with it as I was.
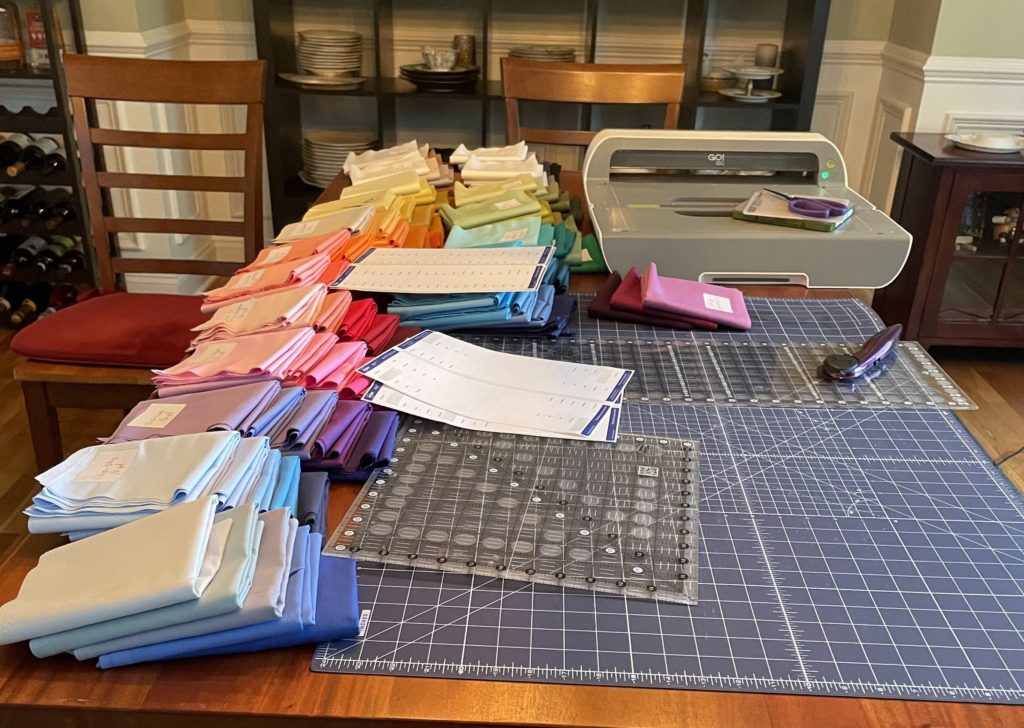
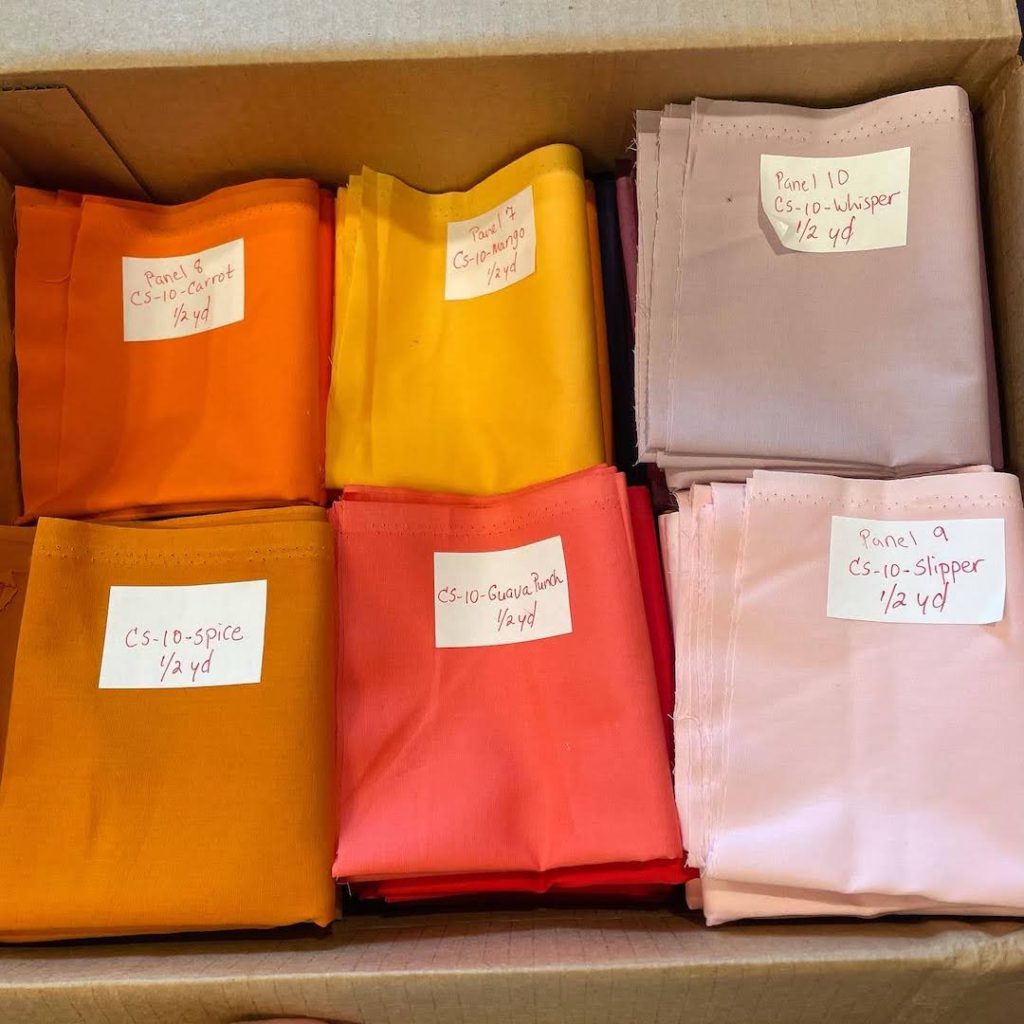
To keep all of the fabrics organized, I printed out a few sheets of labels with color names. I began by cutting out 5″ squares of each color and applying two labels, on on each half. This way I have the working set and a backup set. Thank you, AccuQuilt, for making my life easier.
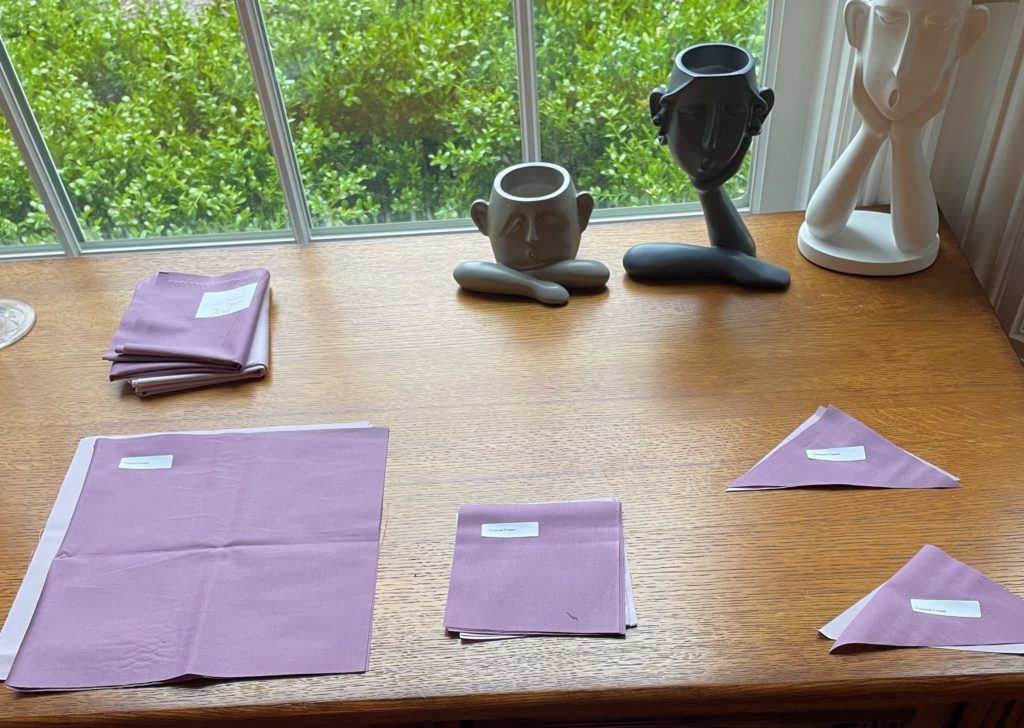
I’m cutting my half yards into 1 fat quarter, 2 – 10″ squares, 4 – 5″ squares, and one leftover strip. One of the 5″ squares is cut in half on the diagonal for the project. See how carefully I’m labeling everything?
Next up was tackling how to print my templates. Sure, I could take my design over to the print shop and have them print out the 55″ circle, but that is expensive. Plus, the pattern will be released as a free-to download pattern from the Andover website, so it needs to be able to be printed at home. It’s going to take a million sheets of paper. Sorry.
I had a Zoom call with my friend Bobbi Gentili of Geeky Bobbin (go buy Orbital!) and she showed me how she lays out her large templates for printing. What a lifesaver. Then it was back to Illustrator to break up the pattern, expand paths, make dotted lines, and do grids and things.
I’ll share the rest of the project soon. I should be able to get to the fun part this week, and I’m so looking forward to making this rainbow quilt. Thank you so much to Andover Fabrics for giving me this opportunity.
Love this, esp. how creativity happens within a set of constraints. A puzzle to be solved.
How fun! I agree that it’s really lovely to see how creativity can flourish within a set of design constraints. I look forward to seeing it come together for you. 🙂