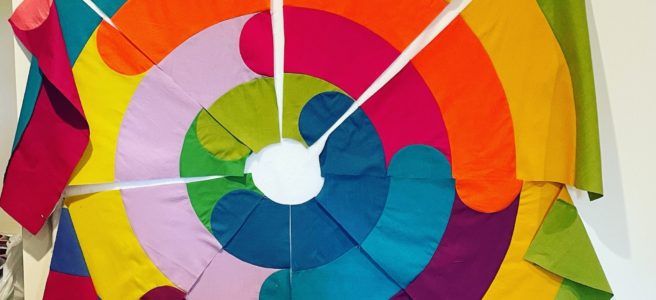
I was fortunate to take another class with Bobbie Gentili, from Geeky Bobbin last weekend. I had seen Bobbie’s design a few months ago, and wow. What a show stopper. Bobbie has taken her curves to the next level, and I was so excited to learn how to make the Orbital Quilt. Little curves, big curves, and such an epic scale!

The first hurdle on this quilt was that I had a pdf version, so there was a lot of printing, taping and cutting to make the templates. Bobbie has a printed version available, too. Order one of those if you aren’t on fire to get started. I managed to finish that before class started, barely. I also skimmed the fabric requirements, deciding to use my half yard bundle of Alison Glass Kaleidoscope Wovens for the curves, with a background to be decided upon later. *This was a mistake on my part – half yards are not enough fabric to make the pattern as written. READ THE INSTRUCTIONS BEFORE STARTING. Do as I say, not as I do.
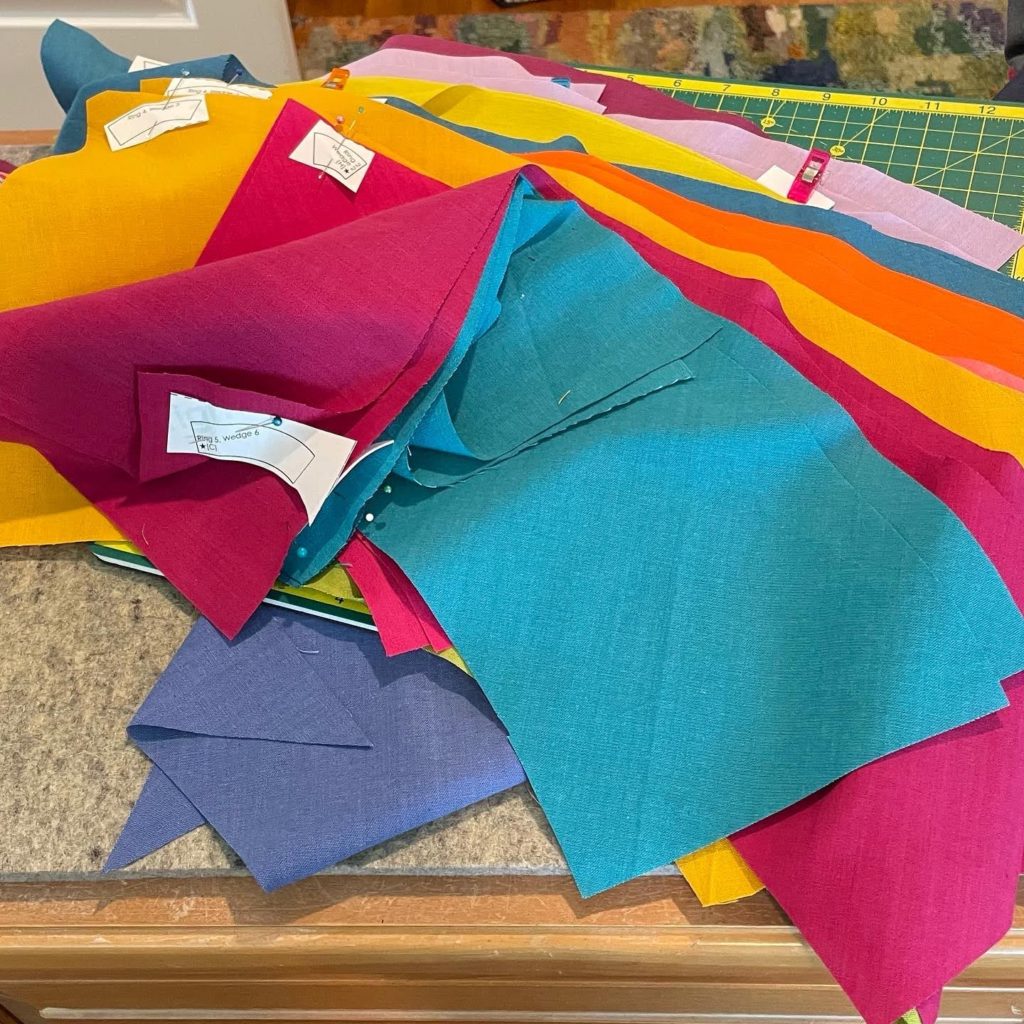
I carefully chose 10 fabrics, then noticed that I only needed 9, so I put one away. Of course, I chose a rainbow assortment of colors. While Bobbie had everyone practicing curved piecing, I started cutting my fabrics. Virtual classes make me happy – I can work along at my own pace, without distracting my fellow students or the teacher. As I was cutting I realized that the fabric I had chosen was not large enough to accommodate all of the pieces I needed. No worries. I marked up my pattern, adjusting the number of arcs I would use of each color. I also added like 5 more colors (without comparing mine to the original I’m not exactly sure what I did.). The biggest thing to be careful of is to make sure you have all of your pieces labeled, so that when you assemble, things go together correctly. Bobbie’s pattern provides a very helpful section of labels to cut and pin to your fabric pieces.
The most magical part of the quilt was handling the small curves that are inset into the arcs. Bobbie’s solution was elegant and worked perfectly. I was so delighted that it worked! Guys – find all of the quilters who are also trained as engineers. They do amazing things with fabric. I was thrilled to discover that I had a set of acrylic templates that worked with the inset curves, too. It just meant that cutting was easier and more accurate than the papers would have been. I always end of trimming slivers from my papers as I go along.

Speaking of trimming the papers as I go along, I used a loose fabric for this quilt. There is a little more give in the wovens, and when I combine it with a wool batting, any small errors caused by damaging my paper templates will be disguised. *Work smarter, not harder. Of course, you could always trace the templates and then cut the pieces out with scissors, but I prefer to use the rotary cutter.
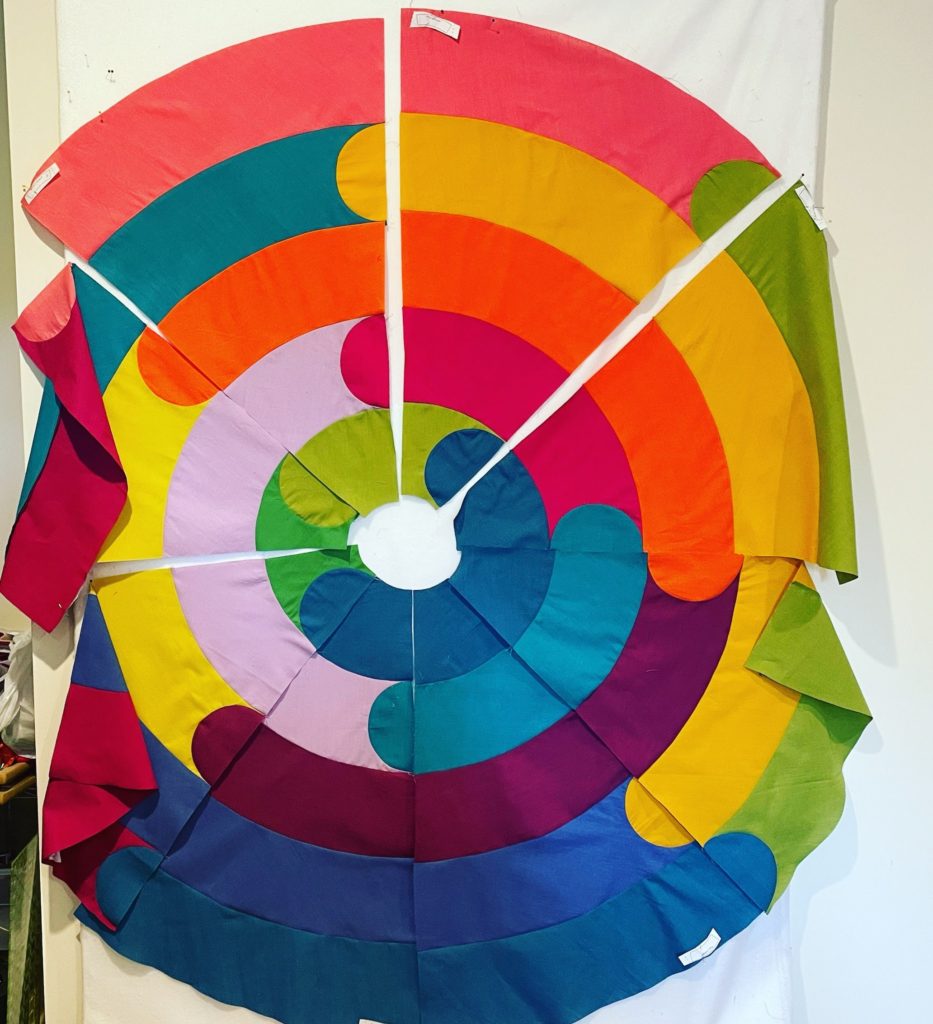
By the end of class, I had assembled about 1/3 of the quilt. I worked on it until dinner time, then went back to the studio and finished assembling all of the arcs. The next day I spent some time staring and drooling, dreaming of hand quilting. I also ordered background – the same fabric line in a charcoal. I chose some Kaffe Fasset shot cottons for the backing – they are soft and thin, and will make the hand quilting more pleasurable. I’ve got some travel plans coming up, and I think this will be the perfect take along project.
My quilting plan is to put it on the longarm and echo stitch inside each arc, and maybe graffiti quilt in the background. I’ll add hand quilting inside of each arc. That way I can play, but the quilt can be fully assembled and not at risk of being damaged.
This project generated a ton of scraps. Some of them have already been put to work. I’ll have a post on 10/15 on a new exciting project that is helping me blast through scraps. The others are whispering sweet nothings and making promises to me.
This is the second class I have taken with Bobbie, and it won’t be my last, I’m sure. She is a great person to spend a day sewing with. What did I make in the first class? Check it out!
Quilters who are also engineers (off the top of my head. There are others!)
- Bobbie Gentili, Geeky Bobbin
- Yvonne Fuchs, Quilting Jetgirl
- Brita Nelson, Questioning Quilter
- Latifah Saafir
- Ebony Love, Lovebug Studios
- Gyleen Fitzgerald, Colourful Stitches
This is awesome! I’ve seen the pattern, now I know I must get it! Love what you’ve done here.
Thank you, Susan! It’s really so much fun.
Always fun to see what you are working on, Jen! I had to chuckle about the read the instructions comment, because I just messed up a pattern due to not reading thoroughly. I was able to salvage it, but lesson learned!
Zoom workshops are pretty wonderful in how they allow each student to work in a way that works best for them. Sounds like you’ve got a great plan for finishing this up, and I look forward to seeing what the scraps evolve into. 🙂
I love this quilt pattern!
Love this and you will have fun quilting it. I did a hand quilted piece in shot cottons and it was a dream to quilt. I imagine the wovens are giving you the same as the shot cottons will for the back. Fun quilt!
Thanks, Kathleen! I’m definitely looking forward to that step.
Your enchilada recipe shown on the Accuquilt trunk show series (Friendsgiving Frenzy) brought me to your site.
Now your projects are keeping me here!
Thanks so much for the detail in your explanations and comments about little things you do/plan to do that make the process easier for us.
Looking forward to more great posts.
🙂
Thanks for your sweet comments, Pat! I love sharing my process with people.