In 2019 I was contacted by Heidi about finishing a vintage quilt top that had been in her family for close to 150 years. The top was deteriorating a bit, with fraying, little holes here and there, and threads letting go. We had a discussion about preservation of historical integrity versus having a useable quilt.
I am not a quilt appraiser. I am not trained, and my opinions are all just opinions. I believe that when you have a quilt top that has been in your family for many generations that is falling apart, it is primarily valuable to you, not necessarily to people outside of your family. Unless your family quilter was historically noteworthy, or the top is spectacular.
I have been told by fellow quilters that if you finish a vintage hand-pieced top by machine you will destroy the piece and also negate the value inherent in a vintage piece by using a modern finish. I’m pretty certain this is wrong. Whether you use a machine or your hand, if YOU finish a vintage piece, it is now a modern piece, as you are finishing it today. The machine doesn’t damage the vintage top during the finishing process.
My feeling is if you have an old top that wasn’t finished, and you want to use it, you should. If someone tells you that your ragged old top is worth a fortune, because it is old and handmade, by all means, explore that. I’d be skeptical. It’s like my stamp collection – on paper, it is worth several thousand dollars. In reality, it is of more value to me if I just use it to mail letters, because I don’t have anything particularly rare, and collectors are few and far between.
When finishing a vintage quilt top, I consider my job to be turning something fragile and useless into something useable. To do this, I layer the backing, batting, a layer of muslin, then the top onto my machine, then quilt the whole piece. The muslin supports the top, preventing it stress on the seams. It also reinforces the top, so when the inevitable holes appear, batting won’t come out of the quilt.
When looking at old tops, you can often figure out why they aren’t completed. It isn’t always because the accomplished quilter died in the middle of the project. A lot of times you get to see the humanity of a previous generation. Old quilt tops can be wonky and hard to work with. Most likely someone got to a certain point, didn’t know how to bring the quilt into square, and just put it away, just like so many of my older projects.
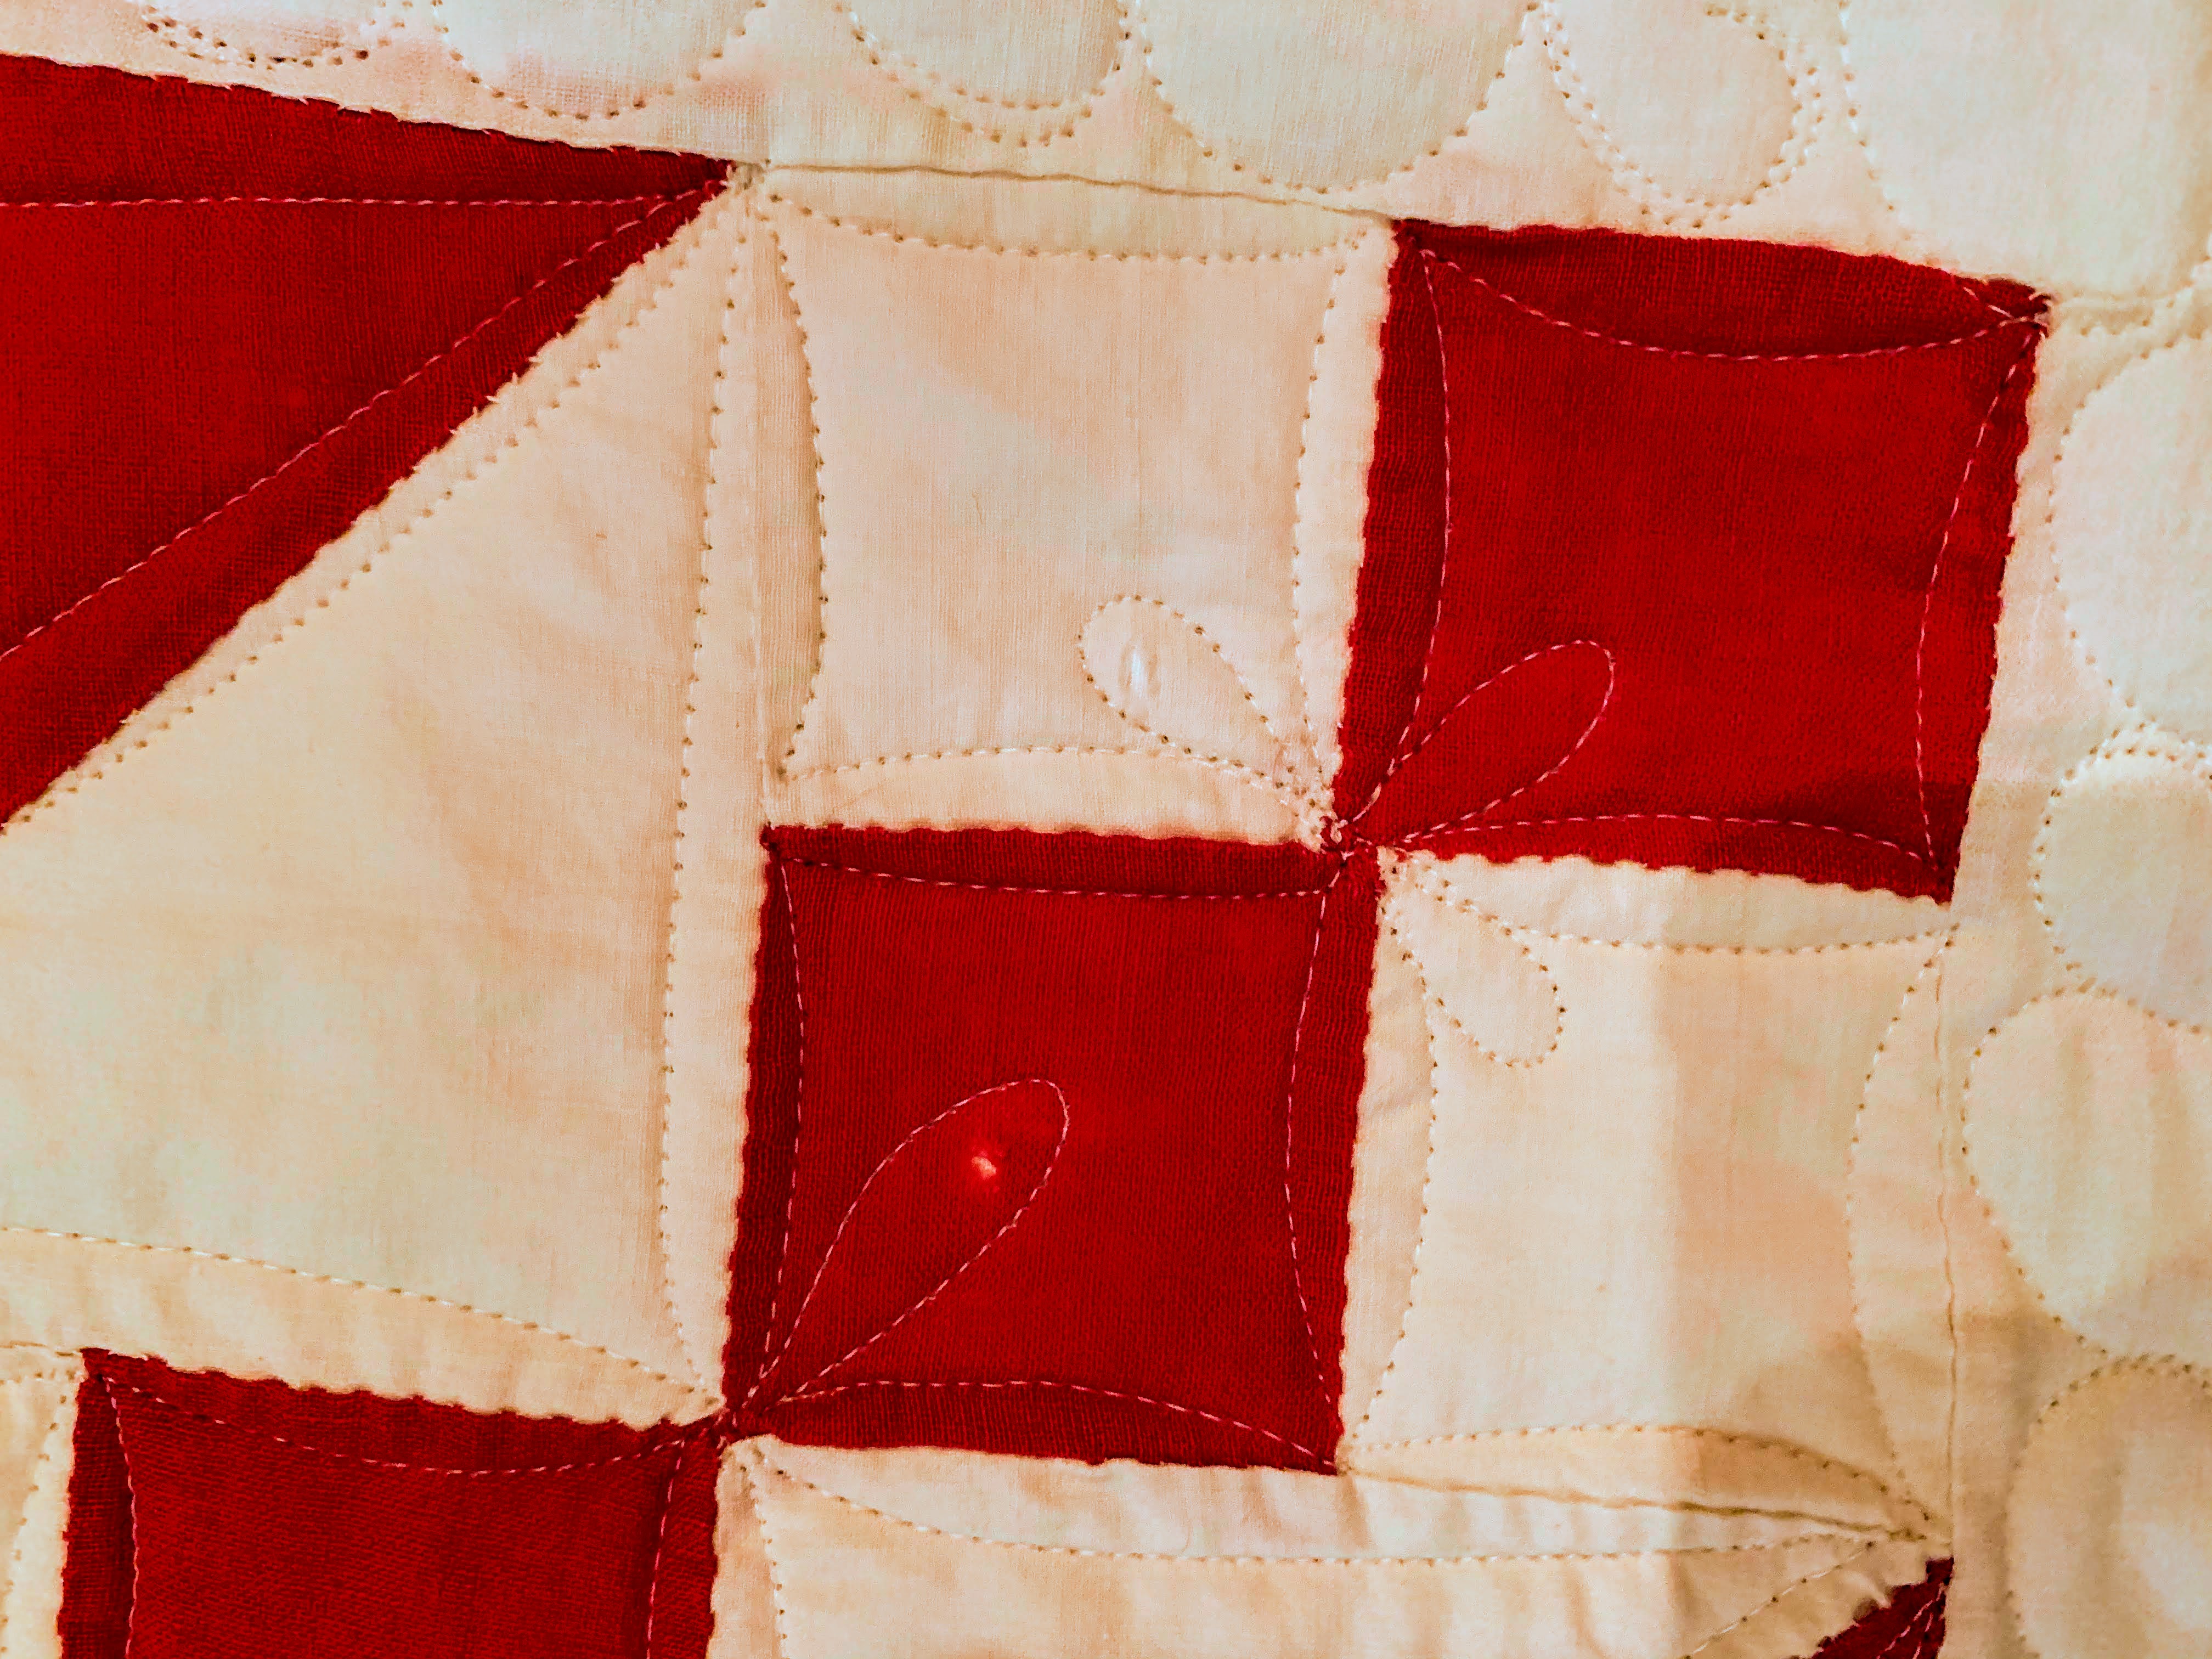
The seams on this top are all hand pieced. (Unfortunately, I neglected to take a photo of it when it was just a top.) The concept of a 1/4″ seam was not fully formed for this piecer. I see this a lot, and my suspicion is that fabric was just too precious to “waste” it on seam allowances. An inaccurate seam allowance in hand piecing creates a cascading series of problems. First, all of the blocks come out different sizes. That leads to a construction issue that often can only be seen at the end of the project. I suspect this quilter noticed the issue when she had two rows assembled.
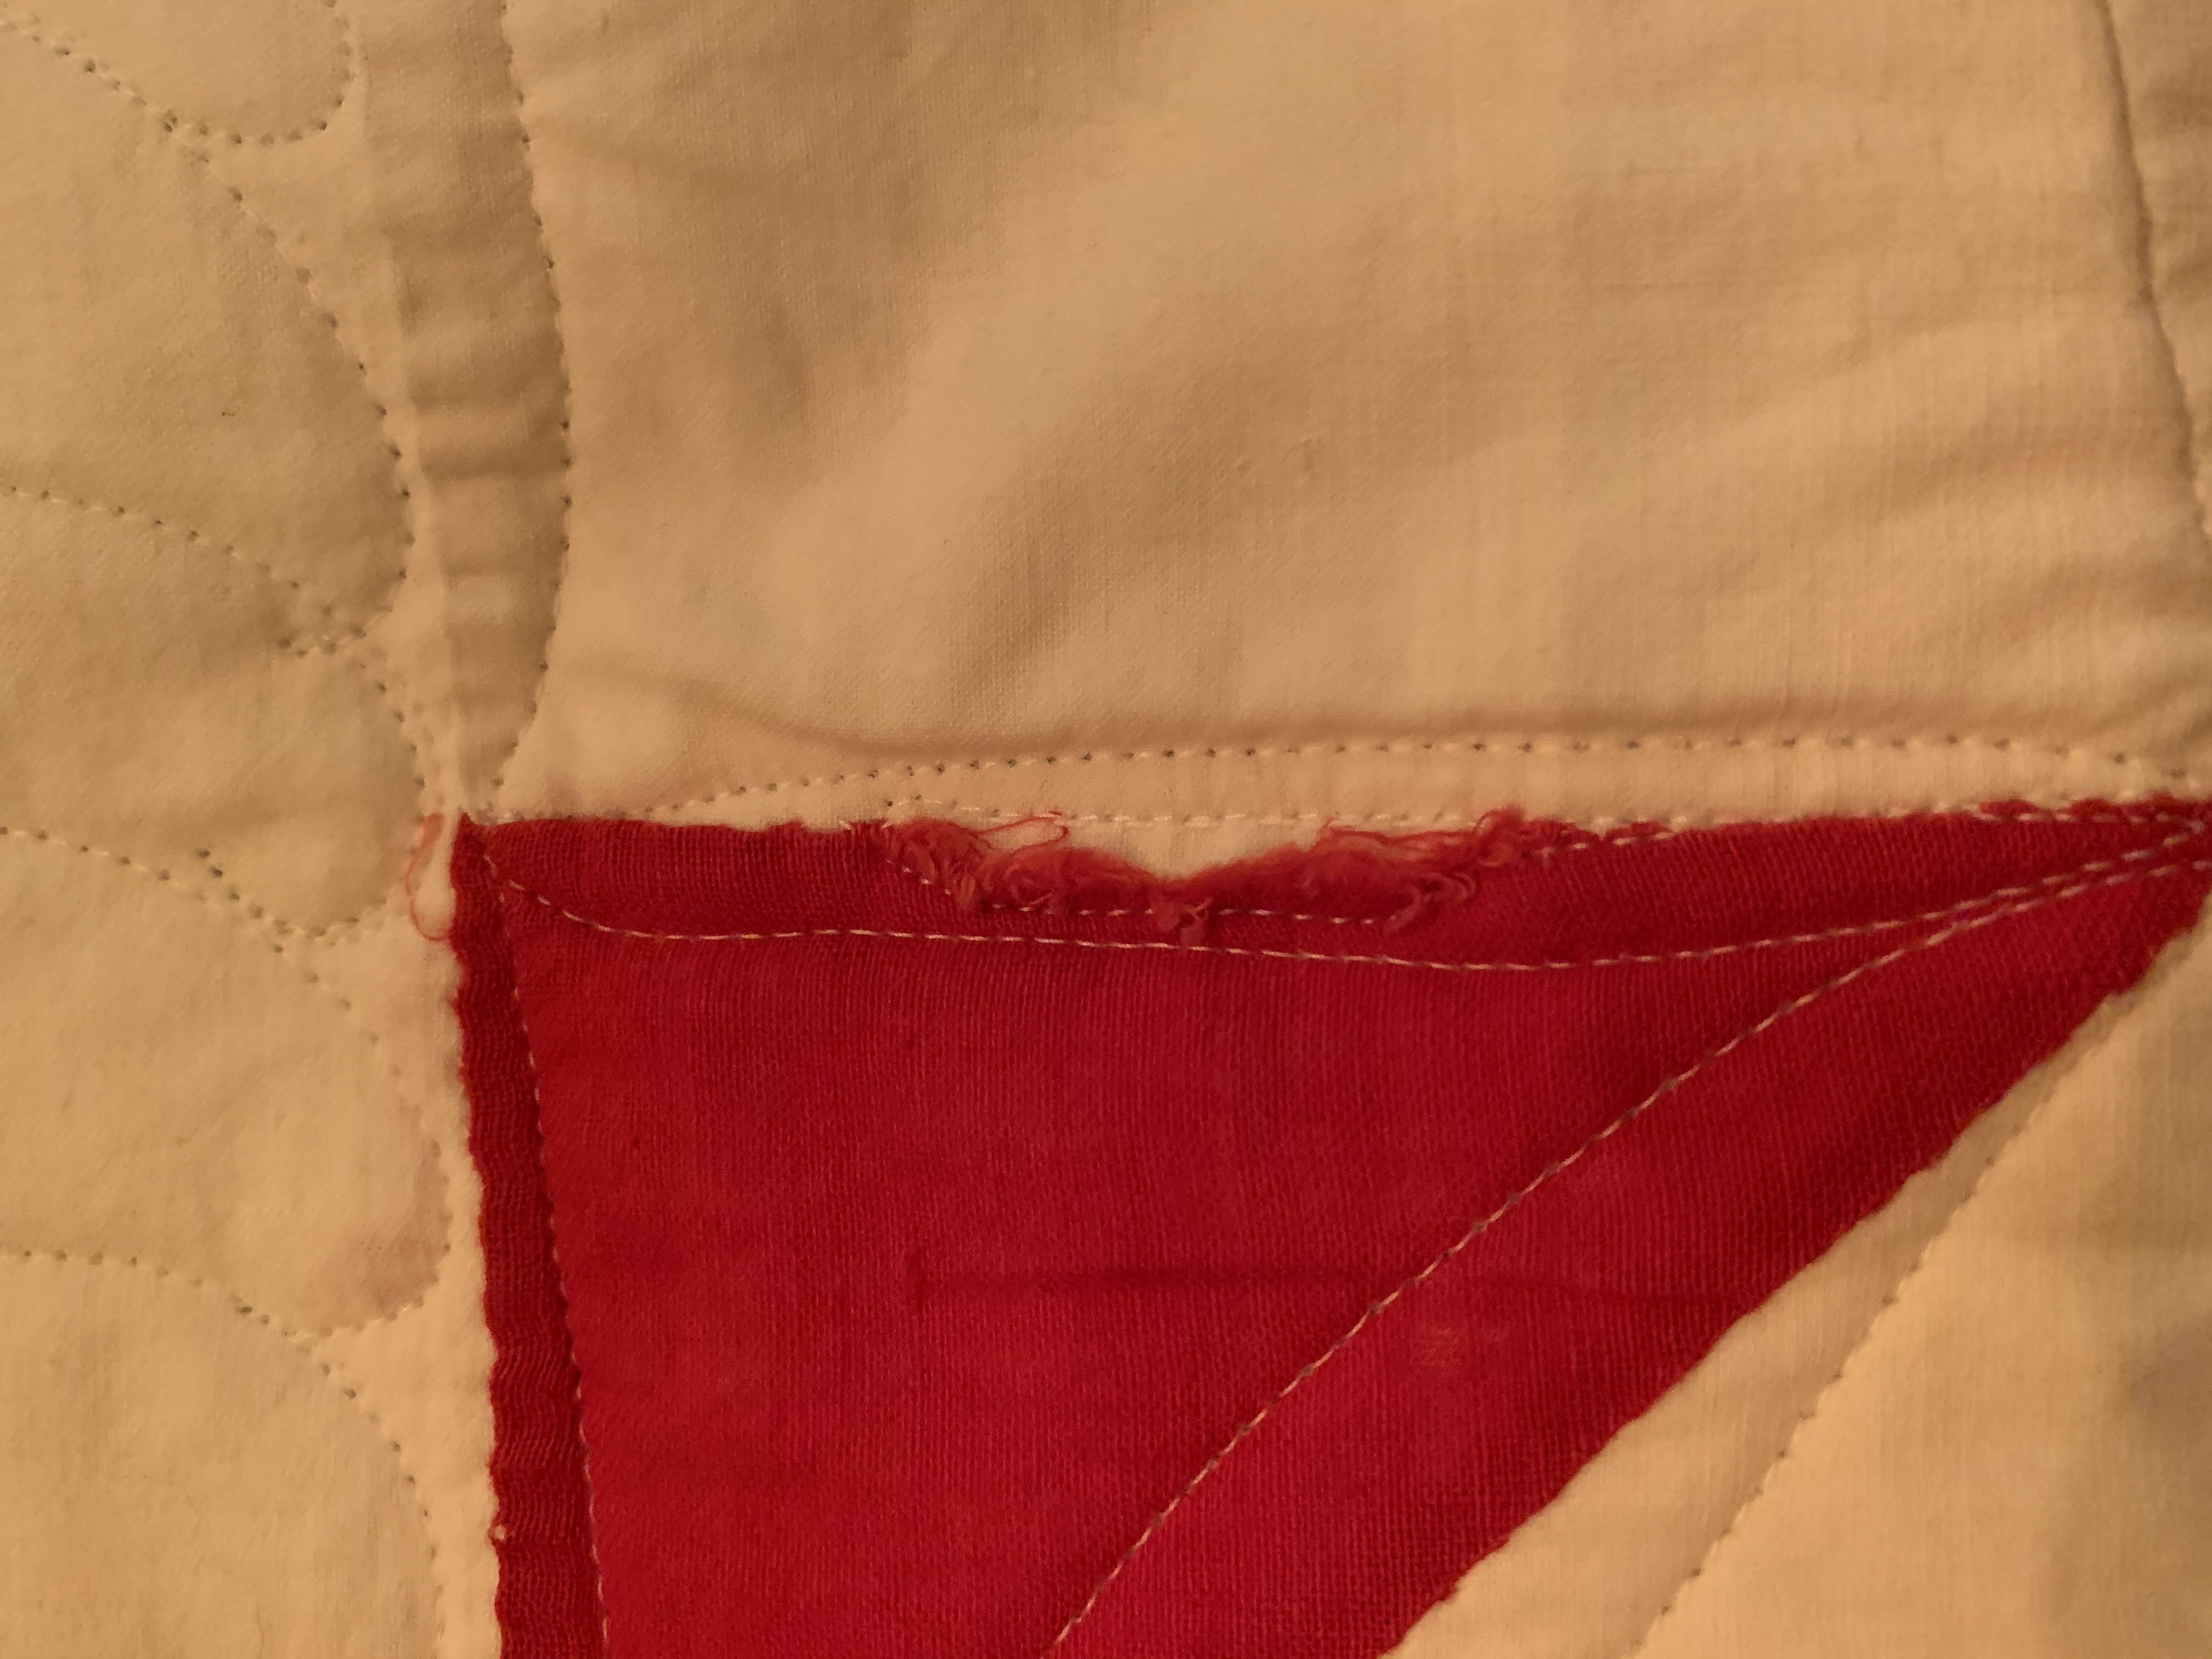
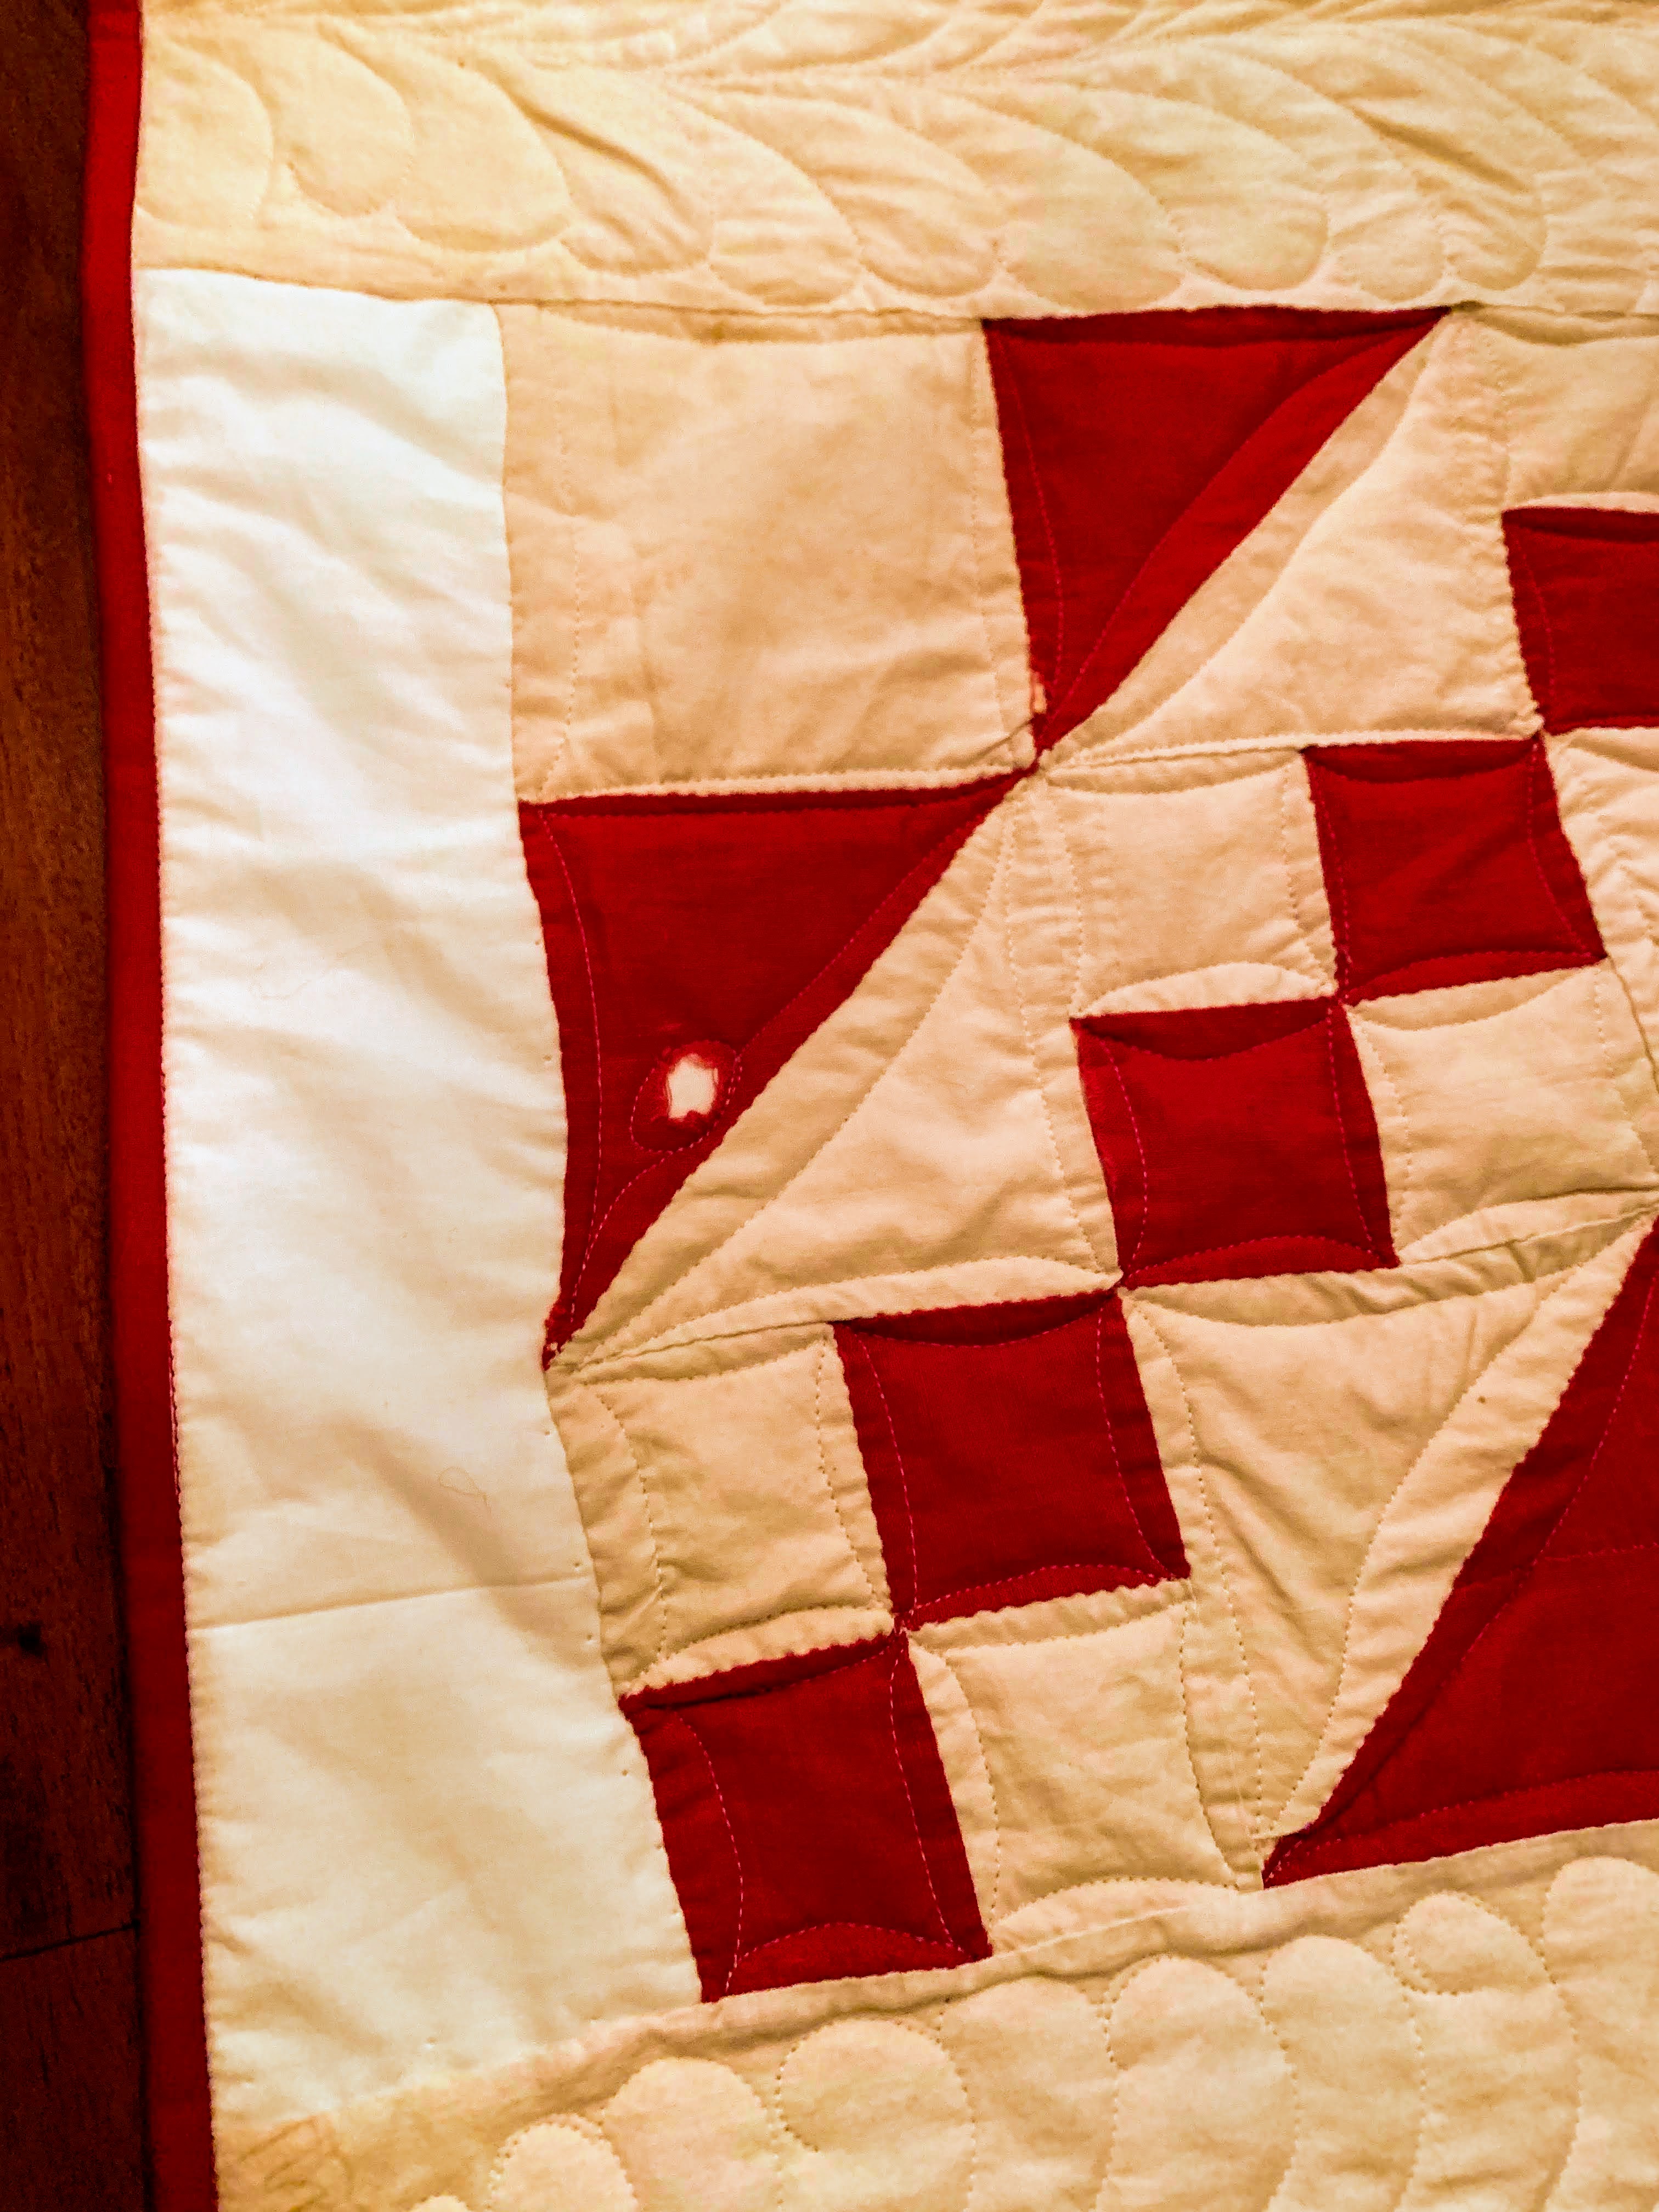
Once the top is assembled, all of the blocks being different sizes means the top cannot lie flat. Over time, the narrower seams disintegrate, leaving holes where the seams have let go. I haven’t found a way to repair those without taking the entire top apart, so I just stitch them down. Much like my grey hairs and wrinkles, there is no shame in an old top showing its age. I do quilt over the frayed bits, just to reinforce them. It is okay for the holes to be there, but it isn’t cool for me to leave them loose and flapping, possibly to get caught and tear more.
I also see no shame in having an imperfect project, whether it is vintage or new. My quilt collection shows my growth as a quilter. My first quilts have cut-off points, wonky seams, and are falling apart. My newer quilts are much better – more accurate and sturdier. It’s nice to see that I’ve gotten more skilled as a quilter.
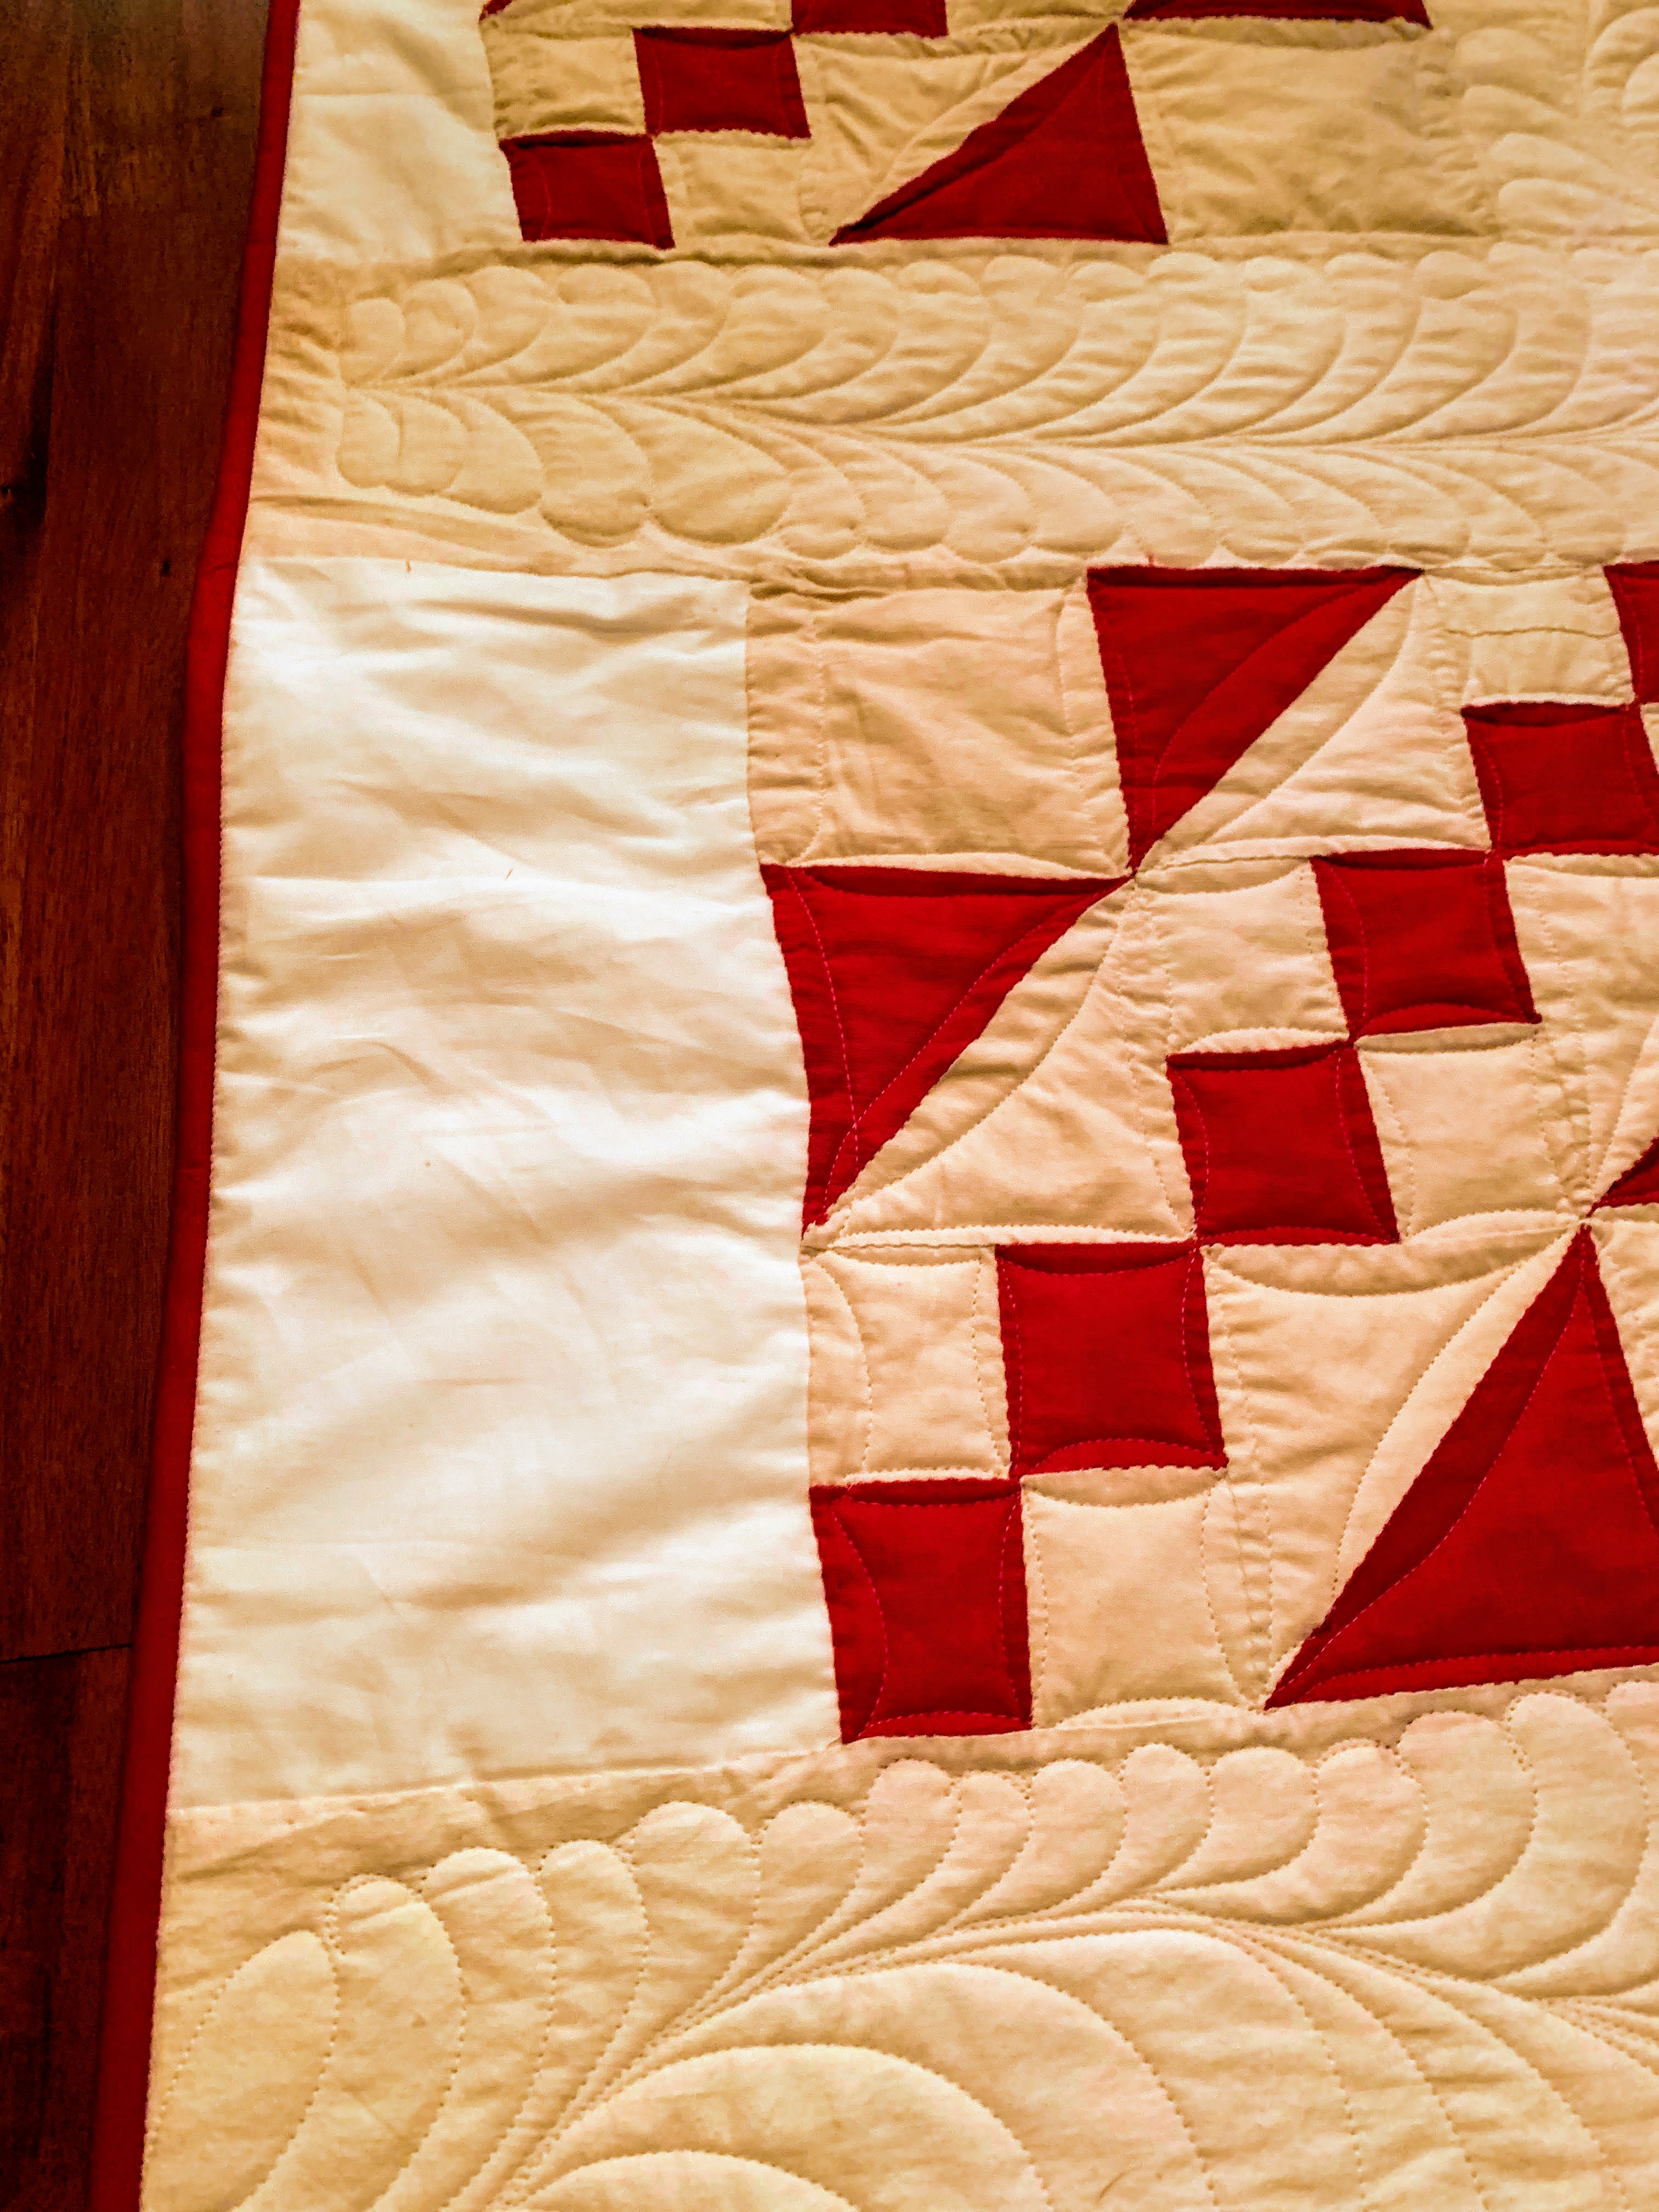
The ends of the rows on this top were very irregular. This quilter sacrificed square for flat. Rather than cutting them off to be even, I hand appliquéd the edges along the bottom, allowing the white layer to show. I simply couldn’t bring myself to cut into the old blocks. I’m also very wary of trimming up hand piecing in general – once you cut that thread, you don’t know how far it will unravel.
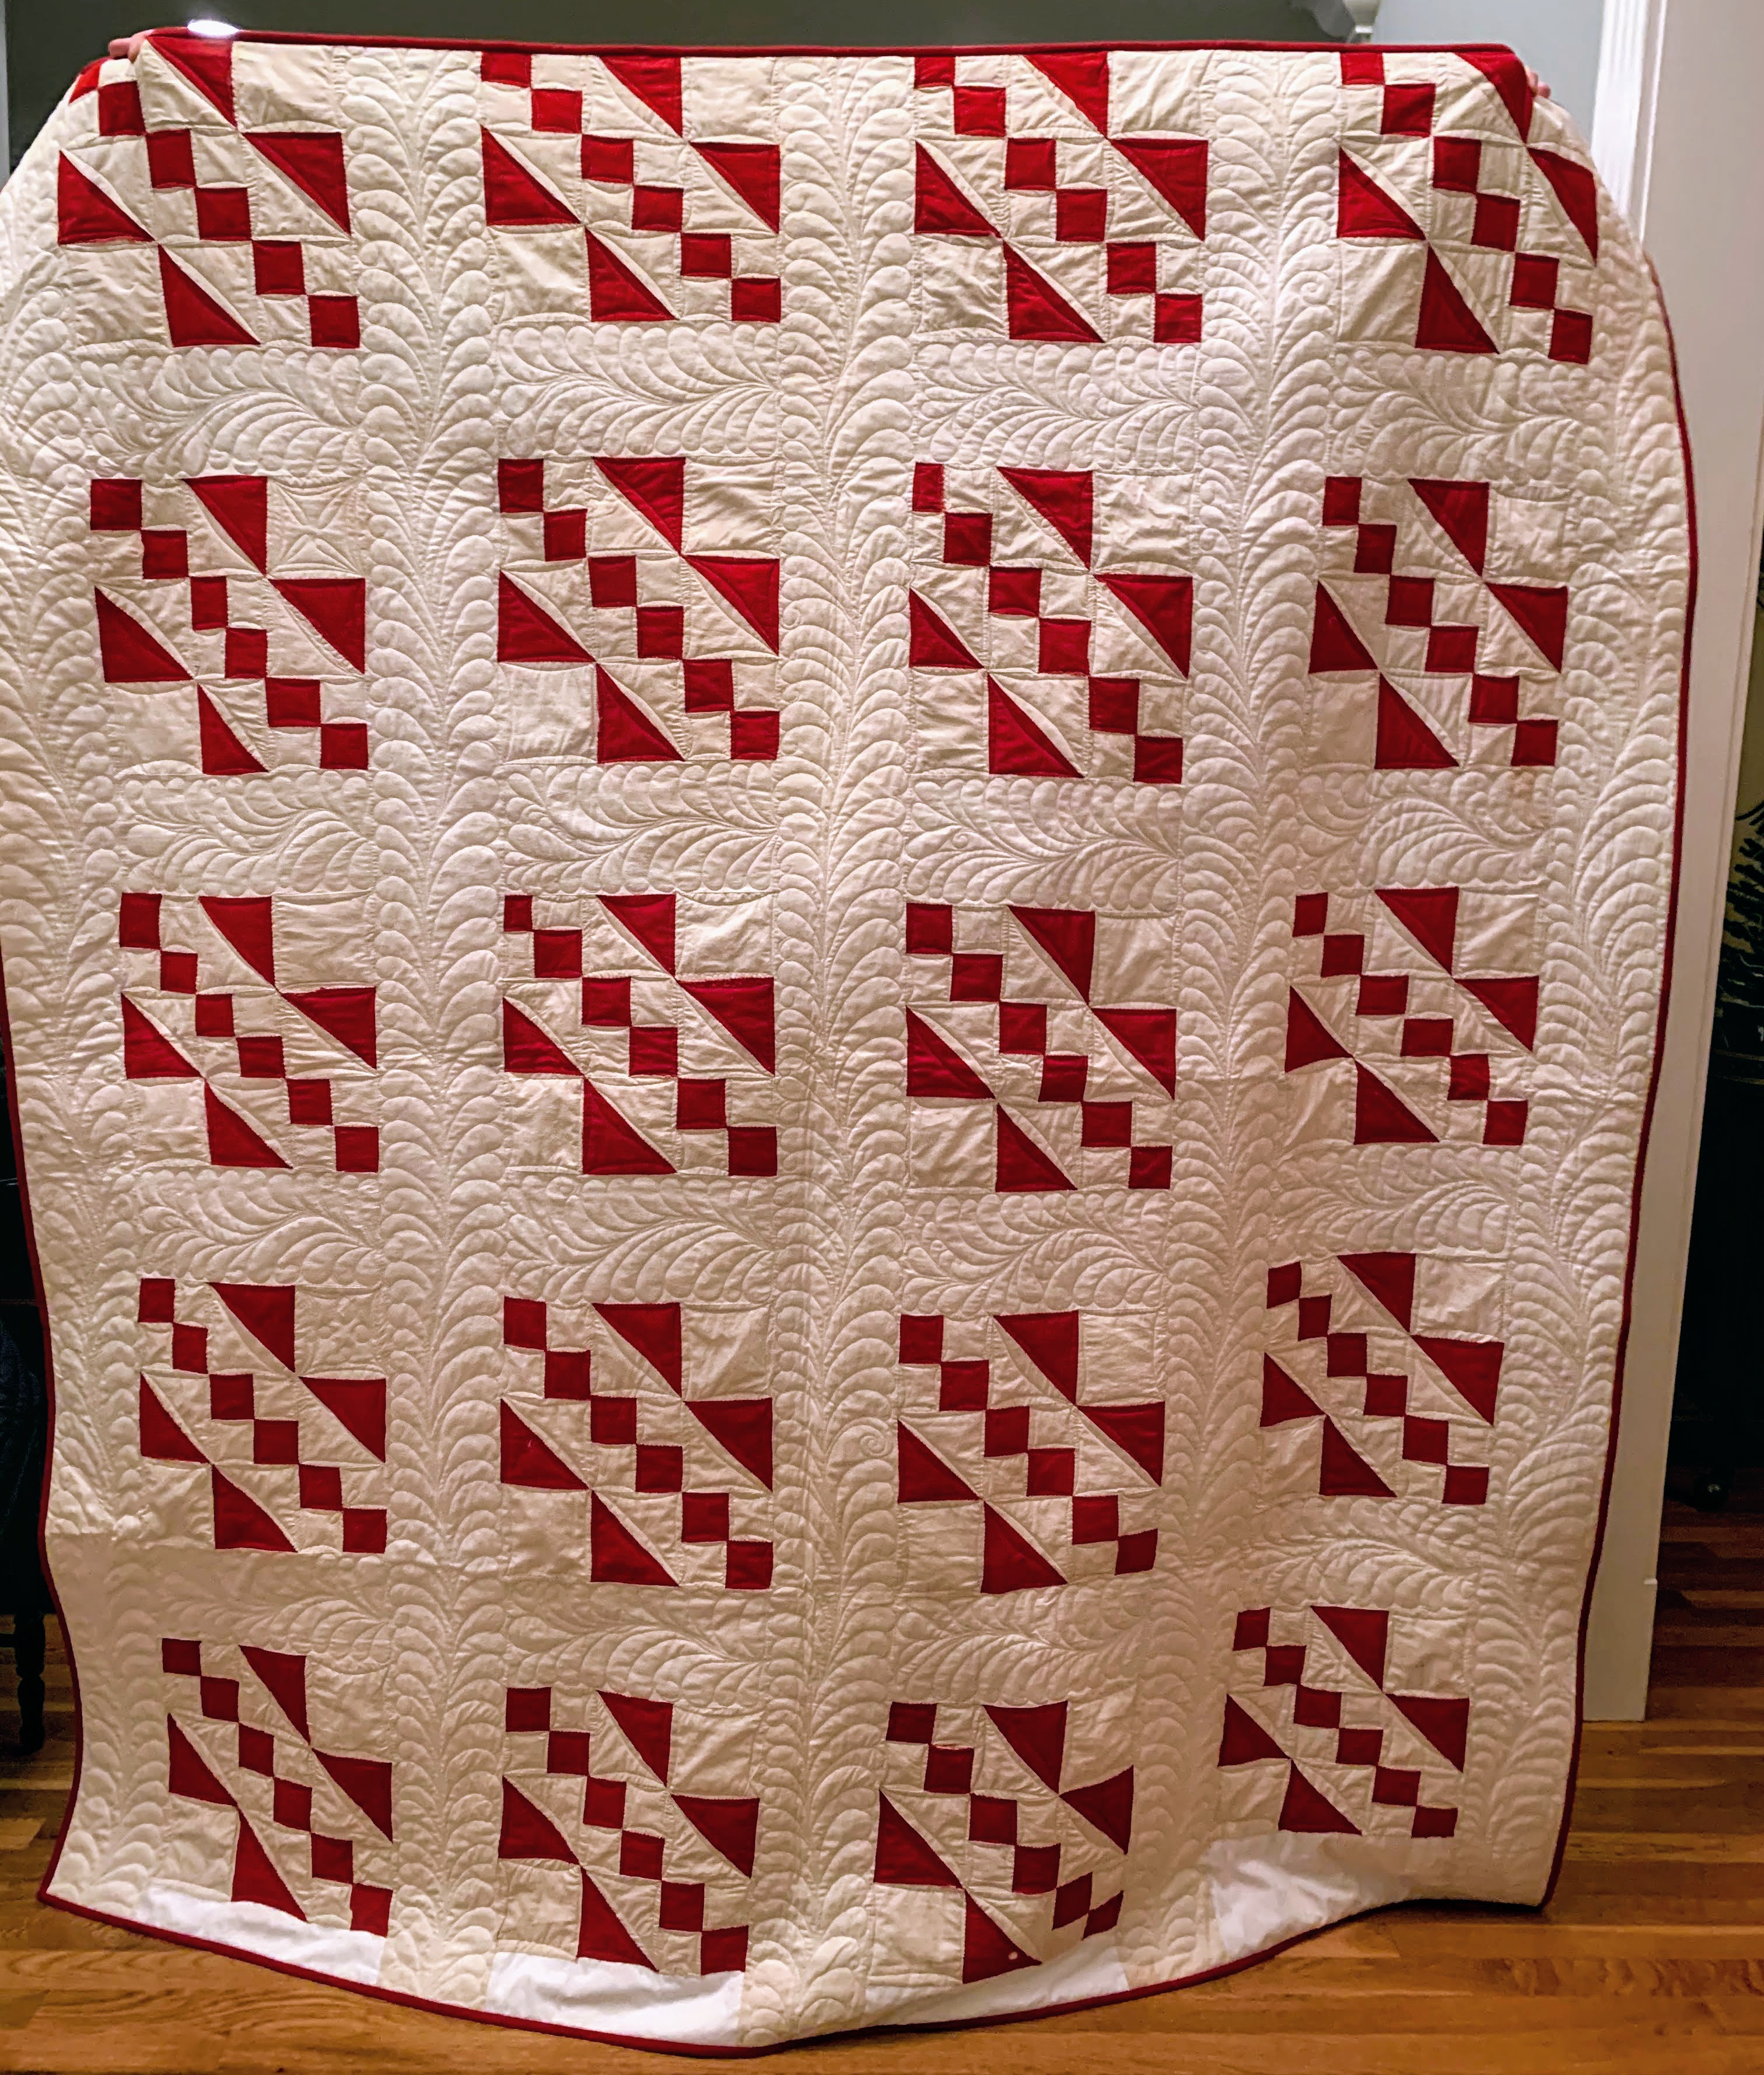
Here is the finished quilt. I love the way it turned out. It tells a story of a quilter who made something beautiful with none of the tools we take for granted today. She didn’t have acrylic rulers or rotary cutters, and look what she made! Now her family will get to wrap up in this cozy quilt the way she intended. I also adore the little printed bits. I believe they are feed sack or flour sack markings. This is part of the history of American quilting that I love. I think I actually prefer these commercial markings to the pretty feedsack prints. This is some serious frugality.
I believe the pattern for this quilt is called “Rocky Road to California” and was published by the Ladies Art Company. The dates listed in Barbara Brackman’s Encyclopedia of Pieced Quilt Patterns don’t quite match, as the maker died in 1879, but it is very close. I suspect there is some wiggle room in the publication dates noted from this particular company.
Want to see some other vintage quilt tops I have finished?
If you want to learn more about finishing vintage quilt tops, check out Kelly Cline. She does incredible work on vintage pieces.
There’s just something stunning about vintage two-color quilts. This one turned out so nicely!
I worked with one vintage piece that was bubbly like a sopapilla. Thankfully it had sashing, and after talking it over with the person I was working on it for, I pinned in extra seam allowance between the blocks and sashing and then hand stitched those closed with a ladder stitch to get it to lay flat, which worked pretty well; it still wasn’t square, but it got the quilt to the point of being finished which means it’s being used which is what it’s all about. Thanks for sharing your process; adding the layer of muslin under the quilt top is a great idea that I’ll have to tuck away for future remembering.
I love the idea of the muslin underneath. I have done a few repairs and fixes and I believe historical quilts are different than family quilts and using them is important. Congratulations on a terrific rescue!
“The concept of a 1/4″ seam was not fully formed for this piecer.” Last line was the best of the post. MML
Loved your detailed description of this project.
Thank you for the in depth discussion on machine quilting a vintage top. You are right that if it is finished now it is a current piece. I appreciate the advice of adding muslin to stabilize the top. I have several tops given me to quilt and was concerned about the fragility. I have never long-armed a vintage top so I feel a bit more confident with using muslin.
Thanks, Diana! I’m glad you enjoyed the post. Good luck with your vintage tops!