Today is my stop on the Endless Creativity with Circles Blog Hop, featuring Applipops, hosted by Crystal of Day Brook Designs and Let’s Quilt Along. (Make sure you read to the end to find out about a great giveaway!)

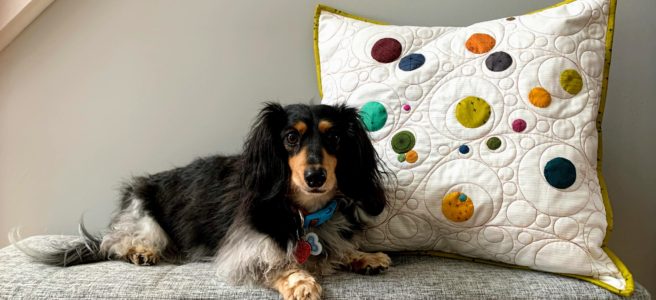
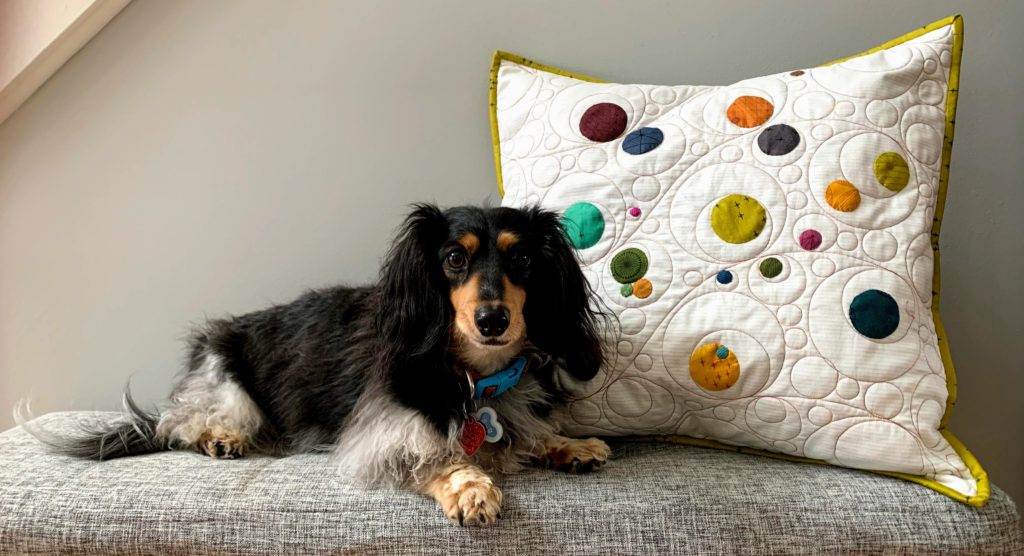
I’ve had my Applipops for a while now, and I adore them. They are brilliant, and I will show you why. I used them to make a new pillow for my sofa. With just a little bit of machine quilting, and a few small scraps of fabric, I have a lovely new pillow that will perk up my gloomy winter.
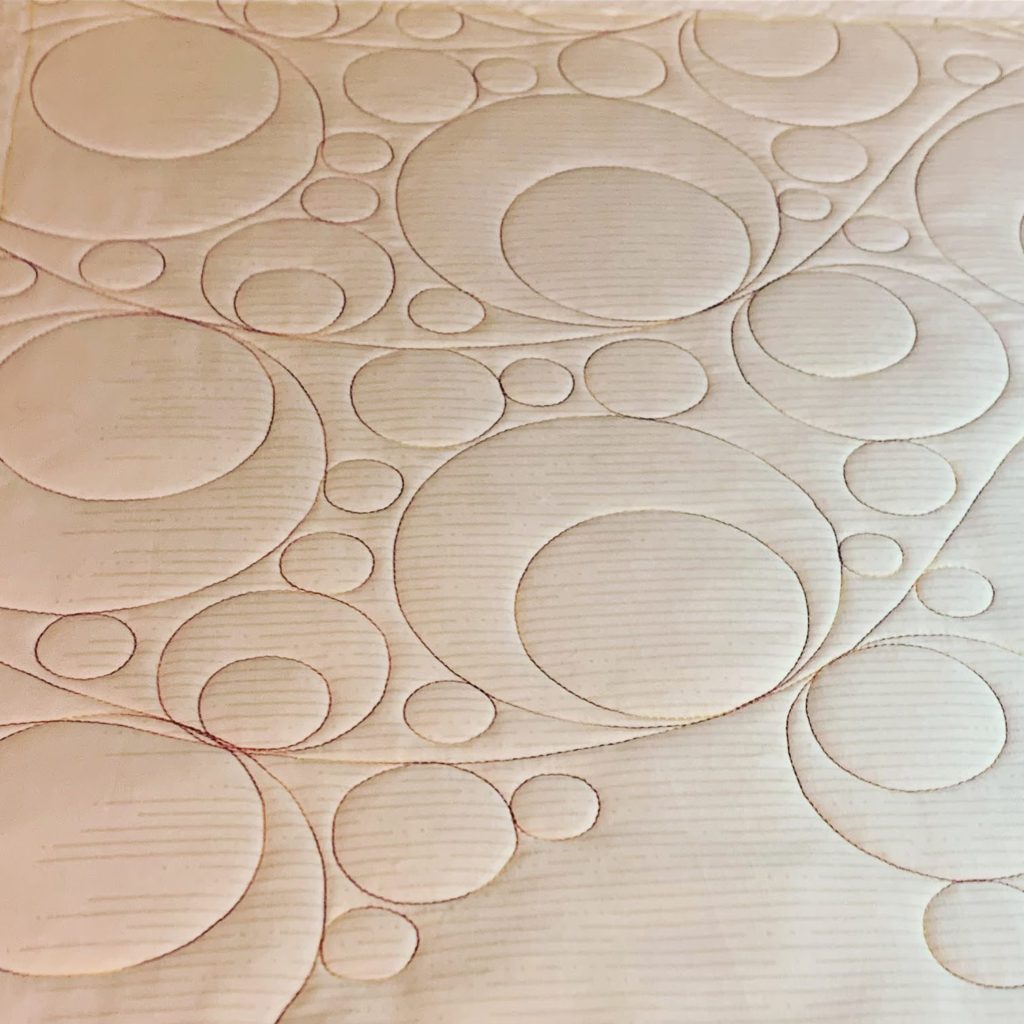
I began my project with a quilting pattern as the inspiration. Lather Rinse Repeat is a pattern available from Urban Elementz. I used it on my computerized quilting machine, but it is also available as a paper pantograph. It has so many circles, looping around each other, and I find it fascinating to look at. It reminds me of the marble runs I used to build with my boys when they were younger.
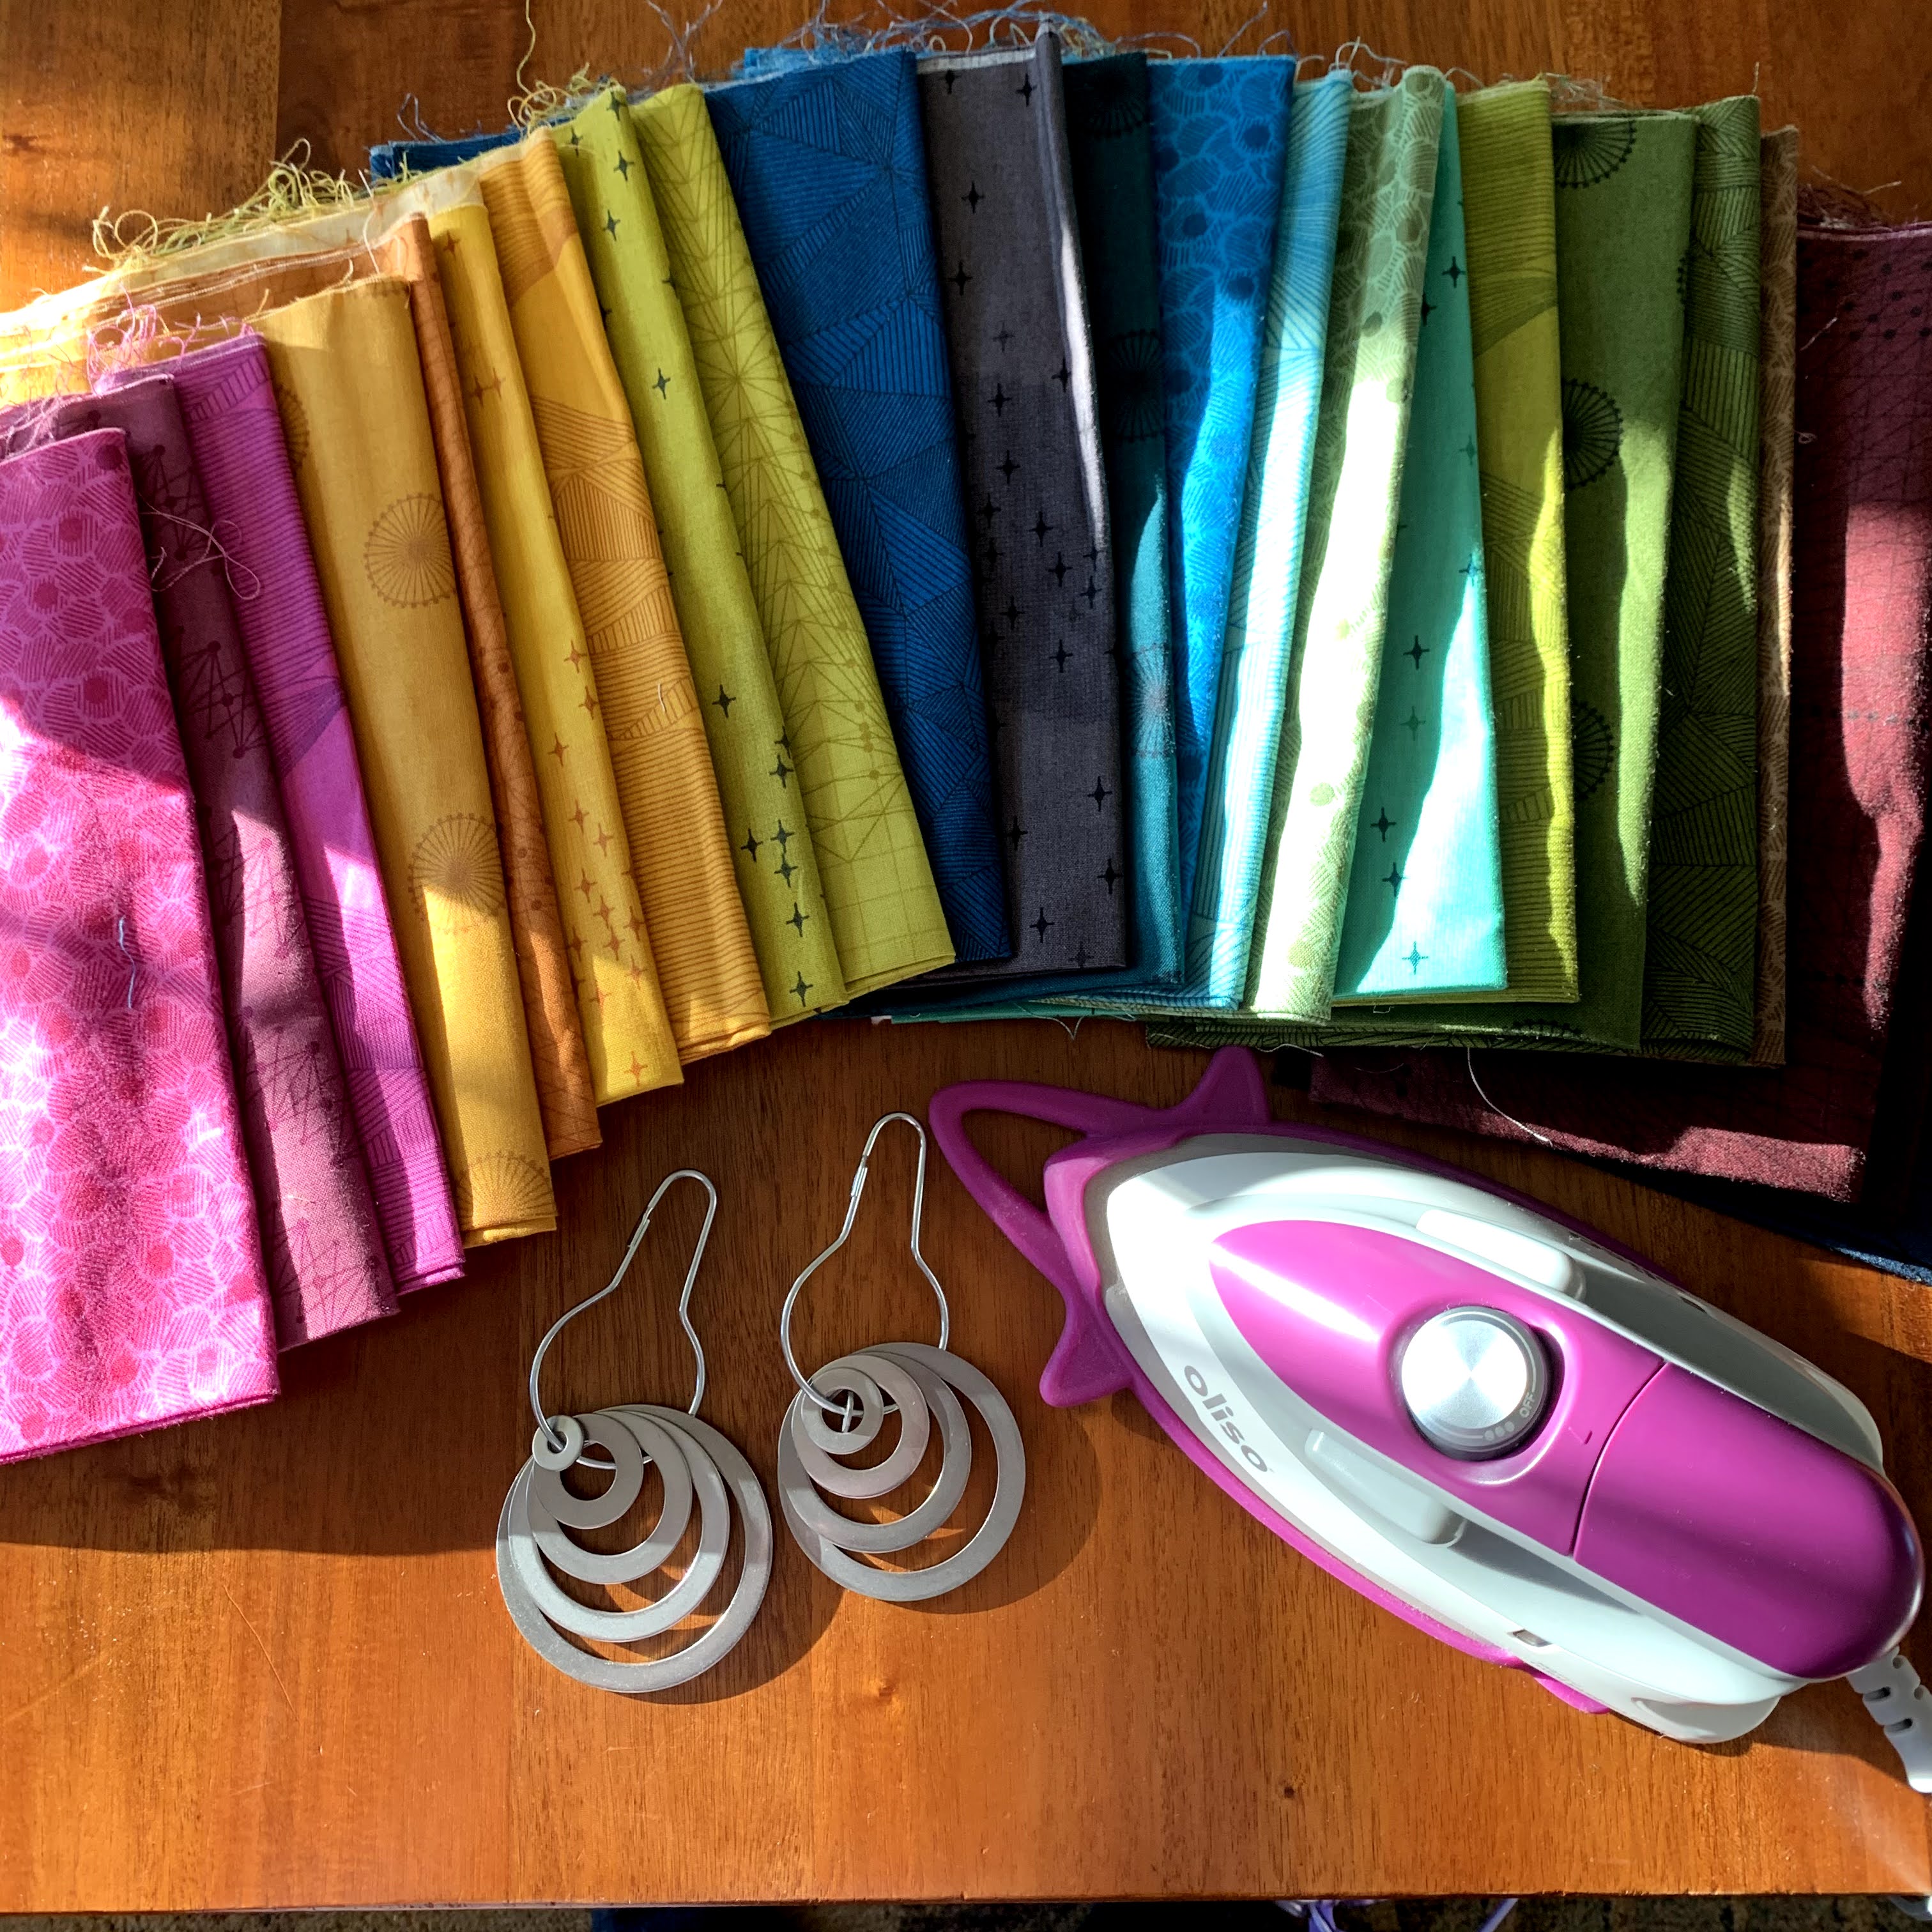
I knew I wanted something bright and cheerful, with a light background. I remembered my precious collection of fabrics from Giucy Giuce’s first fabric line – Quantum. They have been sitting patiently on my shelf for quite a while, and it was lovely to take them out to play.
The project also needed to be small – tempus fugit. I have a collection of old sofa cushions in my house – I have trouble getting rid of the nice squishy ones once they are past their prime. Instead, I make mini quilts and re-cover them. It keeps me out of the pillow aisle at Target, and means that my walls aren’t completely covered with mini quilts.
My first step was to measure my pillow – 20″ square. I cut a piece of my background fabric 20.5″ square, then layered it with backing and batting on my longarm. I programmed my machine to quilt it, using a variegated thread from Superior Threads called Bonfire. These sunset colors are so pretty. I don’t usually use a high contrast thread to quilt, but I think it worked out really well on this project.
Once the quilting was finished, I trimmed up the piece, and got ready to apply my circles.
I gathered up starch (I use Niagara spray starch, and squirt some into the cap), a small paint brush, an iron, scissors, a pressing mat, and my Applipops. This time I realized I could use my Mini Oliso (Thanks, Mom!) and a lap desk and do it all on the sofa, while my husband watched sports. I think he was a little startled to see me ironing on the sofa, but no comments were made. (Last time I used my big steam generator iron, and realized why steam and tiny pressing jobs don’t go together. Poor fingers.)
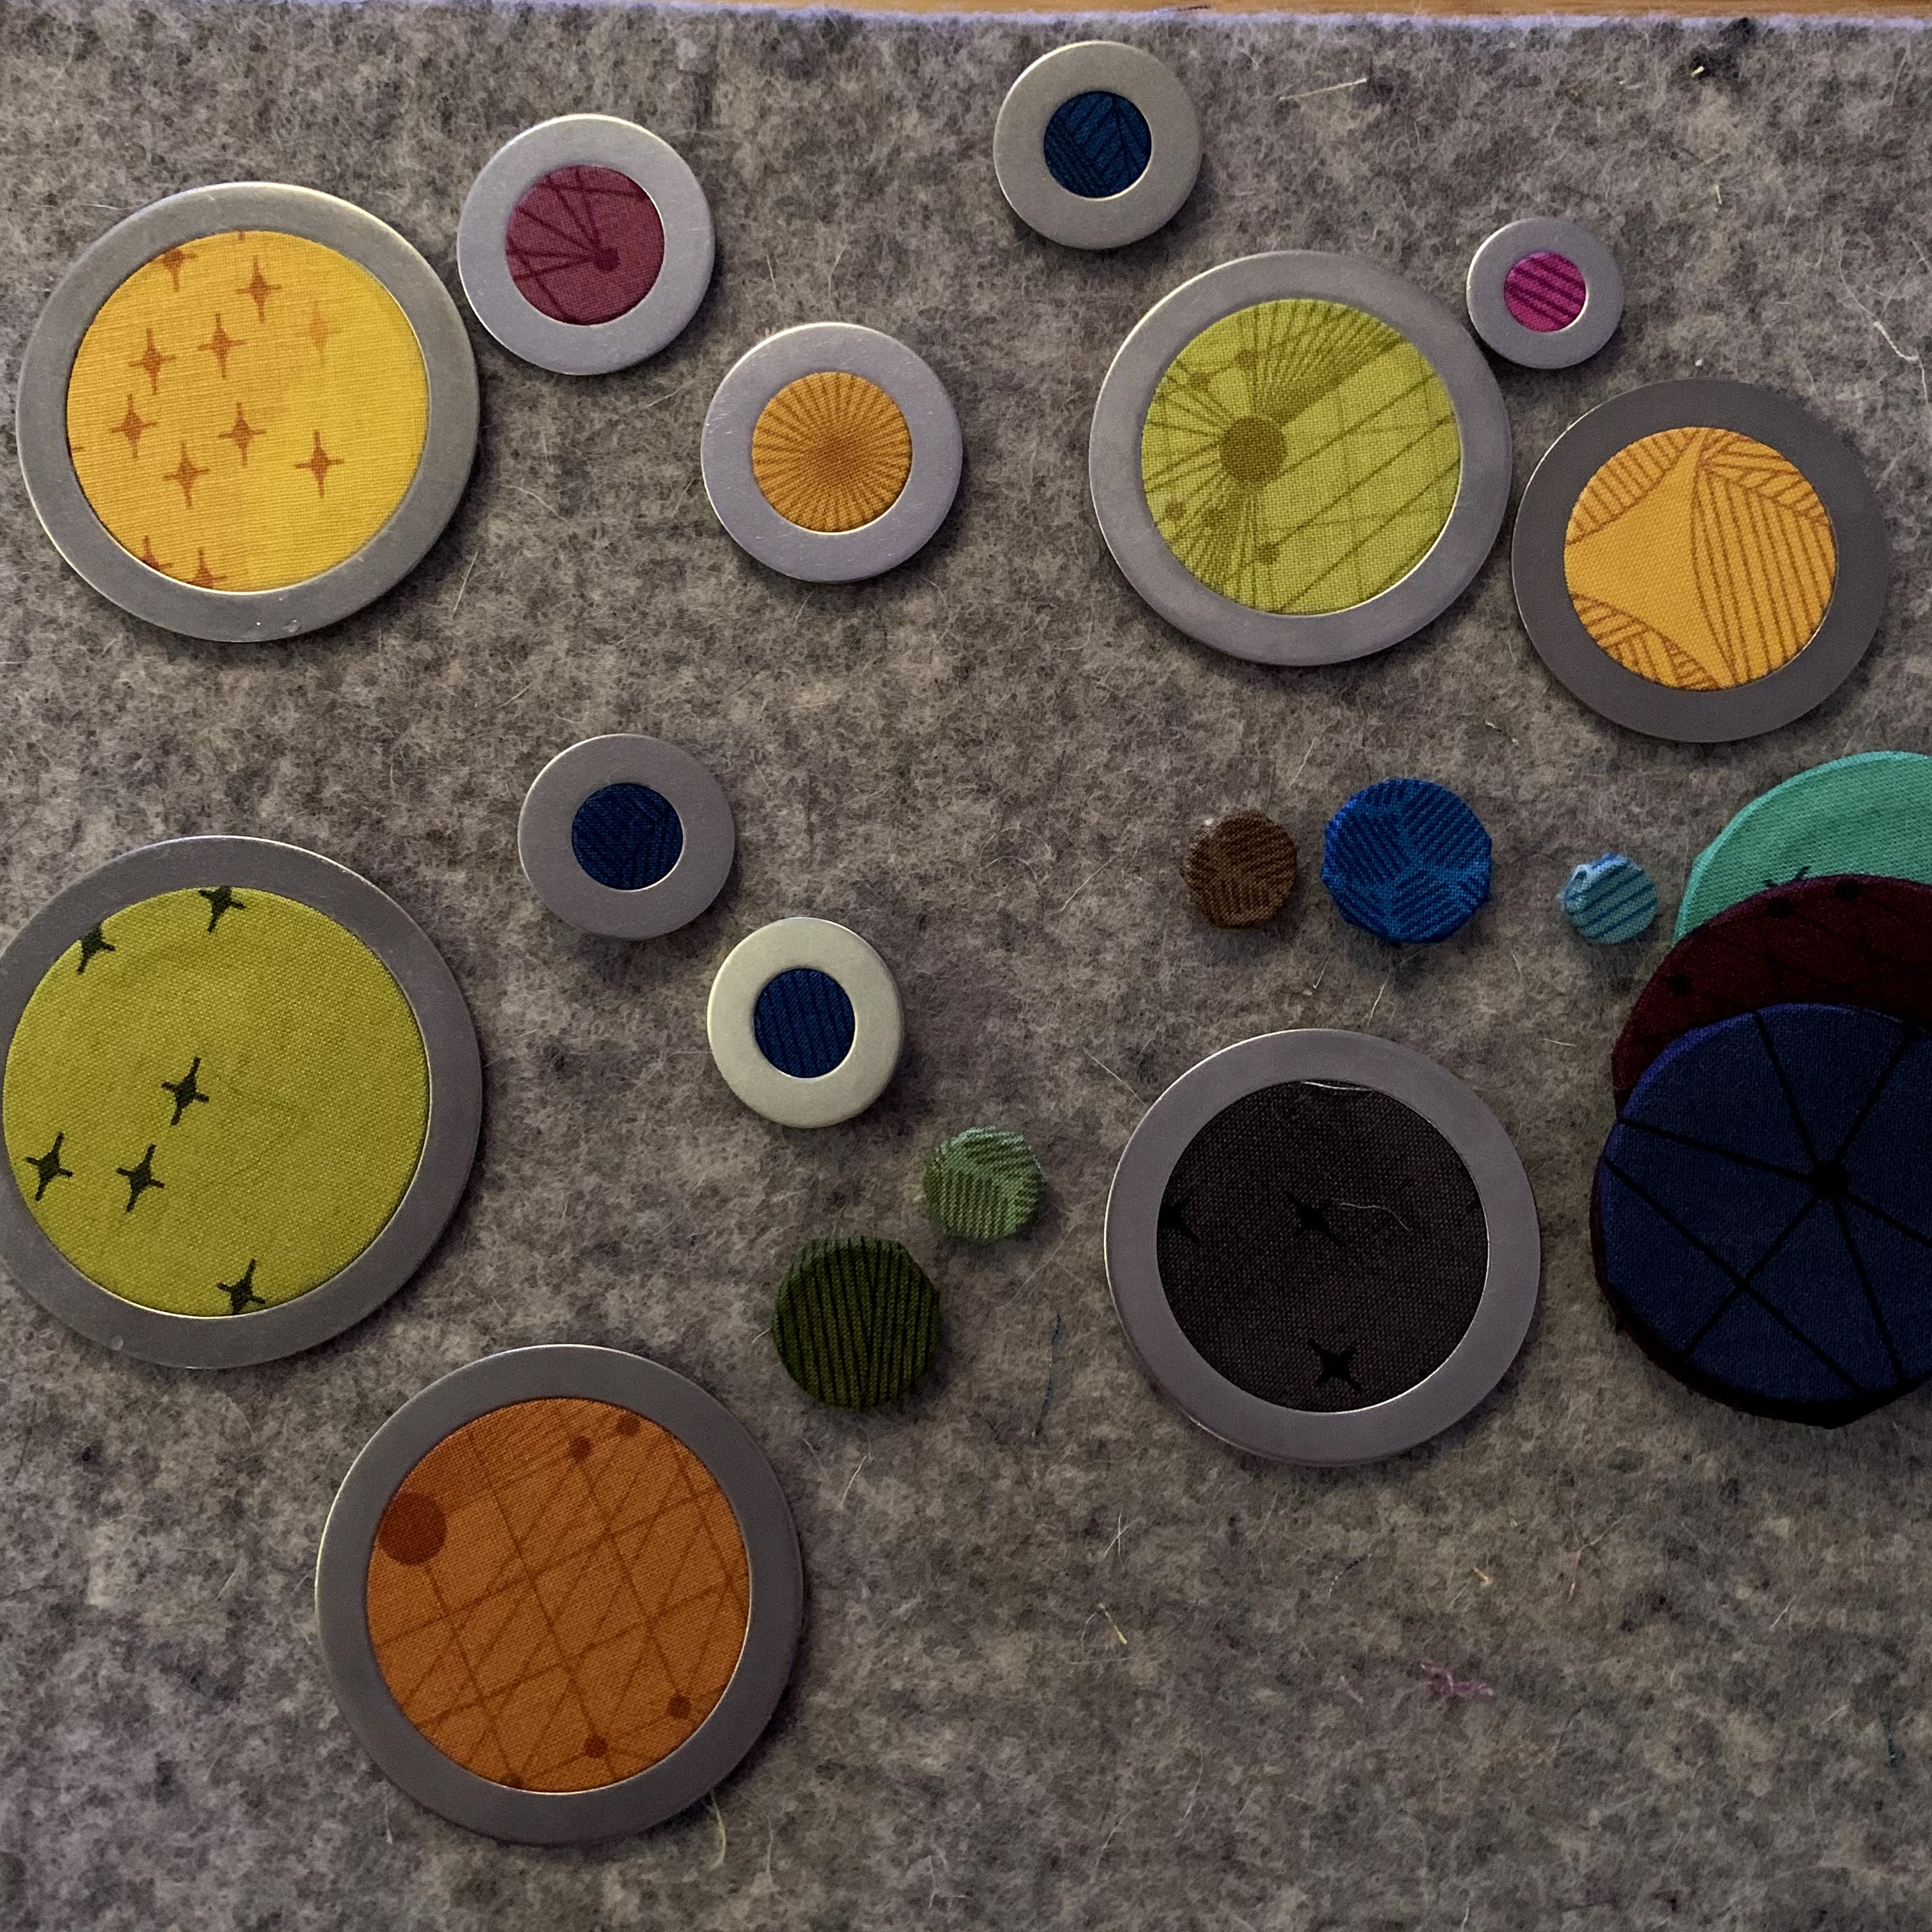
I started this by taking out all of my templates and lining them up on my mat. Since the quilting pattern has so many different circle sizes, I decided to use them all. I cut out one circle from each piece of fabric, using a pair of nesting circles. As I cut each one out, I trimmed the seam allowance, painted it with starch, eased the seams in, pressed it, and moved it out of the way to cool off. I did this for all of my fabrics, until I ran out of circles. Then I popped the cooled circles off of the templates, and finished preparing the rest. It went quickly, and I really enjoyed being able to do such precise work with my feet up.
After popping my circles out, I do not give them an extra press. Each circle edge has two creases from the template – a top and a bottom. I find that if I press it again, it doesn’t always press a perfect circle. Instead, I make sure that I stay in the top crease when I appliqué it down. That way I get that perfect circle.
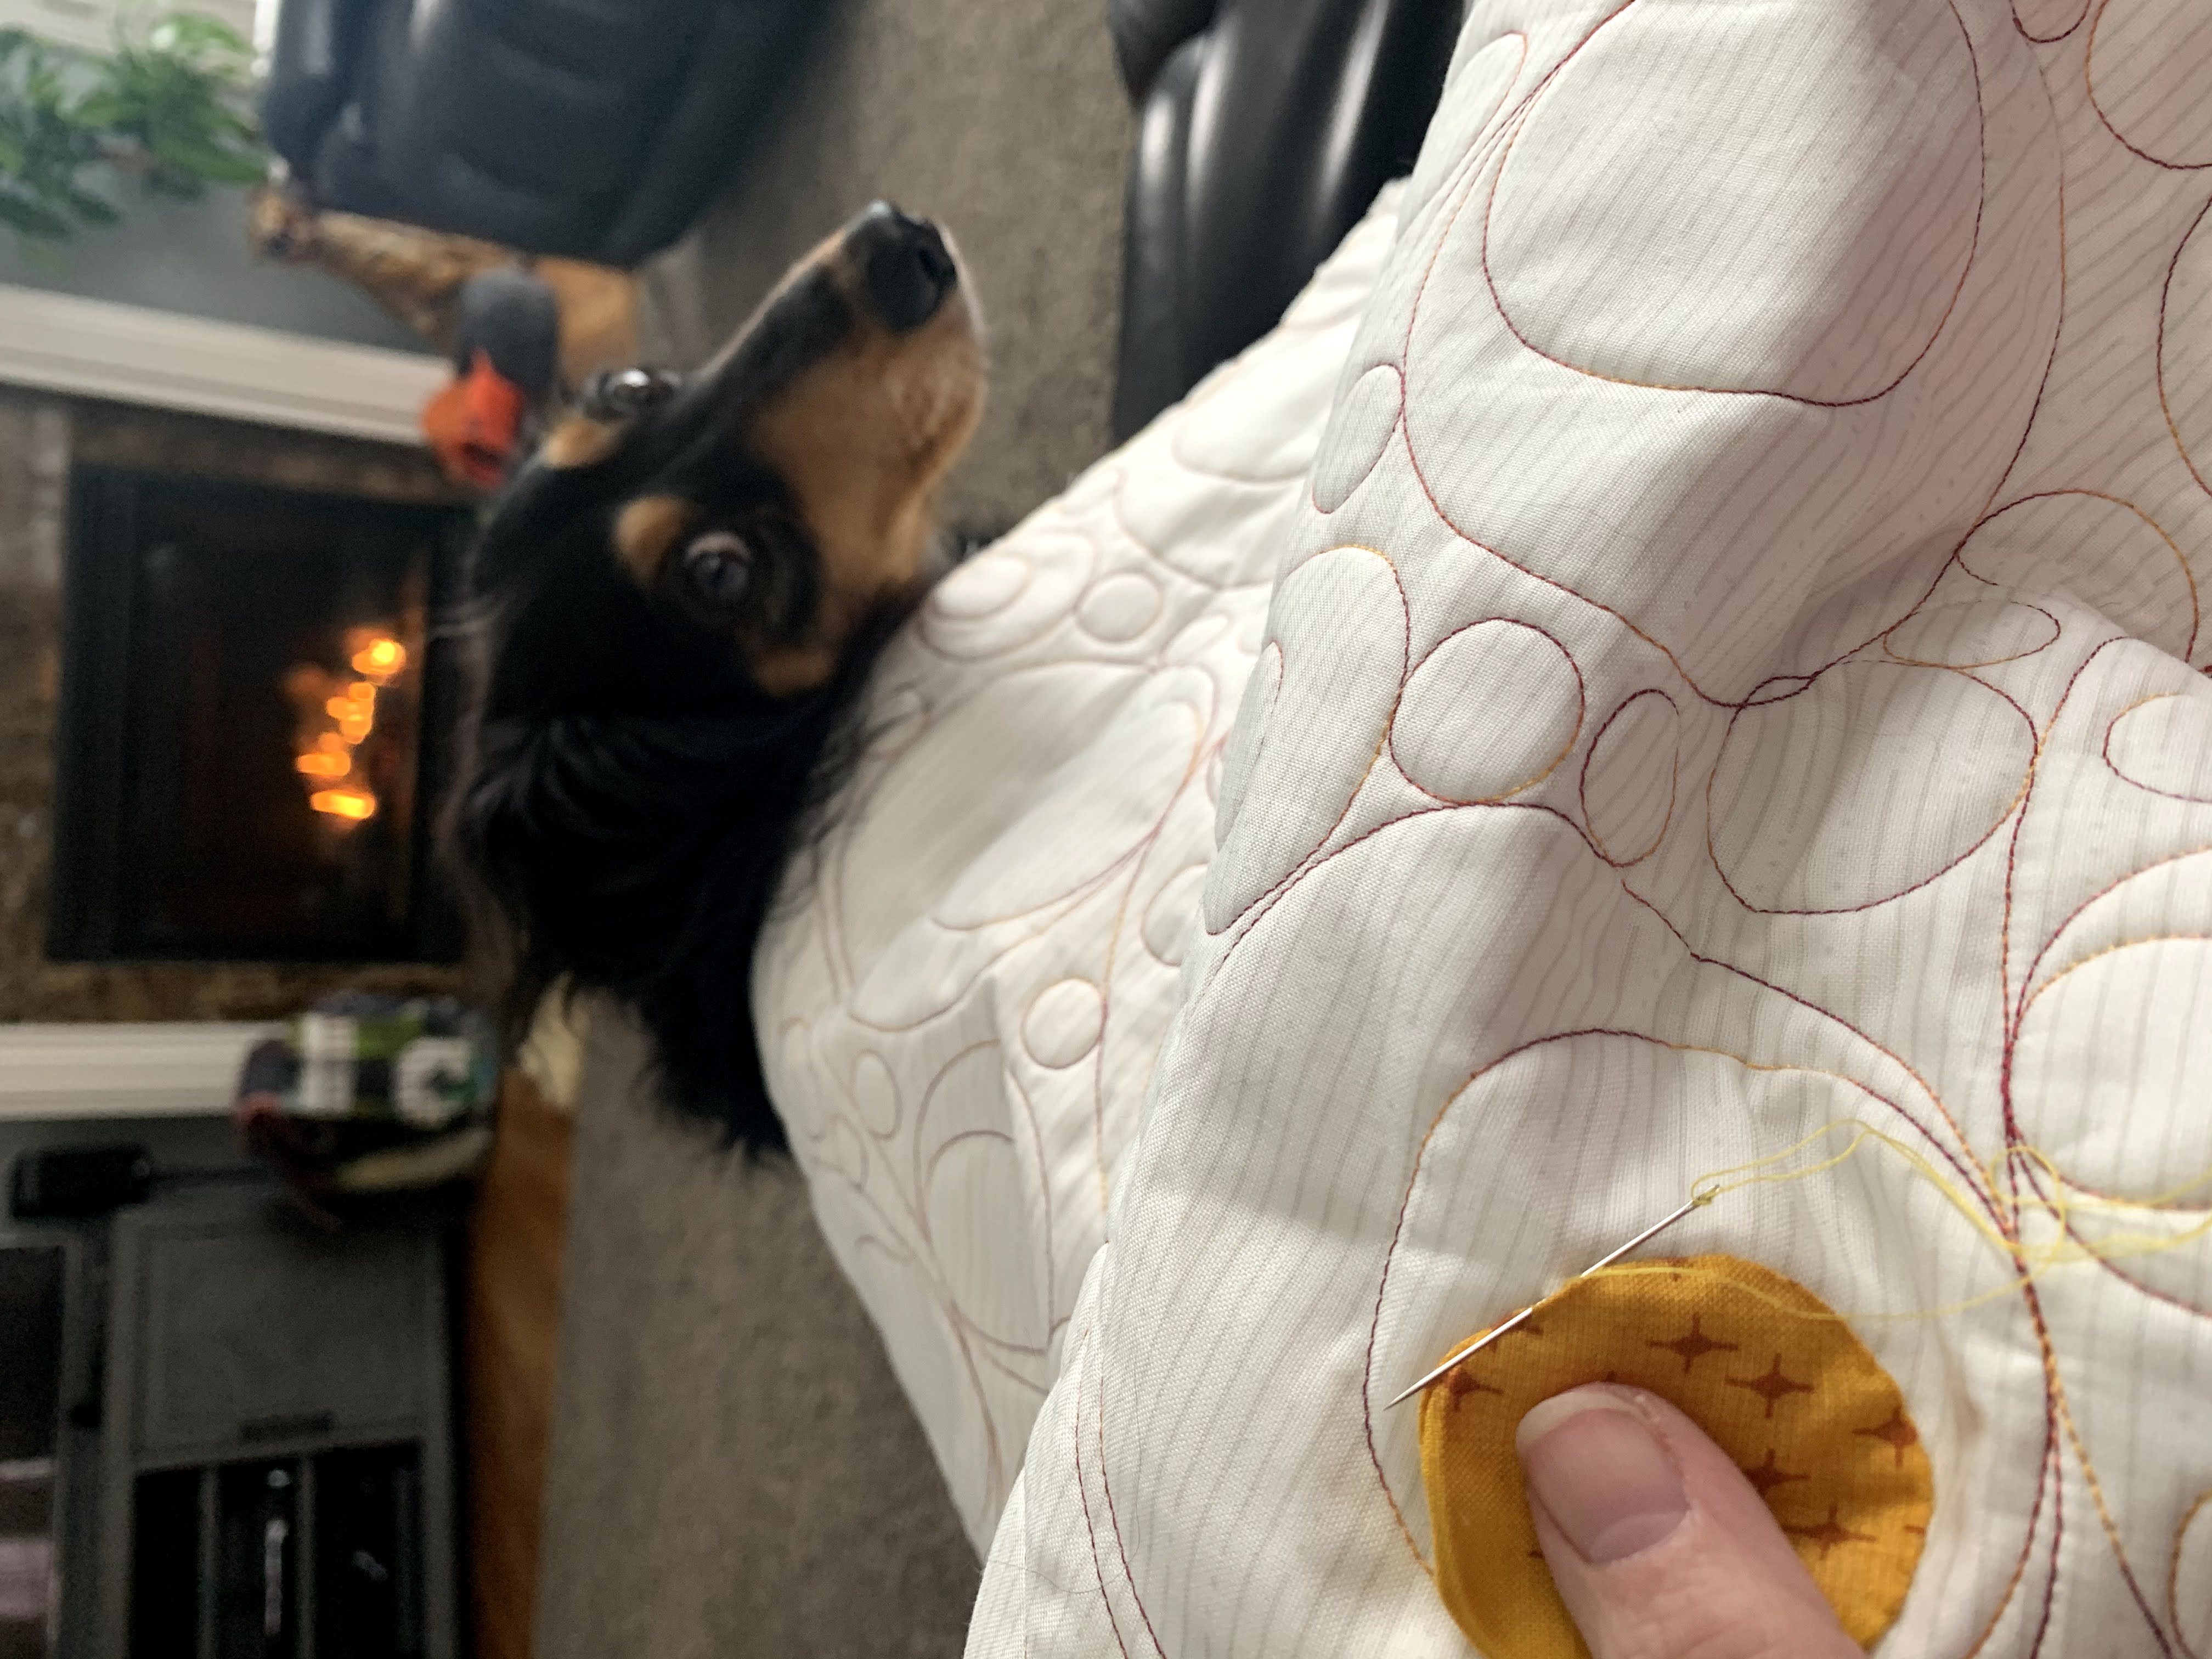
Once the circles were all prepared, it was time to attach them to the quilted piece. I use Aurifil 50 weight thread for my appliqué. It is smooth and easy to use. This light grey color blends nicely with most fabric colors. I take tiny little stitches, Keeping my thread under the appliqué piece, so that my stitches don’t show. It was a little bulky to hold the quilted piece, but I managed. My idea to do this technique on a larger quilt needs to be refined.
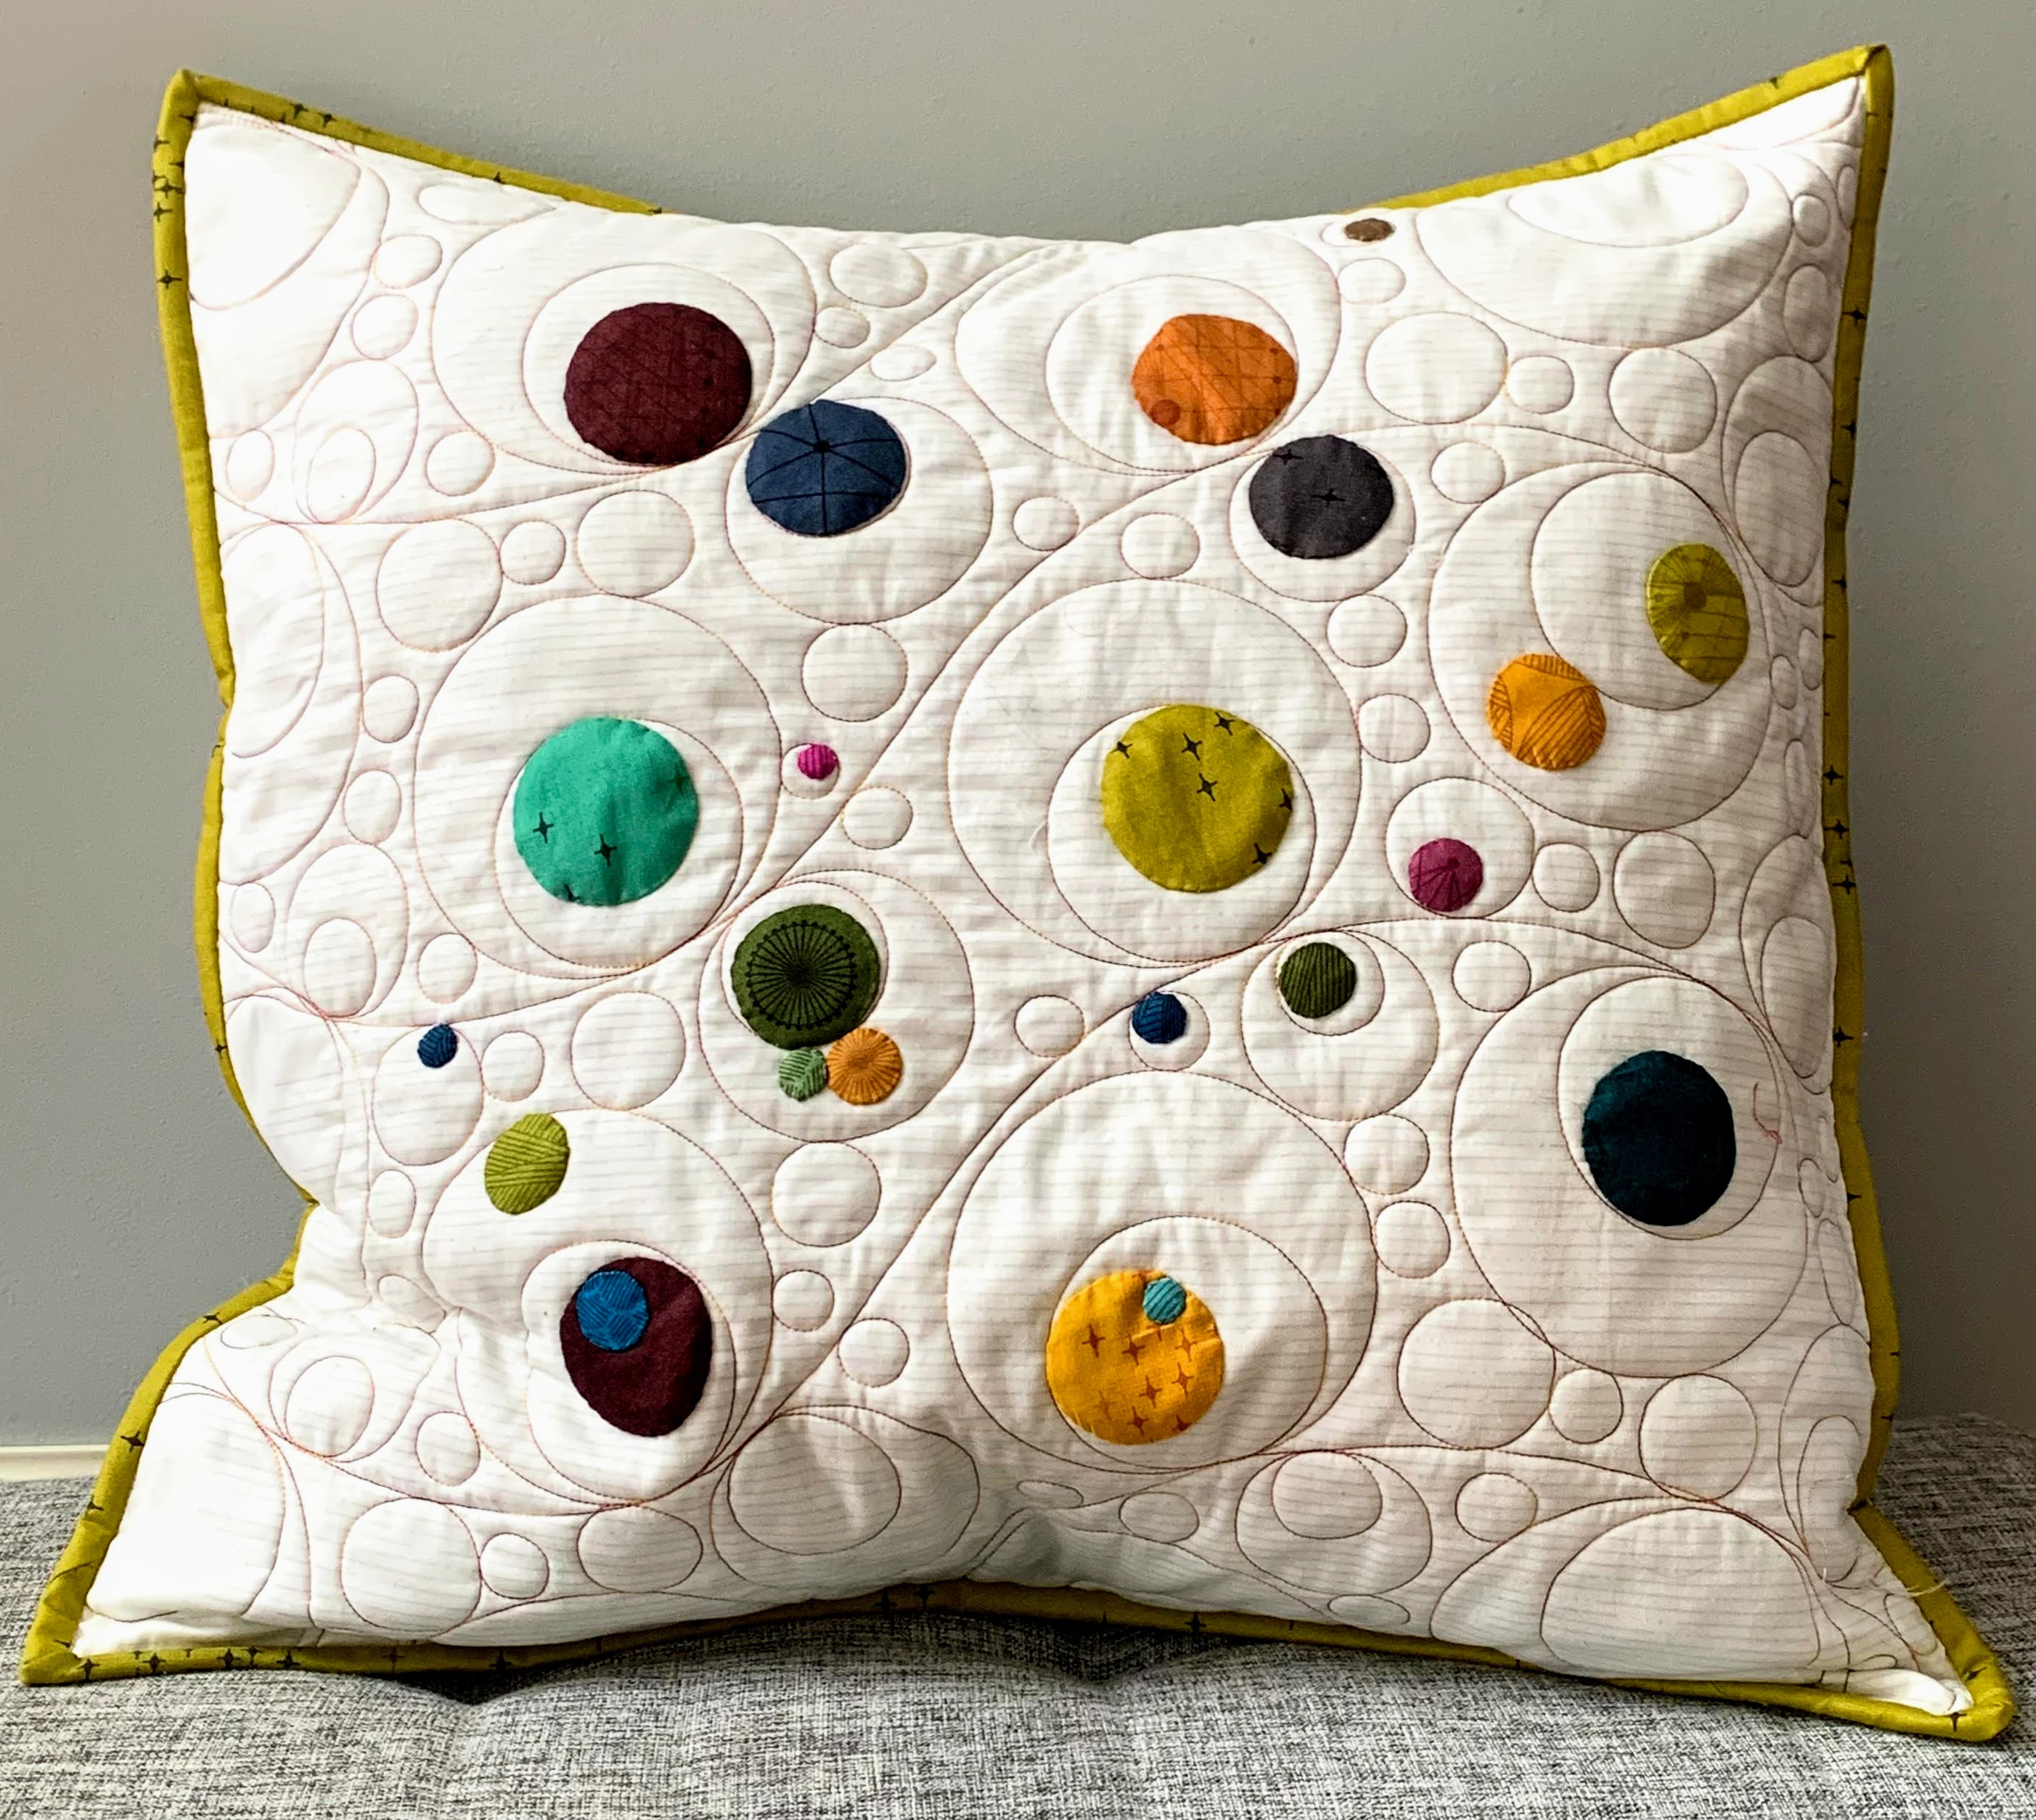
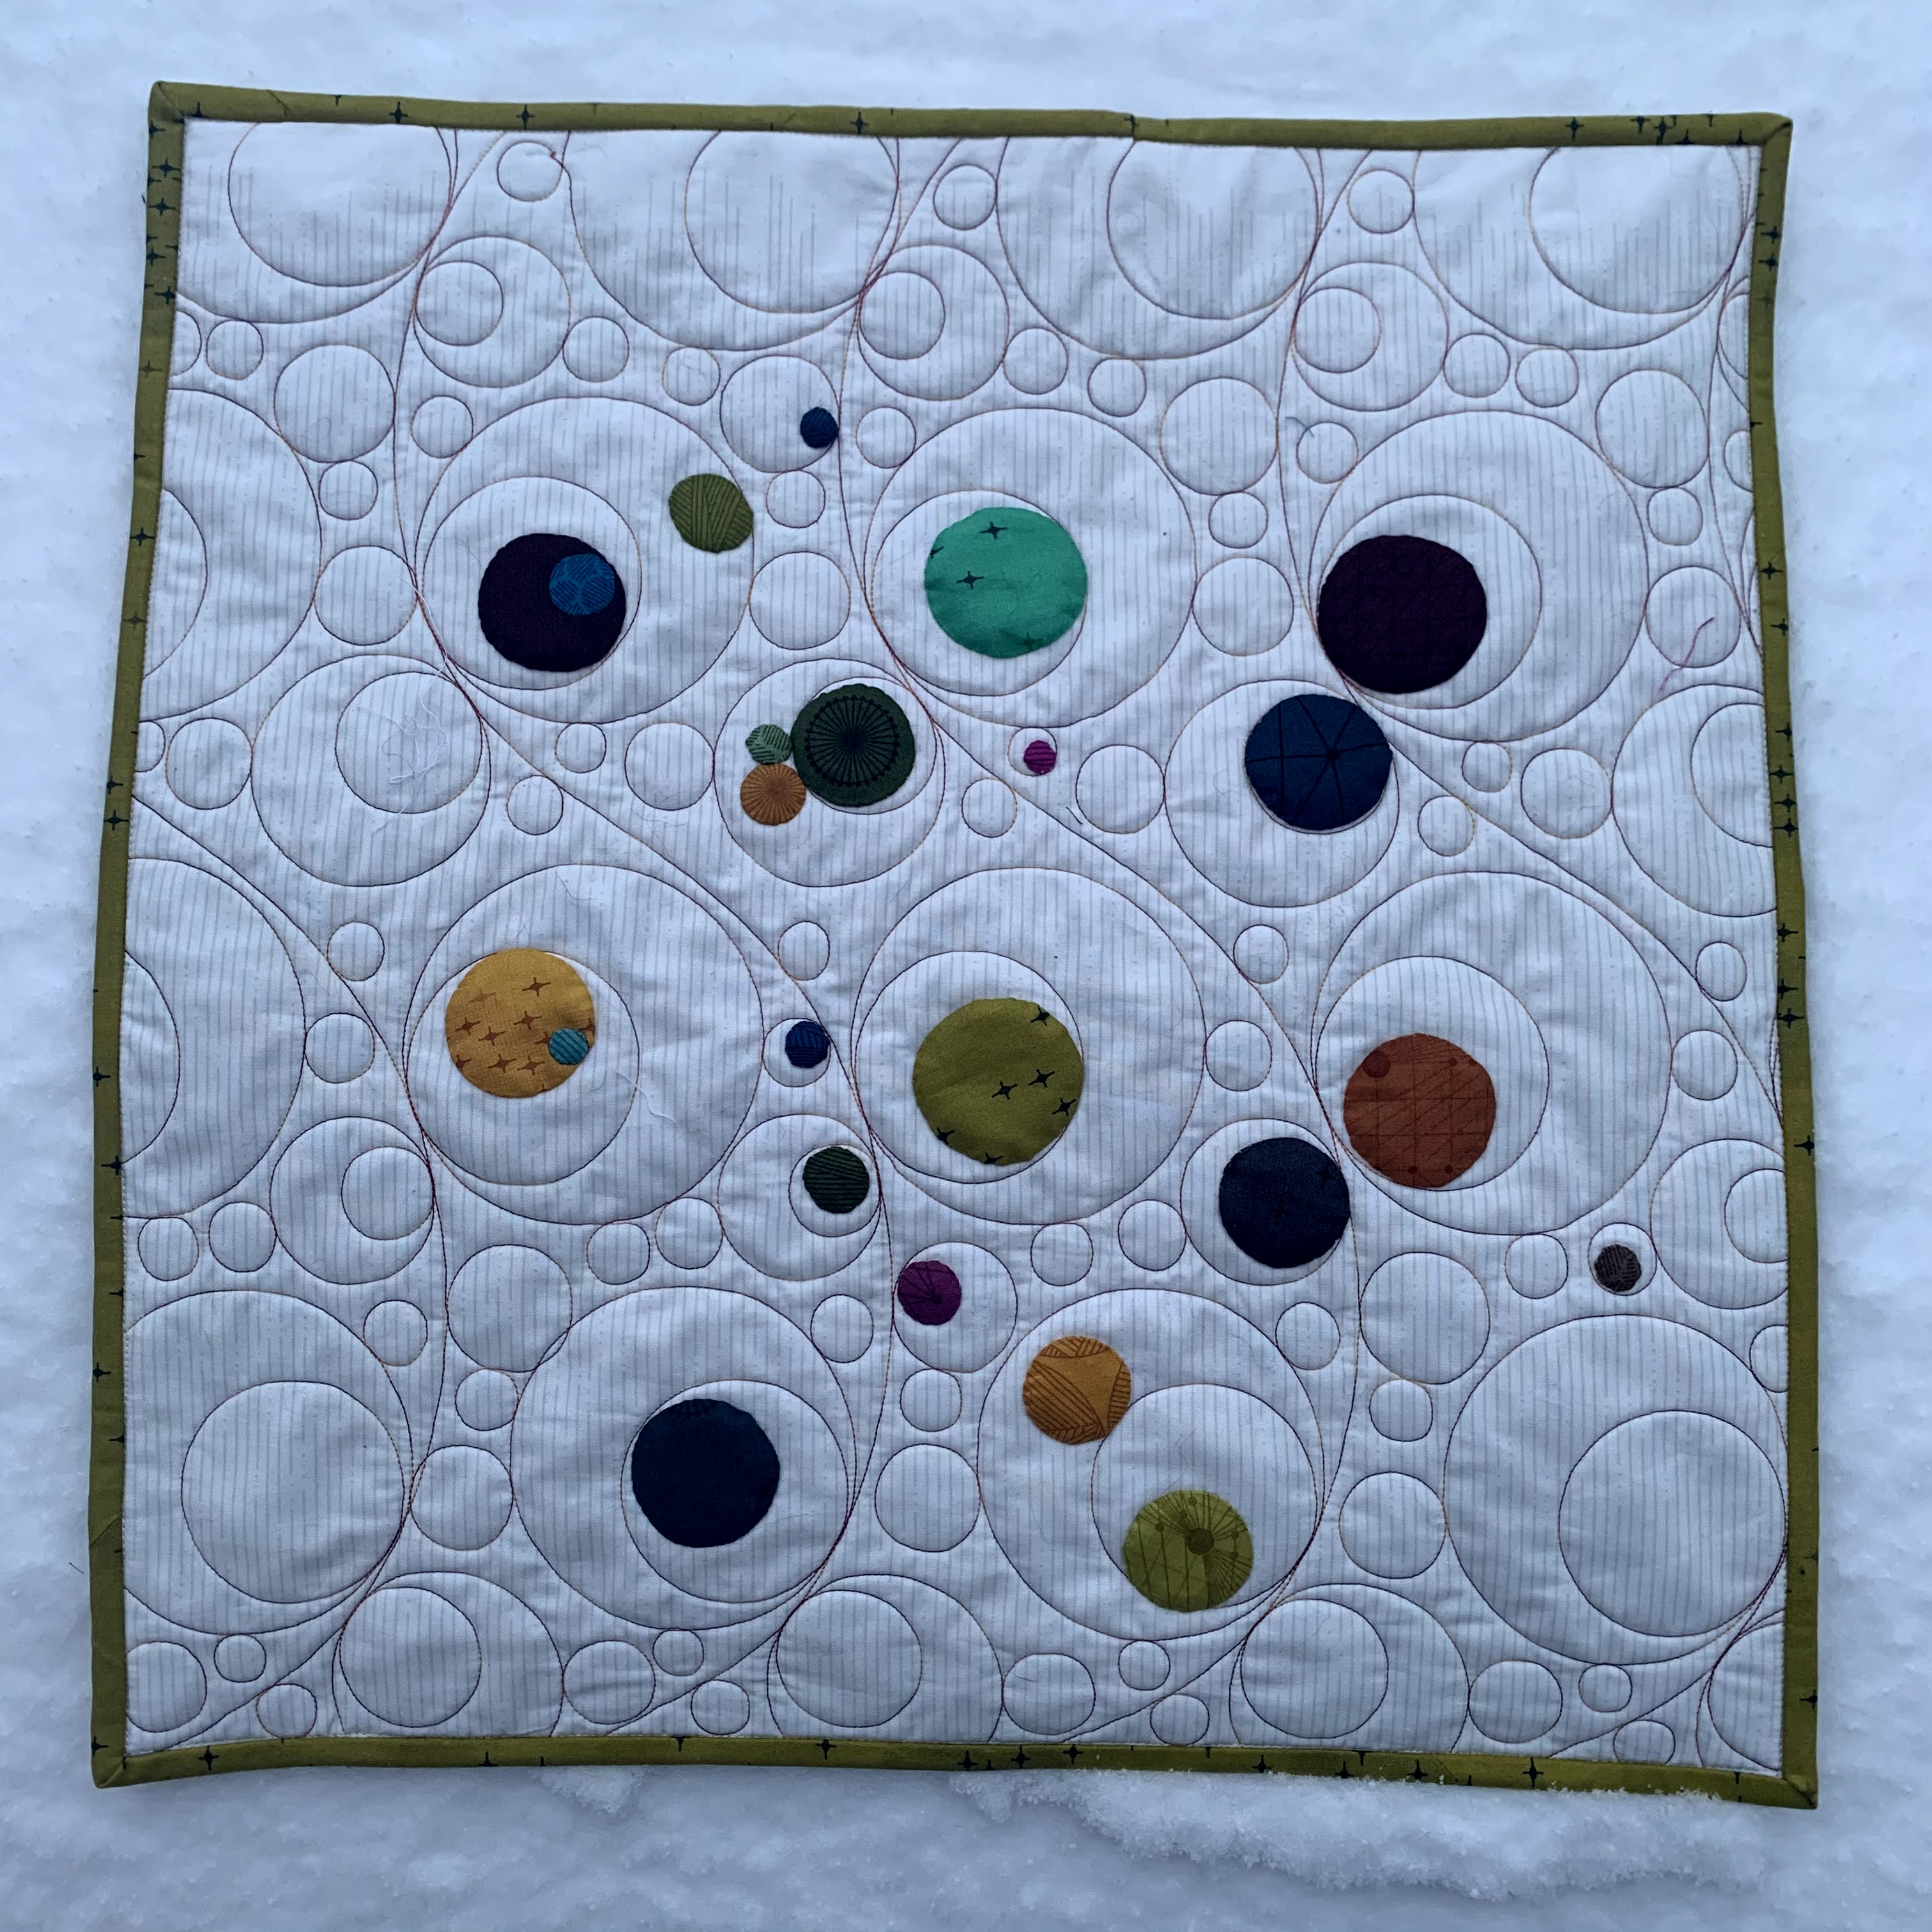
I attached the circles wherever I wanted to, sometimes touching each other, sometimes layered over one another. Each circle touches the quilting lines, as if they are marbles rolling around a track.
Once I had all of my circles applied, I stepped back and looked at my piece, checking for a good balance. It looked good – not too busy, but not leaving any large bare spaces.
I made my pillow backing by cutting two more pieces of the background fabric, these ones about 20.5″ x 22″. I folded them in half, and pinned them to the back of the quilted front. Then I prepared binding from one of my favorite fabrics in the collection, and bound the quilt, catching the backing in the binding.
And doesn’t it look great?
I already have a few more Applipops design ideas percolating, so you should be seeing more of them from me pretty soon. Crystal’s blog hop theme of “Endless Creativity with Circles” really works for me. Once I start playing with the circles, I just don’t want to stop.
You can check out my previous Applipops project here.
Giveaway!
Head over to Instagram and check out Day Brook Designs to enter the giveaway!
Make sure you check out my fellow makers – they all have such beautiful projects going on, and you can win prizes!
- Jillian Leitman, Applipops
- Michele Muska, Oliso
- Lisa Palmer, Instagram
- Constanze Toplansky, Tree Textiles
- Lisa Garlick, Nanny Goat Quilts
- Rebecca Cartwright, Instagram
- Josianne Robb, Indigo Shima
- Jenifer Strauser, Dizzy Quilter
- Laura Strickland, Orange Blossom QDS
- Crystal Drummond, DayBrook Designs
- The Drummond Team, Let’s Quilt Along
I have been so tempted to get some of these. Your pillow looks great! (Did I miss the giveaway info?)
Oooh! Good catch! Sorry about that! The giveaway is a Round Robin (loop) on Instagram. I’ve updated the post. Thanks!
Love the modern look and texture of this pillow! It will definitely perk up these end-of-winter blues and bring you right into spring!
Fun pillow!
Great pillow!!
Your pillow looks great! Thanks for showing us how you made it! And the quilting is fantastic! 🙂
What a fun use of the applipops on a perfect quilting pattern! It seems to be a rather easy project with a lot of punch!
Thanks, Kathleen! It was easy!