I like to collect washi tape. I use it, too, although not with scrap booking or journaling. Occasionally a piece makes it into my planner, but I don’t usually bother with that. No, I collect it, and sometimes go through my collection and pet it. It’s so cute. Once in a blue moon my son uses it to embellish a school project. Lucky for him, my washi isn’t all girly. I’m very excited to have found a new use for it in my studio, other than marking a line on my sewing machine for 1/2 square triangle stitching.
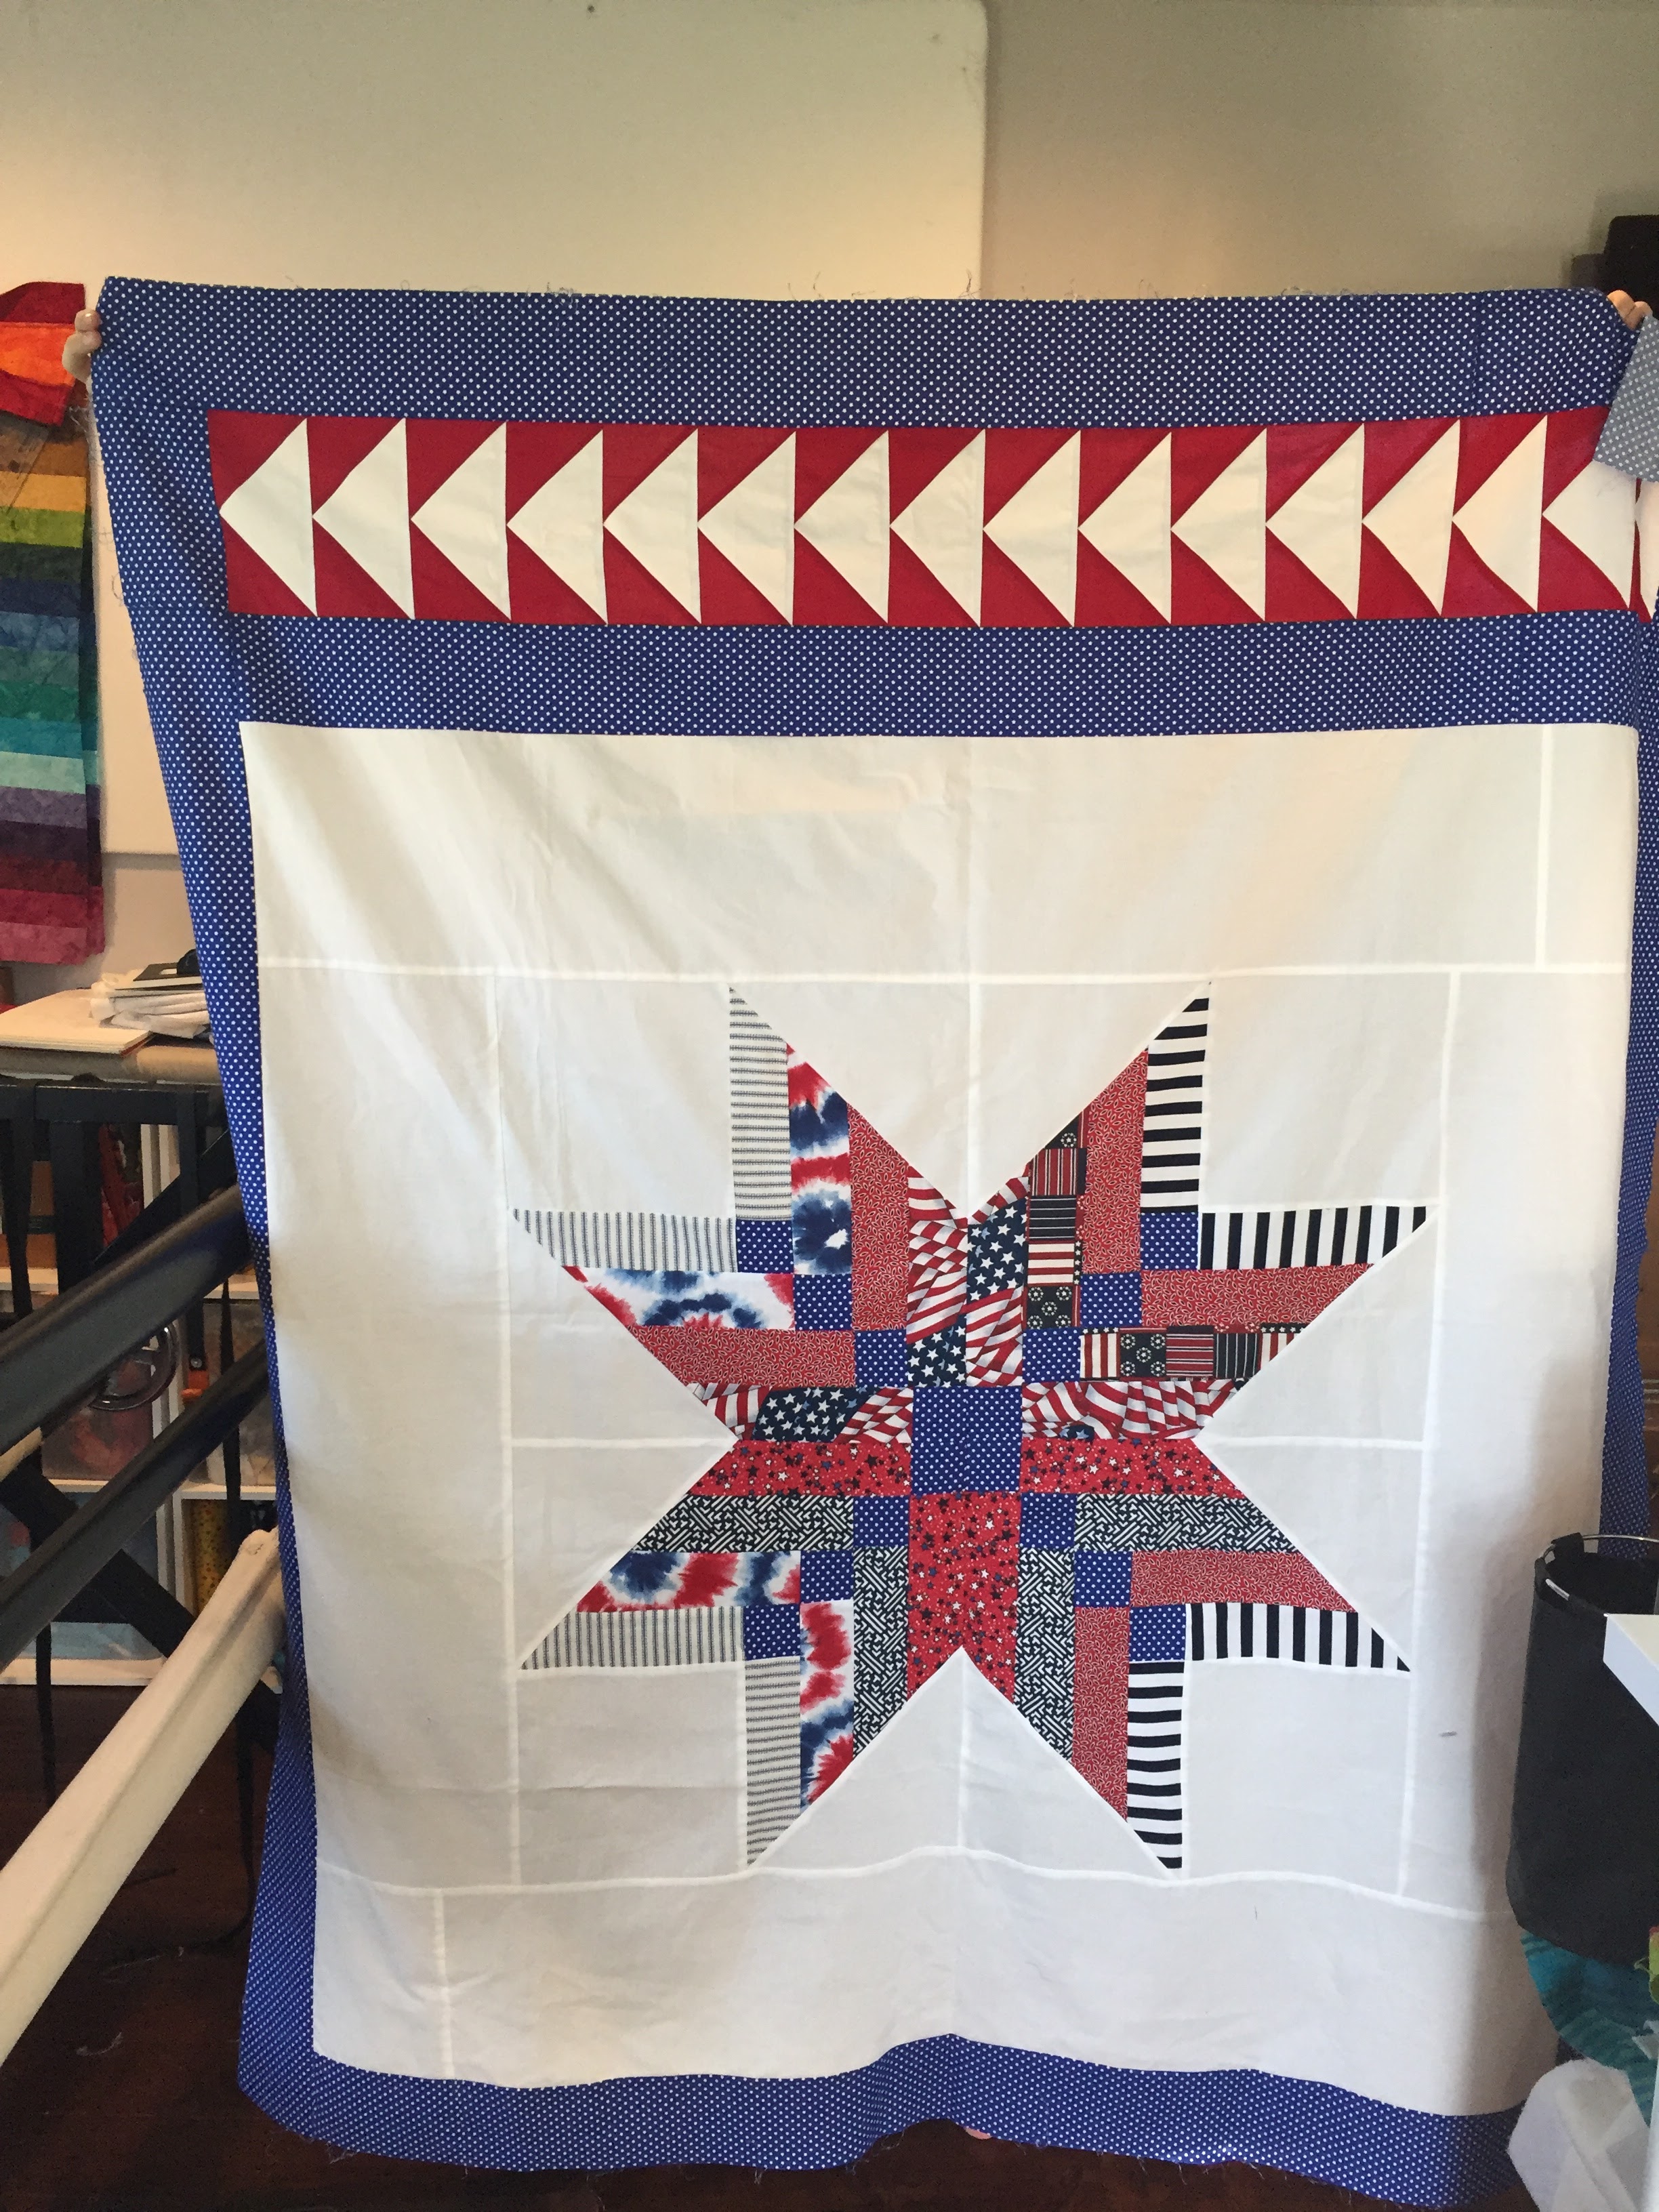 I’ve been working on another Quilt of Valor this week. The piecer requested traditional stars and a wavy background. I ordered a nested star ruler set from Quilter’s Apothecary to mark the stars (any excuse to buy one of Jaime’s tools works for me). To mark the star, I used a Marks Be Gone pen, but the marks keep coming back, which is annoying. I’m waiting to see how it responds to Sew Clean instead of water.
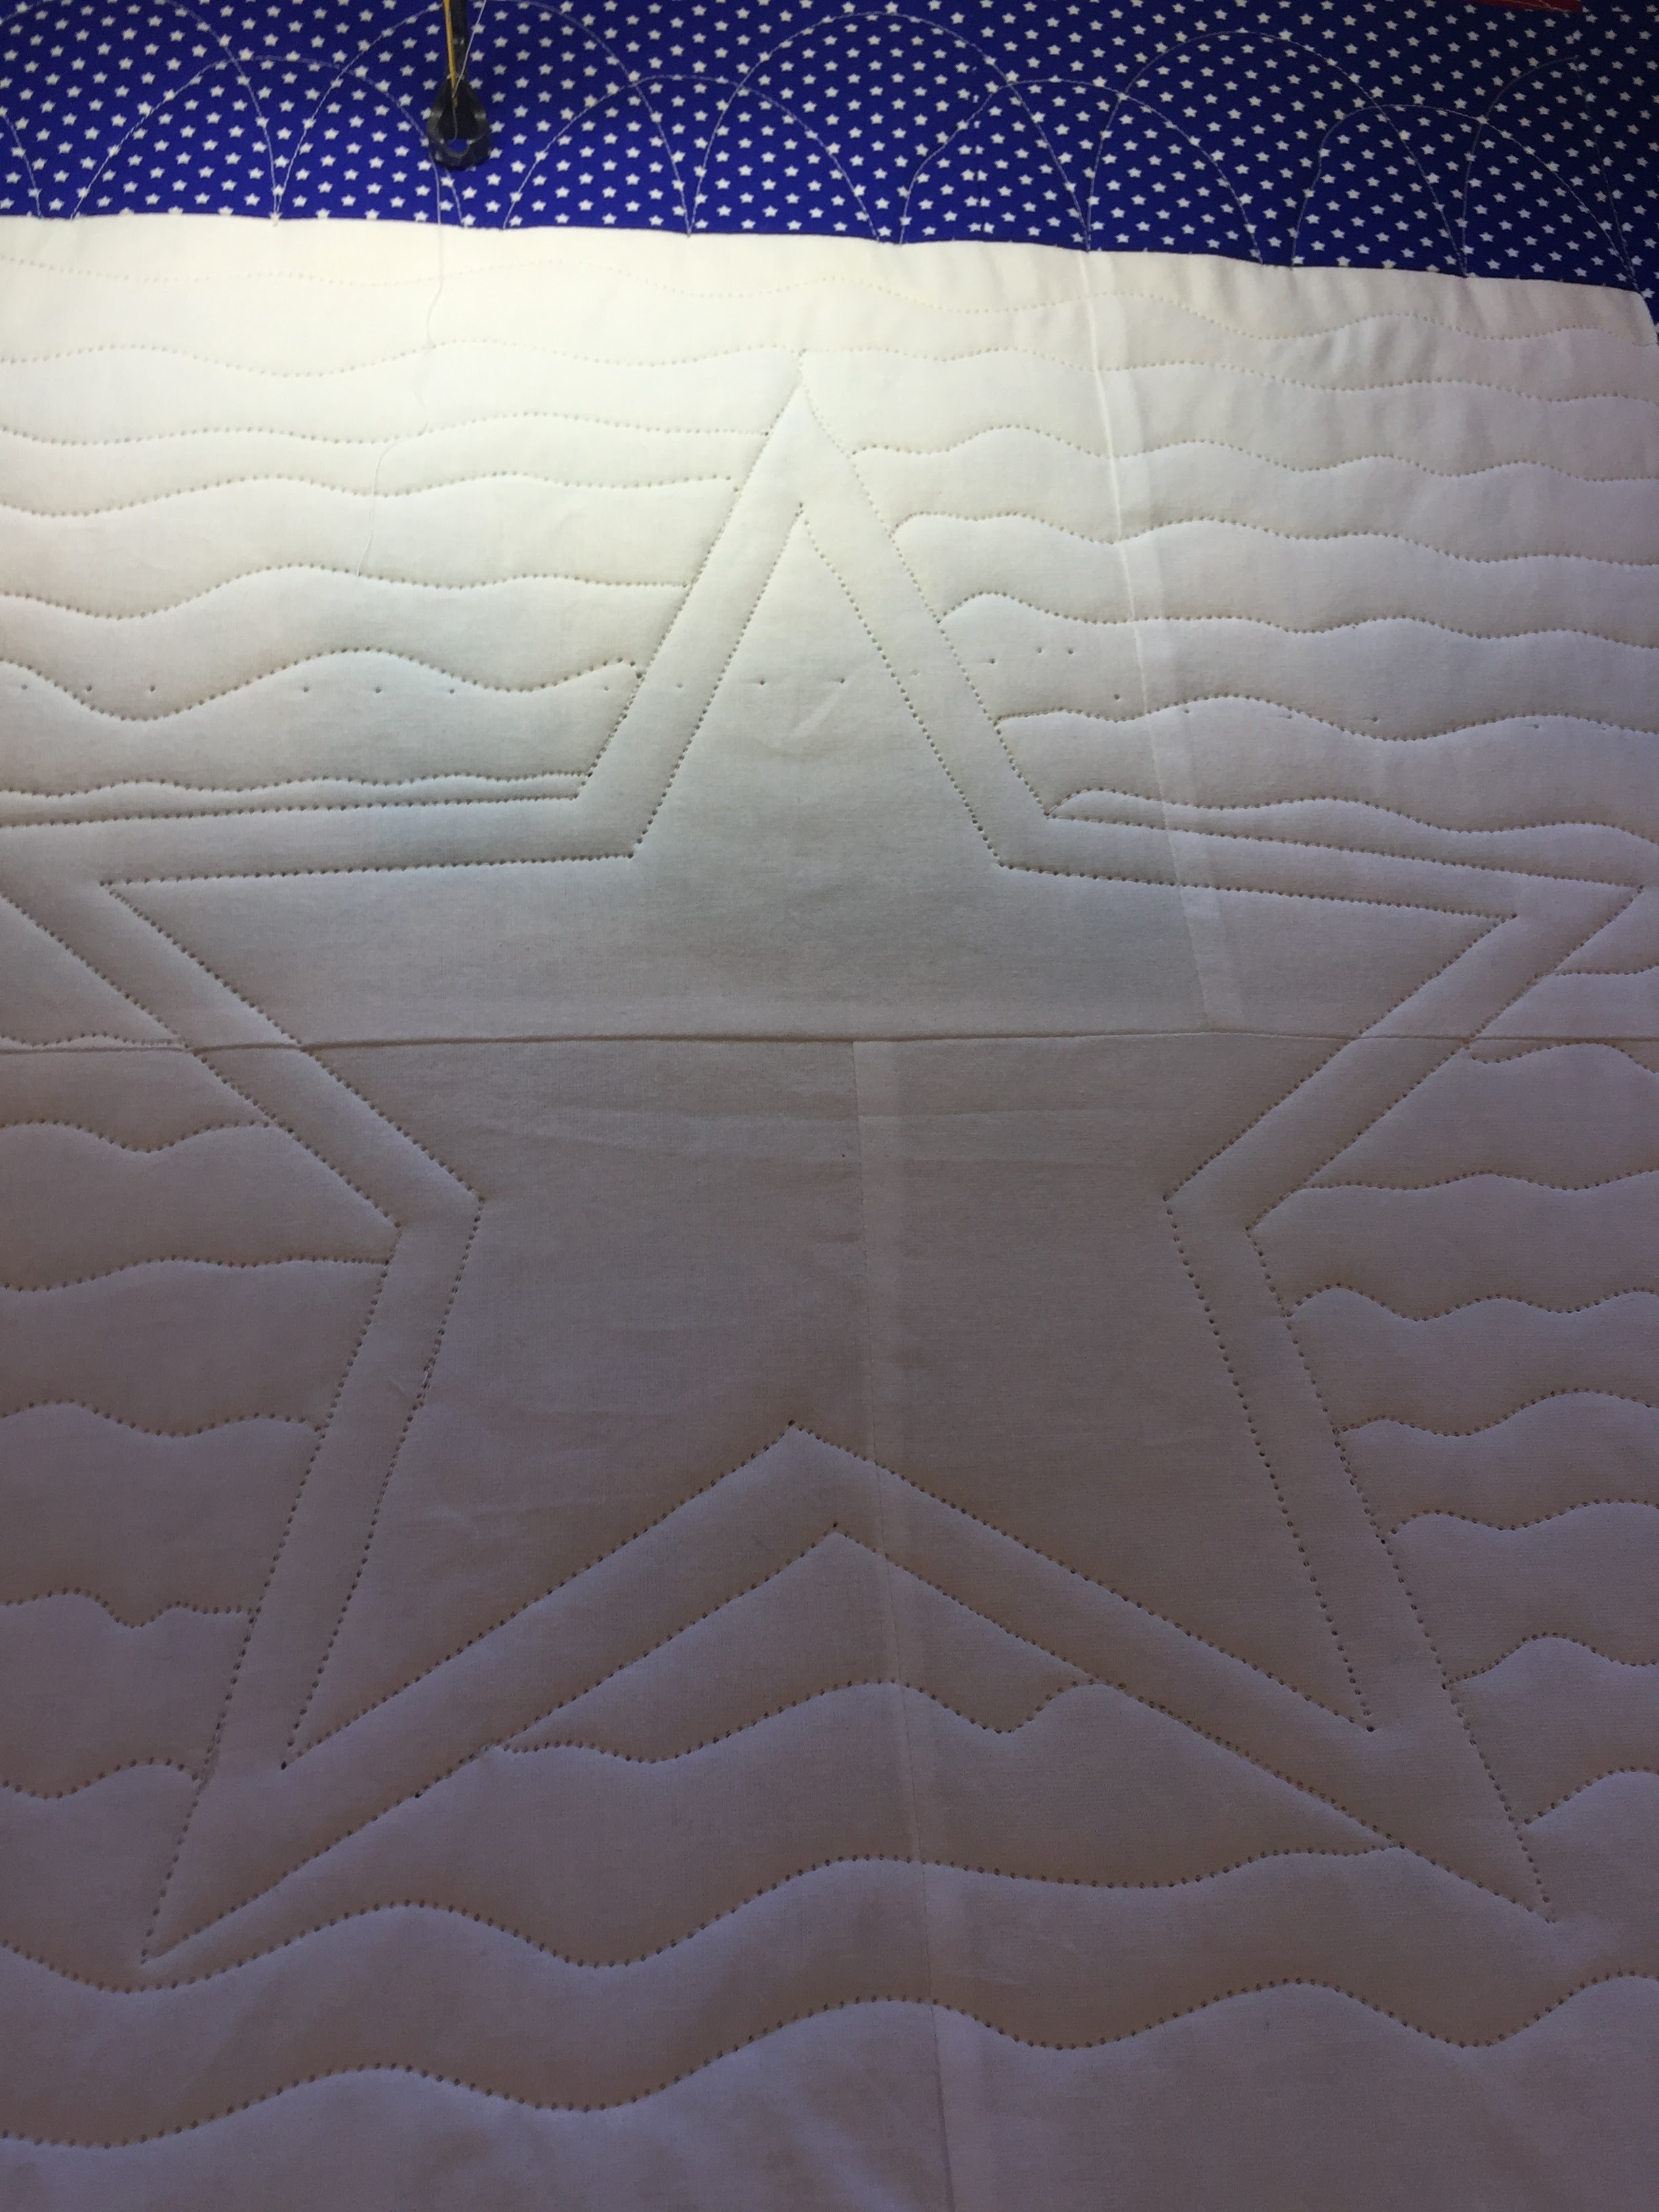
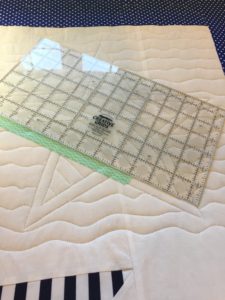
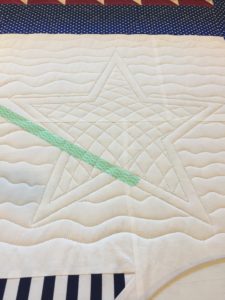
Rather than leave a big open star (boring), I decided to do a fill. One thing I learned in class was to set off a quilted design by leaving a bit of open space around the shape. I decided to use my arc ruler and try a curved cross hatch. I have only done it on paper so far. With the ruler I’m using, you set a center line to align the ruler to to keep everything properly shaped. Since I’m having an issue with my marking tool, I decided to use Washi tape for the registration line instead.
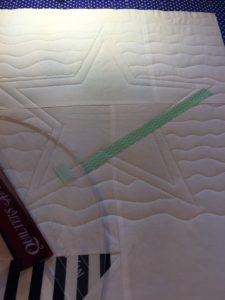
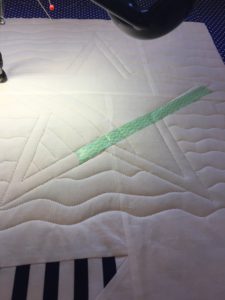
I chose to use the two inner “legs” of the star for my alignment.
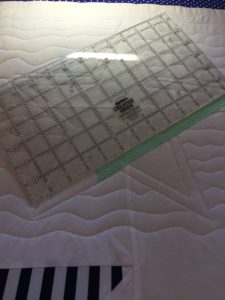
I line up the ruler with the first leg, and lay a piece of washi down along the ruler edge. I run my fingernail over it to encourage it to stick to the quilt. Otherwise, it flips and sticks to the ruler sliding over it.
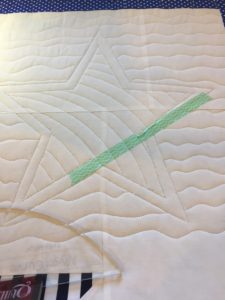
I align my arc ruler with the chosen line. I use washi on the bottom of the ruler to indicate my spacing line, too.
Stitch the arcs out slowly, using a straight ruler to travel along the previously stitched star edge between arcs. Super tedious, but so worth the extra effort.
At the part of the star where it divides, I finish one “leg” then move over and do the other, to prevent going back and forth multiple times.
Once I’m done, I mark the other side and stitch it all up.
Where I’ve sewn across the washi it peels right up, without disturbing the stitches.

Tah dah! I love how this looks. There is a little wobble on this one in the middle – no worries, it just shows where I pulled out some stitches where I wandered away from the ruler. It will disappear once washed.
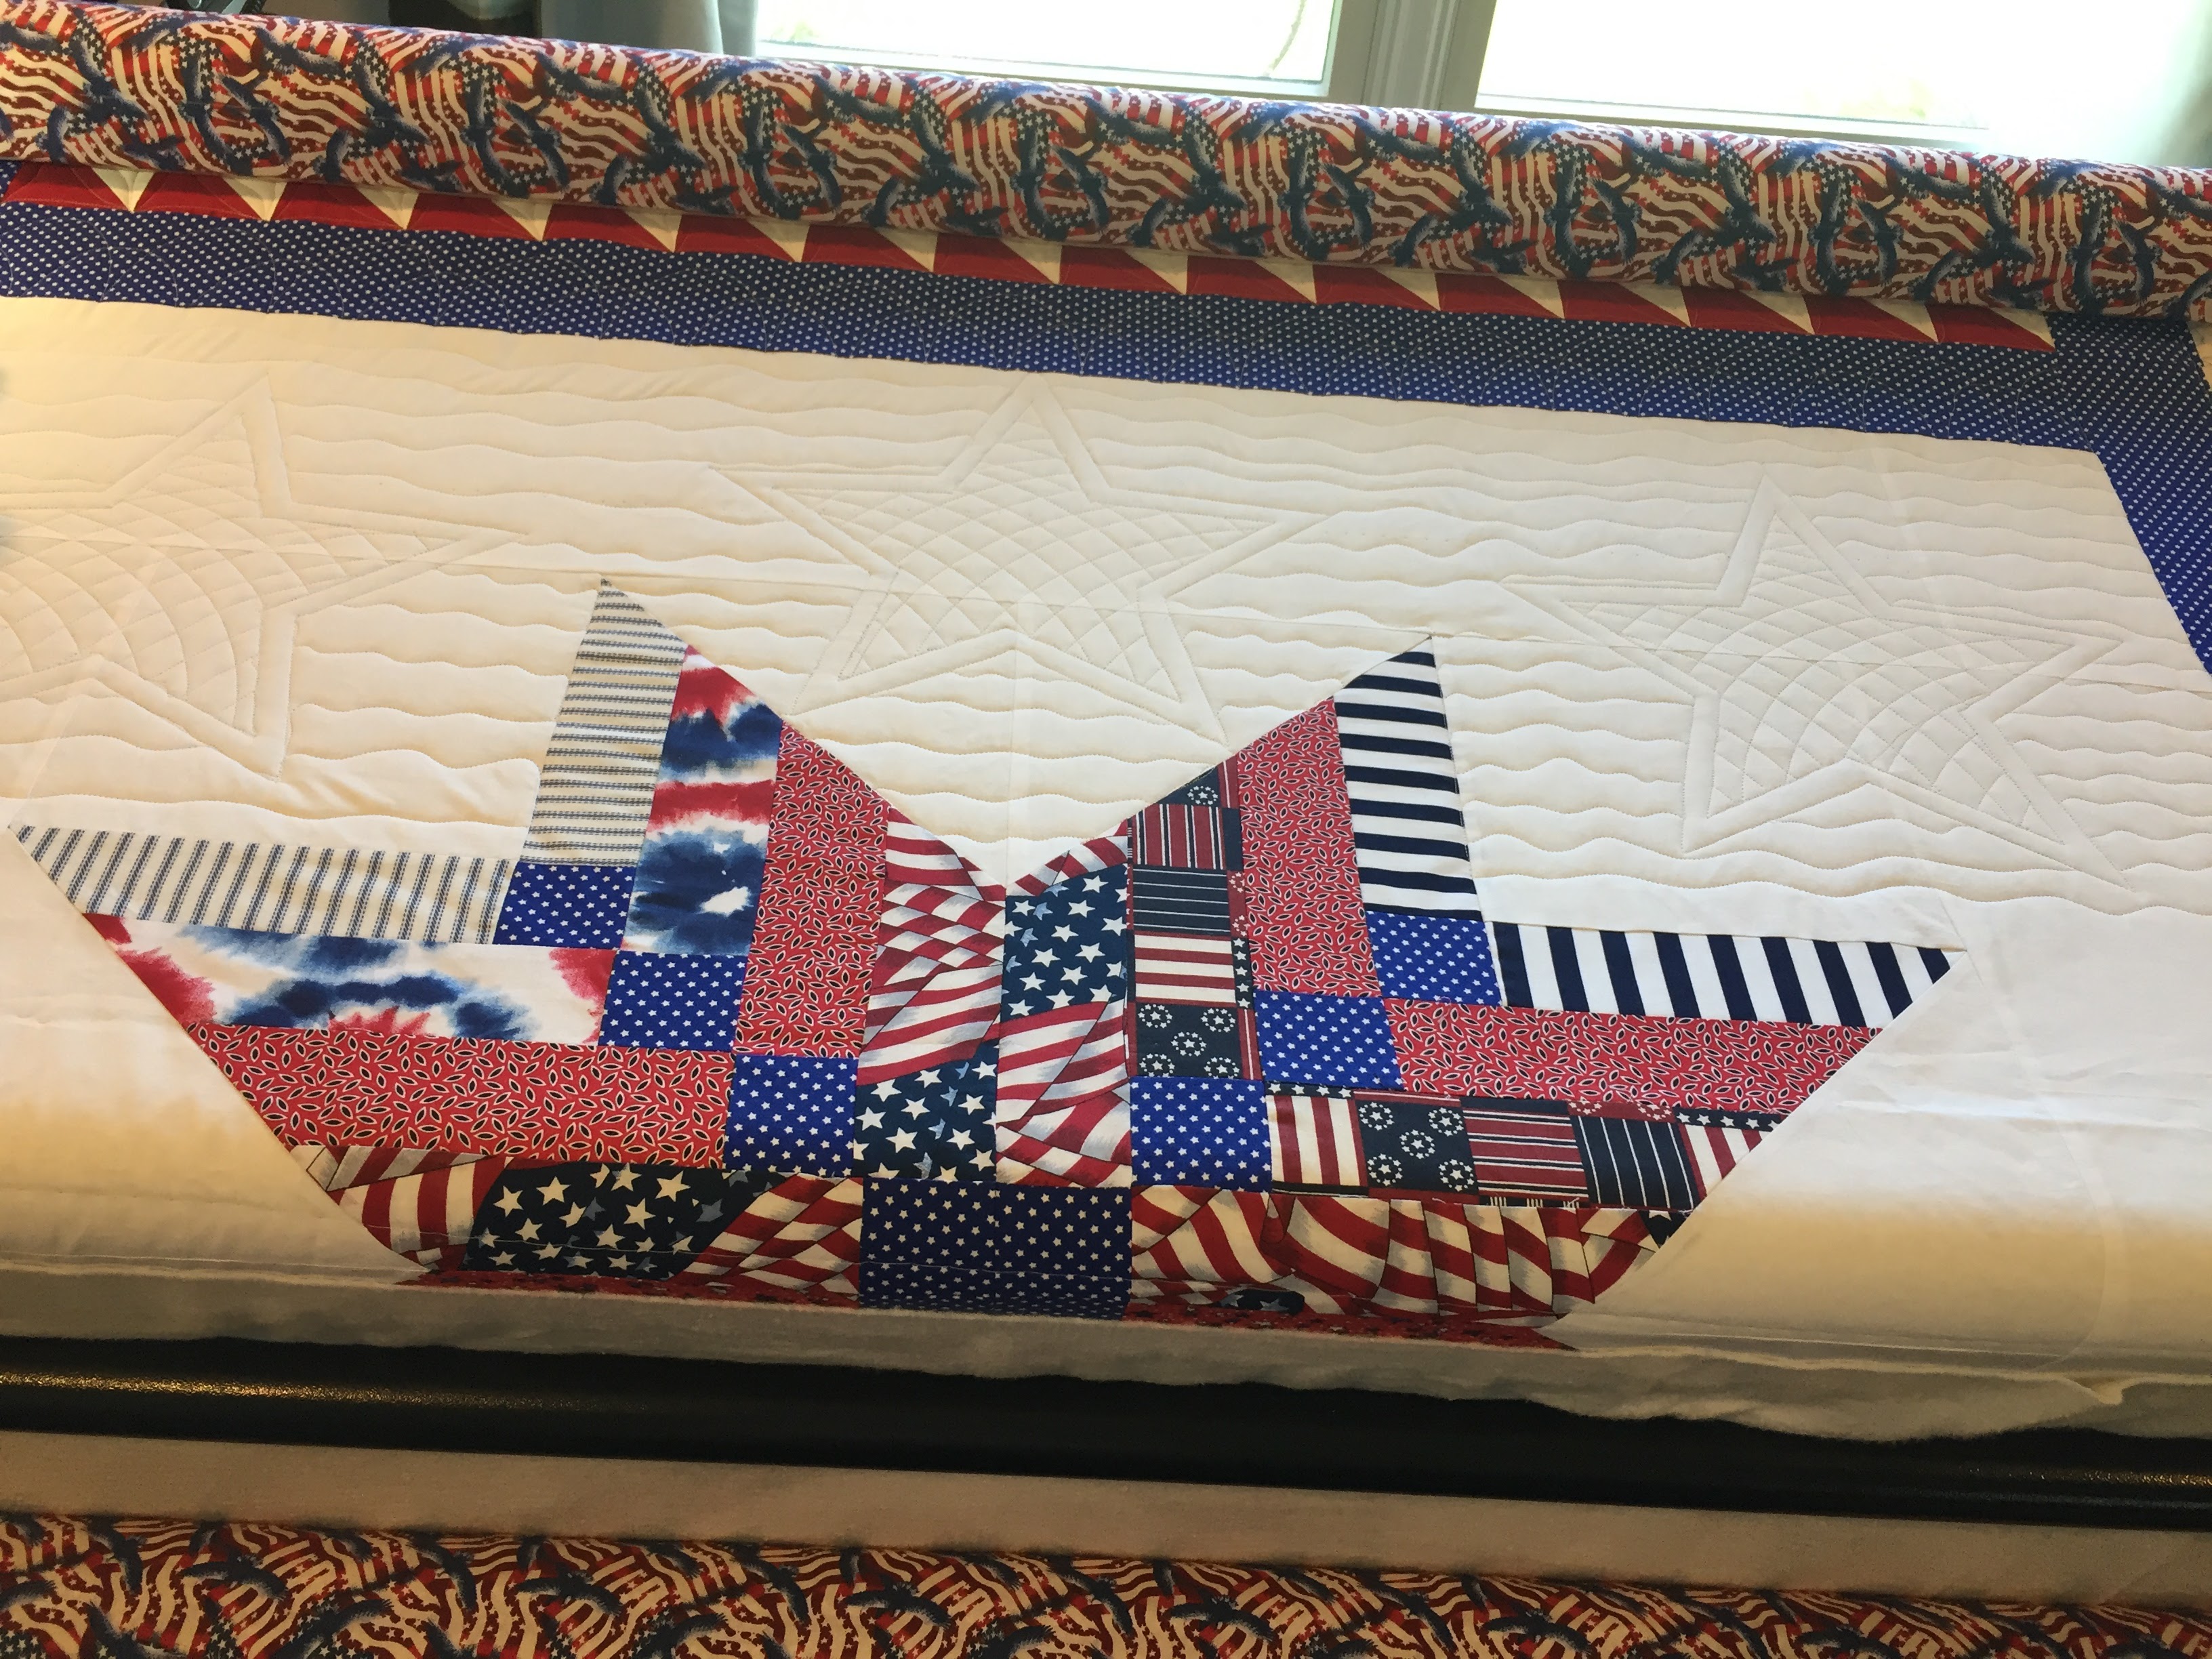 I will share an update once I’ve finished the whole quilt. I am really happy with how it is coming along. Hopefully I’ll have fully kicked this nasty virus soon and be back to quilting full speed.

It looks great and what a good use for washi tape!!
Thanks!
Your Stars and crosshatching are stunningly impressive as well as educational! Your work gives me lots to aspire to, and I’m about ready to jump on the longarm train, I think.
Thanks! You must be so excited. There is a great group of quilters in Facebook called Beginner LongArm Quilters.
I’m going to go look for it right now! Did you start yourself a business Facebook page? I’m thinking I’ll do that eventually.
I haven’t yet. I’ve been focusing on building my skills for now.
I’m focusing on getting the longarm and then I’ll worry about the rest. 😀
What kind are you shopping for? If you don’t mind me giving unsolicited advice – consider a used machine. I am so happy with mine, and it is a 2004. It doesn’t have a computer, but that suits me quite well. I do have a stitch regulator, which I use and love.
I’ve been looking at all kinds, but especially the Juki because I love my sewing/piecing machine, but I’m still waffling a bit. I made a lengthy blog post about it recently. I want to buy from someone who can fix it, but that’s apparently harder to find than you’d think.
Great job. The washi tape is a good idea and it will not leave any residue. Good idea.
Thanks!
What a beautiful design. Great quilting. Can’t wait to see the whole quilt (front and back).
Thank you!
Nice use of the washi tape. I can see how that could be a big help.
ooo, clever quilting! I like it! Thanks for sharing – I learn something new every time I read your blog.
Thanks! That is such a great thing to hear.
oOOOh!!!! Wow, am I glad you shared this in the FB group. I’m super happy to learn this strategy, as ruler work and detailed custom is the kind of quilting I always gravitate toward, and being a new longarm owner, can use all the tips and knowledge that folks are willing to share!
Thanks, and welcome to my blog! That FB group has helped me so much. I’m glad this tip helps you, too.
I see no wobble in the middle anyway. Great thinking and beautiful execution.