I seriously do not understand where this month went. It feels like just yesterday that I was typing up my March project on the last day of the month, but that was 30 days ago! Here I am again, posting my project for Island Batik on the last day of the month. I hope you will agree that it was worth the wait.
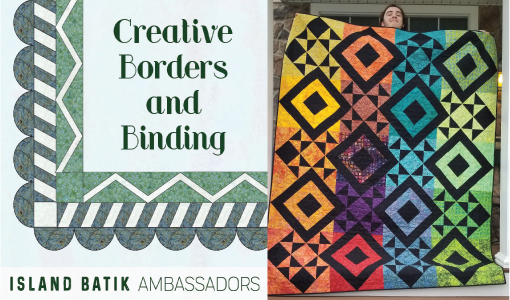
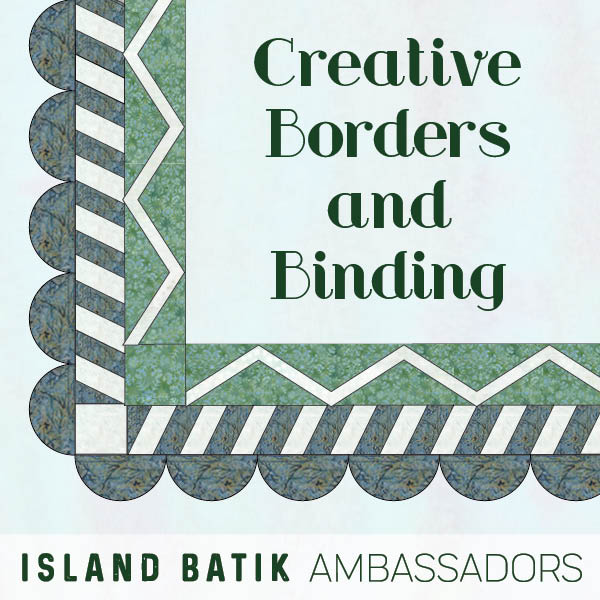
The Island Batik Ambassador challenge for April was to get creative with our borders or bindings. I cycled through a lot of ideas for super fancy bindings, alà Bethanne Nemesh, but I didn’t feel like any of them could stand up to the dramatic graphic impact of this quilt. So, I designed a border to complete the motifs, rather than just end at the binding. (Don’t worry, there will definitely be some crazy swagged flange and beaded binding coming this year.)
This project started back in March, as part of the East Village Vibrance quilt along with Justin, from Keaton Quilts. I work with Justin at Gotham Quilts, and I get so excited when he releases a pattern. His work is always gorgeous. I have made one of his patterns before – check out my version of Squareburst.
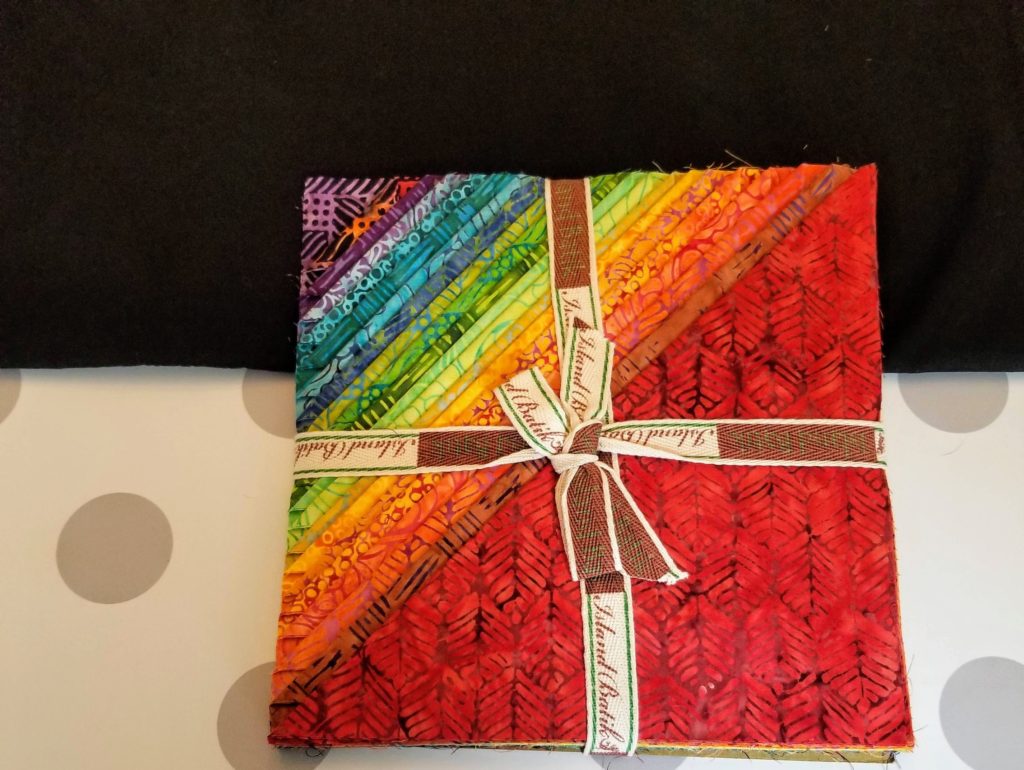
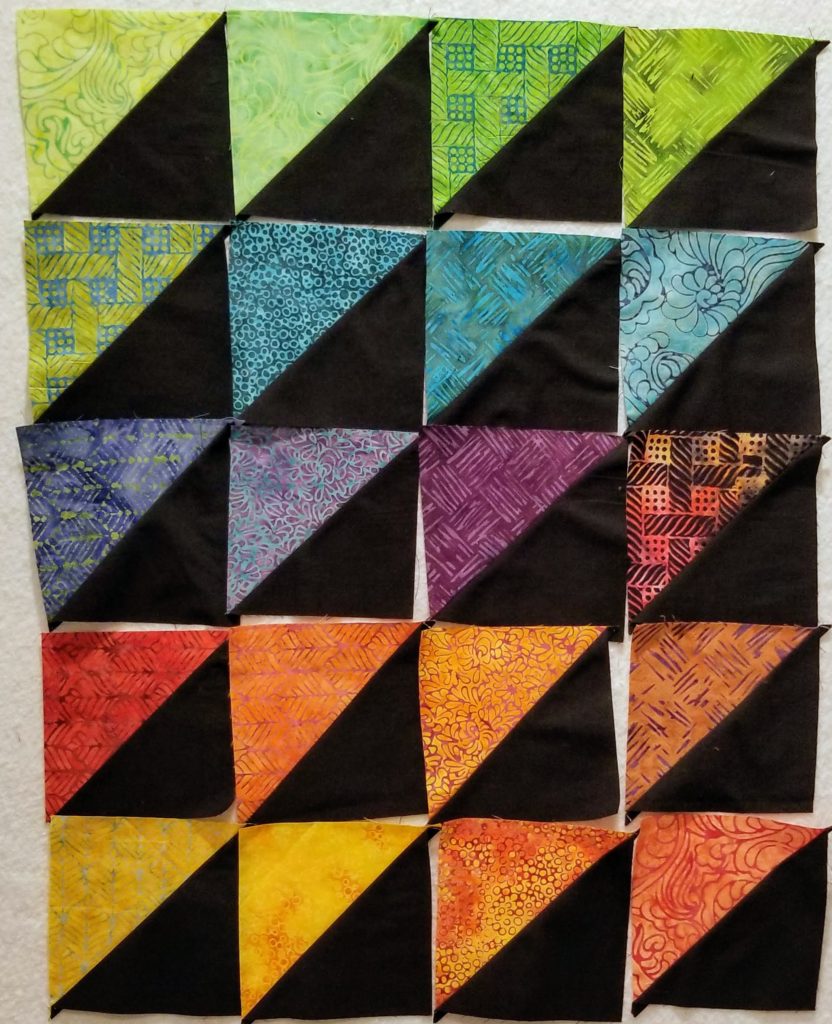
I began with my fabric pull – Cascadia by Claudia Pfeil for Island Batik is a glorious rainbow. (Available in quilt shops in May!) I paired it with solid black for a really dramatic effect. Since I started with a 10″ stack, I altered the pattern a little bit and so my blocks finish larger than the original. I’m not a good pattern follower, obviously. I just couldn’t bring myself to do extra trimming.
This quilt is entirely made of half square triangles. I picked up a special Bloc Loc ruler for the occasion. You know I don’t need an excuse to buy a ruler, but Bloc Locs are great when you have a large number of HST units to trim up. If you haven’t tried one before, the difference with Bloc Loc is that they have a channel cut into the ruler, where your seam goes. That locks the ruler and the block, so there is no slipping. You get nice, accurately trimmed units every time.

To keep myself organized, I decided on my color layout first. I laid out one of each HST unit, arranged them, then took a photo and printed it. This helped a lot, since the quilt is made of two blocks that alternate. I had to make sure I had the correct block in the correct color. No random colors arrangements in THIS studio.
Then it was just a matter of following Justin’s great instructions.
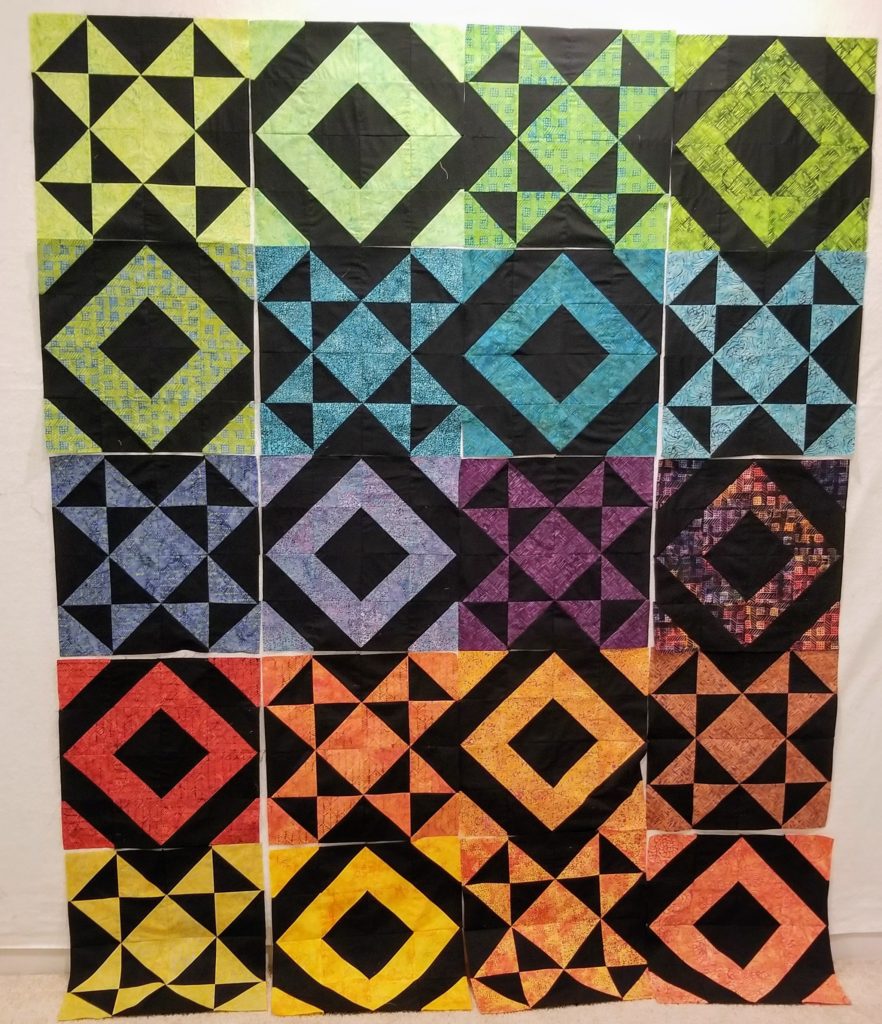
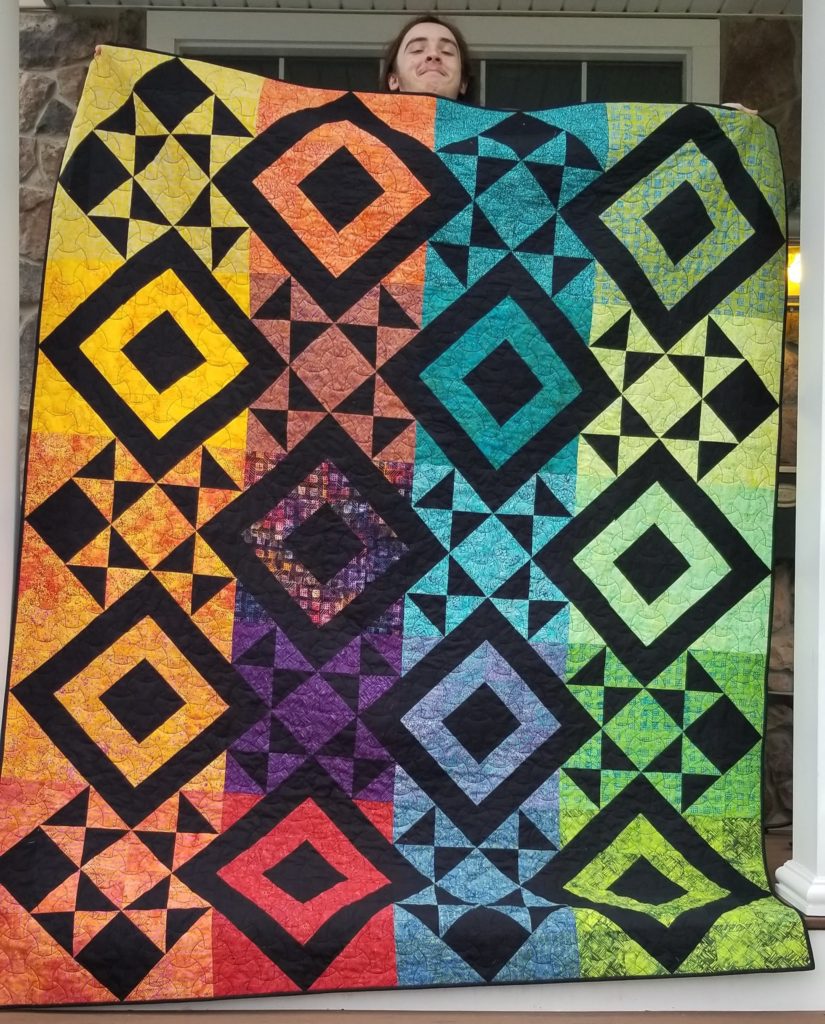
Tah dah! It sat like this for almost a week. I didn’t like the color flow, and I was upset that my layout was asymmetrical. That was my fault, as I stuck with my layer cake and didn’t add extra colors. My first solution was to order another layer cake and add an extra row of blocks. Once the layer cake arrived, I realized I didn’t want to do that much more work. I was also struggling with the creative binding. The idea I wanted to go with would just be lost with this strong graphic. I realized I could add more partial units to the border to make the motifs float. So, that was what I did. I alternated solid squares to match the colors with half square triangles to complete the black pattern.
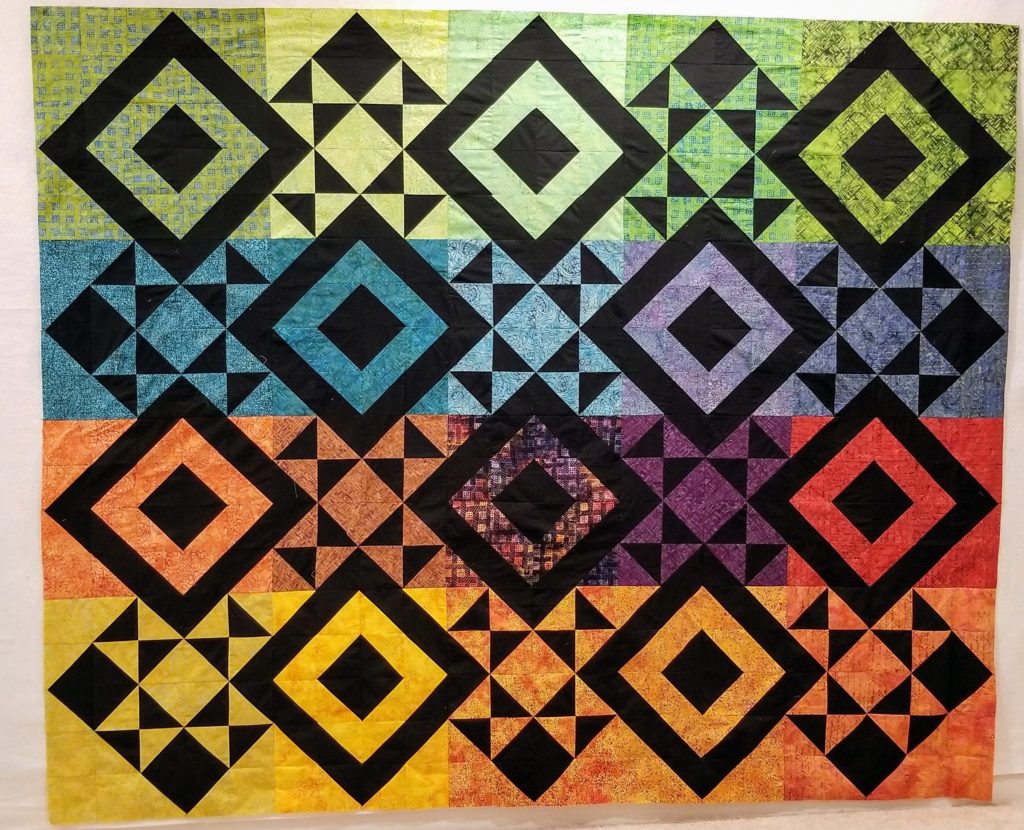
As you can see, I also moved the colors around a bit. I was constricted by what blocks were in which color. It was sideways on the wall, because I’m short. I really like the impact of completing the shapes. It was so easy to design the pieced border – I just added half square triangles the same size as the original pattern, and solid squares in the same size. It’s a good thing I ordered that extra layer cake, too. I needed more fabric!
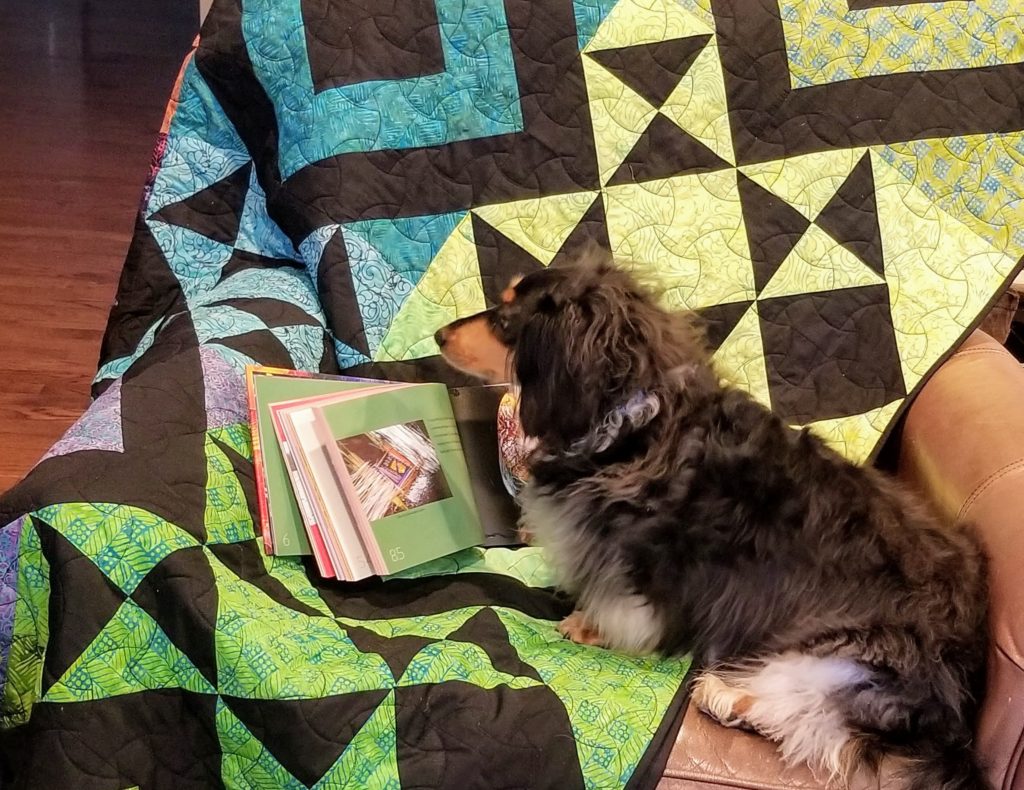
I quilted the quilt using a pantograph from Urban Elementz. Dimensional Web is fun and adds great texture without taking away from the pattern. I used black thread, and it blends right in. A black binding finished it off.
Quilt Specs
Dimensions – 70″ x 87″
Fabric – Cascadia and Solid Black from Island Batik
Pattern – East Village Vibrance by Keaton Quilts
Quilting – Dimensional Web by Urban Elementz
Thread – So Fine by Superior in Black
Batting – Warm and Natural
How do you like to finish off your quilts? Do you always follow the pattern, or do you wander off path like I do?
You should check out my fellow Island Batik Ambassadors for more inspiration with creative borders and bindings.
Carolina Asmussen ~ Carolina Asmussen
Megan Best ~ Best Quilter
Pamela Boatright ~ Pamela Quilts
Jennifer Fulton ~ Inquiring Quilter
Vasudha Govindan ~ Storied Quilts
Joanne Hart ~ Unicorn Harts
Mania Hatziioannidi ~ Mania for Quilts
Carla Henton ~ Create in the Sticks
Connie Kauffman ~ Kauffman Designs
Emily Leachman ~ The Darling Dogwood
Denise Looney ~ For the Love of Geese
Leah Malasky ~ Quilted Delights
Sally Manke ~ Sally Manke
Maryellen McAuliffe ~ Mary Mack’s Blog
Carol Moellers ~ Carol Moellers Designs
Gail Renna ~ Quilt Haven Threads
Sharon Riley ~ Sew Riley Designs
Michelle Roberts ~ Creative Blonde
Gail Sheppard ~ Quilting Gail
Jennifer Strauser ~ Dizzy Quilter
Jennifer Thomas ~ Curlicue Creations
Alison Vermilya ~ Little Bunny Quilts
Sandra Walker ~ mmm! quilts
Suzy Webster ~ Websterquilt
Janet Yamamoto ~ Whispers of Yore
This quilt is wonderful!!! Love everything about it. Especially the border. It’s divine! I listen to the quilt to decide how to finish. I don’t like creating binding first or anything like that since I may change my mind. Well done, Jen!!!
I usually spend time looking at my quilts, talking with others getting feedback on which way I should go with them. I love constructive criticism, I really think Oscar is learning how to become more well rounded in his reading!
Beautiful quilt
Love doing that with borders! Its a very nice finish and very good that you got extra fabric to finish as you wanted.
The quilt looks perfect with the designs extended out into the borders. Nicely done!
Thanks, Yvonne!
I rarely follow a pattern to the letter. I’m constantly asking “what if”…