
It’s almost time to turn in my completed chair to the Metuchen Downtown Alliance. I’m getting a little nervous, because it still looks like this.

This is mostly just teasing Linda, who is in charge. I’ll be done in plenty of time. In fact, this week I quilted up my custom fabric, and it looks spectacular. I’m so excited for the next steps, but for now, I’m stuck waiting for paint to dry. In the rain.
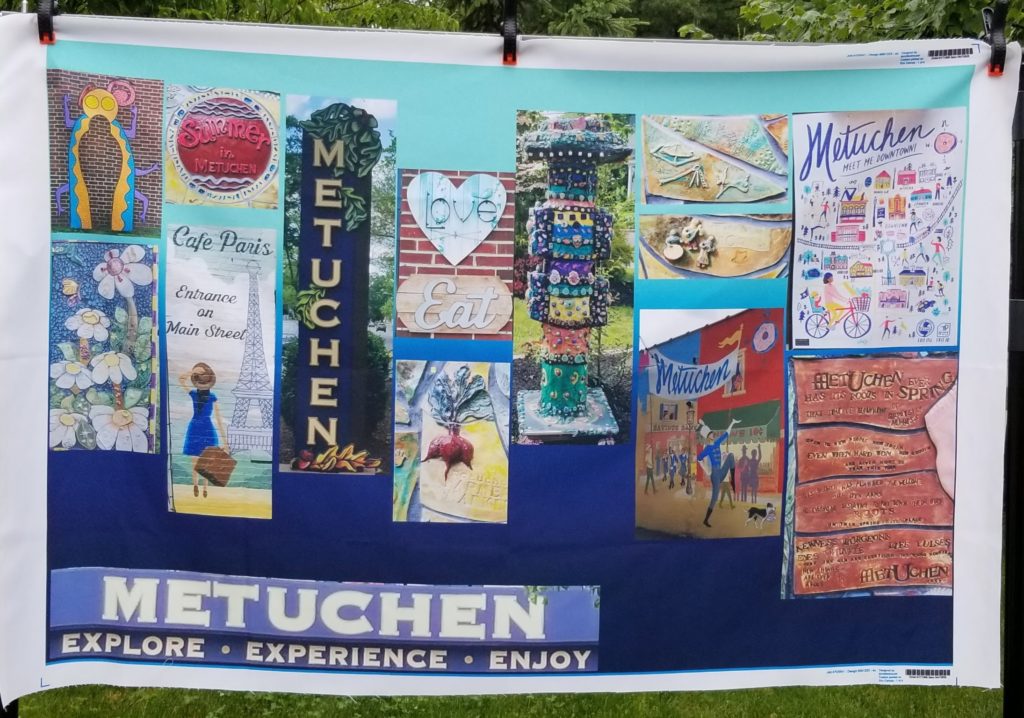
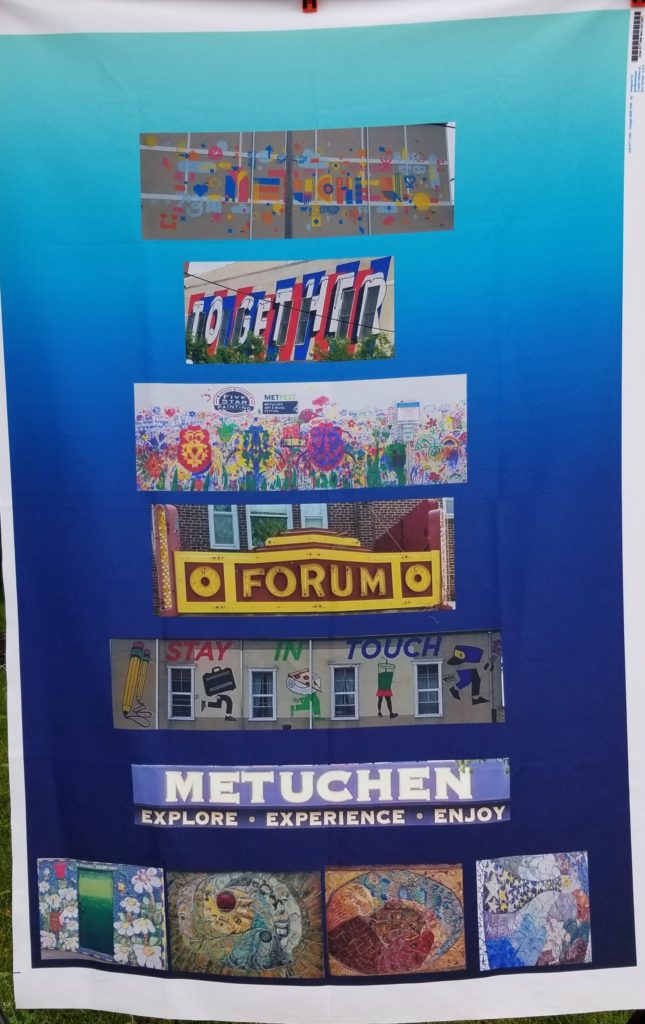
Here are my Spoonflower panels. Don’t they look awesome? They are made of Eco Canvas, which is 100% polyester. The colors are so nice and rich. I’m mildly concerned that my math wasn’t spot on for some of the conversions of inches to pixels. This will be a bit more creative than I was initially planning.

For the quilting step I decided to use a blue silnylon tarp for the backing. Mom found it in her camping supplies, and I put it to good use. One more thing out of the closet. It was exactly the right size for this project, and waterproof. Kismet!
I used Hobb’s Thermore batting for the middle. It is the leftover of what I received it last year as part of my Island Batik Ambassador program. It is a poly batt, so more waterproof than my usual materials. It is really thin, which is good for this project. I don’t want lots of loft, but I do want some texture. I’m hoping the polyester will last longer in the summer weather than my usual cotton or wool would.
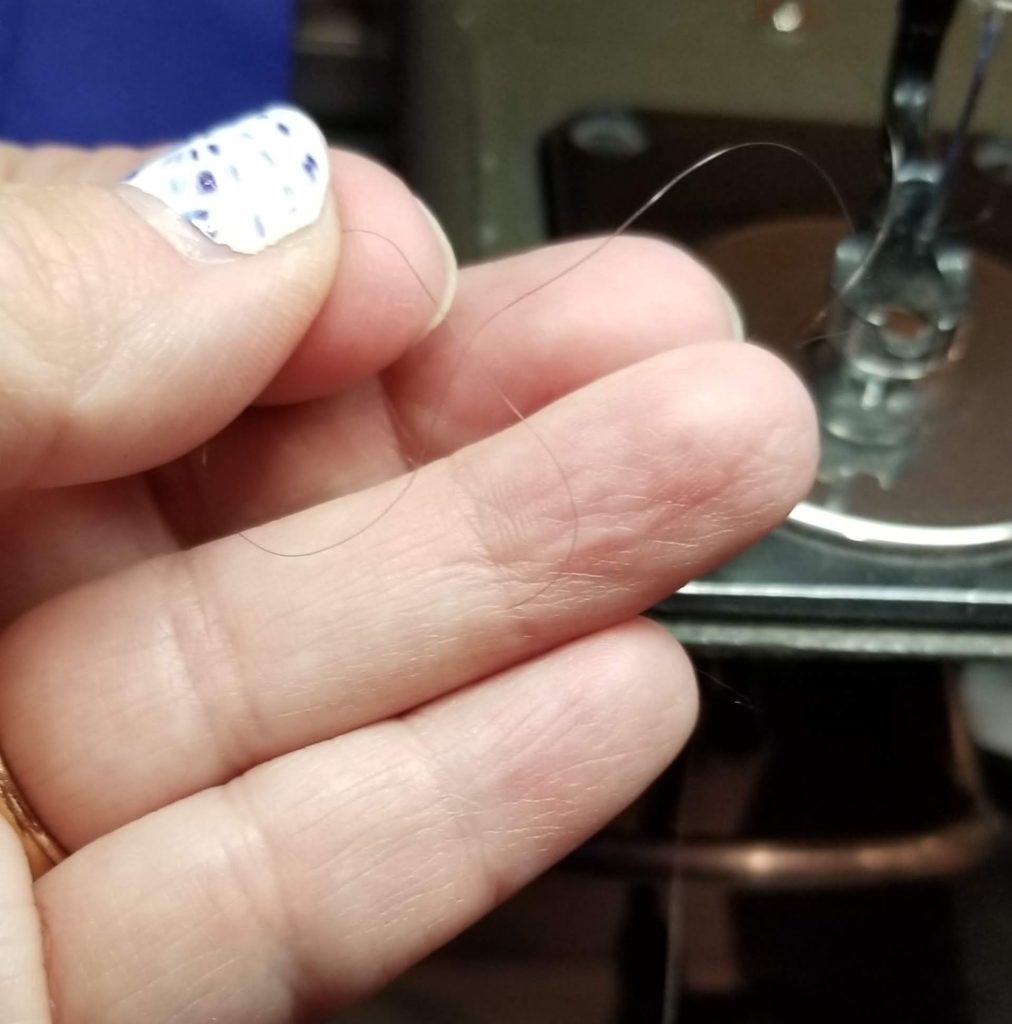
I used Superior Threads MonoPoly (pronounced mono-poly) in smoke. Again, I am just looking for texture on this piece. I didn’t want my thread taking away from the images I captured. Looking at the thread makes me think maybe I should just have used some of my hair.
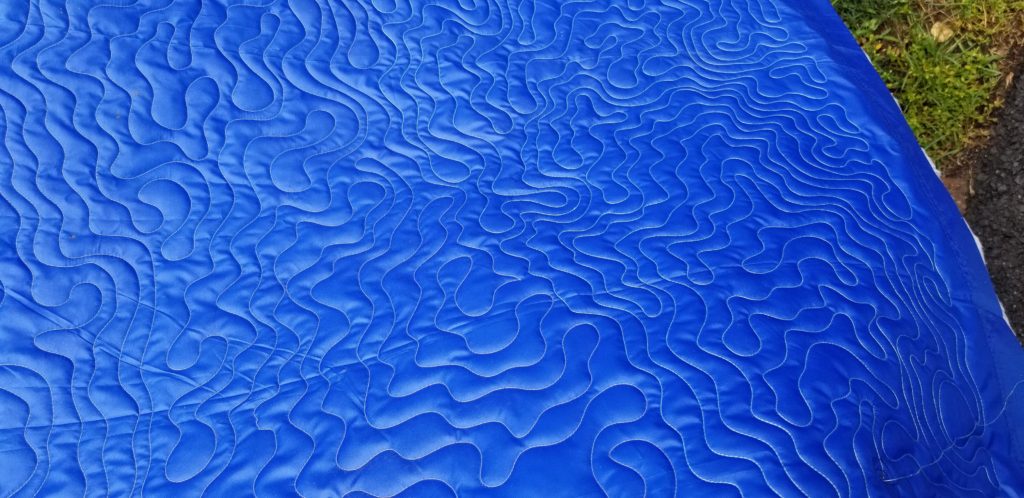
I quilted with a meandering topographic map style pattern. Want to see me in action?
Obviously, quilting one handed while looking through the phone is a challenge. I have yet to find a setup I like to record quilting.
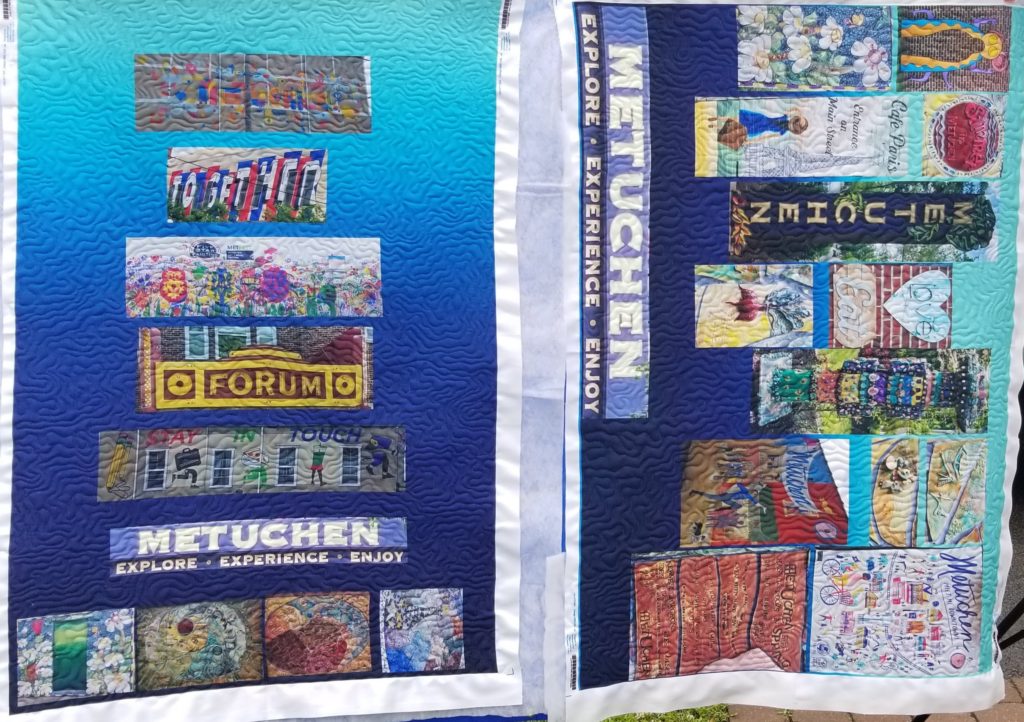
Here are the panels all quilted. I really like the texture.
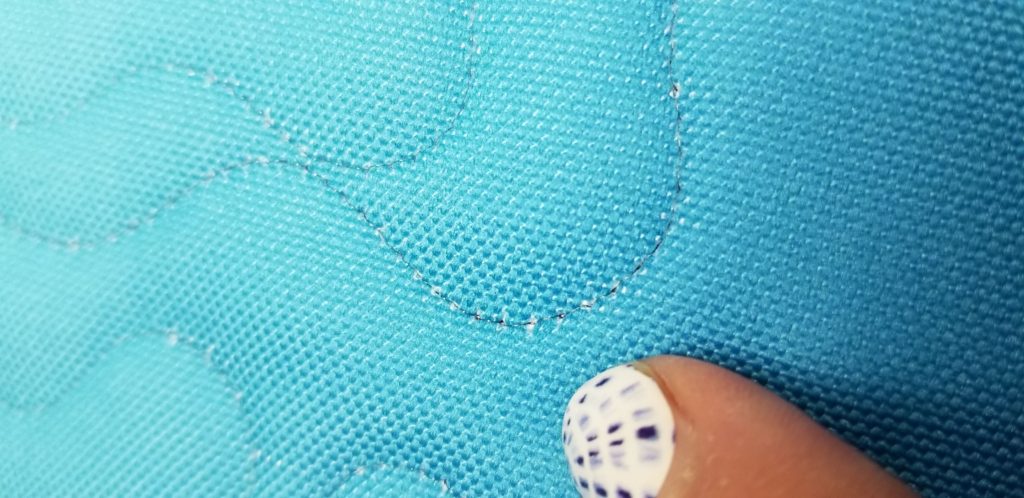
My only issue with quilting on custom printed poly, which I have done before, is that you get these little white spots. I think it is the thread in the weave pulling around, and exposing un-dyed bits. I’m just going to consider it “sparkle” and call it intentional.
Mom and I were discussing strategy for applying the fabric to the chair today. I was originally planning to just wrap the quilted sections around each panel and staple on the back, leaving raw edges exposed. Then I would get a separate piece of fabric, fold the edges under, and staple that on, too, to cover the raw edges. Then I need to screw through the front panel to assemble the chair. That makes me sad. So, I’ve come up with a much more annoying plan.
I’ll be attempting to turn the raw edges of the fabric under and stapling along the sides of the chair, leaving the back panels just exposed paint. I’ll attach one edge, screw the panel to the chair, then attach the next edge, one piece at a time, all across the chair. This way the staples won’t show all that much, either. It’s a good thing I’m only doing this one chair. Cross your fingers for me.
Mom and I spent the afternoon painting the pieces of the chair with some fancy paint. It is going to be a shiny bright blue wherever it isn’t covered with fabric. We have blue hands now. Why do I never think of gloves before I make the mess?
Have you come up with any hare-brained adventures for the summer? I’d love to know that I’m not the only one on the crazy train.
Oh, and if you are in the area, on June 28th there will be an art soiree in downtown Metuchen from 7-9 PM. They will show off the chairs and new pavilion, and have poetry and interactive dance with an African dance troupe. I’m sure it will be a blast.
I cannot wait to see the finish! Glad you didn’t use your hair – hehe.
This is coming along so nicely. Love the texture. Good luck with the assembly! The craziest thing I’m doing is to try and finish a quilt within the month of June. I’m slipping a little behind; it’s taking me longer than I thought for attaching the borders.
Borders take time. Your quilt is looking great.
Thanks, I’m loving these projects! Can’t wait to see the chair!!!
It is coming along nicely! Can’t wait to see the finished project – nice new professional shot of you too!
Thanks! I have a friend who does photography, and she’s fantastic.