
Hi! It’s my day to share what I made for the Morris Mist Blog Tour, using a new collection from Island Batik. I was so excited when Sherry from Powered by Quilting asked me to use her newest signature collection in a project. I love participating in Sherry’s blog tours – she is so organized! I appreciate her even more now that I’ve run a few blog hops of my own. She is doing a lot of behind the scenes work to make this fabric launch successful.
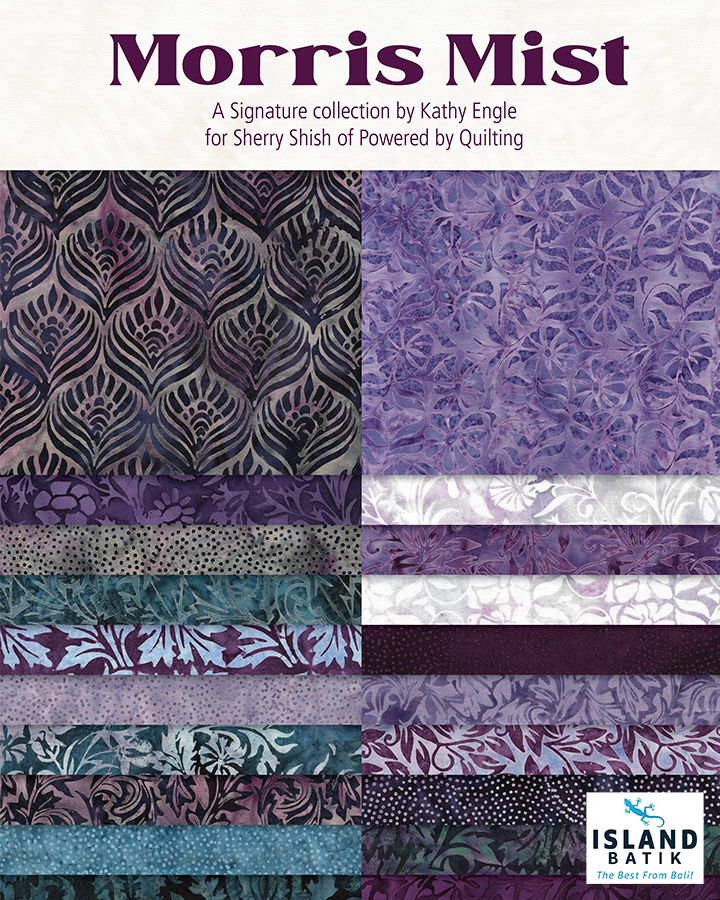
Here is the official photo of the fabric from Island Batik. Isn’t it luscious? These purple collections are always so good. This is why I have so many purple scraps in my stash.
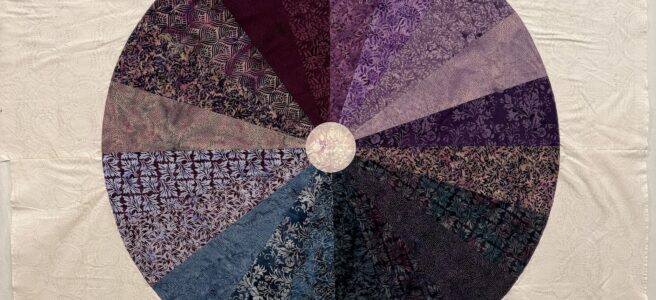
I had the idea for this quilt a while ago. I was really excited to play with the Christmas Tree Skirt die from AccuQuilt earlier this year, and I thought it would be perfect to make a large quilt appliqué, and I was right! Look at this beauty.
I have some pointers for you if you want to make your own. I’m not writing a pattern – it’s too much work.
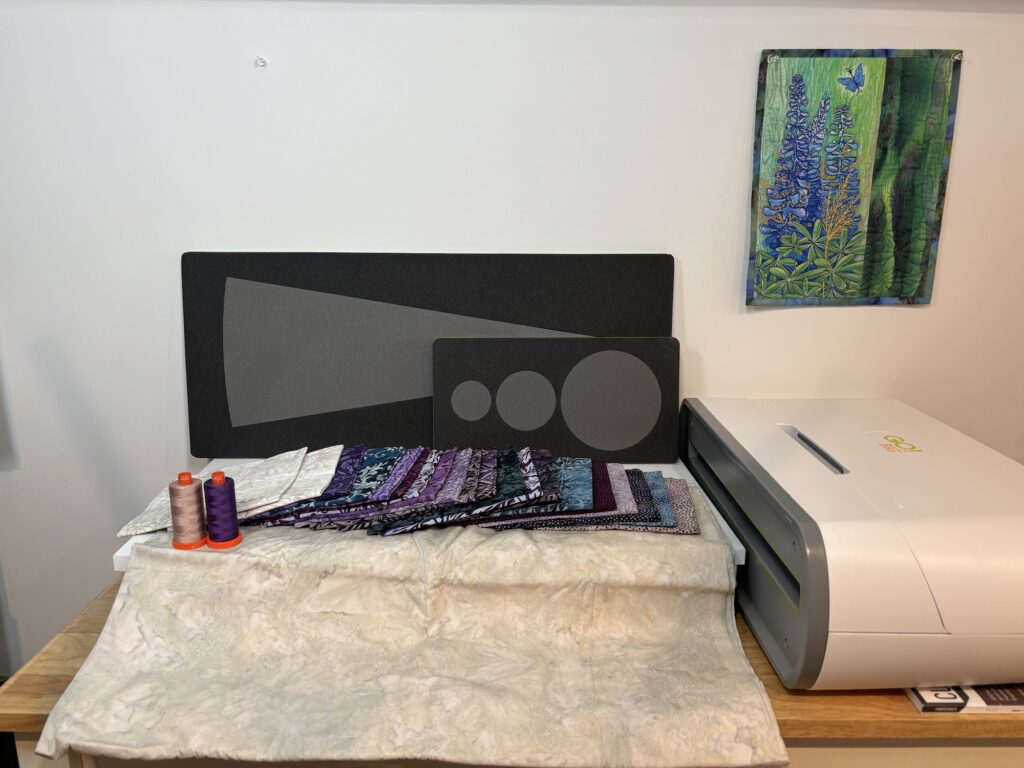
I used the following dies:
I used 19 fat quarters and 3.5 yards of background, for a quilt that will measure 63″ x 80″ when finished. (One of the fat quarters is just used for the center circle.) I have 17 fat eighths left (1/2 of a fat quarter). They should be more than enough to make the binding. You only need 10 fat quarters to make the entire fan.
Cutting Considerations
First off – if you use a fat quarter collection, you need 20 blades to make one fan. This is perfect for an Island Batik collection, because their collections always have 20 pieces. Unfortunately, they often have a couple of outliers color-wise. This collection has 18 prints that are colors, but two that read as white. Those two whites would have blended into my white background, so I set them aside. This means that two of the blades in my fan are repeats.
The second important point to keep in mind with this project is the direction of the grain of fabric going through the die. AccuQuilt recommends always putting the fabric through the die with the straight of grain aligned to the long edge of the die. This is because as the die goes through the cutter, pressure is put on the fabric and can stretch the fabric out, distorting the final piece. This will be more noticeable on a large piece, like the tree skirt blade. If you put some of your pieces cross grain and some of them straight grain, there is a difference of about ¼” between pieces, with the pieces on cross grain being longer.
If you are using fat quarters, you can’t cut the blades on the straight of grain – the pieces are too small. So, I take my fat quarters and cut them in half, so I get pieces that are 9” x 22”. This will give me 2 blades per fat quarter, so you only need 10 fat quarters, plus yardage for backing, and a piece for a center circle. (I’m using 18, because that is the fabric collection I was given to play with.)
You can accommodate uneven cuts with pinning and keeping the longer pieces on the bottom, so that the feed dogs ease in the fullness evenly. Or, just cut everything on the cross grain, so they are all about the same.
Fabric placement
I always put my pieces up on my design wall, then step back to get a good look. I move pieces around until I am happy with color and value distribution.
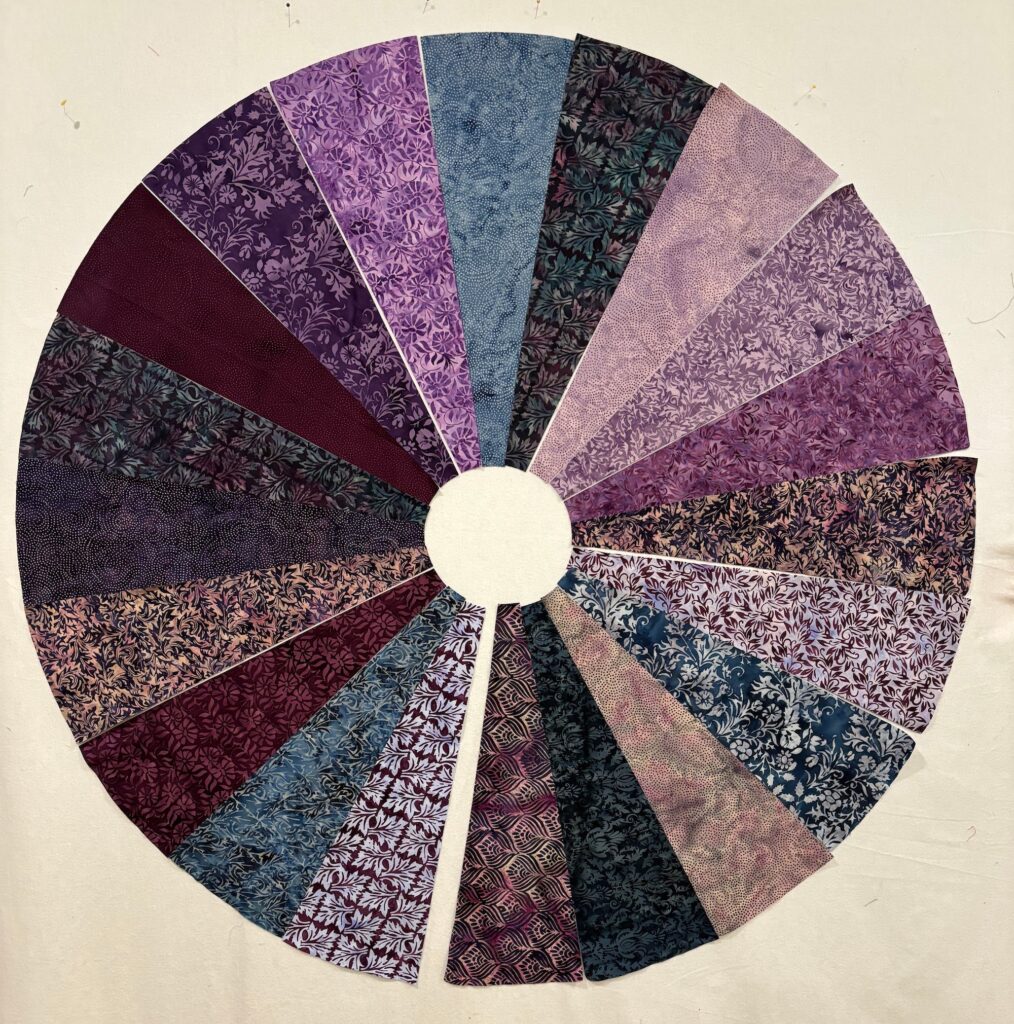
Fan Assembly
When I piece my fan, I align the outer edges of the blades carefully. I want the outer circle to be as close to perfect as can be. I don’t worry too much about the center, because that will get a circle appliqué covering up any slight imperfections.
I stitch my blades together into pairs, then pairs into fours, then just stitch them all together in a rush, because I get so excited.
I press my seams open. (Feel free to debate “press open” versus “press to the dark side” in the comments.) I prefer the flatness I get with seams that are pressed open.
Backing
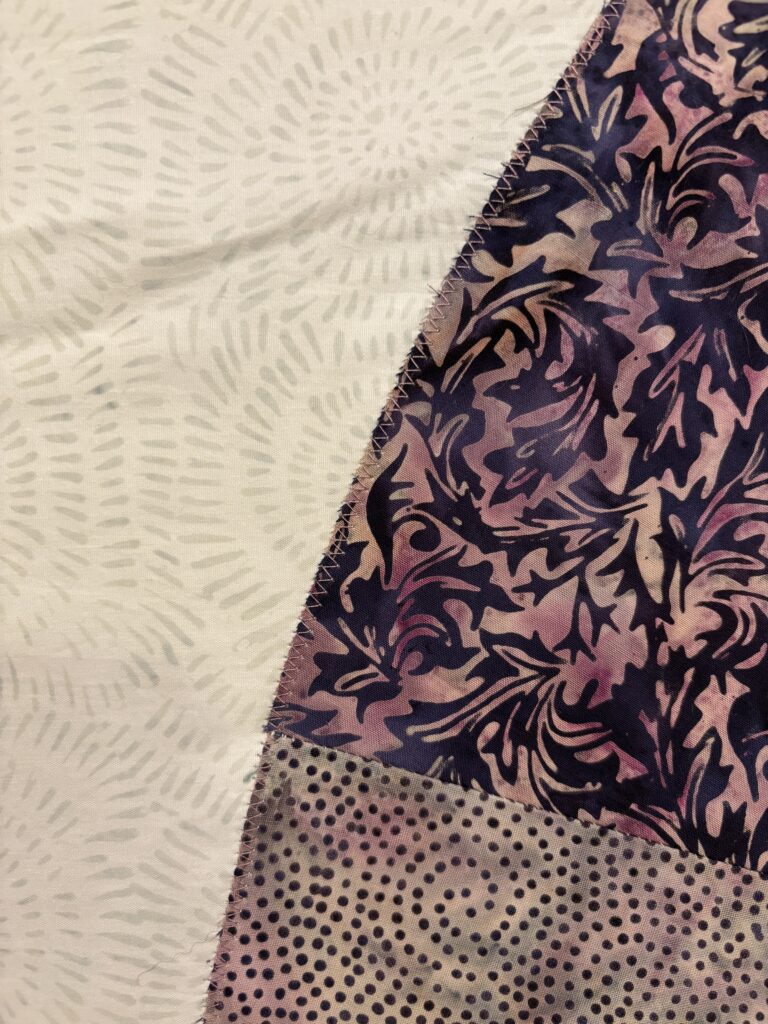
Once the fan is assembled, it is time to prep the backing. For this quilt, I started with a 3 ½ yard cut of Island Batik Coconut, which is one of my favorite neutral backgrounds. I love that it “reads” white, but is a little more interesting than a solid. That’s actually why I love batiks – the subtle color changes add a lot of interest to my quilts.
I cut the piece half along the width of fabric, cut off the selvages, then sew the long edges together, so I have a piece that is 63” x 80”. That long seam gets pressed open. Then, I fold it in half along the seam, and fold it in half again so it is in quarters. I press all of the folds, so I have registration marks to line up my fan.
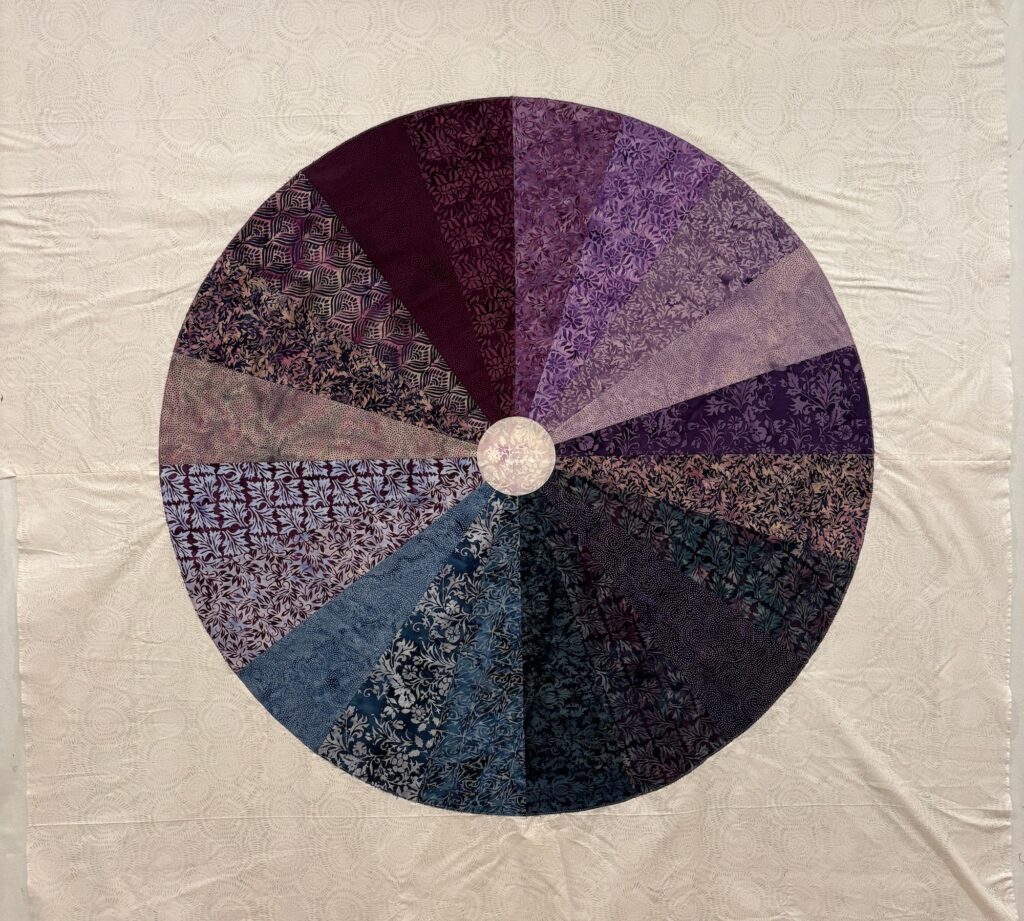
Appliqué the Fan
On my first attempt to line up the fan, I pinned it in place, then brought it to my sewing machine, only to discover it had shifted and was all puckered. Then I remembered that my friends at AccuQuilt had sent me a can of June Tailor basting spray to try out. You may know that I normally shun most sticky stuff in my studio, but the basting spray was perfect for this. I just turned back part of the fan, gave it a light spritz of the spray, then smoothed it in place. Then I repeated for the rest of the fan. I let it sit for a few minutes, then brought it to my sewing table and zig-zagged the outer edge to the background.
I used a muddy light purple thread – it blends nicely with all of the fabric varieties in the top.
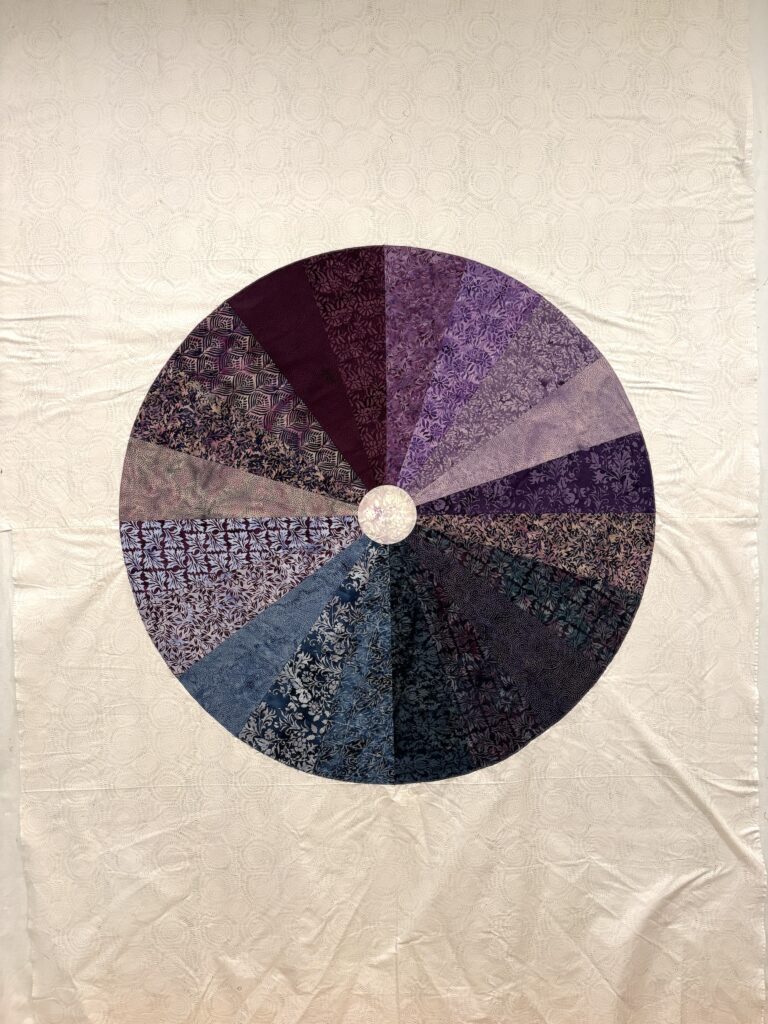
The last step is to make a circle to cover the center. I used the largest circle on my die to make my center. I used one of the lights I set aside from the original collection, added fusible to a 6” square, then cut it and fused it in place. Then I zigzagged it down. Tah dah! Finished top.
I wish I had been able to finish quilting on this piece, but I’ve been having some longarm challenges this week. I should be able to have it finished with an update next week.
Q&A
- Why didn’t I use fusible on the fan blades?
- That would be a lot of fusible – I’m lazy and frugal.
- I wouldn’t be able to press the seams once the pieces had fusible on the back.
- Am I worried about the edges fraying?
- I enclosed most of the edge with my stitching, but I really don’t mind a bit of fraying on my appliqué. A good friend told me he liked to see his appliqué quilts fraying a bit over time – it tells a story of their life. I love that idea.
- I enclosed most of the edge with my stitching, but I really don’t mind a bit of fraying on my appliqué. A good friend told me he liked to see his appliqué quilts fraying a bit over time – it tells a story of their life. I love that idea.
- Why don’t I just follow the best practice procedures laid out by AccuQuilt?
- This is a lifelong problem. I don’t like to follow instructions, particularly when playing, which is what quilting is to me. The more “important” a rule is, the more likely I am to break it. Sorry.
Make sure you follow the rest of the awesome quilters on the Morris Mist Blog Tour! At the very least, you need to visit Sherry. She has some bundles available for sale in her shop, and she is hosting a giveaway!
- December 1 – Sherry Shish of Powered By Quilting
- December 1 – Leanne Parsons of Devoted Quilter
- December 2 – Brianna Roberts of Sew Cute And Quirky
- December 3 – Jen Strauser of Dizzy Quilter <- YOU ARE HERE!
- December 4 – Kate Starcher of Katie Mae Quilts
- December 5 – Sally Williams/Sally Jewell of Sallys’ Sewing Circle
- December 6 – Tammy Silvers of Tamarinis
- December 7 – Kathryn LeBlanc of Dragonfly’s Quilting Design Studio
- December 8 – Anja Clyke of AnjaQuilts
- December 8 – Sherry Shish of Powered By Quilting
Wow thanks for the description …always wanted to try a fan design!