Hooray! It’s Day 1 of the My NYC Panel Blog Hop today. Have you see the My NYC Pillow panel? The team at Gotham Quilts designed it to celebrate the city they love.
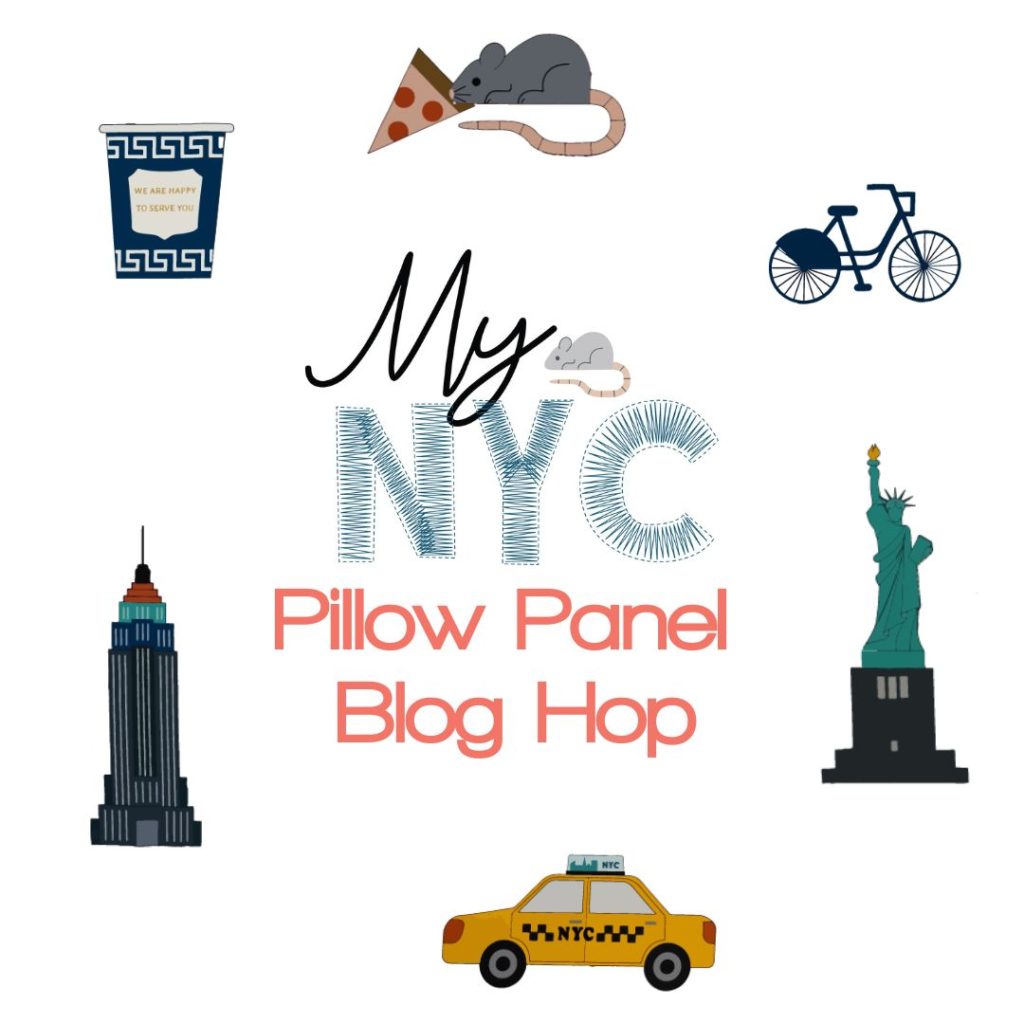
It has a set of six motifs, all of which can be worked up into fun little pillows. Our blog hop assignment was to get creative, and make things other than pillows. I’m so excited to share all of the creative projects my fellow makers came up with!
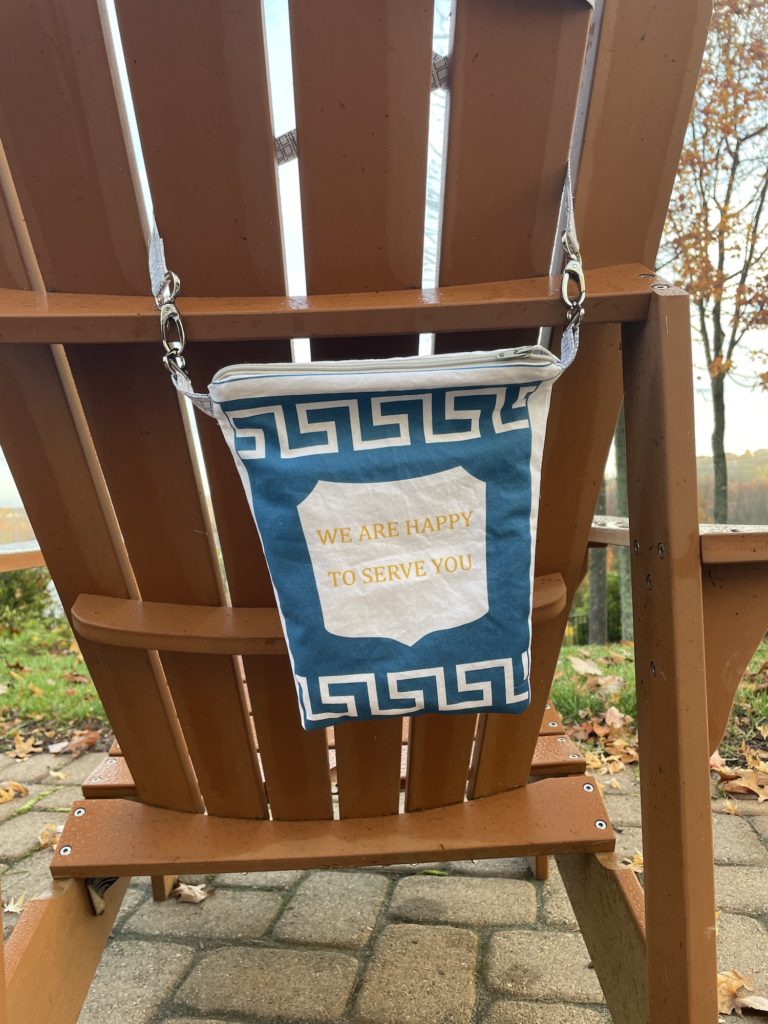
Today I’m sharing my project, which is a cross body bag that is the perfect grab and go accessory to stand in line at the local coffee house. I think I’ll put my Starbuck’s gift card, a tin of breath mints and some chapstick in mine, and leave it by the front door. The finished bag measures 8″ wide by 10″ tall.
For this project you need
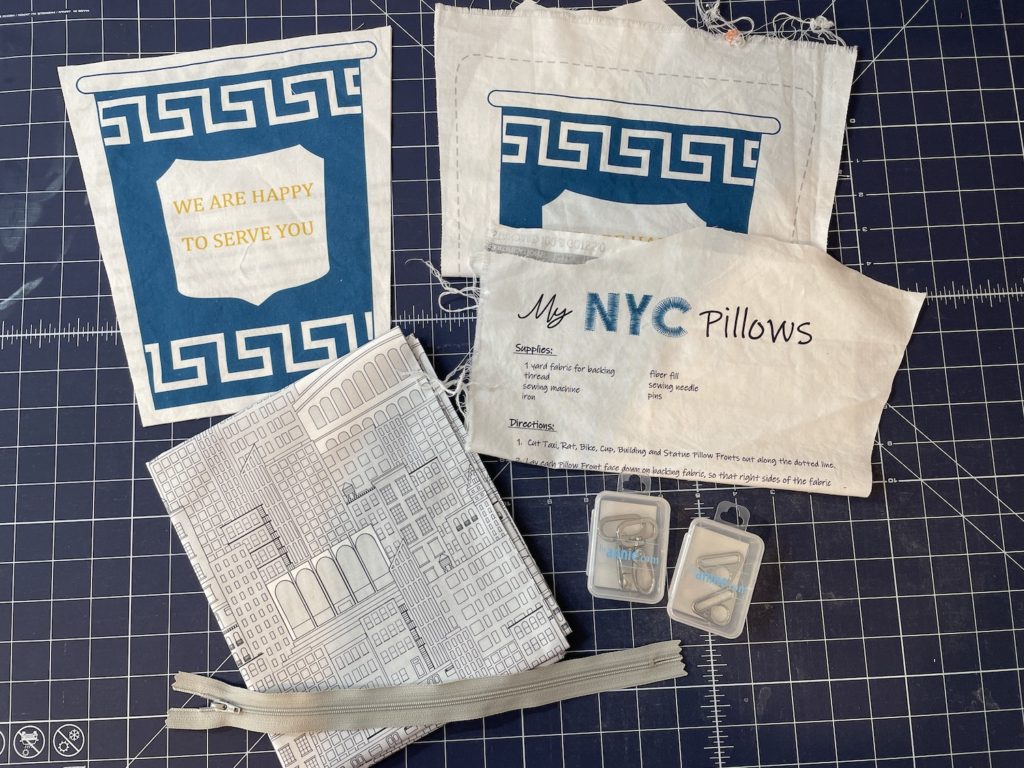
- 2 My NYC Pillow Panels
- 1/4 yard Facades in Steam (Strap, loops and pocket)
- 2 – 1″ swivel hooks
- 2 – 1″ Flat triangle rings or D-rings
- 10″ or longer zipper
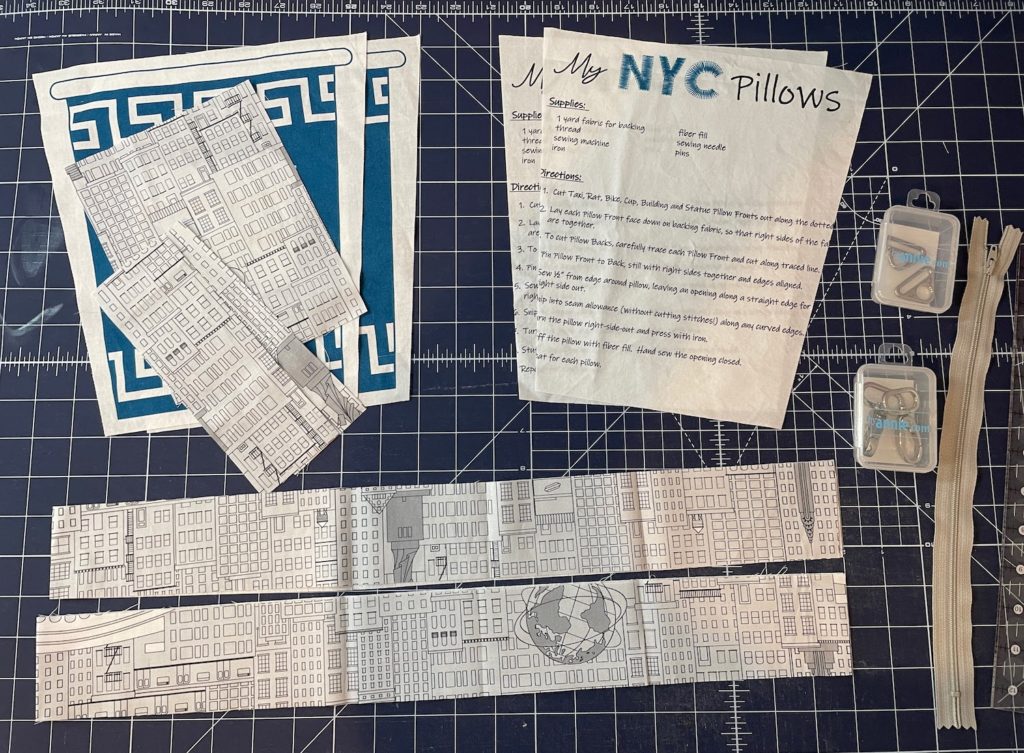
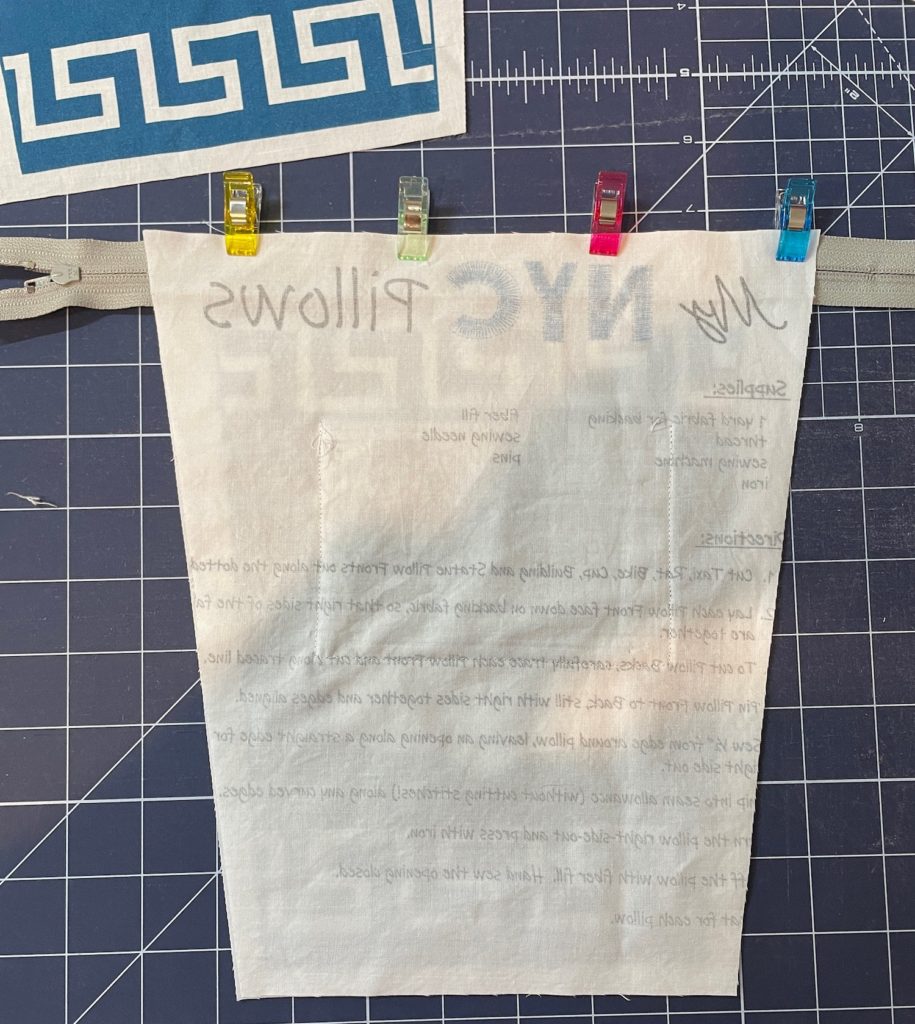
I used the instruction section of the panel for my bag lining. Putting this scrap fabric to works makes me feel thrifty and virtuous. I can feel my cheap grandma smiling down on me from Heaven.
I know this will shock you, friends, but I pre-washed my panels and fabric before starting this project. I have noticed that some digitally printed fabrics give off odd smells when I iron them, and I like it better when I wash them. I know, I know. Laundry isn’t my hobby will be engraved on my headstone, but here you are. I bend all the rules, even my own.
Cut your fabrics
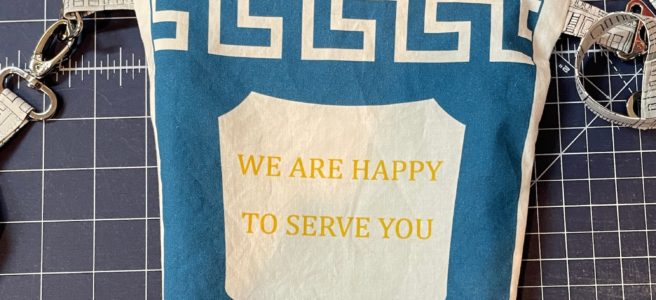
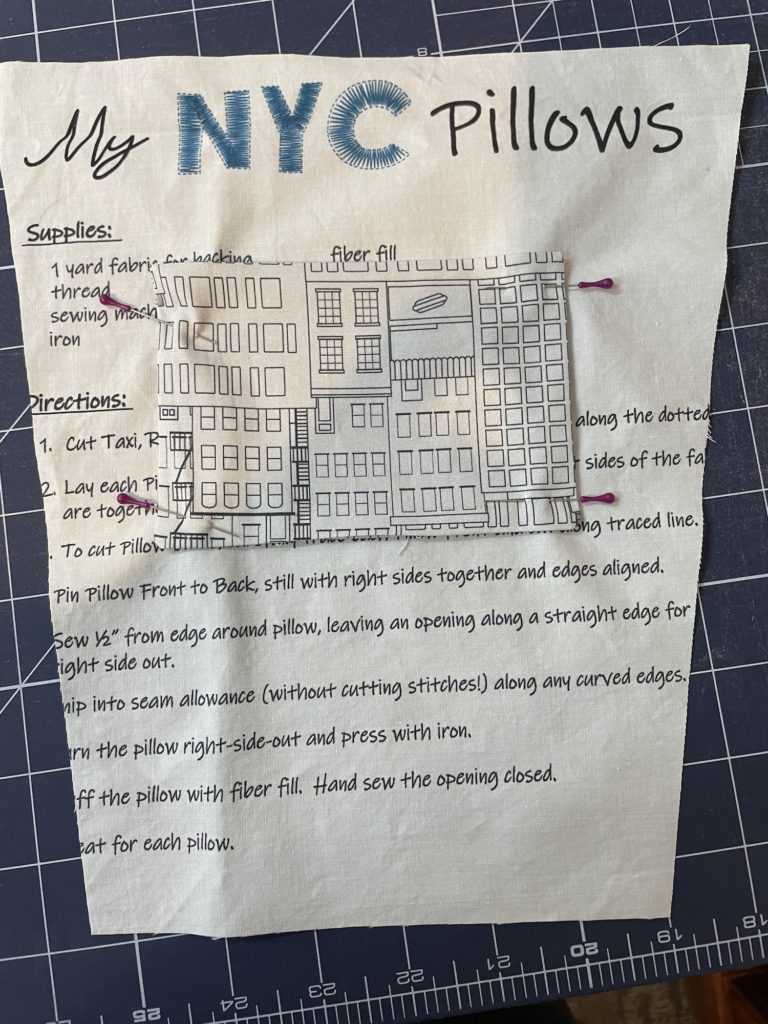
- Cut out the coffee cup panels, following the dotted lines. This is just to make sure you don’t accidentally chop off an important part of something else. Cut out the instruction panel while you are at it, unless you want to refer to it later. Make sure what you cut is as large as the cup.
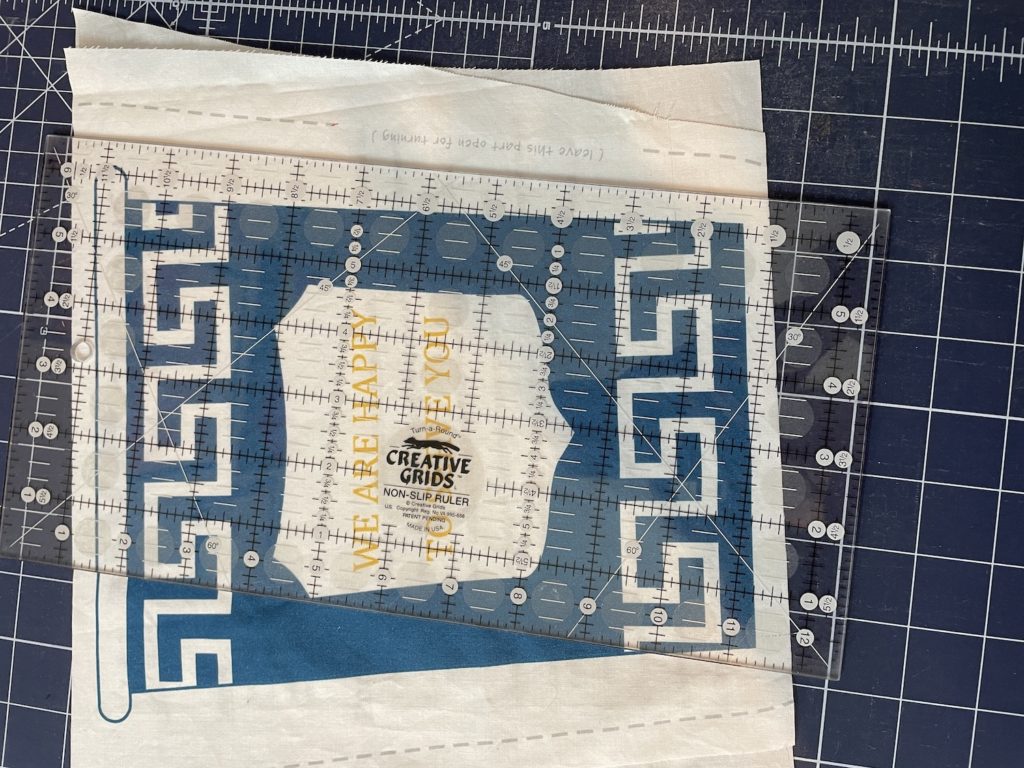
Layer 1 cup on top of 1 instruction panel. Using your ruler and rotary cutter, cut along the outer edge of the coffee cup, 3/8″ away from the edge of the print. Top and bottom are easy, but the edges are a decision point. I decided to incorporate the lip of the cup, so there is extra white space on the side of my cup. I lined up my ruler with the 3/8″ mark on the edge of the lip and also the edge of the bottom.
2. From the Facades print, cut out
- 1 – 6.5″ x 5″ rectangle
- 2 – 2.5″ x WOF (whatever width remains) strips
Prepare your pocket
- Fold the 6.5″ x 5″ rectangle in half, right sides together.
- Using a 1/4″ seam allowance, stitch down from the folded edge, turn the corner and stitch another inch. Leave an opening of about 2″, then stitch the other side.
- Clip your corners, turn inside out, and press.
- Position on one of your lining panels, and top stitch into place.
Strap and loops
- Stitch your two almost-WOF strip together along a short seam. Press seam open.
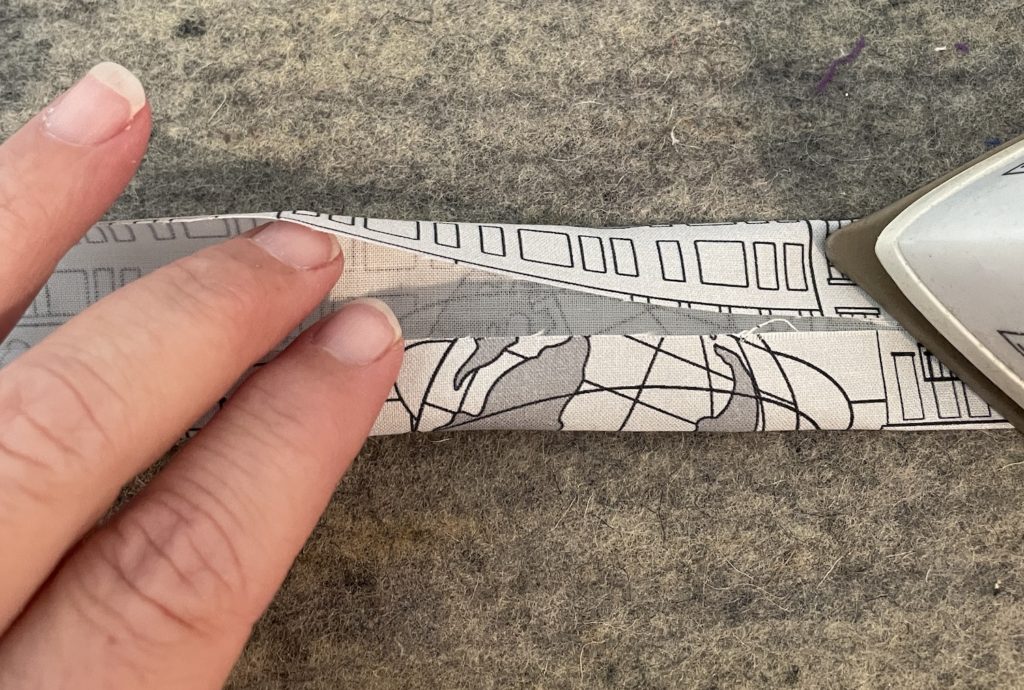
- Fold in half lengthwise and press, as if you are making a binding strip.
- Open up, and fold raw edges in towards the middle. Press.
- Fold in half one last time, encasing the raw edges. Press.
- Top stitch 1/8″ away from the edges all the way around your strip.
- Cut off 2 pieces that are 4″ long. These will be your loops.
- Slide each loop through a triangle ring, fold in half, and stitch shut and set aside.
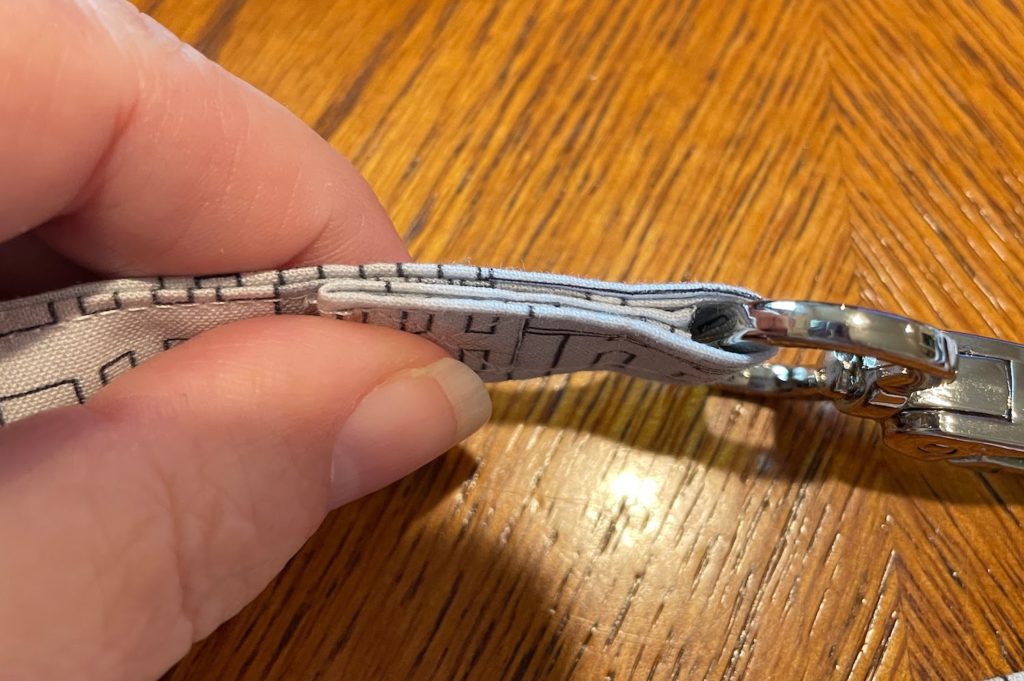
- Slide one end of your strap through a swivel hook loop.
- Fold a 1″ length over twice, so that the raw edge is hidden. Stitch shut. Set aside.
Assemble Bag
**If this is your first zipper insertion, please go look on YouTube for instructions. I can do them, but I am not skilled enough to teach them. There are great teachers there, and they make zippers understandable. I’ve referenced dozens of them over the years, and still go back to double check my technique sometimes.
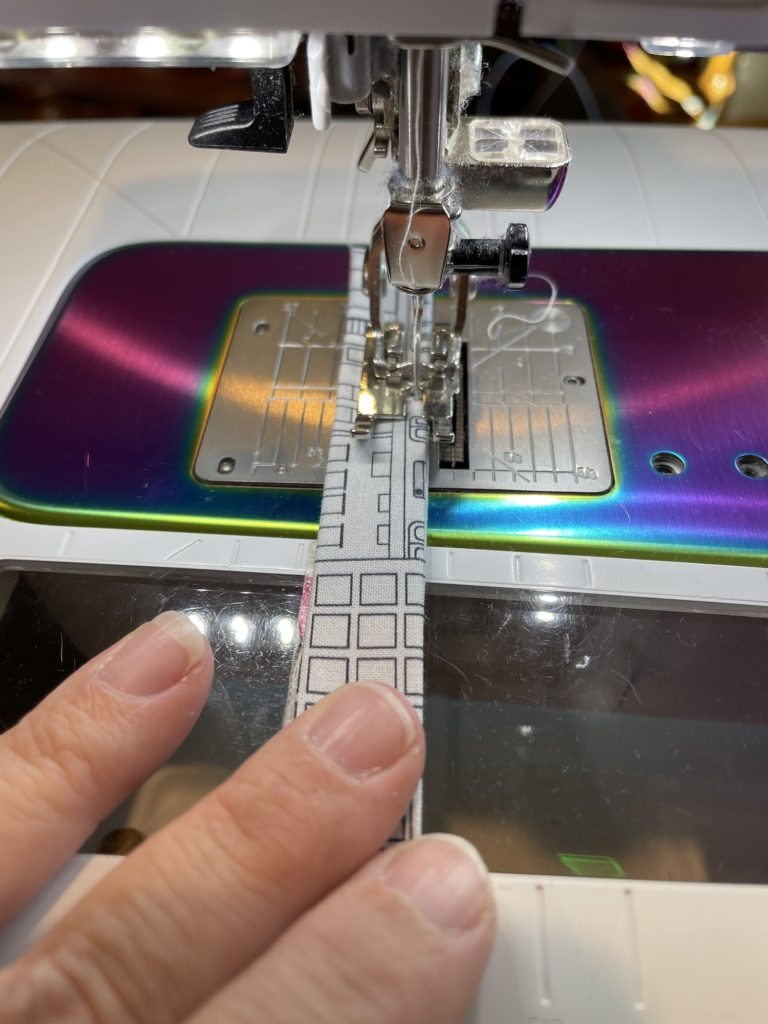
- Layer 1 coffee cup right side up. Center zipper tape over coffee cup, zipper pull down. Place lining fabric over cup, right side down. Clip in place.
- Stitch along zipper tape, using a zipper foot if you have it.
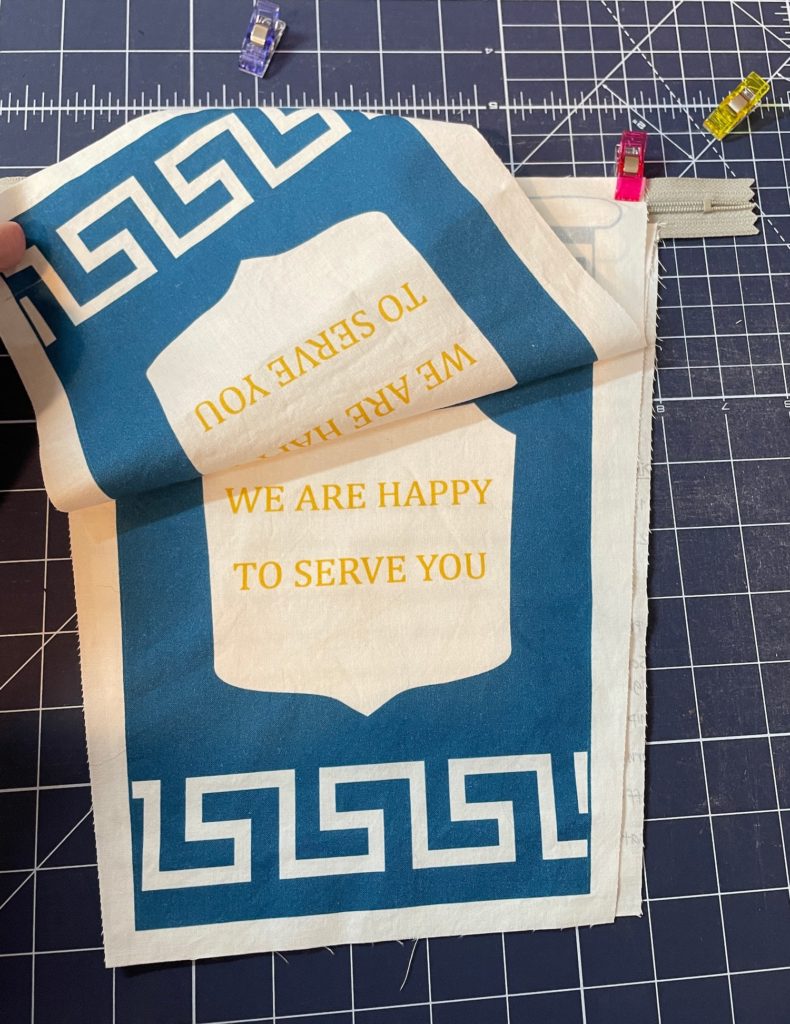
- Press open. Repeat on other side of zipper. Be sure you line up your pieces, or your bag will be charmingly wonky.
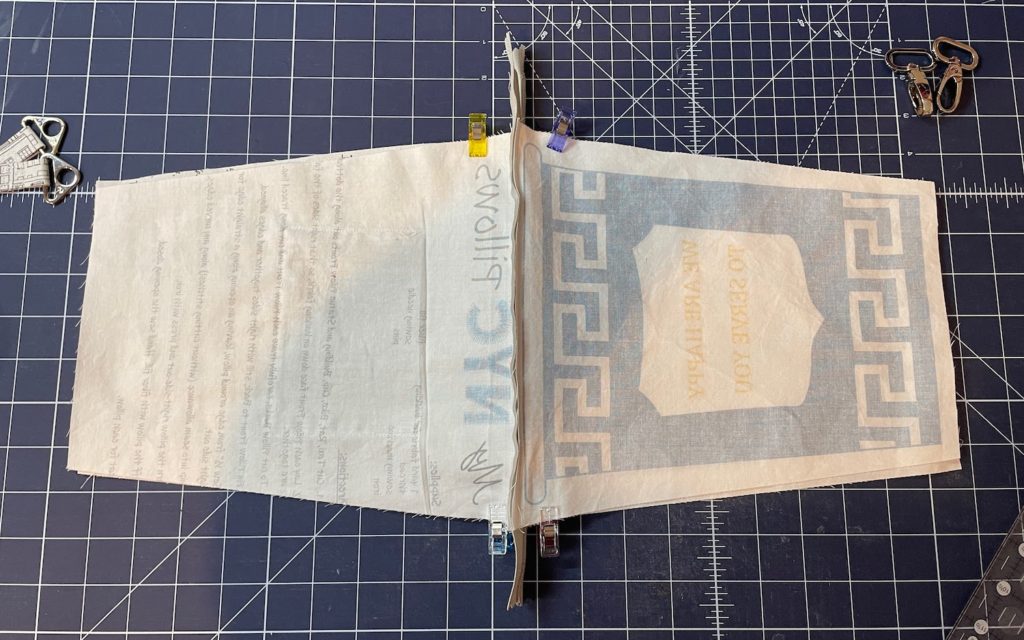
- Open up your sides, and layer them together, cups right side together and linings right sides together. Clip in place.
- Slide the loops into the seam, so that the metal parts are inside of the bag, with a little bit of excess loop sticking through. (If you notice them missing from my photos, it is because I forgot them. If you forget too, it is easy to open up a 1″ hole with your seam ripper and insert them that way.)
- Open the zipper tab up halfway, so that it is inside of the bag. Pinch the zipper so that it is flat.
- Stitch along the outside of the bag, leaving a 2″ opening for turning at the bottom of the lining.
- Turn bag right side out, press.
- Top stitch the opening of the lining shut.
- Tuck the lining into the bag.
Size your strap
Clip your strap onto one triangle ring. Clip the second swivel hook onto the other triangle ring.
Put the strap over your shoulder and hold the bag in place where you would like it to fall. Slide the second swivel hook onto the strap, and fold your strap, so it will fit properly. Use a clip to hold it in place. Take your bag off, unhook the strap, and fold the ends over and stitch shut.
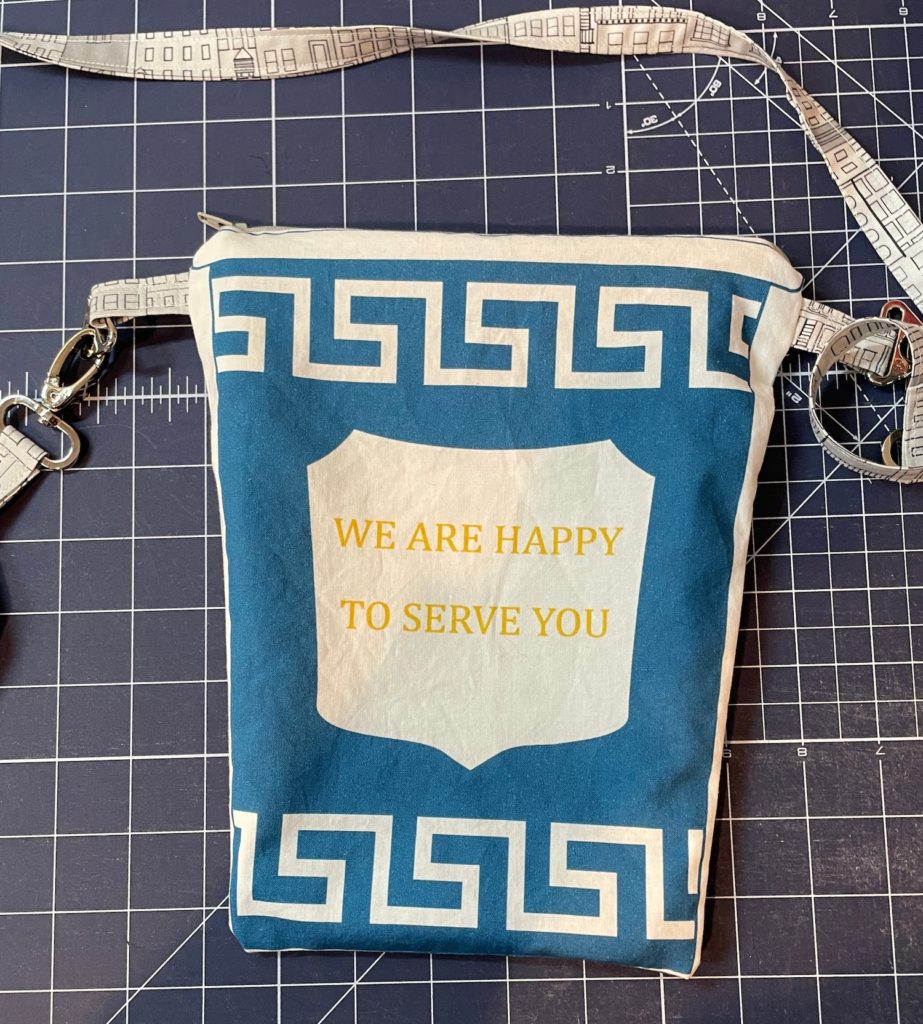
Enjoy your bag!
Make some time to visit my fellow makers this week! Here is the My NYC Panel blog hop schedule. I’ll be back to remind you tomorrow!
| November 1 | Jen Strauser | Dizzy Quilter <–You are here! |
| November 2 | Swan Sheridan | Swan Amity Studios |
| November 3 | Lissa LaGreca | Lovingly, Lissa |
| November 3 | Emily Leachman | The Darling Dogwood |
| November 4 | Deborah Fisher | Fish Museum and Circus |
| November 5 | Siobhan Fitzpatrick | CDM365 Studios |
| November 5 | Autumn Shatto | Geometry And Joy |
| November 6 | Laura Piland | Slice of Pi Quilts |
Bonus project – Appliqué apron with Nancy Vessicchio!
That is a really fun use of the fabric. Love the lining!
Thanks, Kathleen! It makes me smile.