
This month’s project is a little bittersweet. This medallion quilt is my last project as an Island Batik Ambassador. I’ve been a brand ambassador for the past three years, and it has been a lot of fun. Also, a lot of work. I’ve decided that for 2021, I need to step back and work on some other projects.
I want to take a moment and thank Island Batik for allowing me to showcase their fabrics. They produce beautiful, high quality batiks. I will definitely miss the Ambassador boxes next year. Also, thank you to all of the other Island Batik Ambassador sponsors and partners. It has been wonderful working with Hobbs Batting, Aurifil Thread, Schmetz Needles, an AccuQuilt Go!, and all of the other lovely products I’ve been given.
The challenge this month was to design a medallion quilt, a project which failed to inspire me as I pondered it ALL YEAR! I had a lot of different ideas, many involving a lot of hand work. I just didn’t have that kind of time right now.
I asked around for advice, and Andrea from Gotham Quilts introduced me to a great book they had in the shop. Make Your Own Medallion by Erin Burke Harris was very exciting. I probably wouldn’t have picked this book out on my own. I don’t love the cover quilt, and I have a bad habit of judging books by their covers. Once I opened it up and started reading, I was totally smitten. The projects are enticing, and leave plenty of opportunity to make the quilt my own. You can check out Erin’s website here.
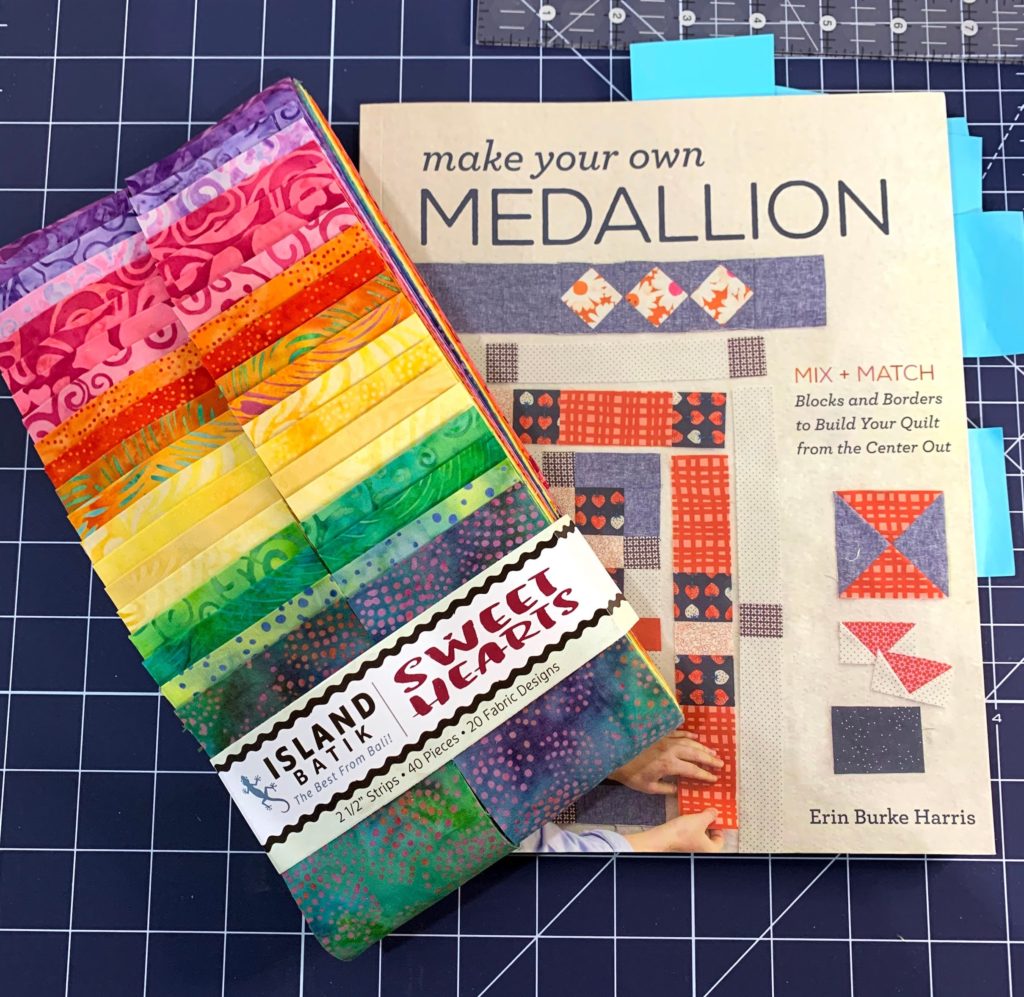
Rather than do a curated pull from the stash, I decided to use the jelly roll I was sent back in July. The Sweet Hearts collection is so pretty, and a rainbow! I was also curious just how far I could go with a jelly roll. The book is really great – the blocks all have dimensions for different sizes, so I could go through and see which units I could make with 2 1/2″ strips.
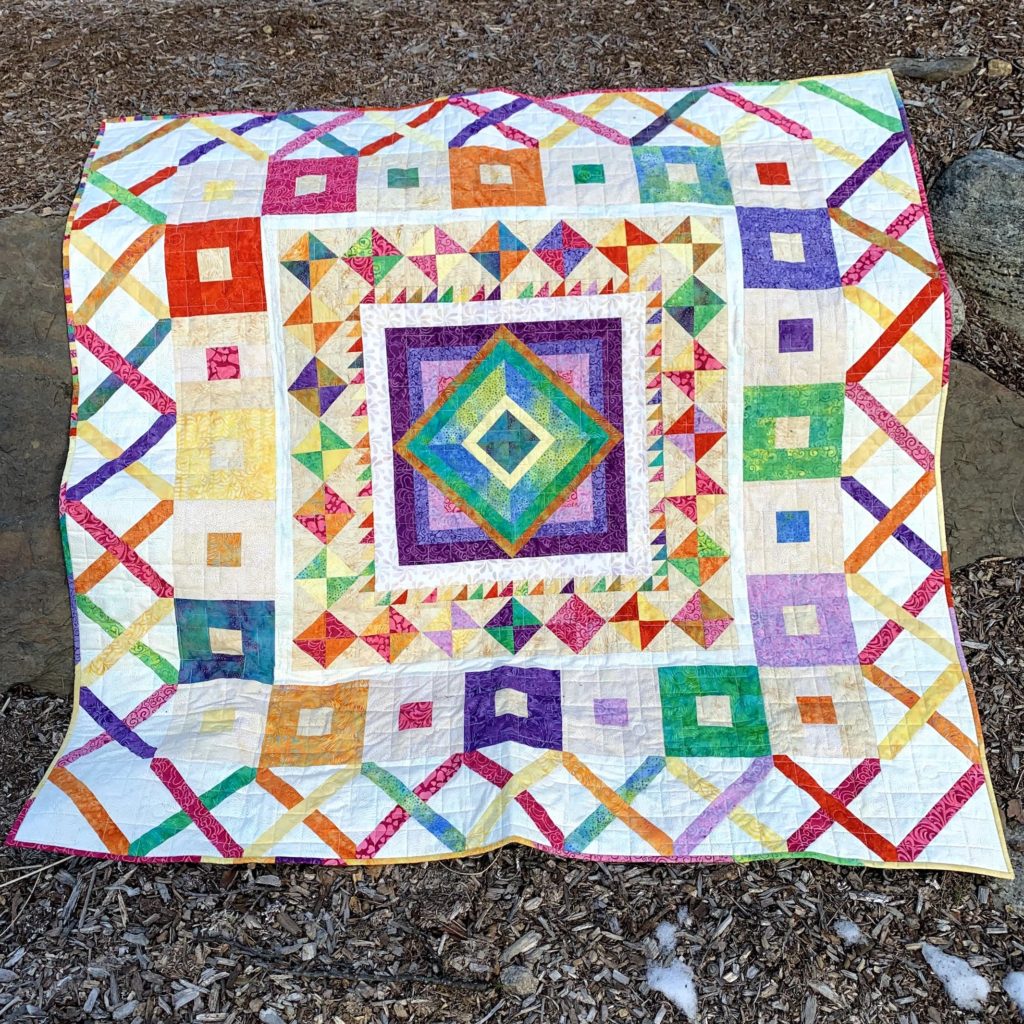
I vacillated over center blocks for a bit. I was torn between a lone star or a double wedding ring. When I finally started, I decided to go with a block called “God’s Eye”. It just jumped out at me. (I also promised myself that I would make more than one quilt from this book.)
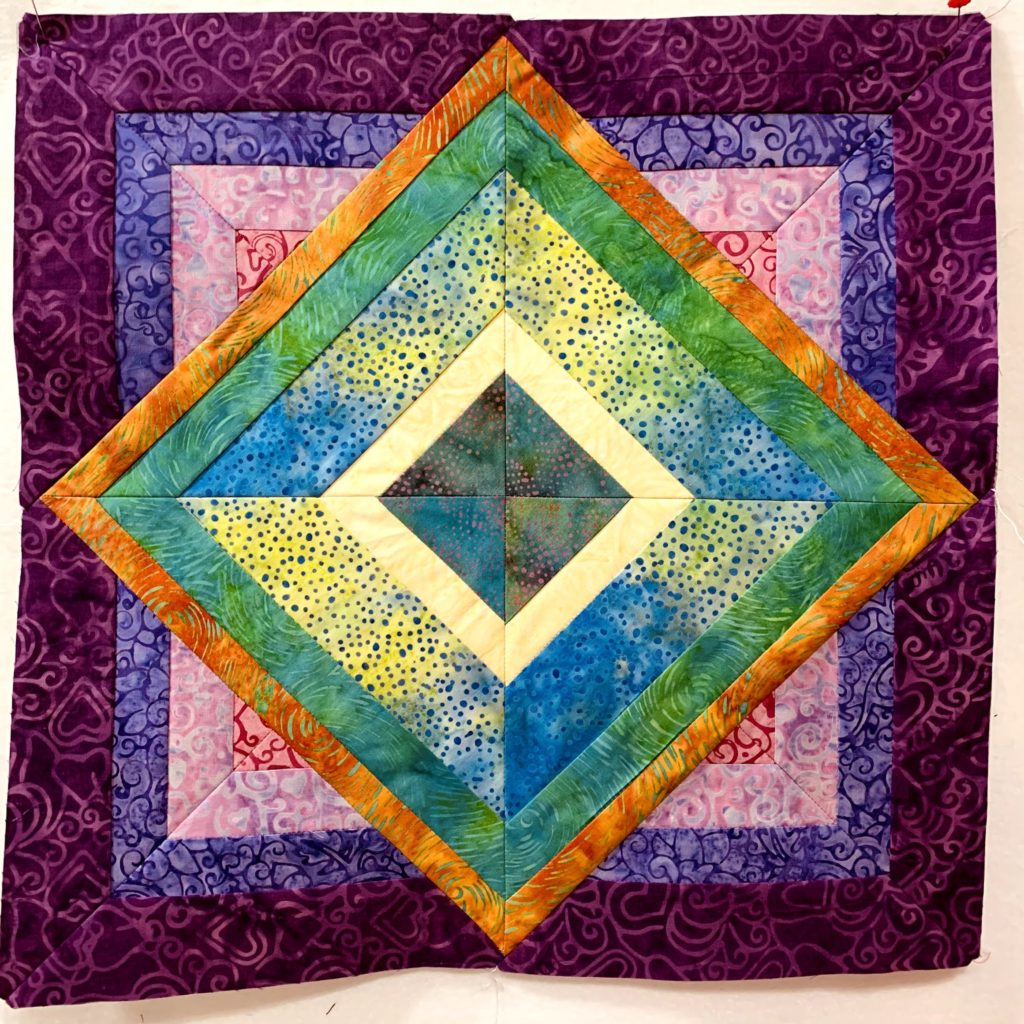
I started making these cute “peel” blocks, using needle-turn appliqué. As I put other units together, I felt like I couldn’t have just one curved element. The center block has such a strong linear design, it didn’t want to compete with curves. So, all straight lines and 45 degree angles it was. Now I have a little pile of curved units to use as a start for my next project.

It was important to keep the quilt from being really busy. To achieve that, I made sure to add plenty of neutral borders, in a background color of white. Of course, not solid white, but a bunch of different white or cream blenders from my stash.

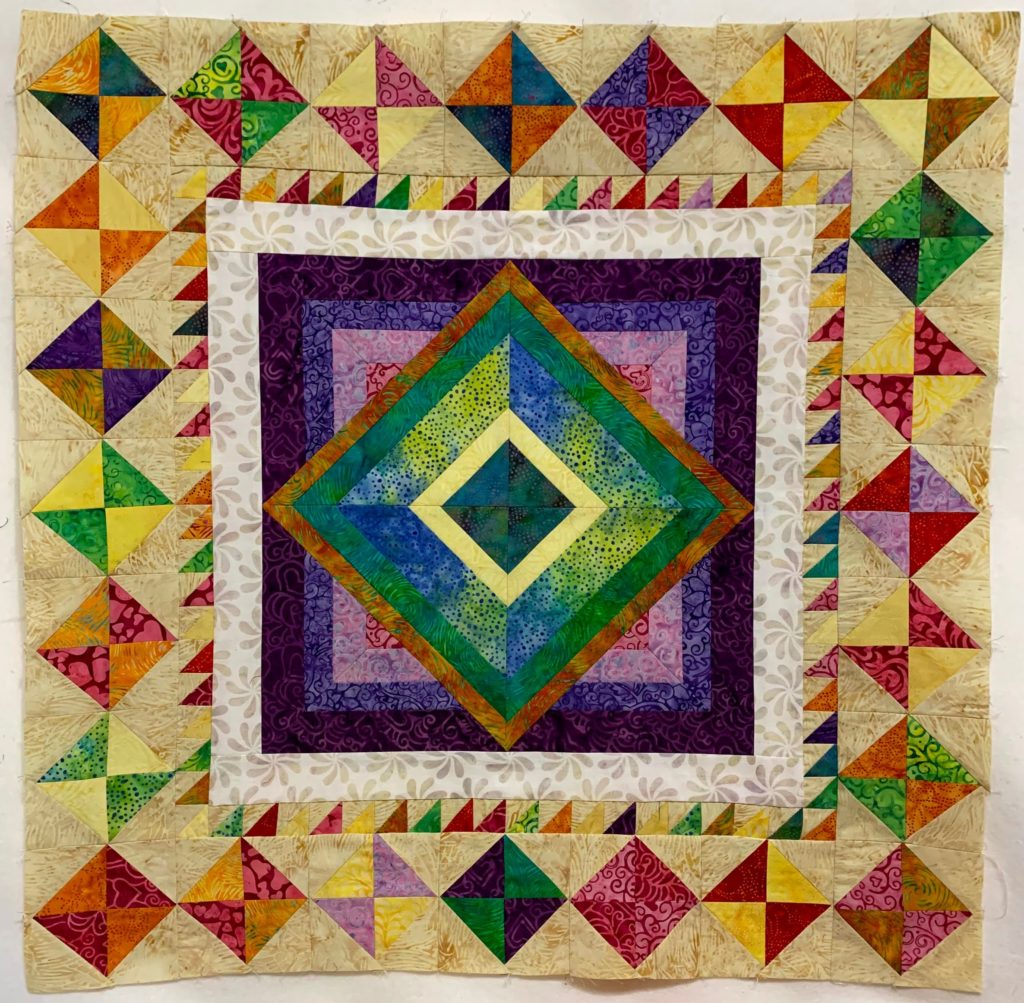
I really enjoyed playing with these blocks, and watching the quilt change as I added on borders. I was flexible with the designs. My favorite change was making four-patch centers for the “square in a square blocks”. I also saved the off-cut triangle units from those blocks, trimmed them up, and turned them into an inner border. No waste!
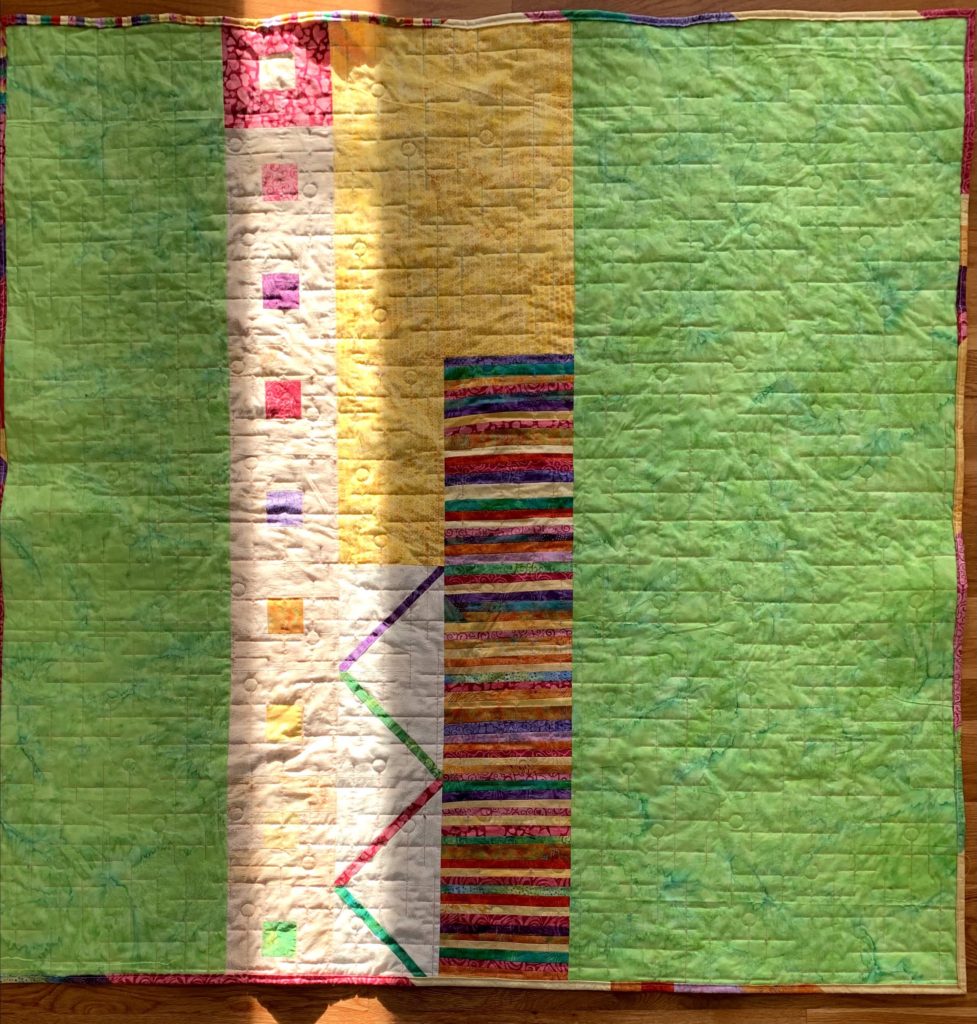
All of the scraps were used up to make the backing. I think I have a literal handful of fabric left from this project, and I’m delighted. That is something I want to improve next year – rather than add to my scrap bins, I want to use up my new fabrics as I get them.
My favorite part of the book I used is that the blocks are all offered in multiple sizes, allowing me to adjust the graphic impact of each border. I could also make them larger as the quilt got larger, meaning I only had to make 30-40 blocks, rather than 100. I could also think about what I had in the jelly roll I used and put it to good use, since each block had a table including cut sizes of inner units.

Once I got to this outer border of X’s, I was pretty much out of useable fabric. I pieced together the remaining 2 1/2″ pieces of the jelly roll for a scrappy binding, but it was a little bit short. Since the X blocks used strips that were 1 1/2″ wide, I had a large pile of 1″ wide strips. Obviously, I didn’t want to trash them, and I also didn’t want to make another border with them, so I sewed them all together. I squared the piece up, cut off a strip to add to the binding. Then I put together all of my extra blocks and scraps to add to the backing. It’s a little chaotic, but I’m happy to have used up so much of the original jelly roll. I also find the itty bitty strip unit to be fairly amusing.
If you could see my stash, you would also think it’s funny when I save tiny pieces of fabric.
I used up some cotton batting scraps for this project. My batting pile is out of control.
The quilting pattern is Retro Lines from Urban Elementz.
This project was a lot of fun. I highly recommend Make Your Own Medallion. It made the whole process fun, and it is one of those books that will be used for more than one project.
Best wishes to my fellow Island Batik Ambassadors. Make sure you check out the medallion quilts they have made. As much as I love mine, theirs are simply incredible.
- Carolina Asmussen ~ Carolina Asmussen
- Megan Best ~ Best Quilter
- Pamela Boatright ~ PamelaQuilts
- Jennifer Fulton ~ Inquiring Quilter
- Vasudha Govindan ~ Storied Quilts
- Joanne Hart ~ Unicorn Harts
- Mania Hatziioannidi ~ Mania for Quilts
- Carla Henton ~ Create in the Sticks
- Connie Kauffman ~ Kauffman Designs
- Emily Leachman ~ The Darling Dogwood
- Denise Looney ~ For the Love of Geese
- Leah Malasky ~ Quilted Delights
- Sally Manke ~ Sally Manke
- Maryellen McAuliffe ~ Mary Mack’s Blog
- CarolMoellers ~ Carol Moellers Designs
- Gail Renna ~ Quilt Haven Threads
- Sharon Riley ~ Sew Riley Designs
- Michelle Roberts ~ Creative Blonde
- Gail Sheppard ~ Quilting Gail
- Jennifer Thomas ~ Curlicue Creations
- Alison Vermilya ~ Little Bunny Quilts
- Sandra Walker ~ mmm! quilts
- Suzy Webster ~ Adventurous Applique and Quilting
- Janet Yamamoto ~ Whispers of Yore
What an impressive Island Batik finale.
You did a great job! Looking forward to seeing what else you do!