Welcome back! I’m so excited to share my June block for the 2018 Monthly Color Challenge. This month is purple. Finally! Purple is my favorite color.

The 2018 Monthly Color Challenged is hosted by Jen, of Patterns by Jen. Go to her blog to see her block design for the month.
Win a prize!
Later this month, you can join the linkup and enter the prize drawing. This month the prize has been donated by Art Gallery Fabric – they are giving away this fat quarter bundle. The grand prize at the end of the year is quilting by Dizzy Quilter!
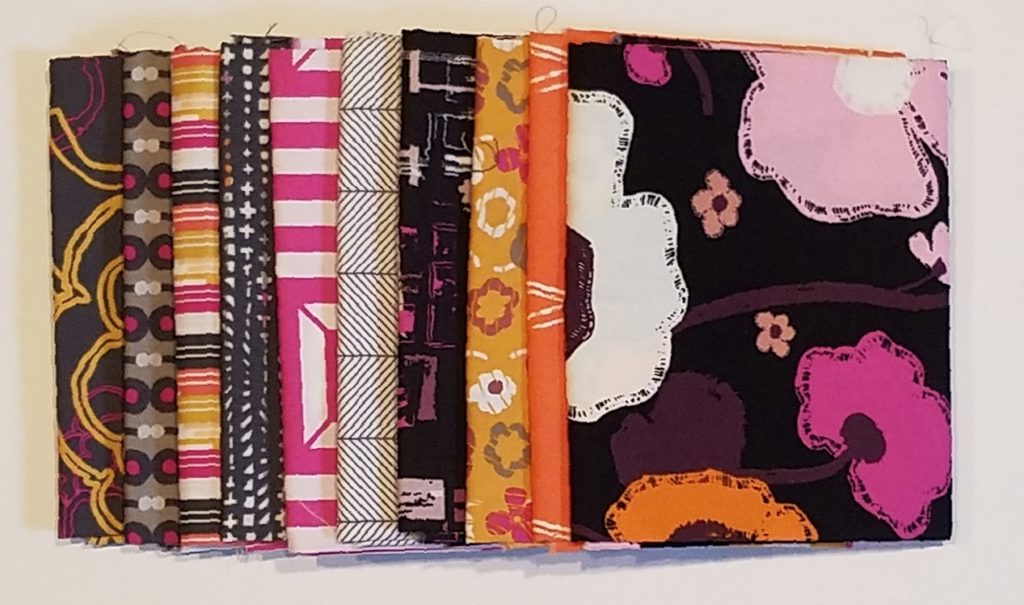
Be sure to check out my fellow bloggers, too. Some are offering their own monthly patterns, and everyone has eye candy for you.
Jen at Patterns by Jen
Sherry at Powered by Quilting
Dione at Clever Chameleon
Jen at A Dream and a Stitch
Joanne at Quilts by Joanne
Nancy at Masterpiece Quilting
This month I am using a technique I learned from Victoria Findlay Wolfe. I took a class recently and learned improv curves. It is so much fun, and I thought I would share. You can find out more about this technique in her book, Modern Quilt Magic*.
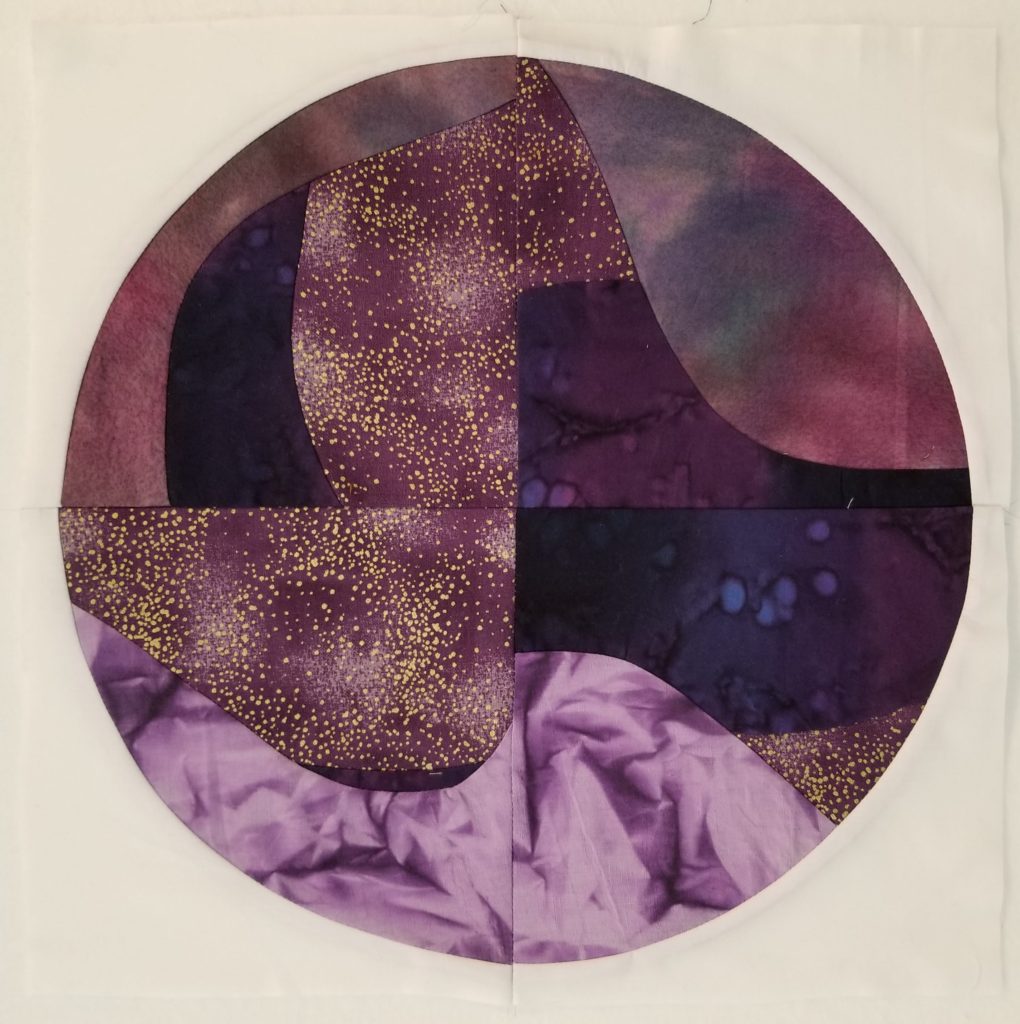
I’m infatuated with this one. I might do a whole quilt with just these improv blocks. My imagination is really sparking right now.
Are you ready to make some of your own quilt magic? Let’s go!
Supplies
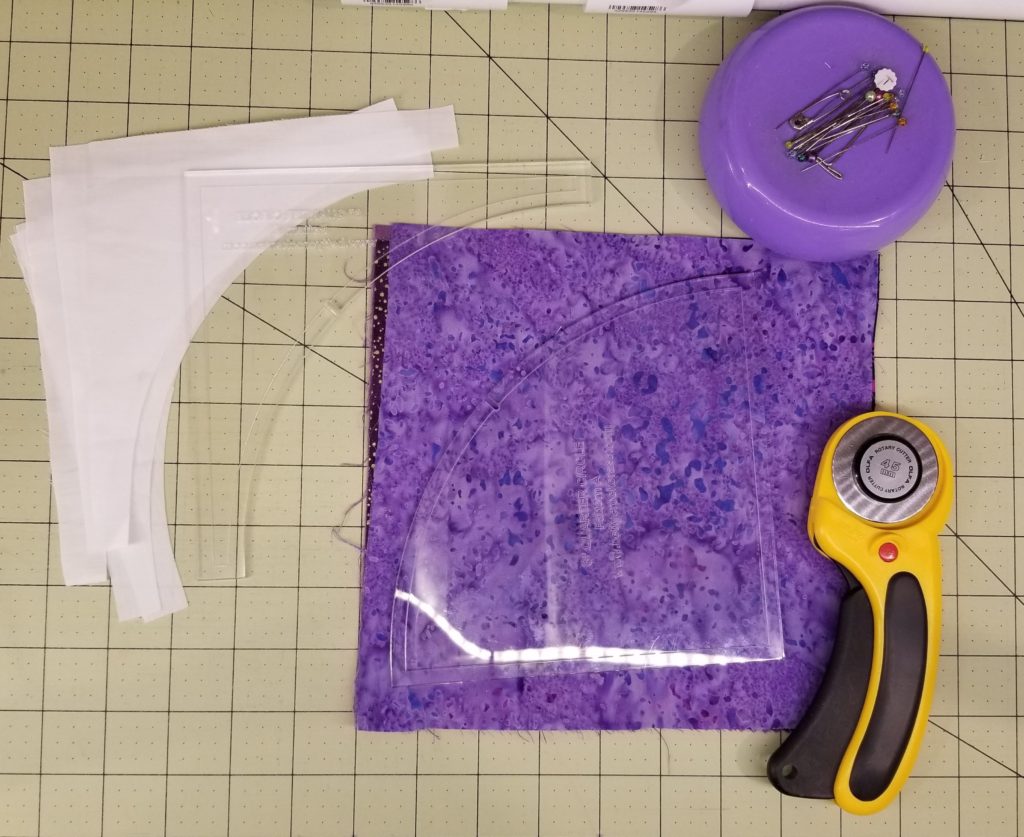
- White fabric for background arcs
- 4 – 8″ squares purple fabric – I like to get a range of values
- 6 1/2″ Quarter Circle Ruler from Betty Crocker Ass
- Neutral thread
- Rotary cutter – My favorite is this one by Olfa*
- Self healing mat
- Sewing machine
- Pins
- Iron
Construction
- Press your fabrics before starting. Assembly is easier with flat fabric.
- Cut out 4 background arcs, using your Pattern B template. Set them aside.
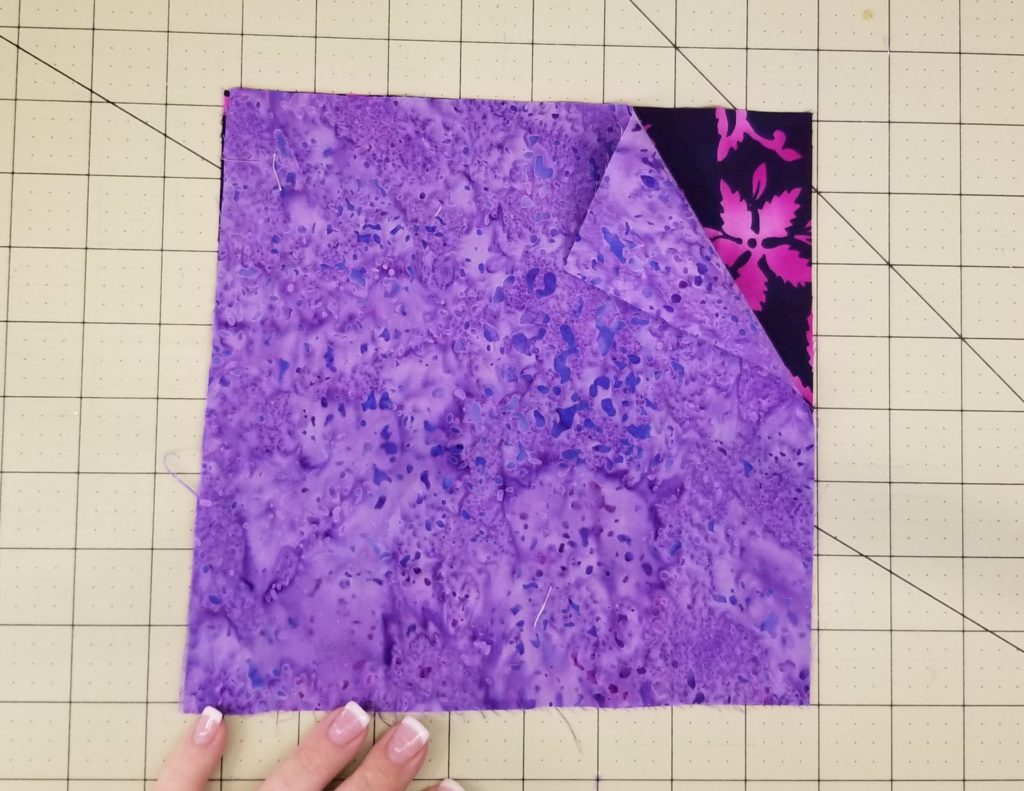
- Take two of your purple fabrics and stack them on your cutting mat, right sides up.
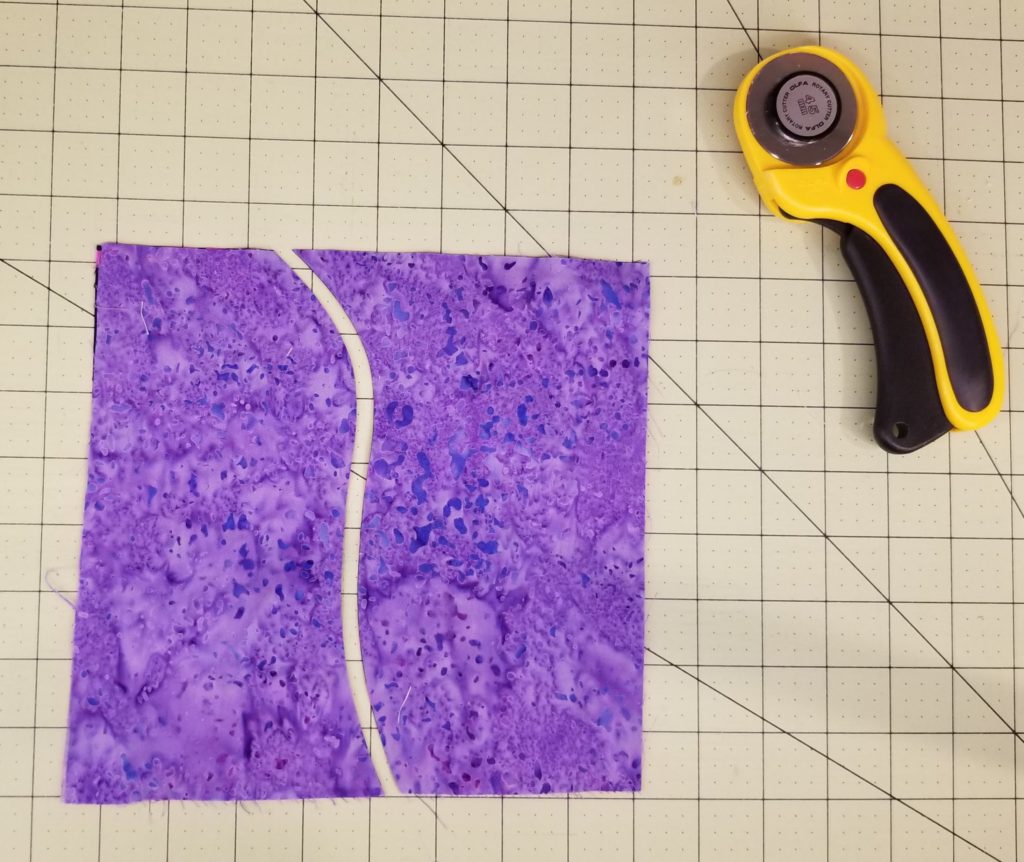
- Slowly and carefully, run your rotary cutter across the fabric, forming a gentle curve. I always feel a little wild, running my cutter around without a ruler. I think this is how quilters lose fingers. Be careful!
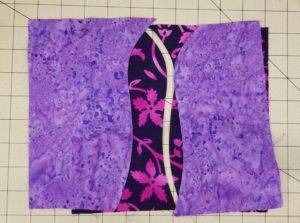
- Lift up your top fabric pieces, and switch their positions. One pair at a time, place the fabrics right sides together. DO NOT curse me or make angry faces. It will all come together. Trust me.
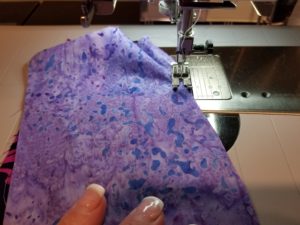
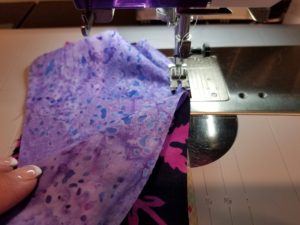
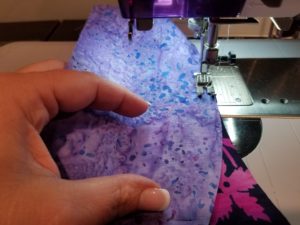
- Bring your first pair of pieces to your sewing machine. Starting at the top of the seam, line up the edges and start stitching. If you have a “needle down” setting, this is the perfect time for it. Without stretching your fabric, line the two sides up as you stitch slowly along the seam. Do your best to maintain your 1/4″ seam allowance. It will make for a flatter block.
- If you see a pucker forming, lift your presser foot and smooth it out a bit. It will be fine.
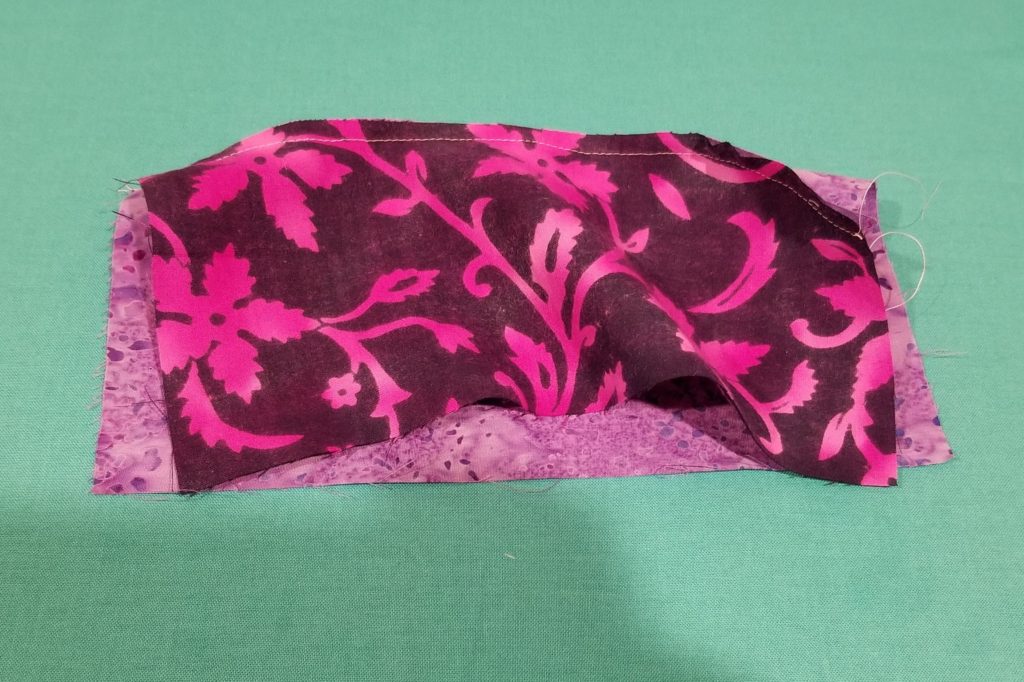
- Take your stitched piece to your iron. I try to press to the dark side, but sometimes the block resists. You have two choices – clip the seams and force it to go where you want, or just press it the way it wants to be pressed. I use a mixture of both, depending on how concerned I am about shadowing.
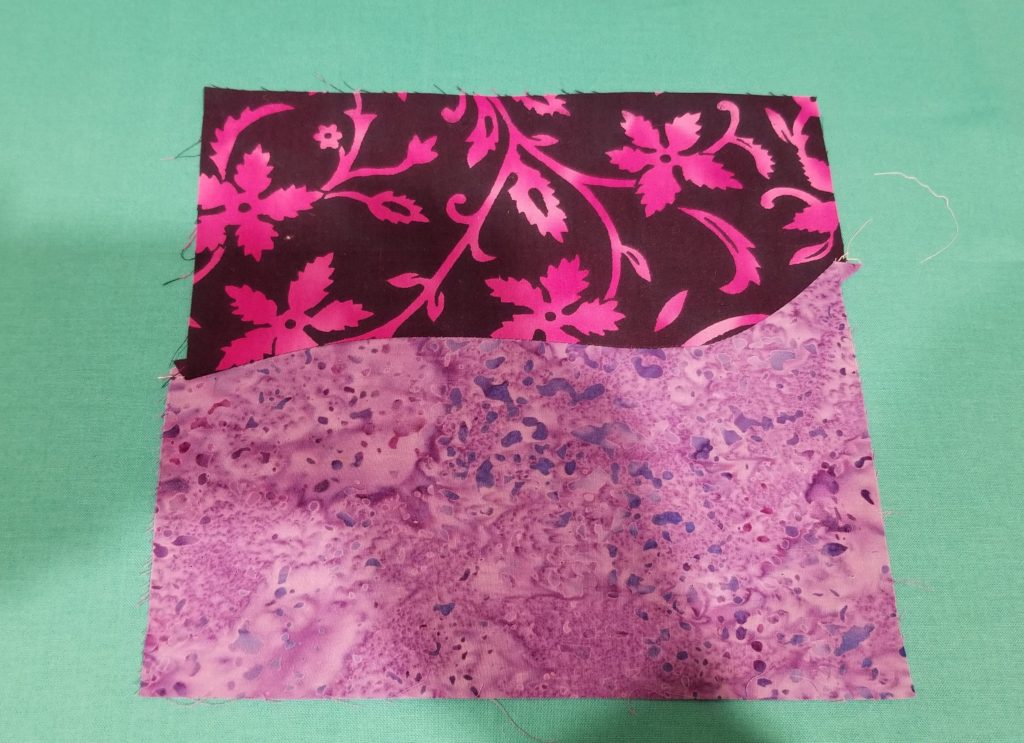
- Admire your curvy piecing. It is okay to pet it, but don’t get carried away. We have more work to do.
- Repeat Steps 6-9 with your second pair of cut pieces, from Step 5.
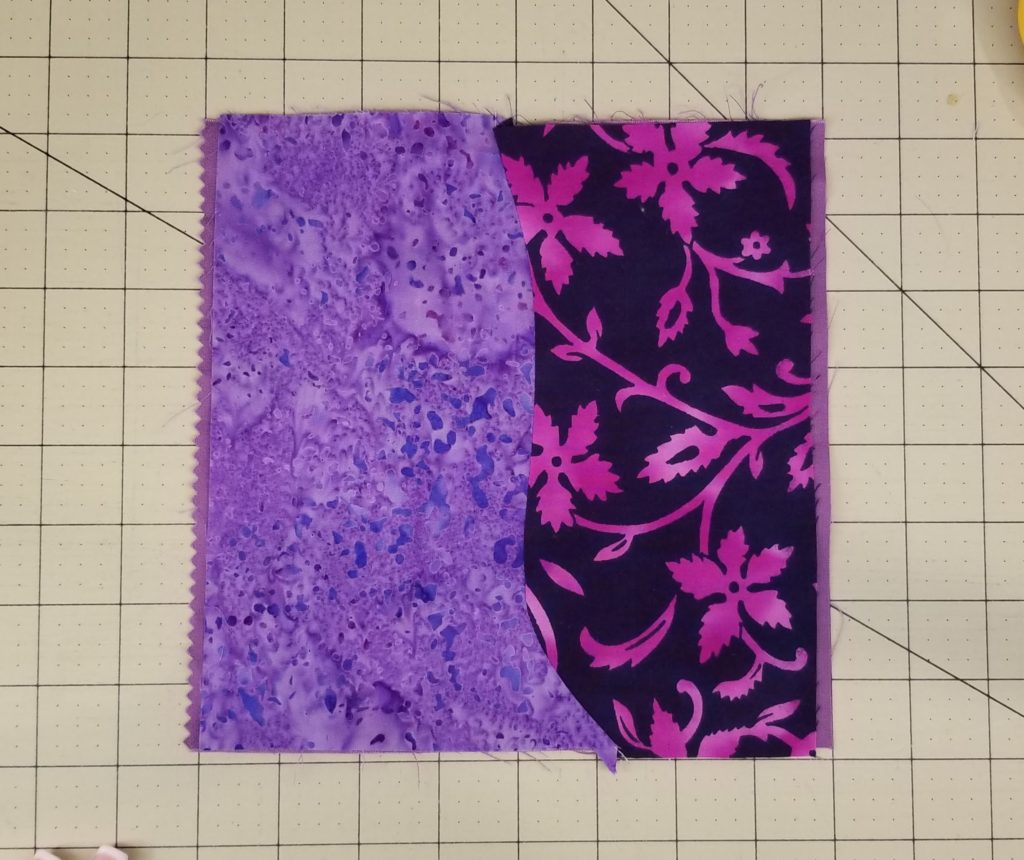
- Bring a curved unit to the cutting table, Lay it on top of another 8″ purple square.
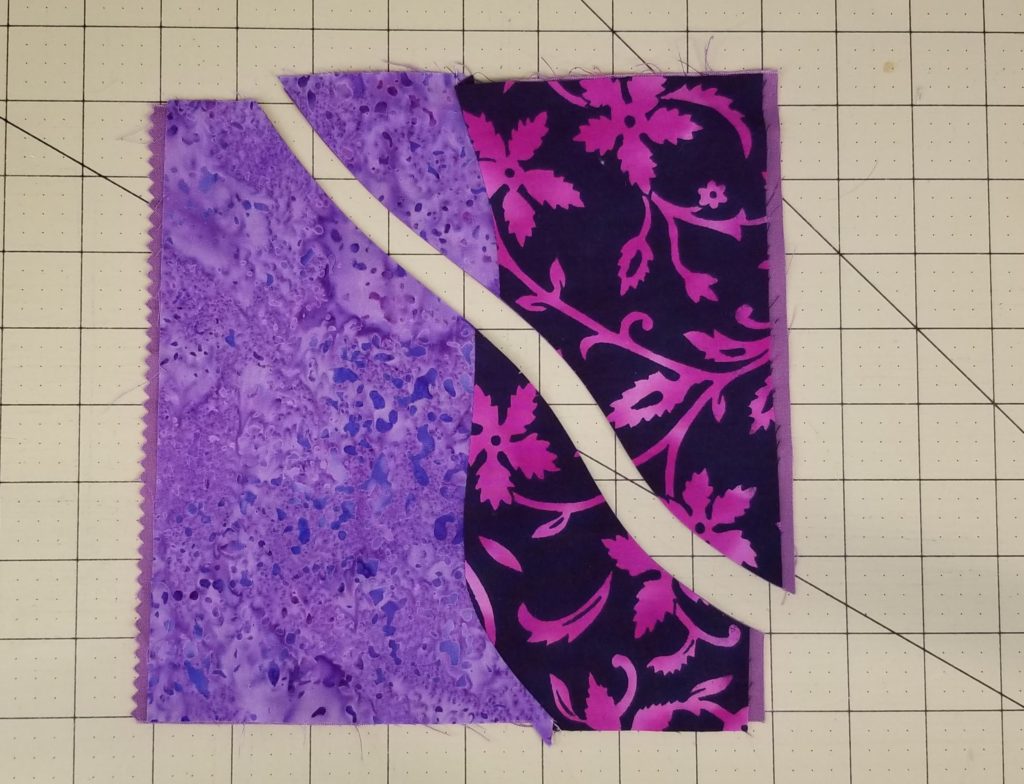 Cut another curve over the blocks, intersecting your first seam.
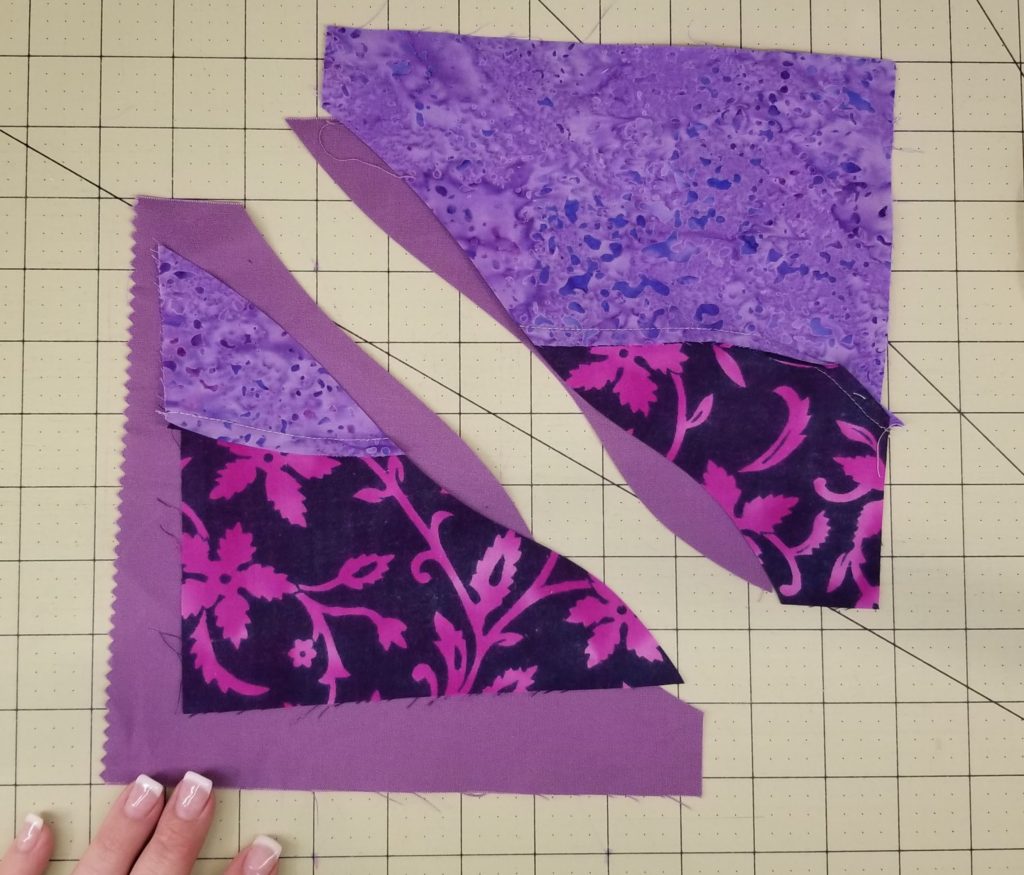
- Once again, pick up the top two pieces, and switch sides, pairing them up with their mates.
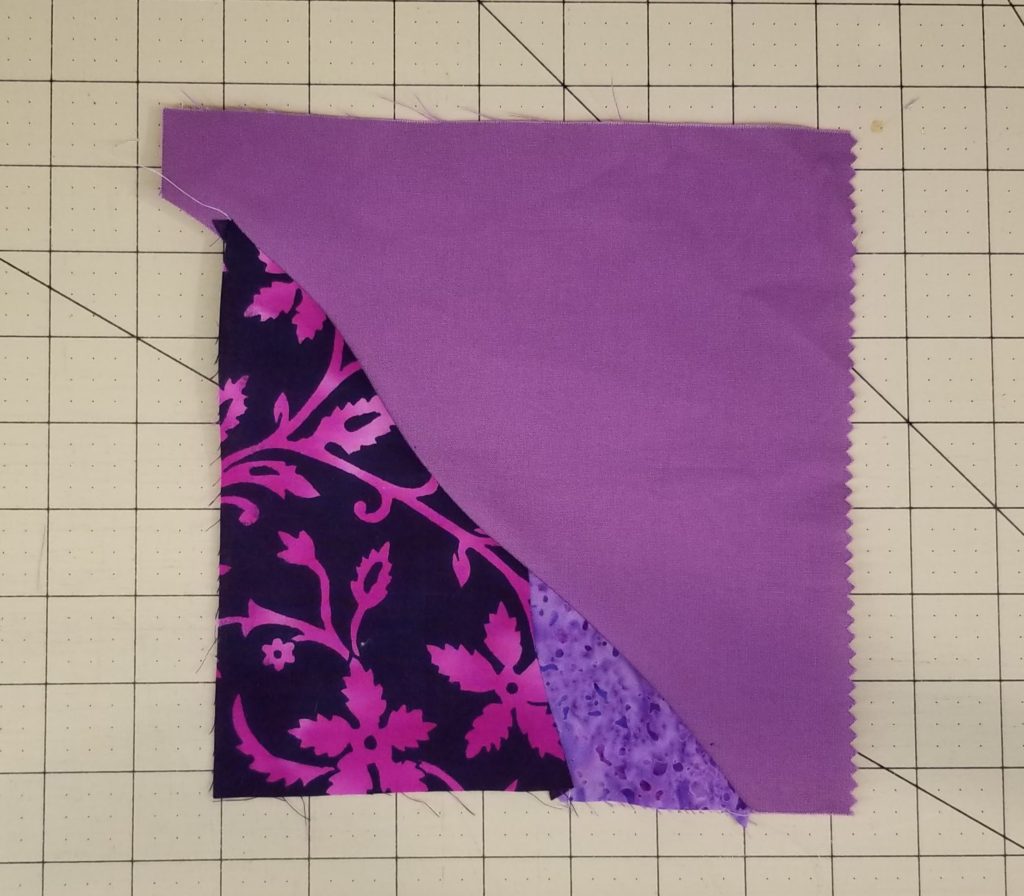
- Repeat steps 6-9 with each of these pairs. Each of these pieces should now have three different purple fabrics. They are all set.
- Take your last remaining purple square, and lay your remaining curved piece (made with two fabrics) right side up. Repeat steps 11-13.
- Woo! Check out these cool pieces.
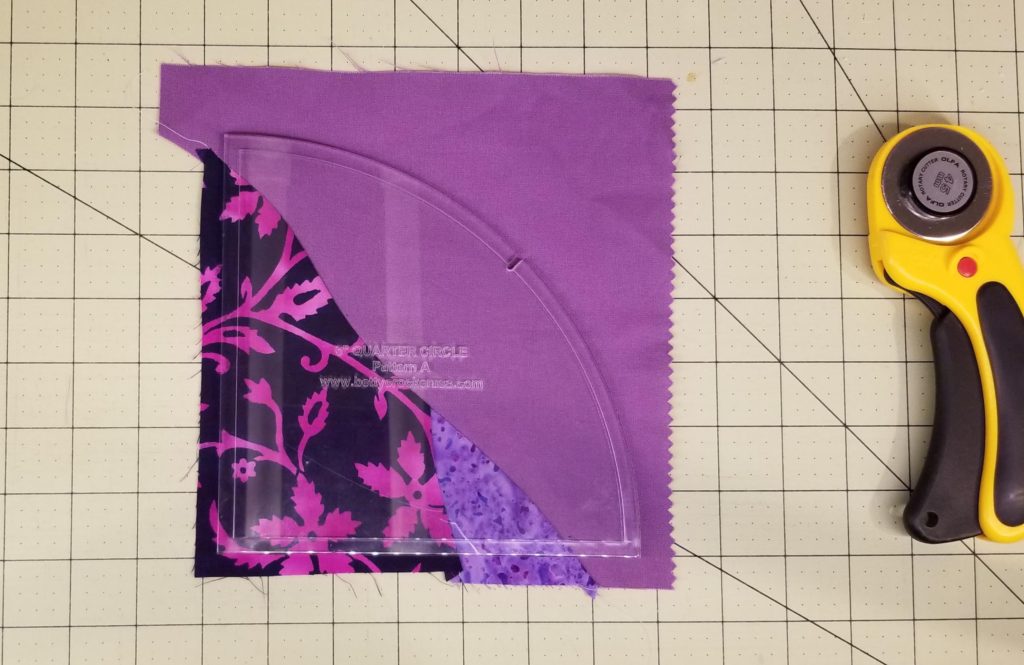
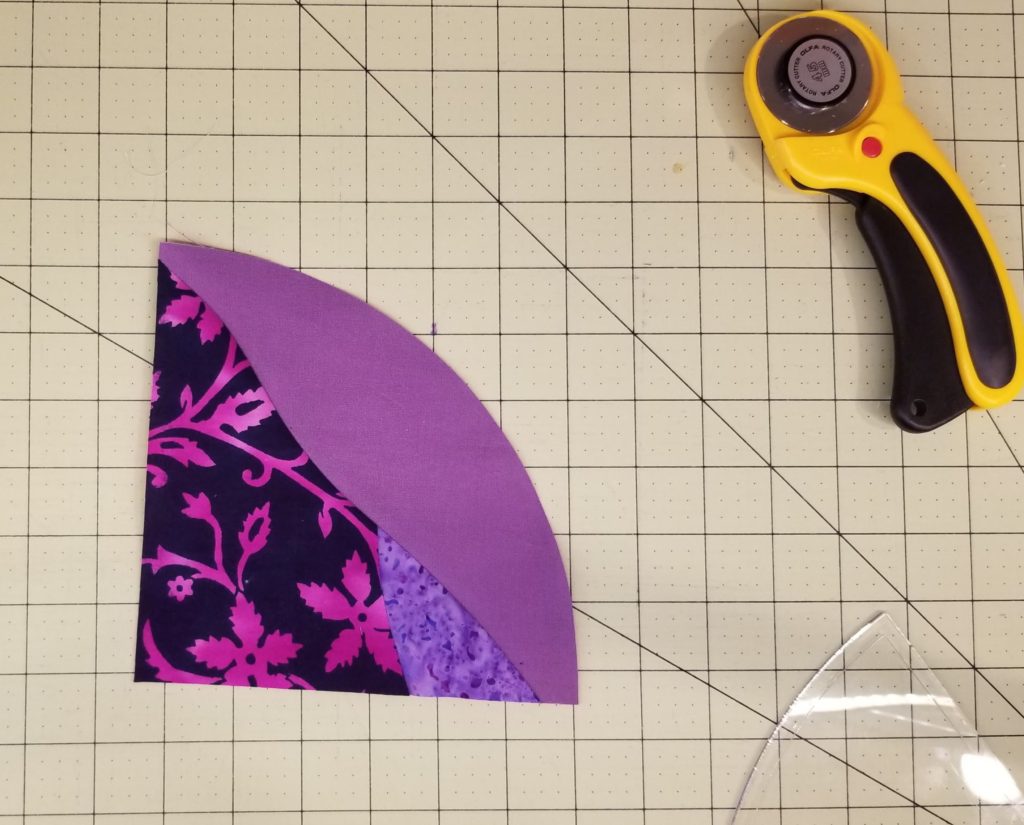
- Lay your Pattern A template on top of your improv blocks, and cut them out, one at a time.
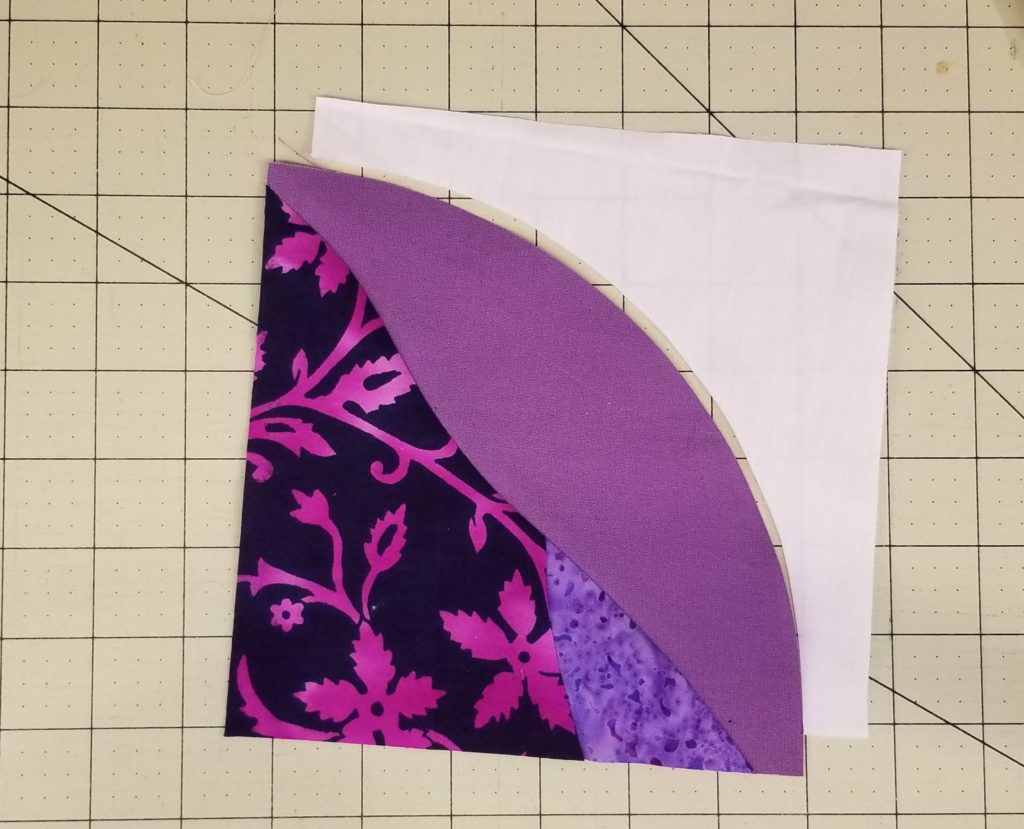
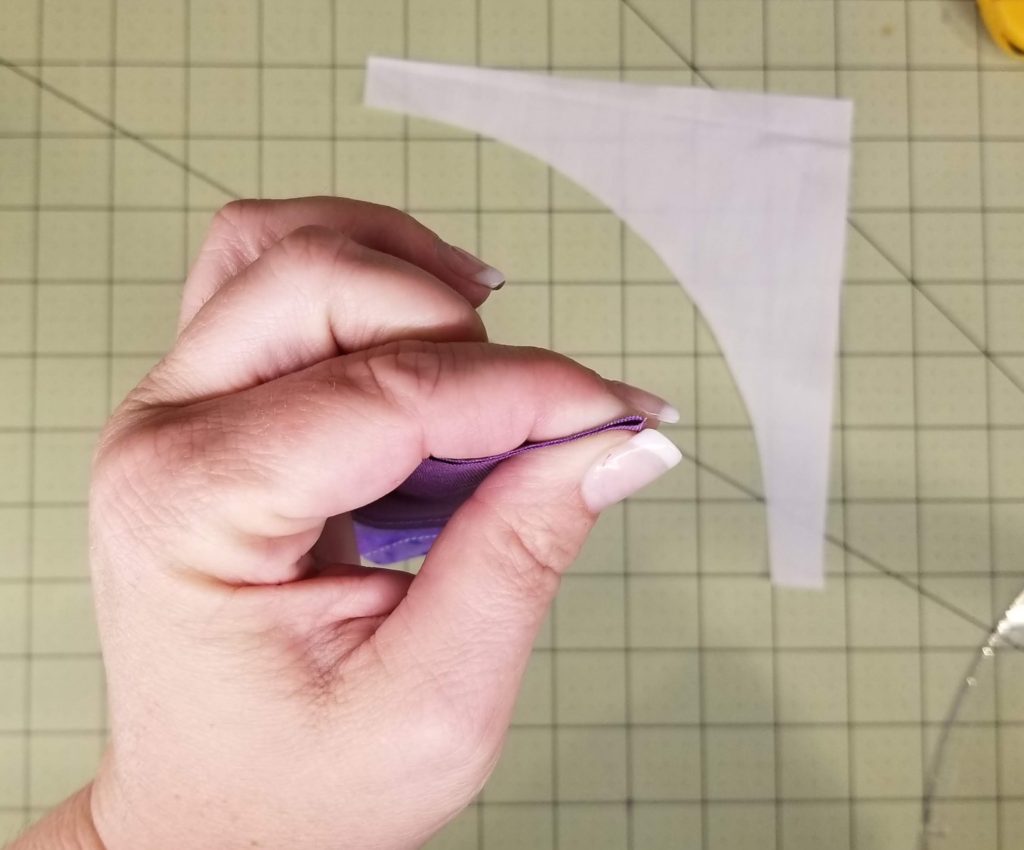
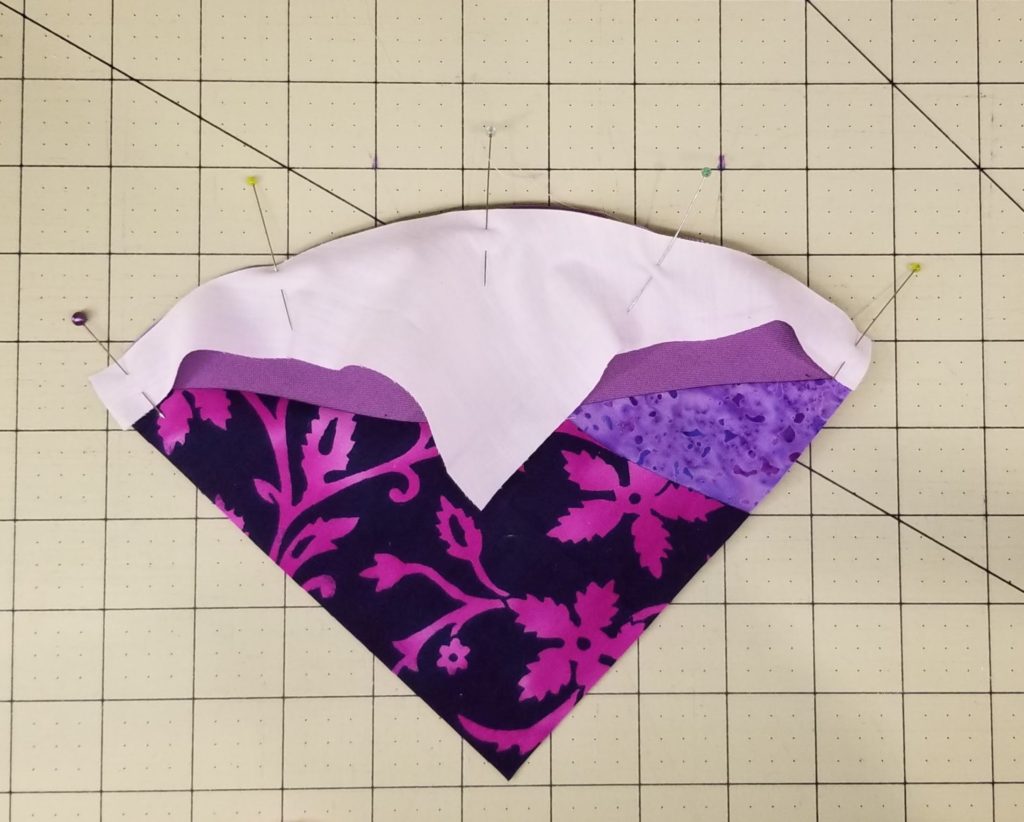
- Take one Pattern A piece and one Pattern B piece. Fold each of them in half along the arc, marking the center point with a crease by pinching the fabric. Place a pin in the middle, and one at either end. I like to add two more pins – one between each section.
- Stitch, leaving the background fabric on top. This way you can ease any fullness and prevent puckering.
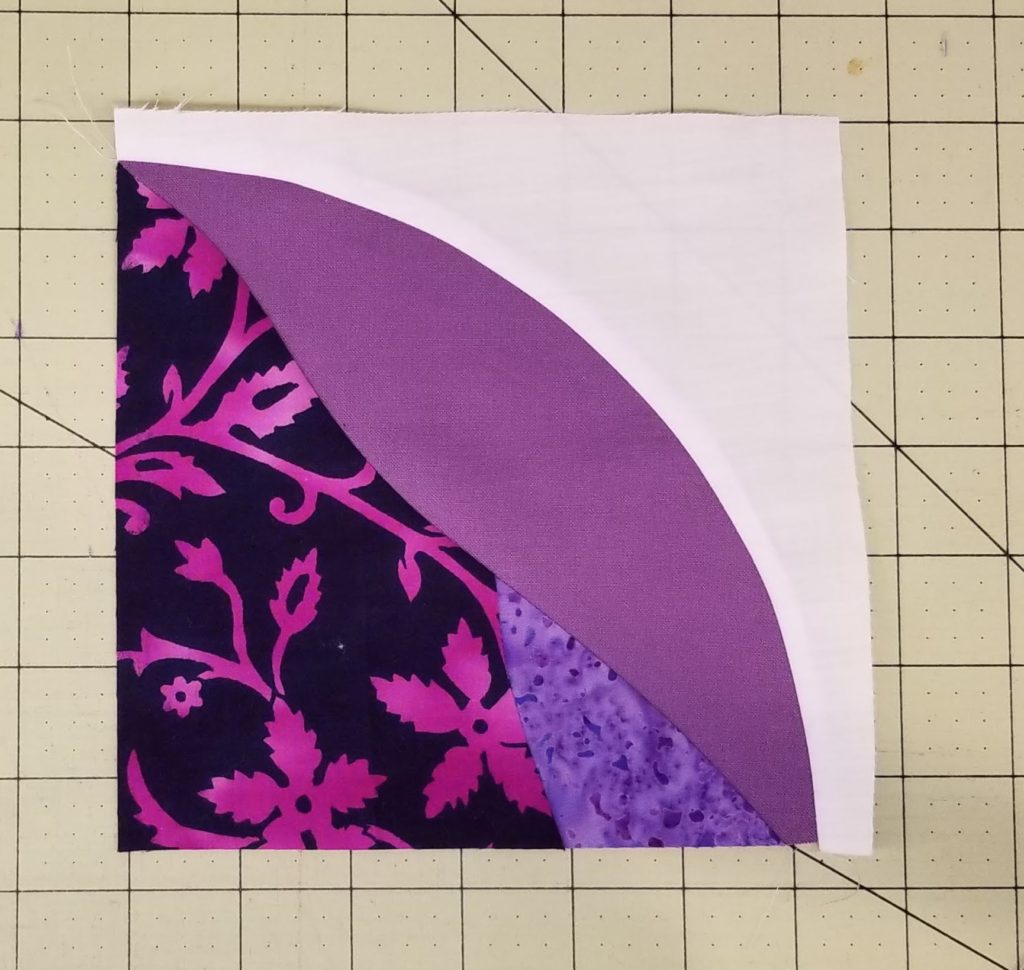
- Press the seam towards the background.
- Repeat with your remaining three arc sets.
- This is a good time to square up your blocks. I use a 6 1/2″ ruler.
- Spend a few minutes turning your blocks around, playing with your layout. Since we only used four fabrics, matching fabrics will touch. I found some interesting design possibilities when I played.
- Assemble the quarter circle units into pairs, pinning at either end, and making sure to pin where the background meets the circle.
- Press. I like to make sure I can nest my seams, so I will lay both blocks on the ironing board, being sure that one seam goes up, and the other goes down.
- Assemble the half circle units into a single block, pinning carefully at the middle and at seam intersections.
- When pressing this one, I try to make sure I get a swirled effect on the back. This reduces bulk and makes for a flatter block – easier to deal with when I get to quilting.
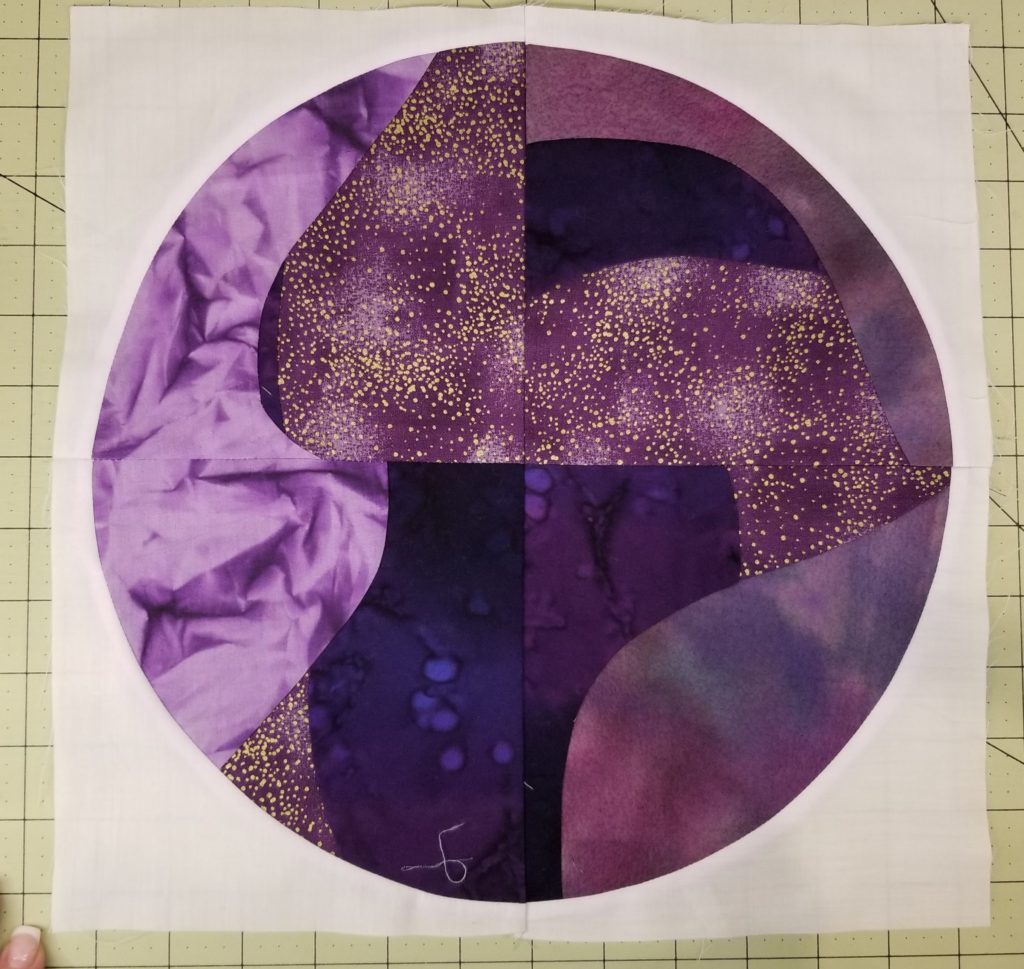
- Pet your block. Take a photo and share it to social media. Tag me! I’m @jenniferstrauser on Instagram, and Dizzy Quilter on Facebook. I love it when people are inspired by my posts.
We are now halfway through the challenge! Look at how great these blocks look together.
Sign up to follow my blog, and you will get a reminder when the color challenge linkup is open. You will also be able keep up with all of my quilting projects.
Previous Color Challenge Blocks:
January Color Challenge
February Color Challenge
March Color Challenge
April Color Challenge
May Color Challenge

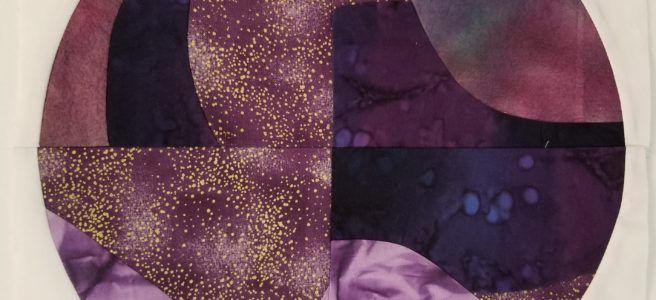
I’ve done improv curved piecing before, but I think some of your curves are quite a bit deeper than I have attempted. I might have to rethink what I thought was the limitations on this method. I really like this circle, just like all your previous challenge circles. 🙂
Ahh. Well, I made these quite deep to see what I could get away with. I keep wanting to make the bears, but I have so little play time.
All of your blocks have been so amazing. Love the improve curves on this one.
Jennifer, you make it look so easy even though I know it isn’t. You are so clever!
One of these days I will get around to trying out these circles. 🙂 Looks like we used the same purple fabric!
You d
You do make me want to try circular improv. You’re very good at inspiring me.
Awww. ☺️
That’s not necessarily a good thing! I have too many languishing projects and a neglected blog. But my feathers are improving! The question is: is hand-guided longarming going to die to computerized quilting? Am I wasting time developing these skills?
I don’t think learning a skill is ever wasted. I’ve been combining computer and free motion and I’ve been very happy with my results. Computerized quilting will not be replaced by hand guided any time soon. Your feathers are looking fabulous.
Thanks! I feel like I’m spending a lot of time making wobbly things, but then I do something in a blending thread color and am fairly happy with the finished product. I must be doing something right!
I am definitely going to try this block. We did this type of block years ago and forgot all about it. Thanks! – Robin
Have fun, and share photos!
I think I am so mind blown by improv curves… this month should be interesting!! Thanks for pushing me to try new things!