
This month I am dipping into my blue stash to play with my friends in the 2018 Monthly Color Challenge. My blue stash is way better than my red stash.
Check out my fellow bloggers this month and see what they are up to.

Circle Play
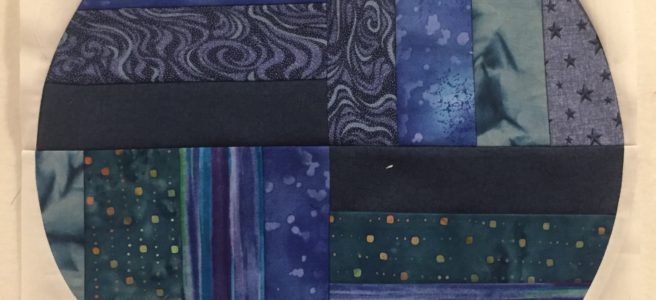
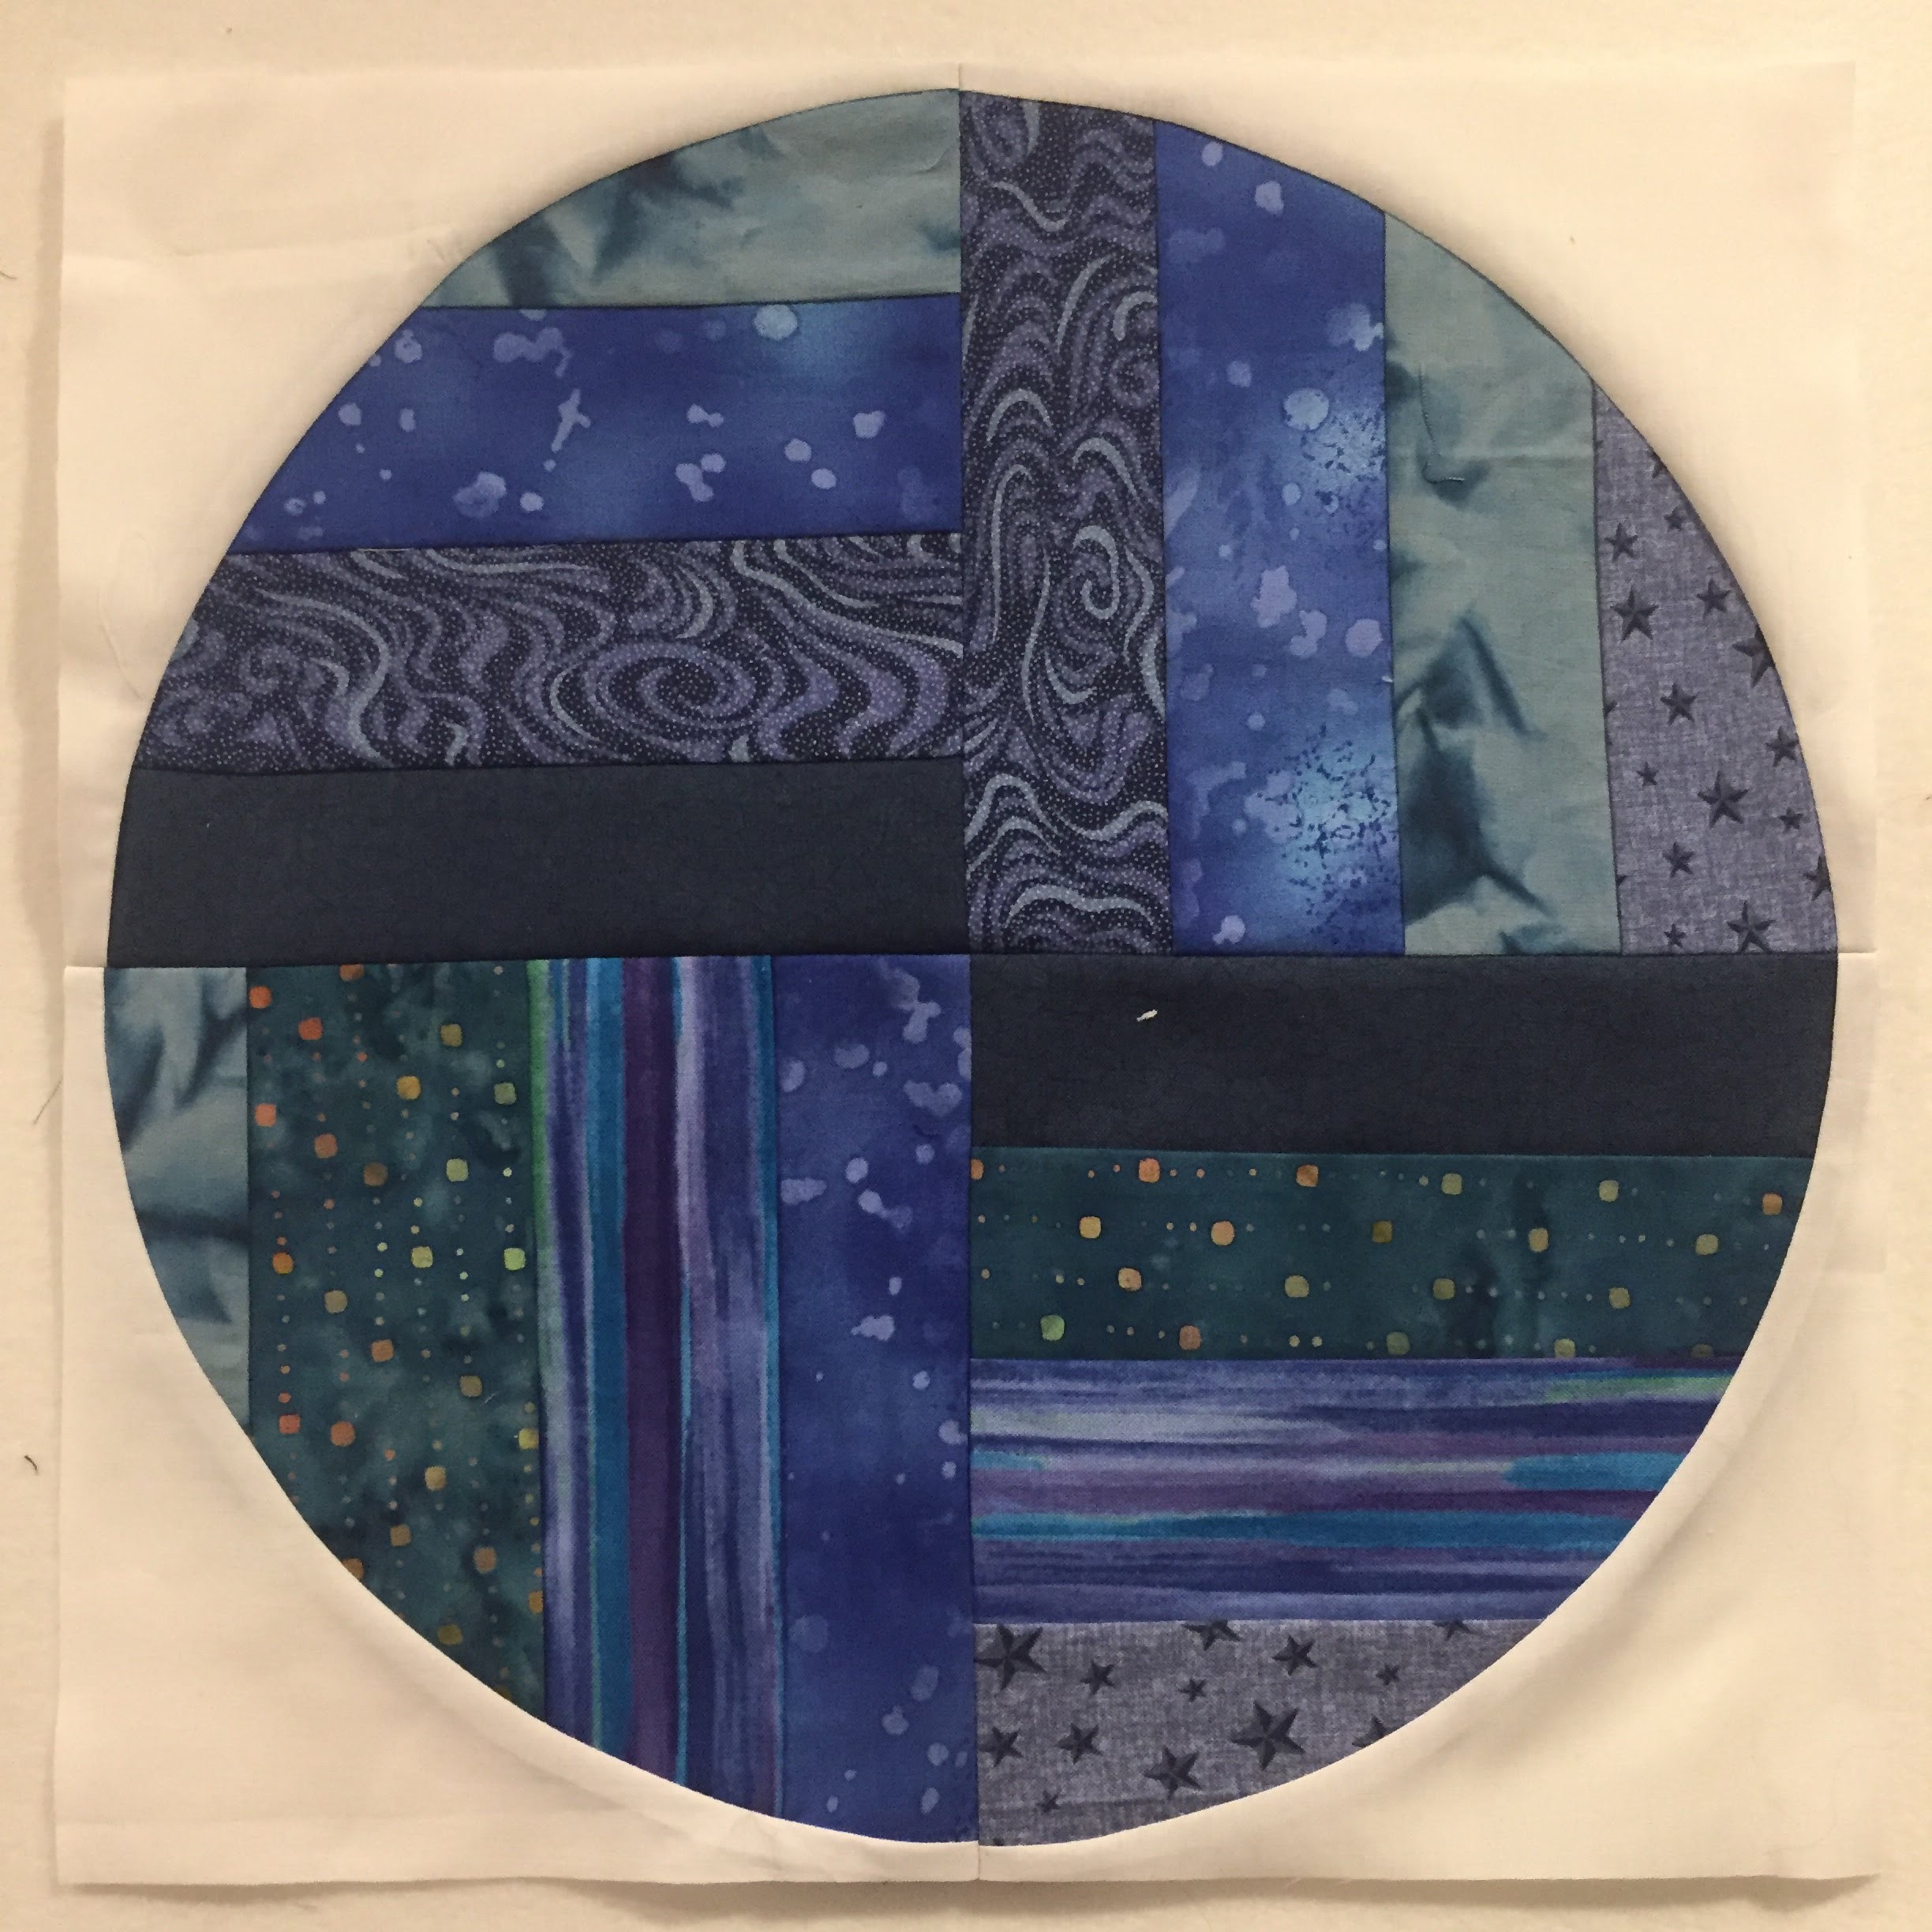 This month I decided to stick with the foundation piecing in my arc sections, but I’ve changed it up by adjusting the angles of the lines.
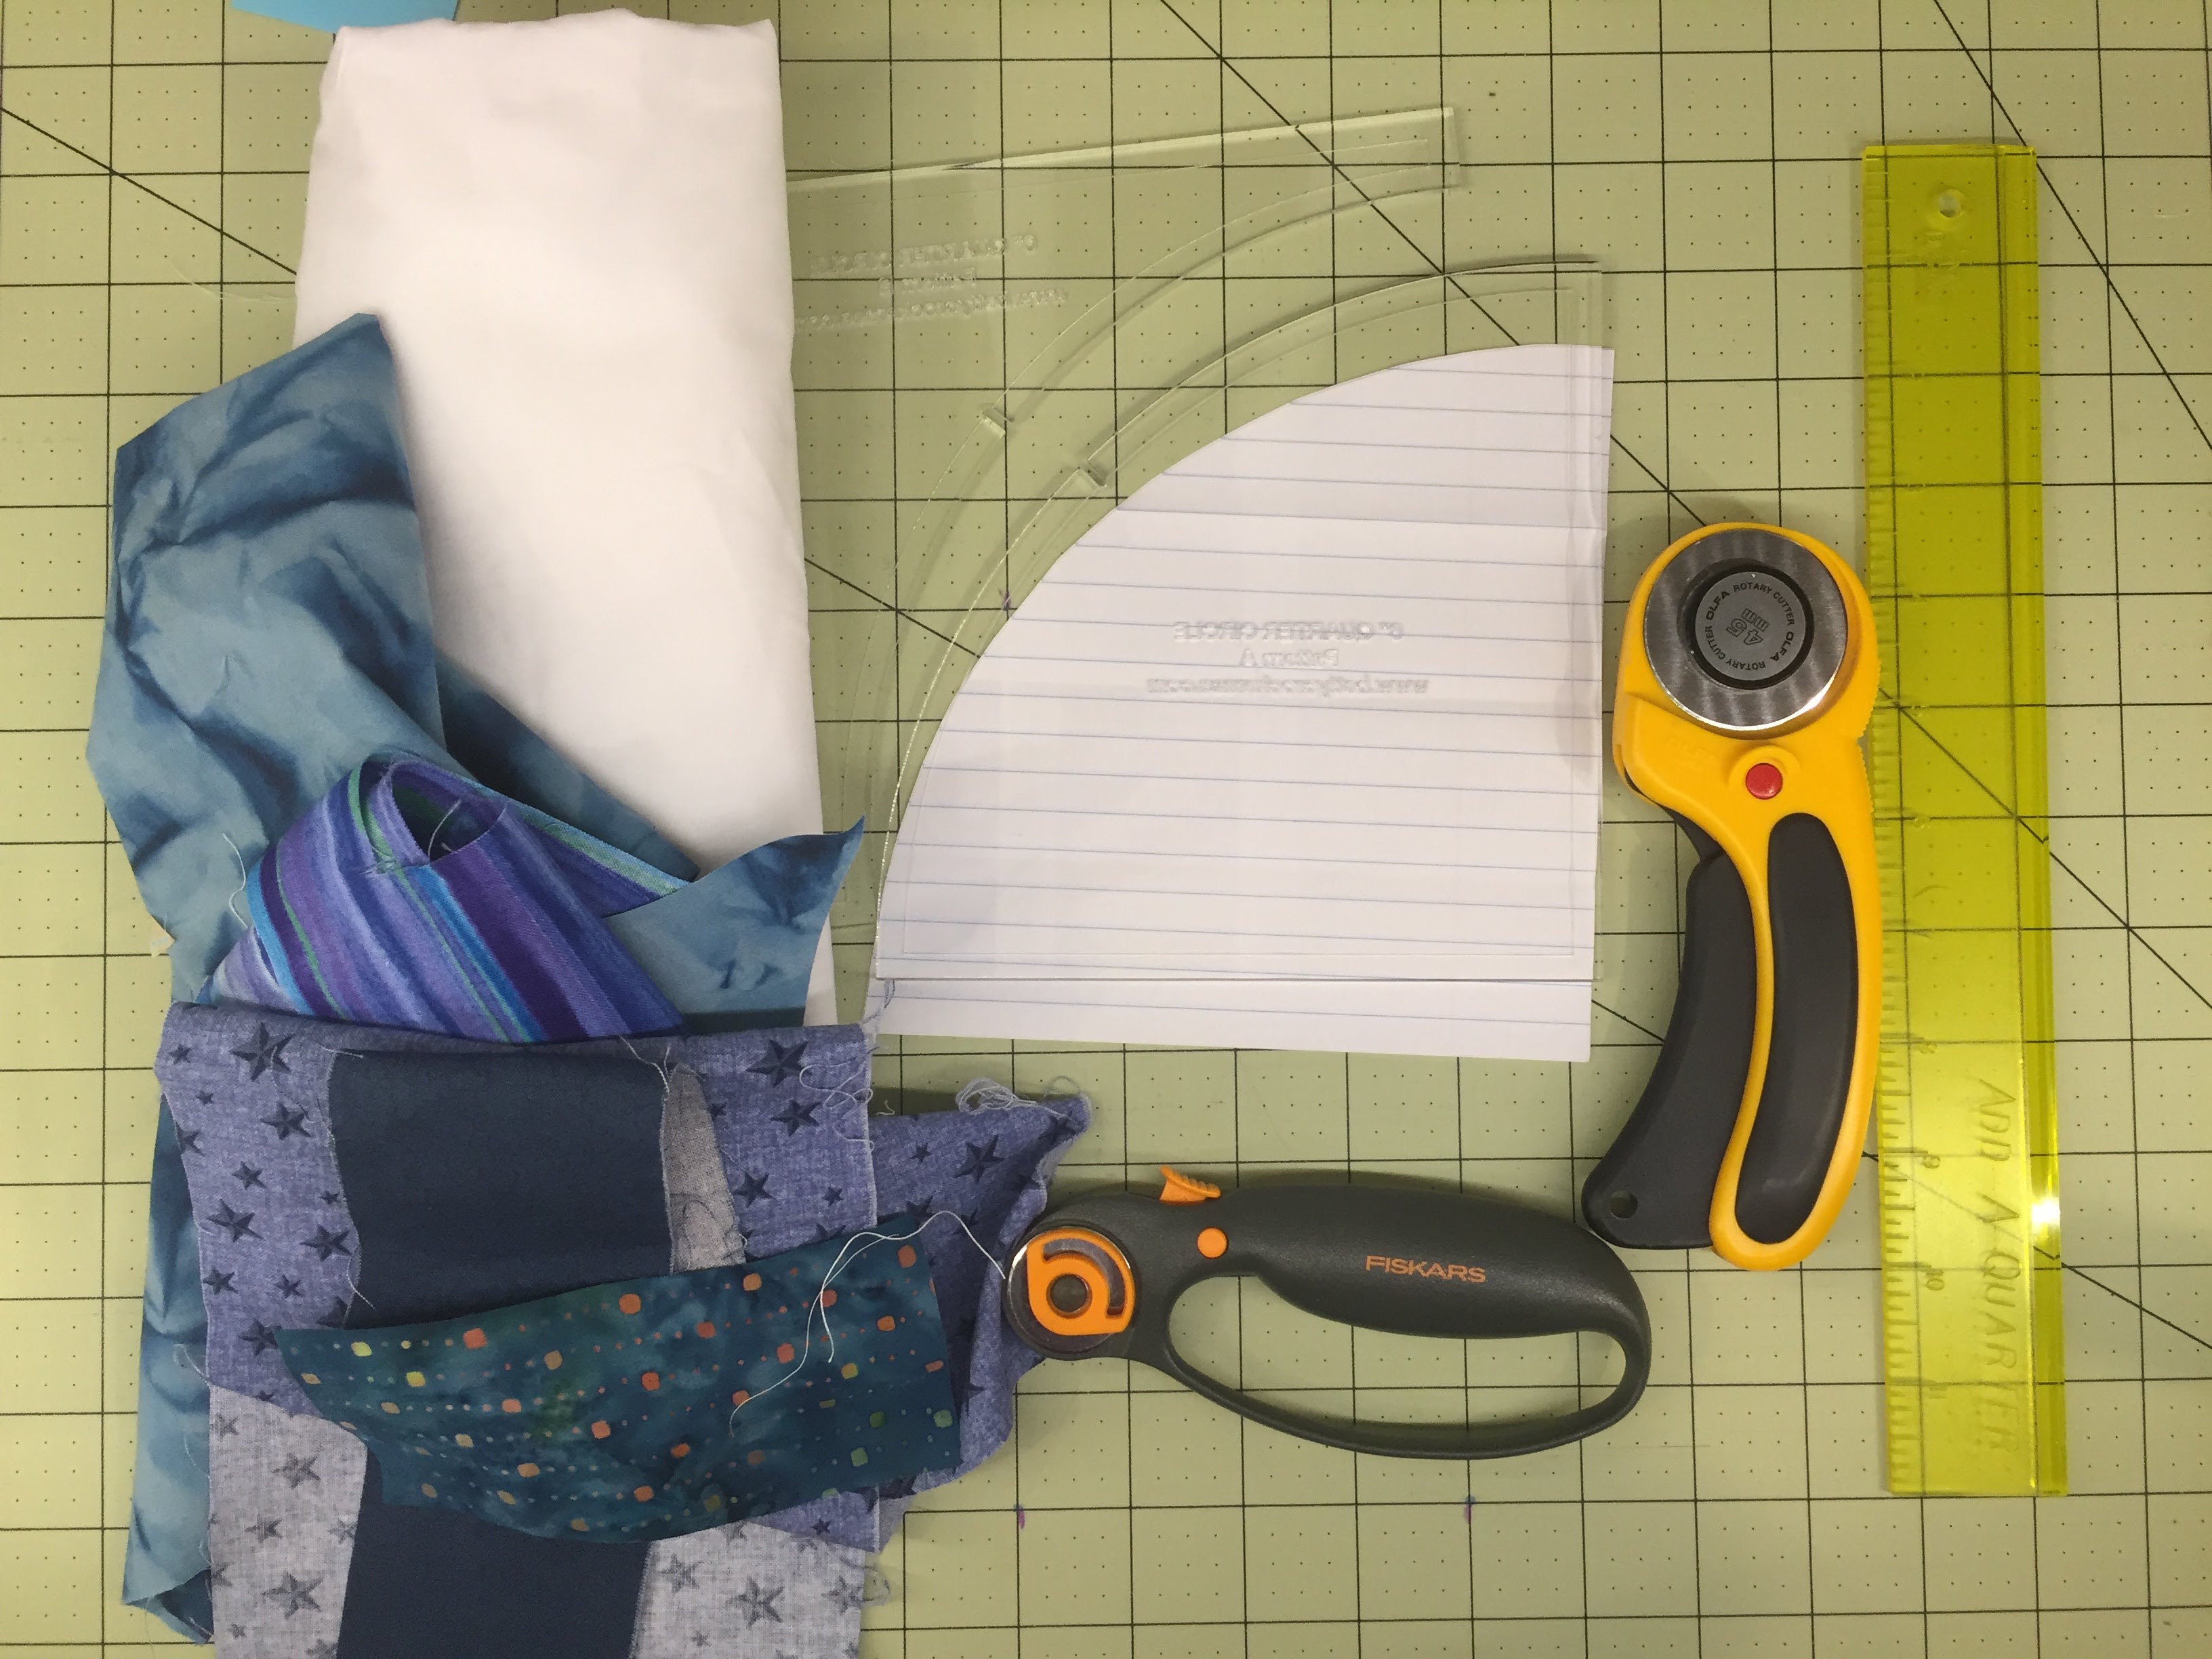 I did a stash dive, and pulled out my favorite blues. I have an itty bitty stash problem. I can tell you from experience, I could crank out a whole quilt from the bin, and the bin will look EXACTLY the same. So, I will just use this little bit and stuff the rest back into the bin.
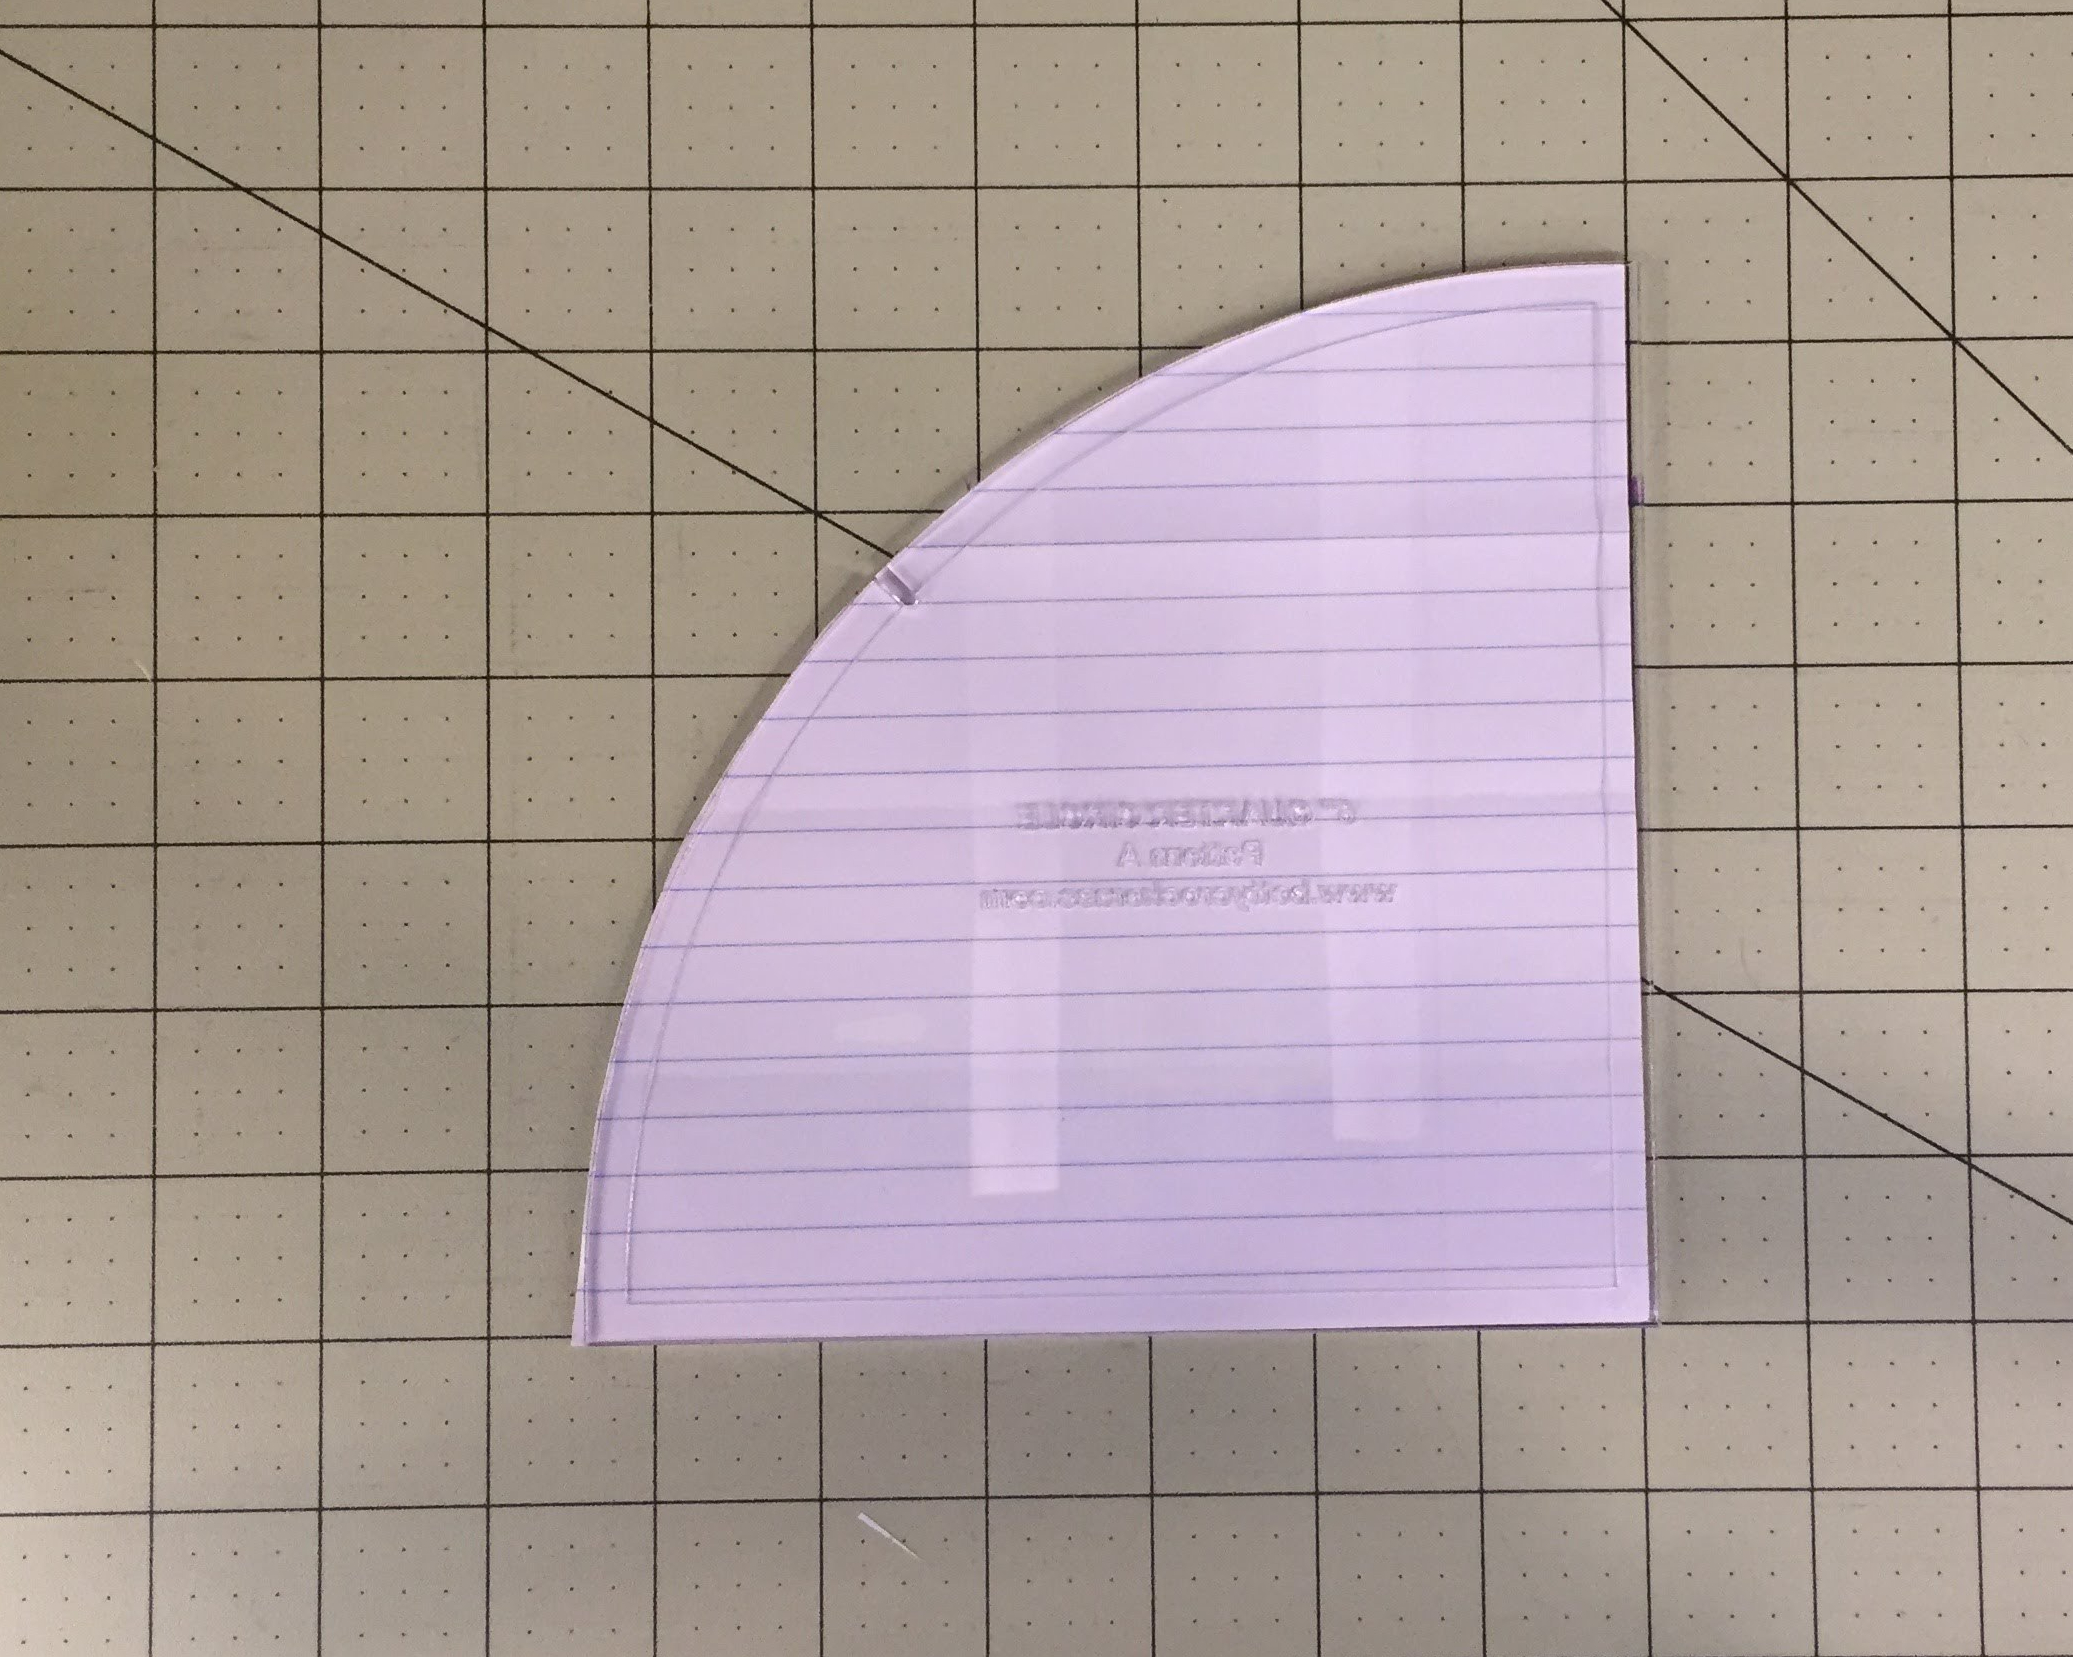 The first step is the same as last month. Take the circle template of your choice, and trace 4 circle portions onto scrap paper. I’m using the 6 1/2″ quarter circle template from Betty Crocker Ass. Feel free to use the template of your choice, or make one yourself.
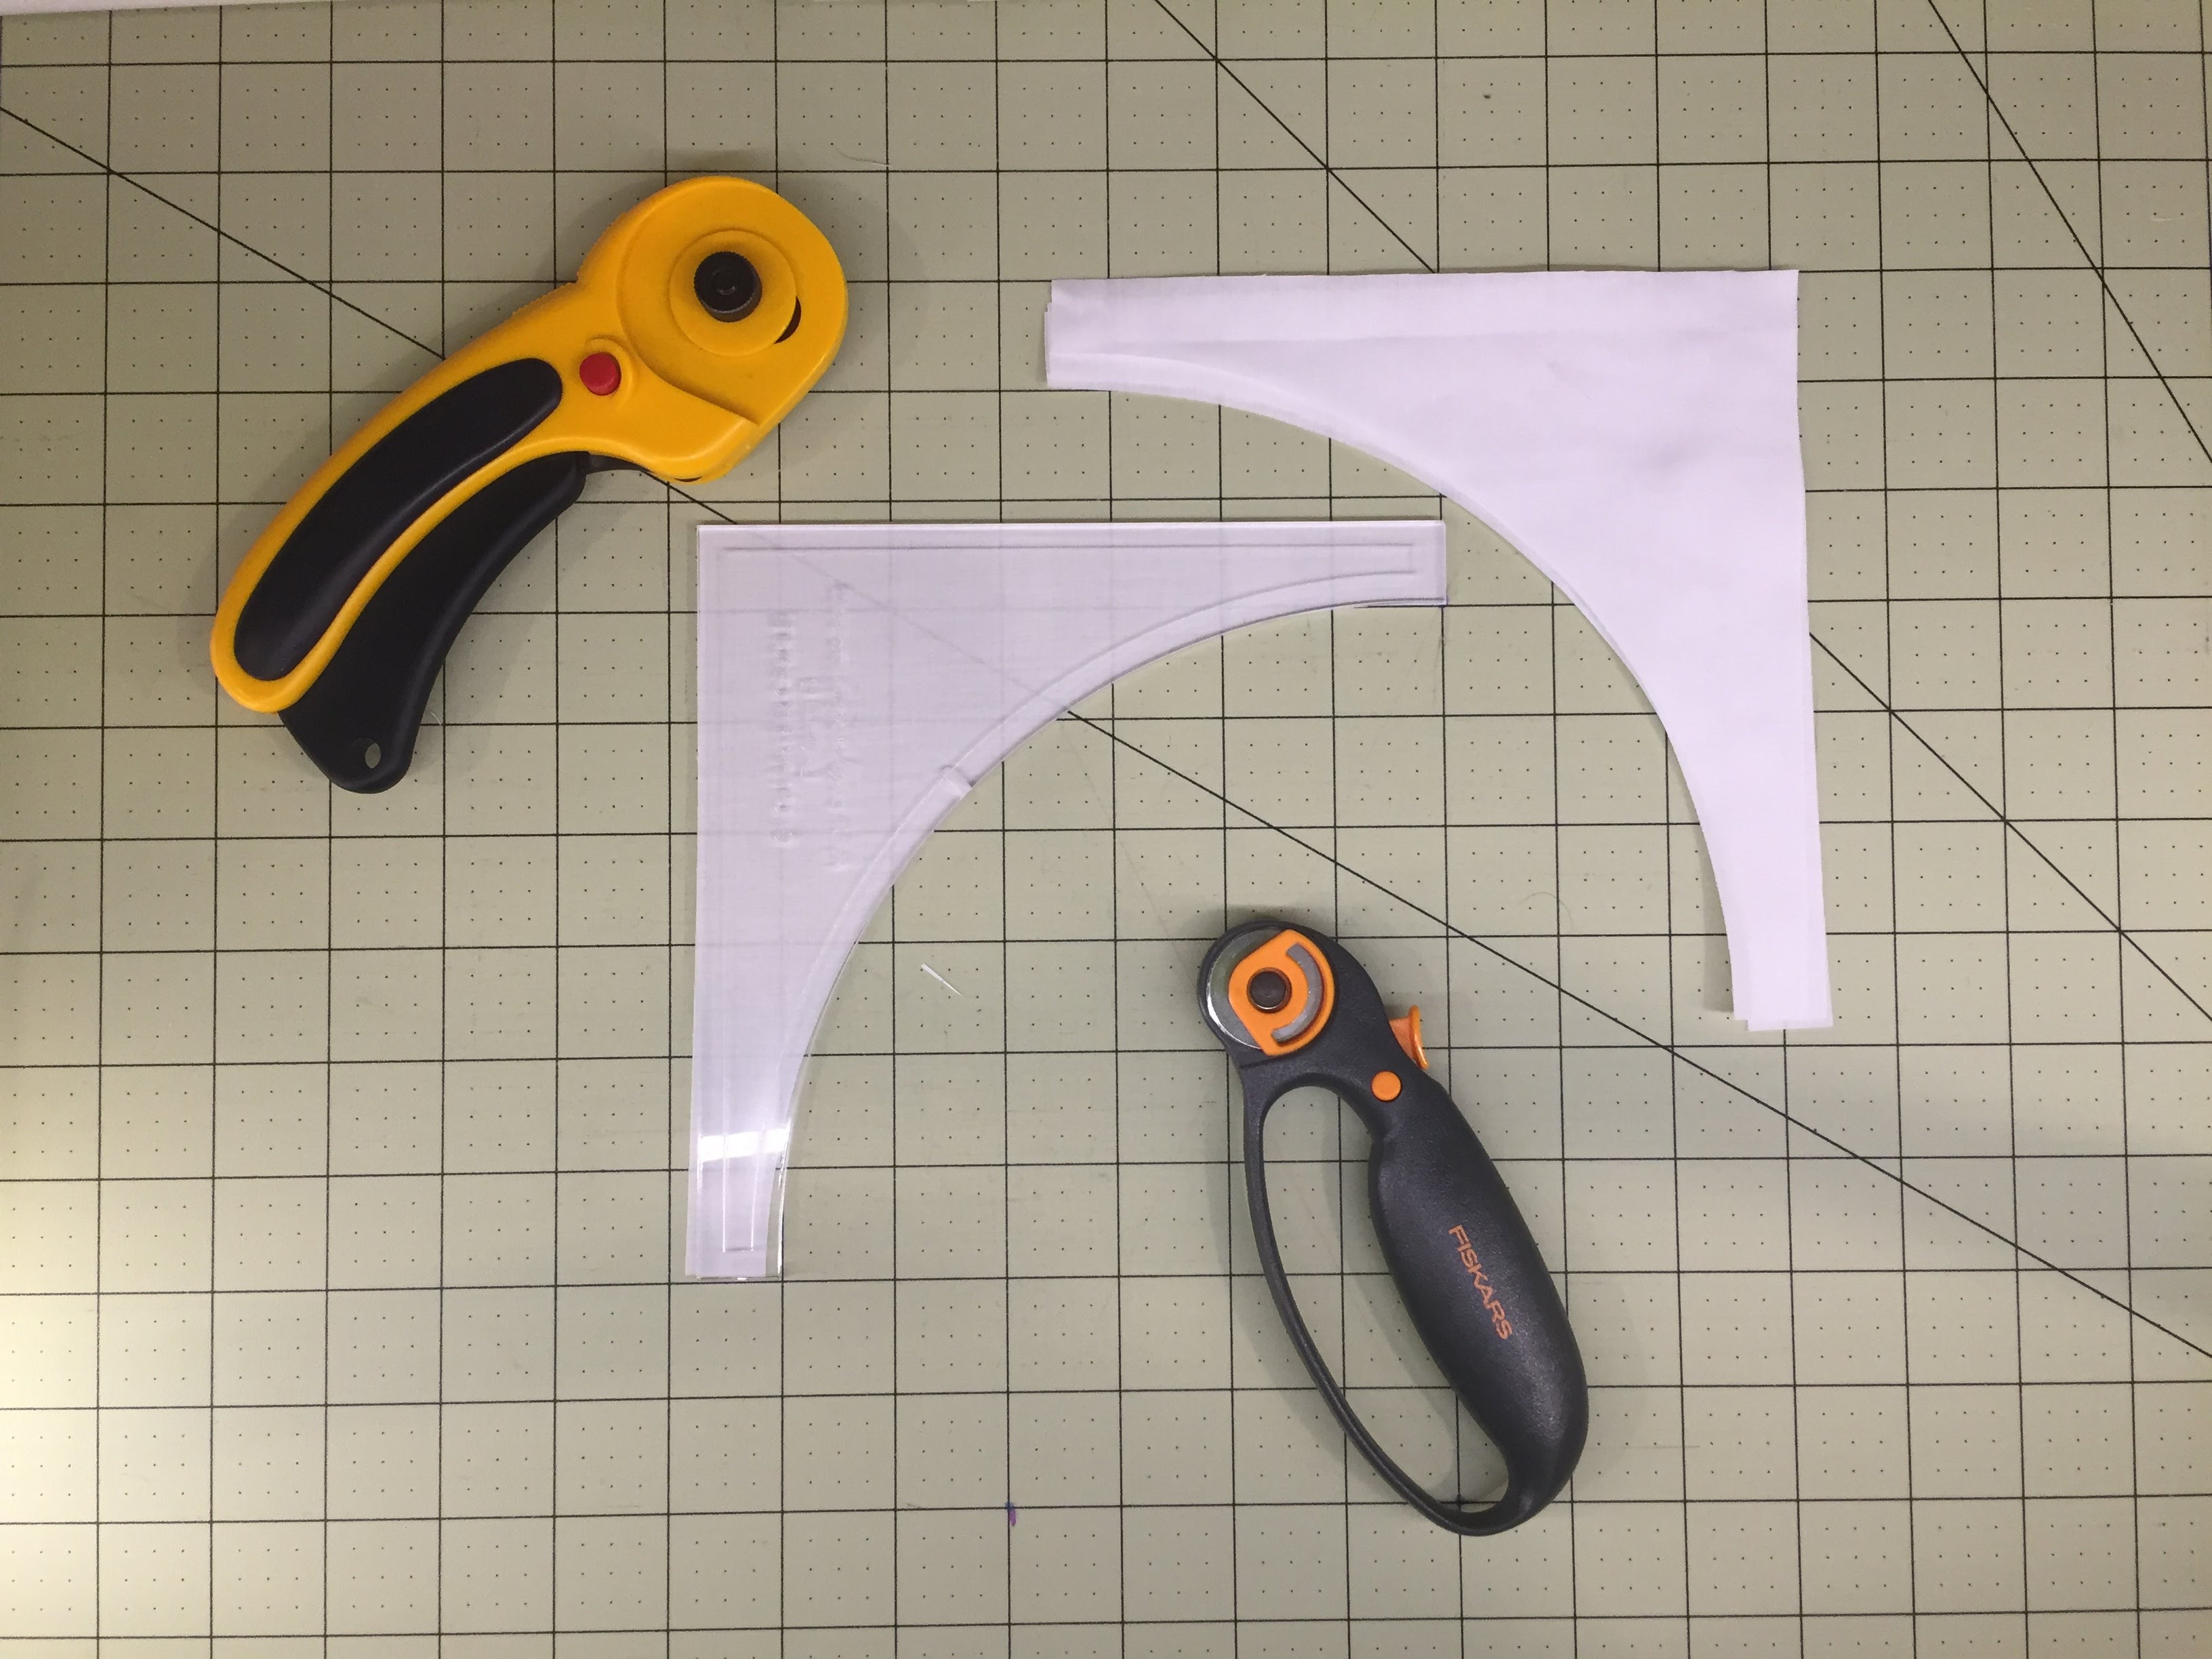 I cut my 4 background sections out of white fabric again this month, to keep a consistent look across my quilt. I use the smaller diameter rotary cutter for curves. It isn’t required, but does do a nicer job cutting smooth curves.
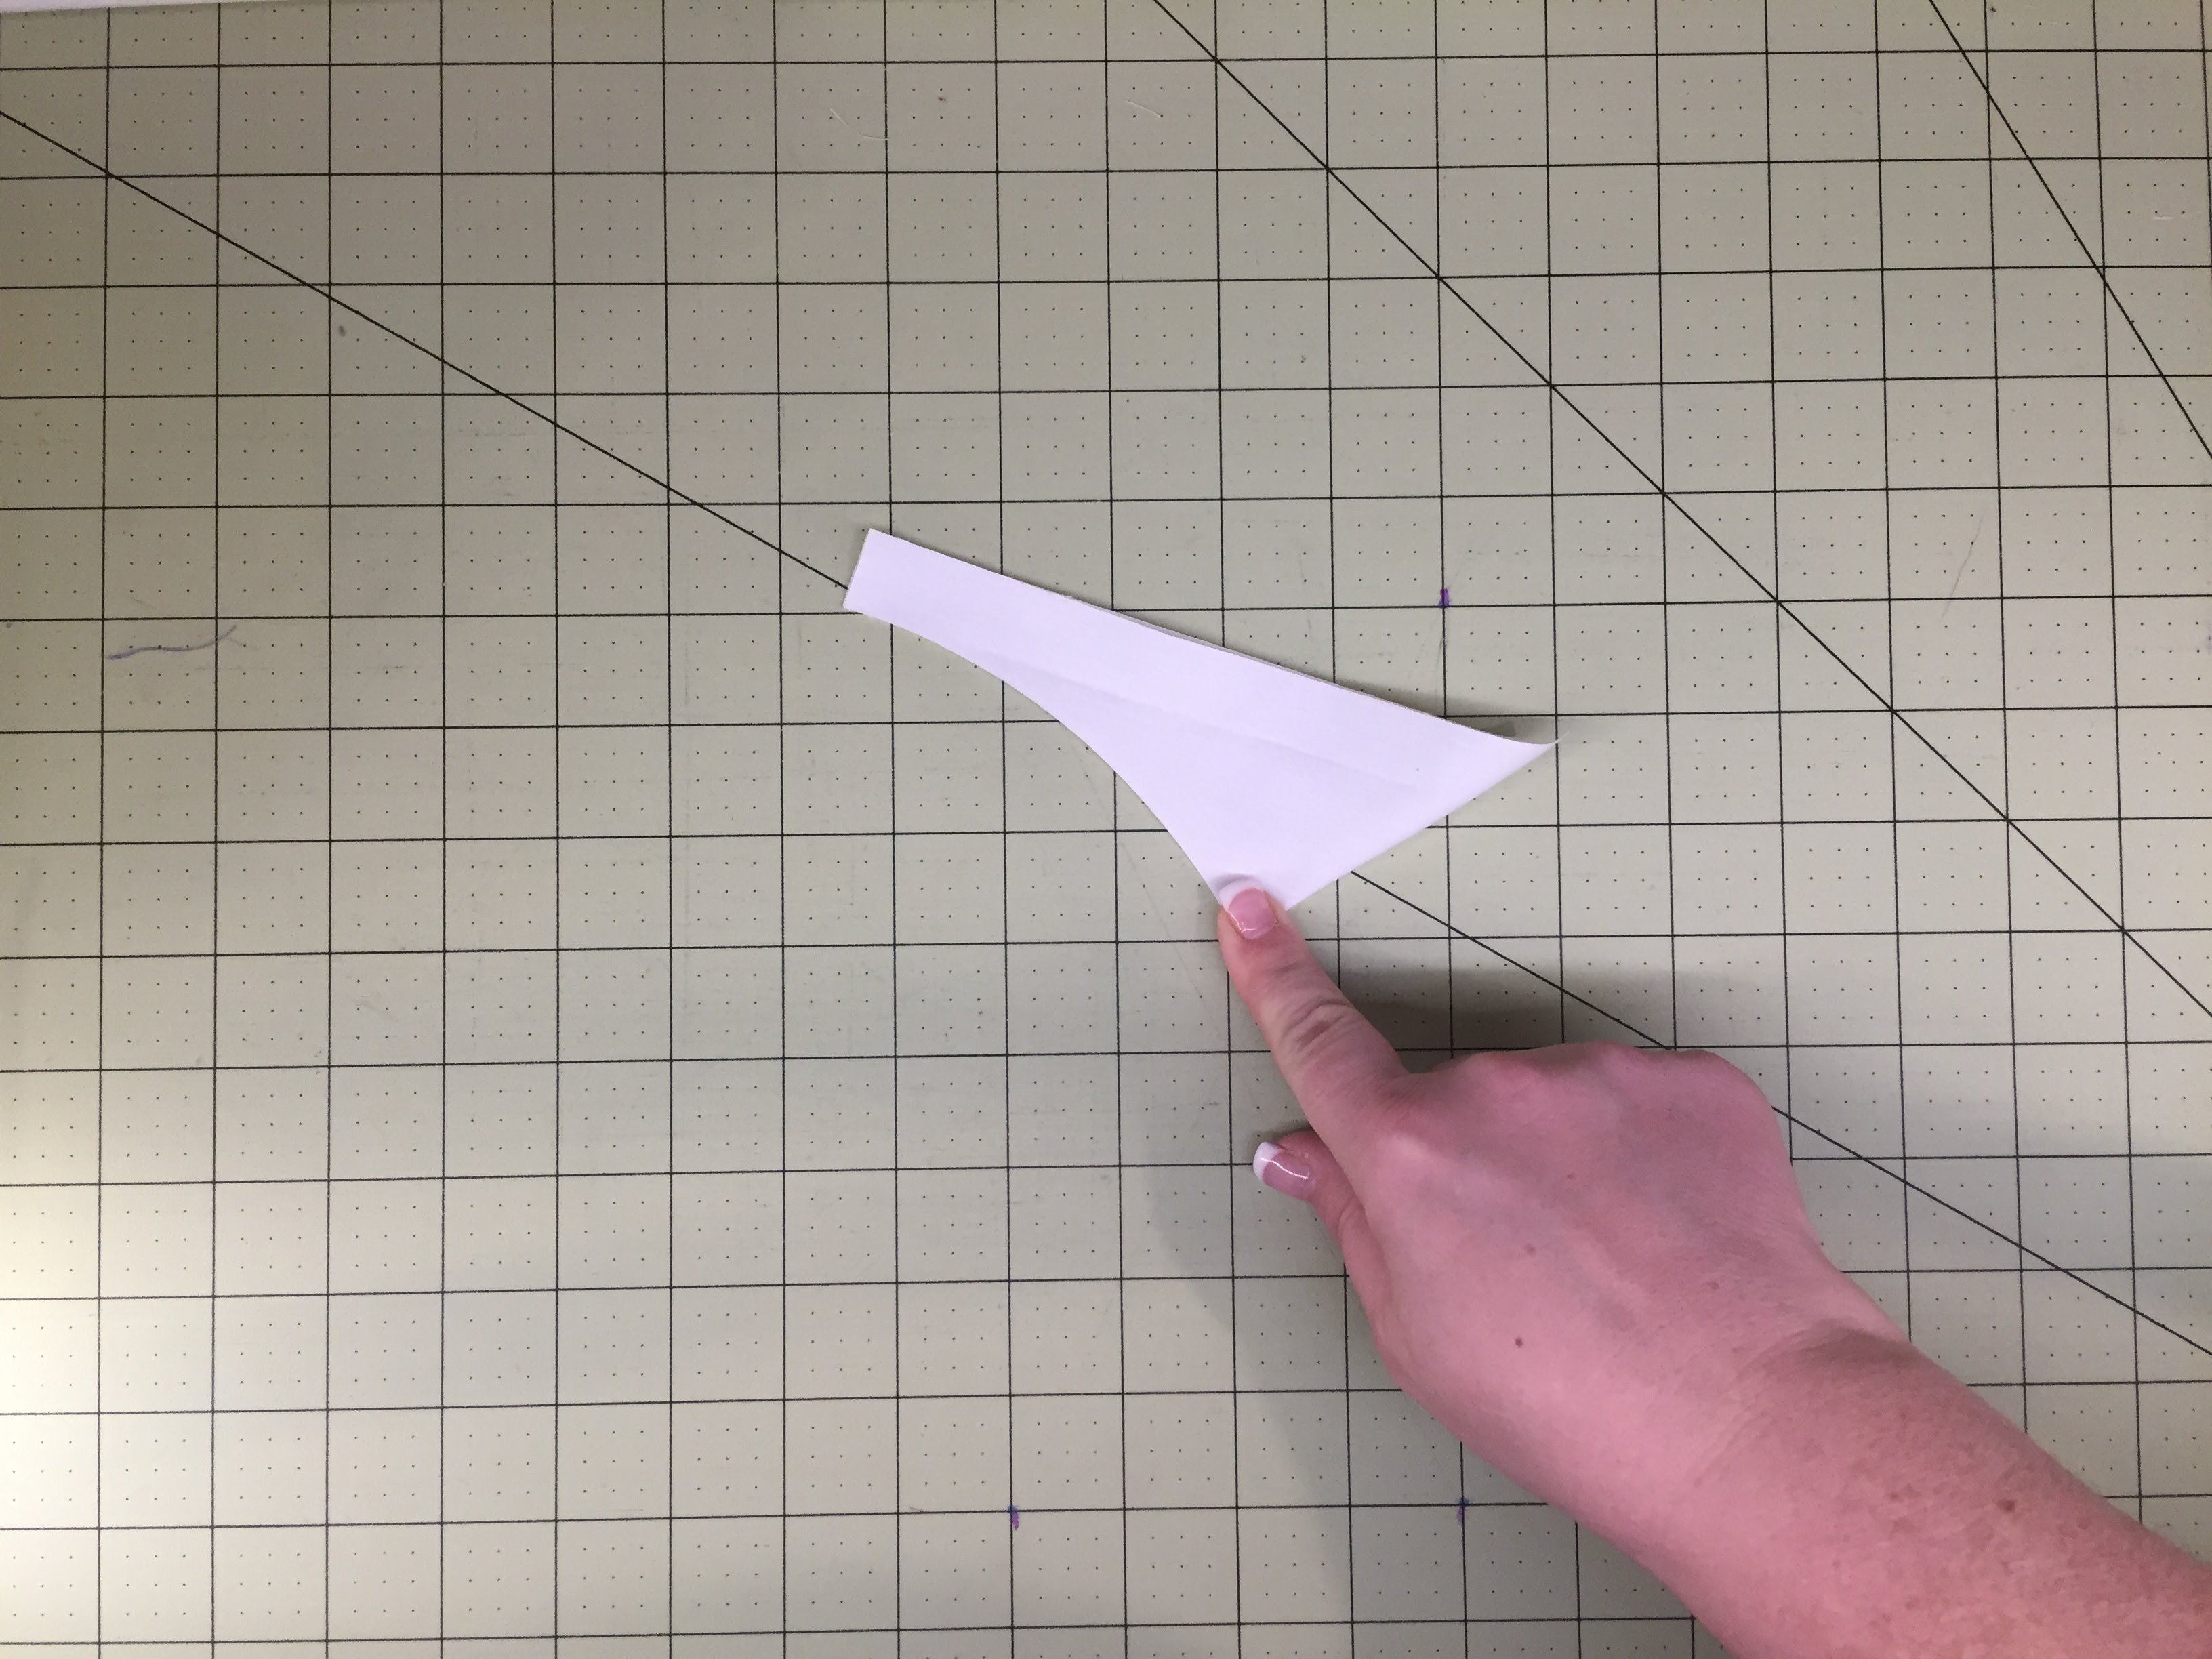 Fold them in half, pinching to create a crease in the middle of the arc.
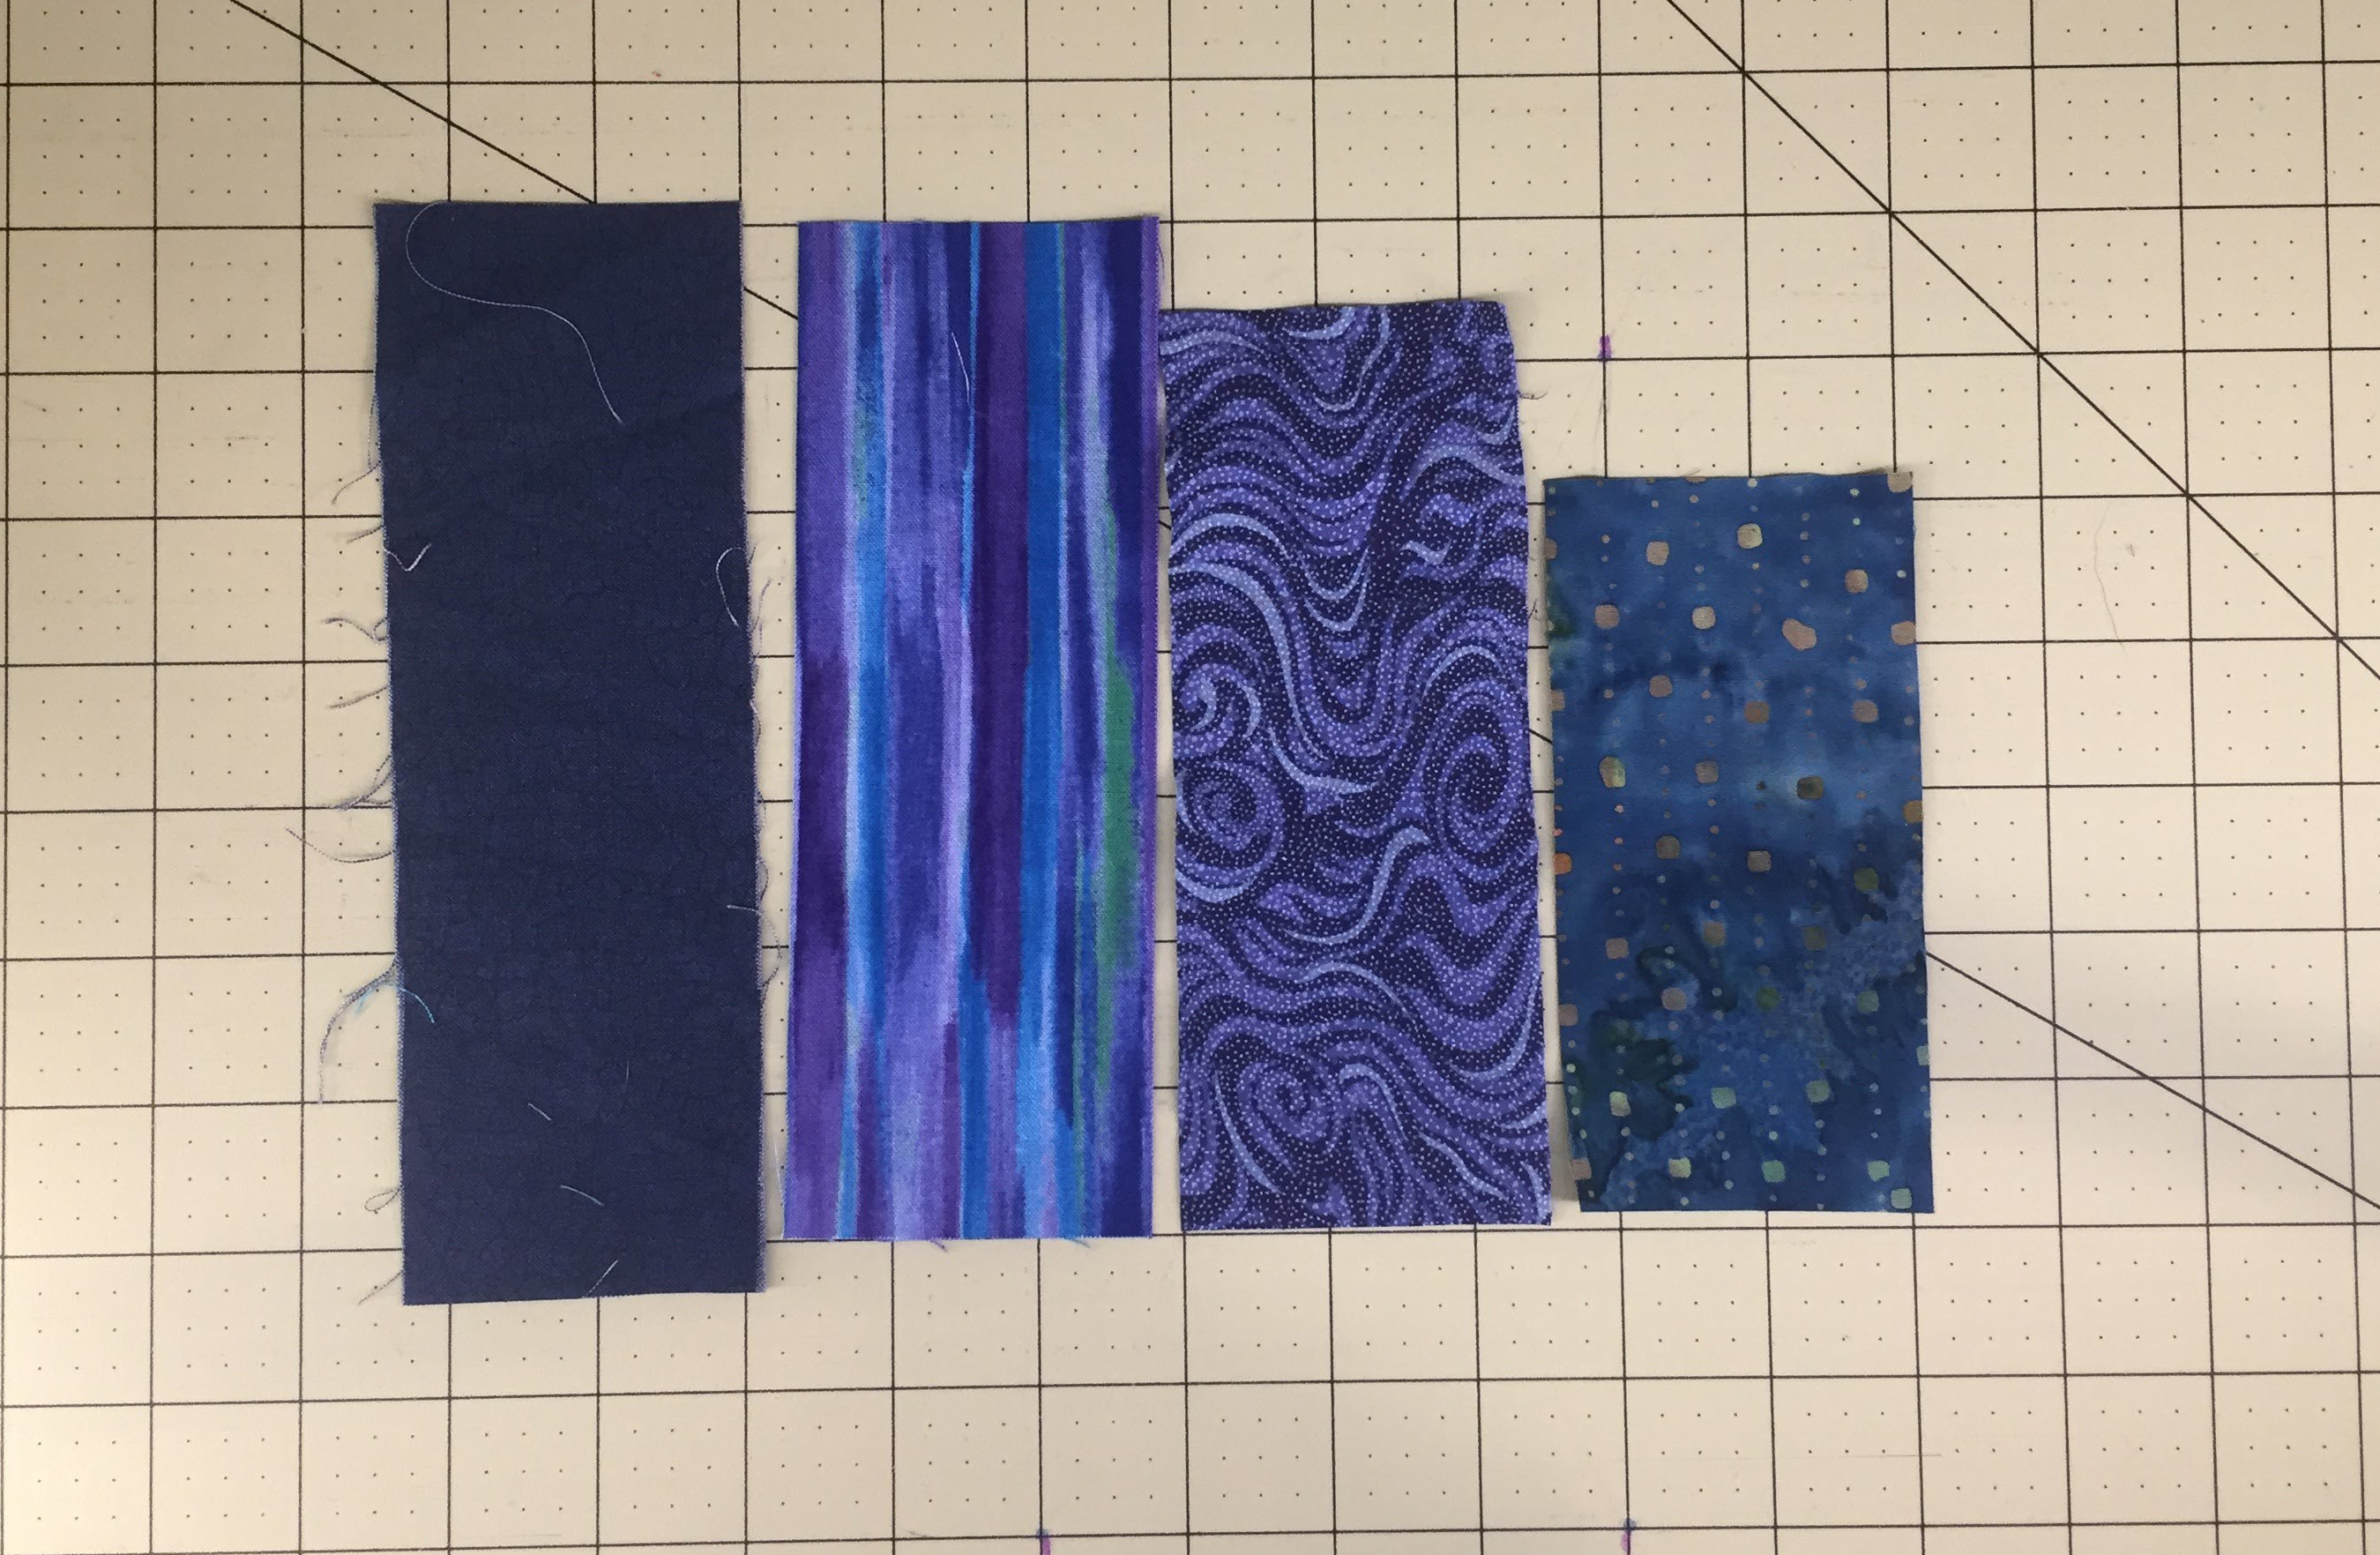 Cut your strips for your arc. You will need 16 – 2 1/2″ wide strips. You can cut all of them at 7 1/2″ long, or, if you are more conservative with your fabric, cut the following:
- 4 – 2 1/2″ x 7 1/2″ – Dark
- 4 – 2 1/2″ x 7″ – Medium dark
- 4 – 2 1/2″ x 6 1/2″ – Medium light
- 4 – 2 1/2″ x 5″ – Light
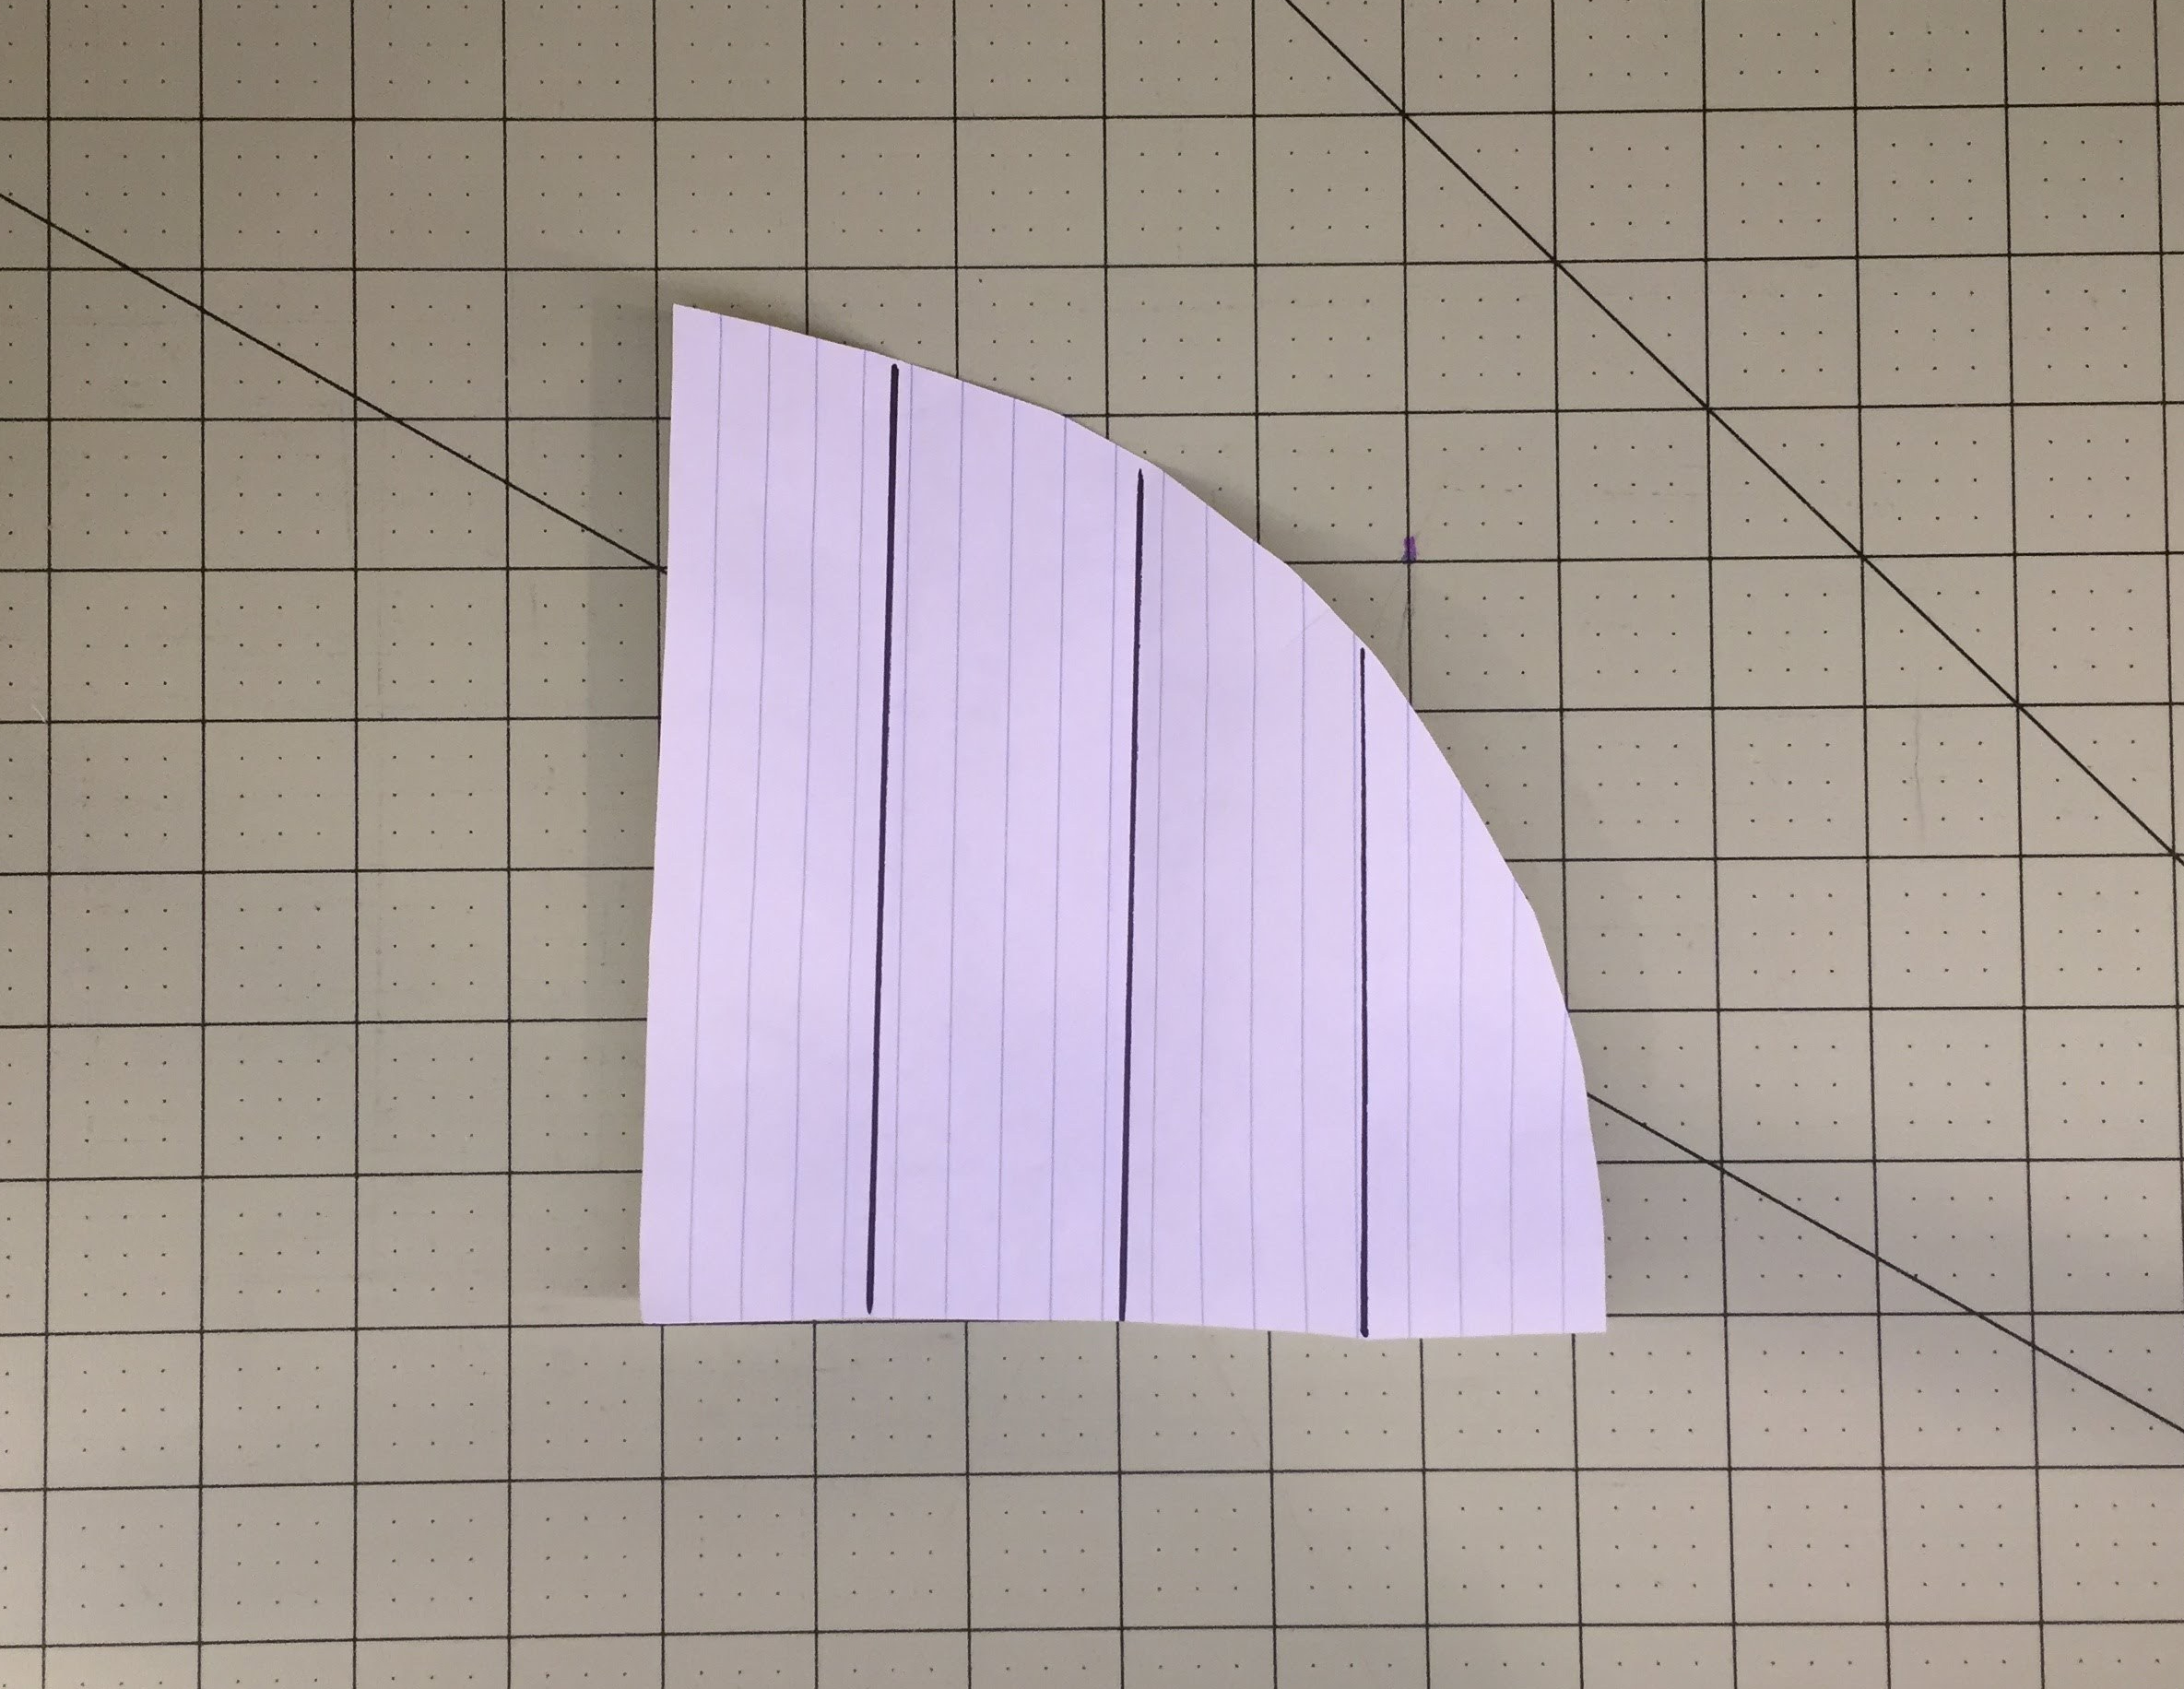 With my 4 arc foundations, I fold them in half, then in half again. I am looking for 4 sections of equal width, aligned vertically on the arc. For this photo I have marked the fold lines, but that is only so you can see the divisions in the photo.
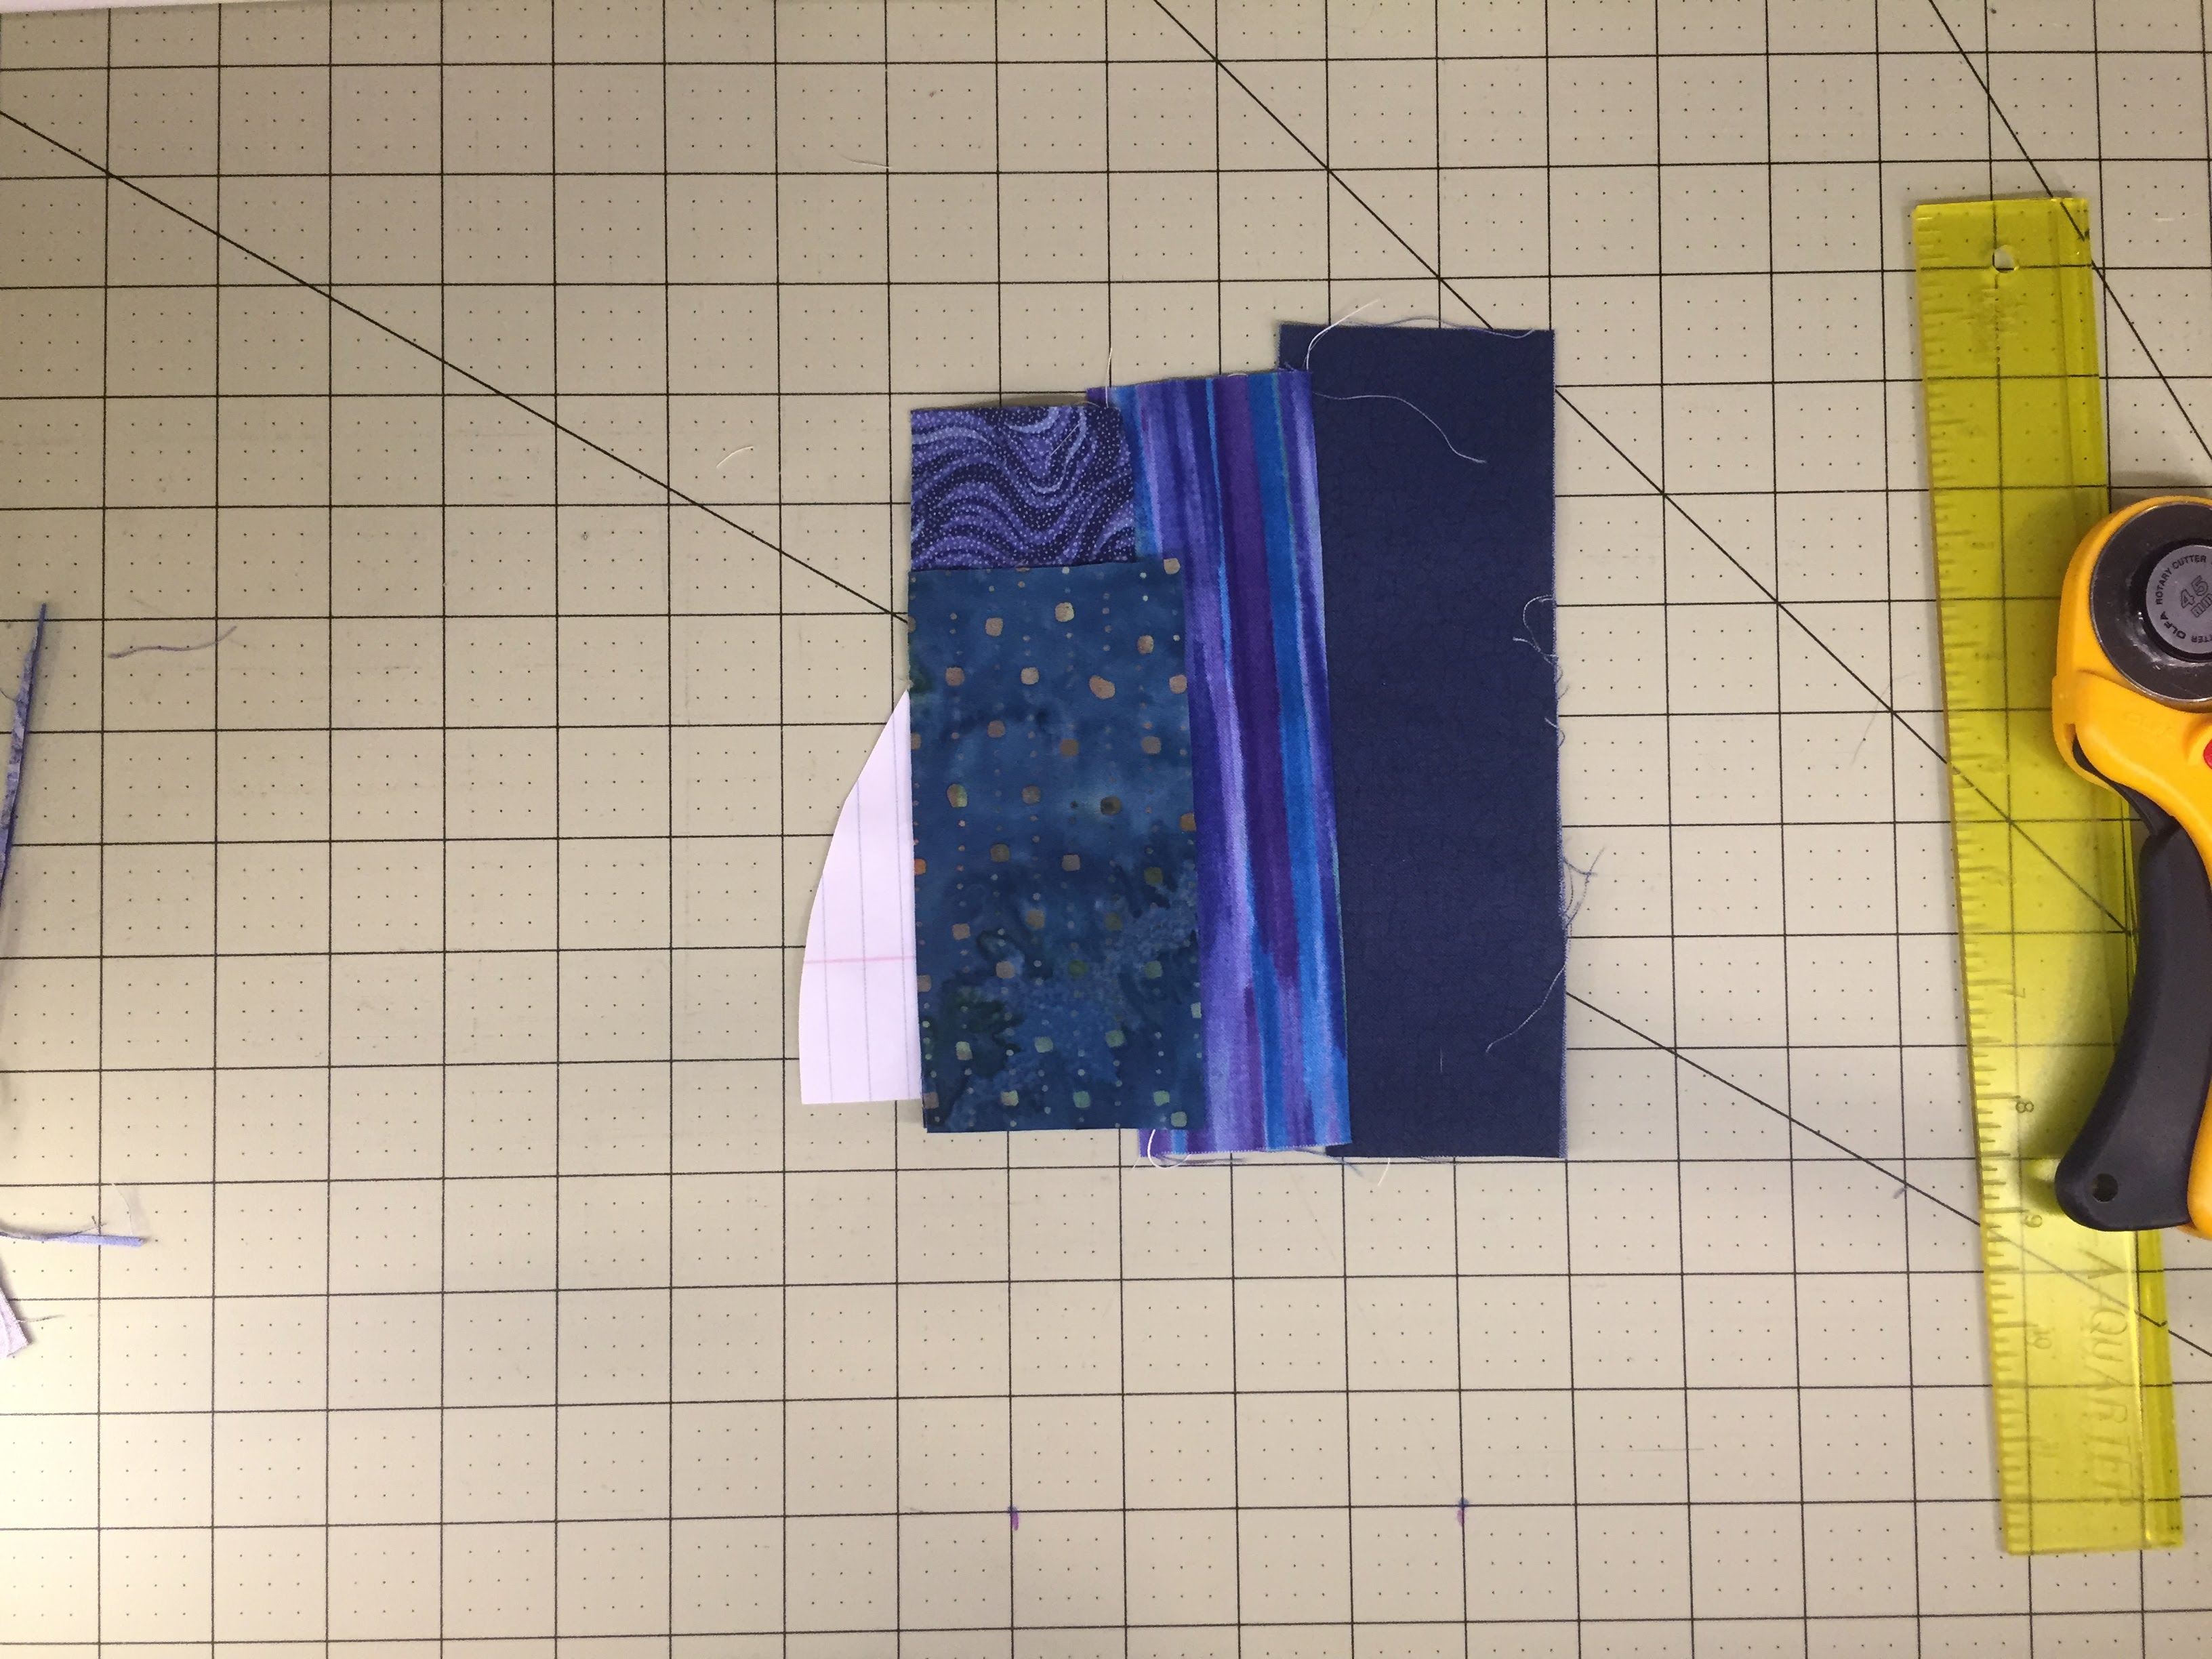
Lay out 4 strips for each ark. I chose to make mine start with the darker strip on the longest edge, lightening as it gets shorter.
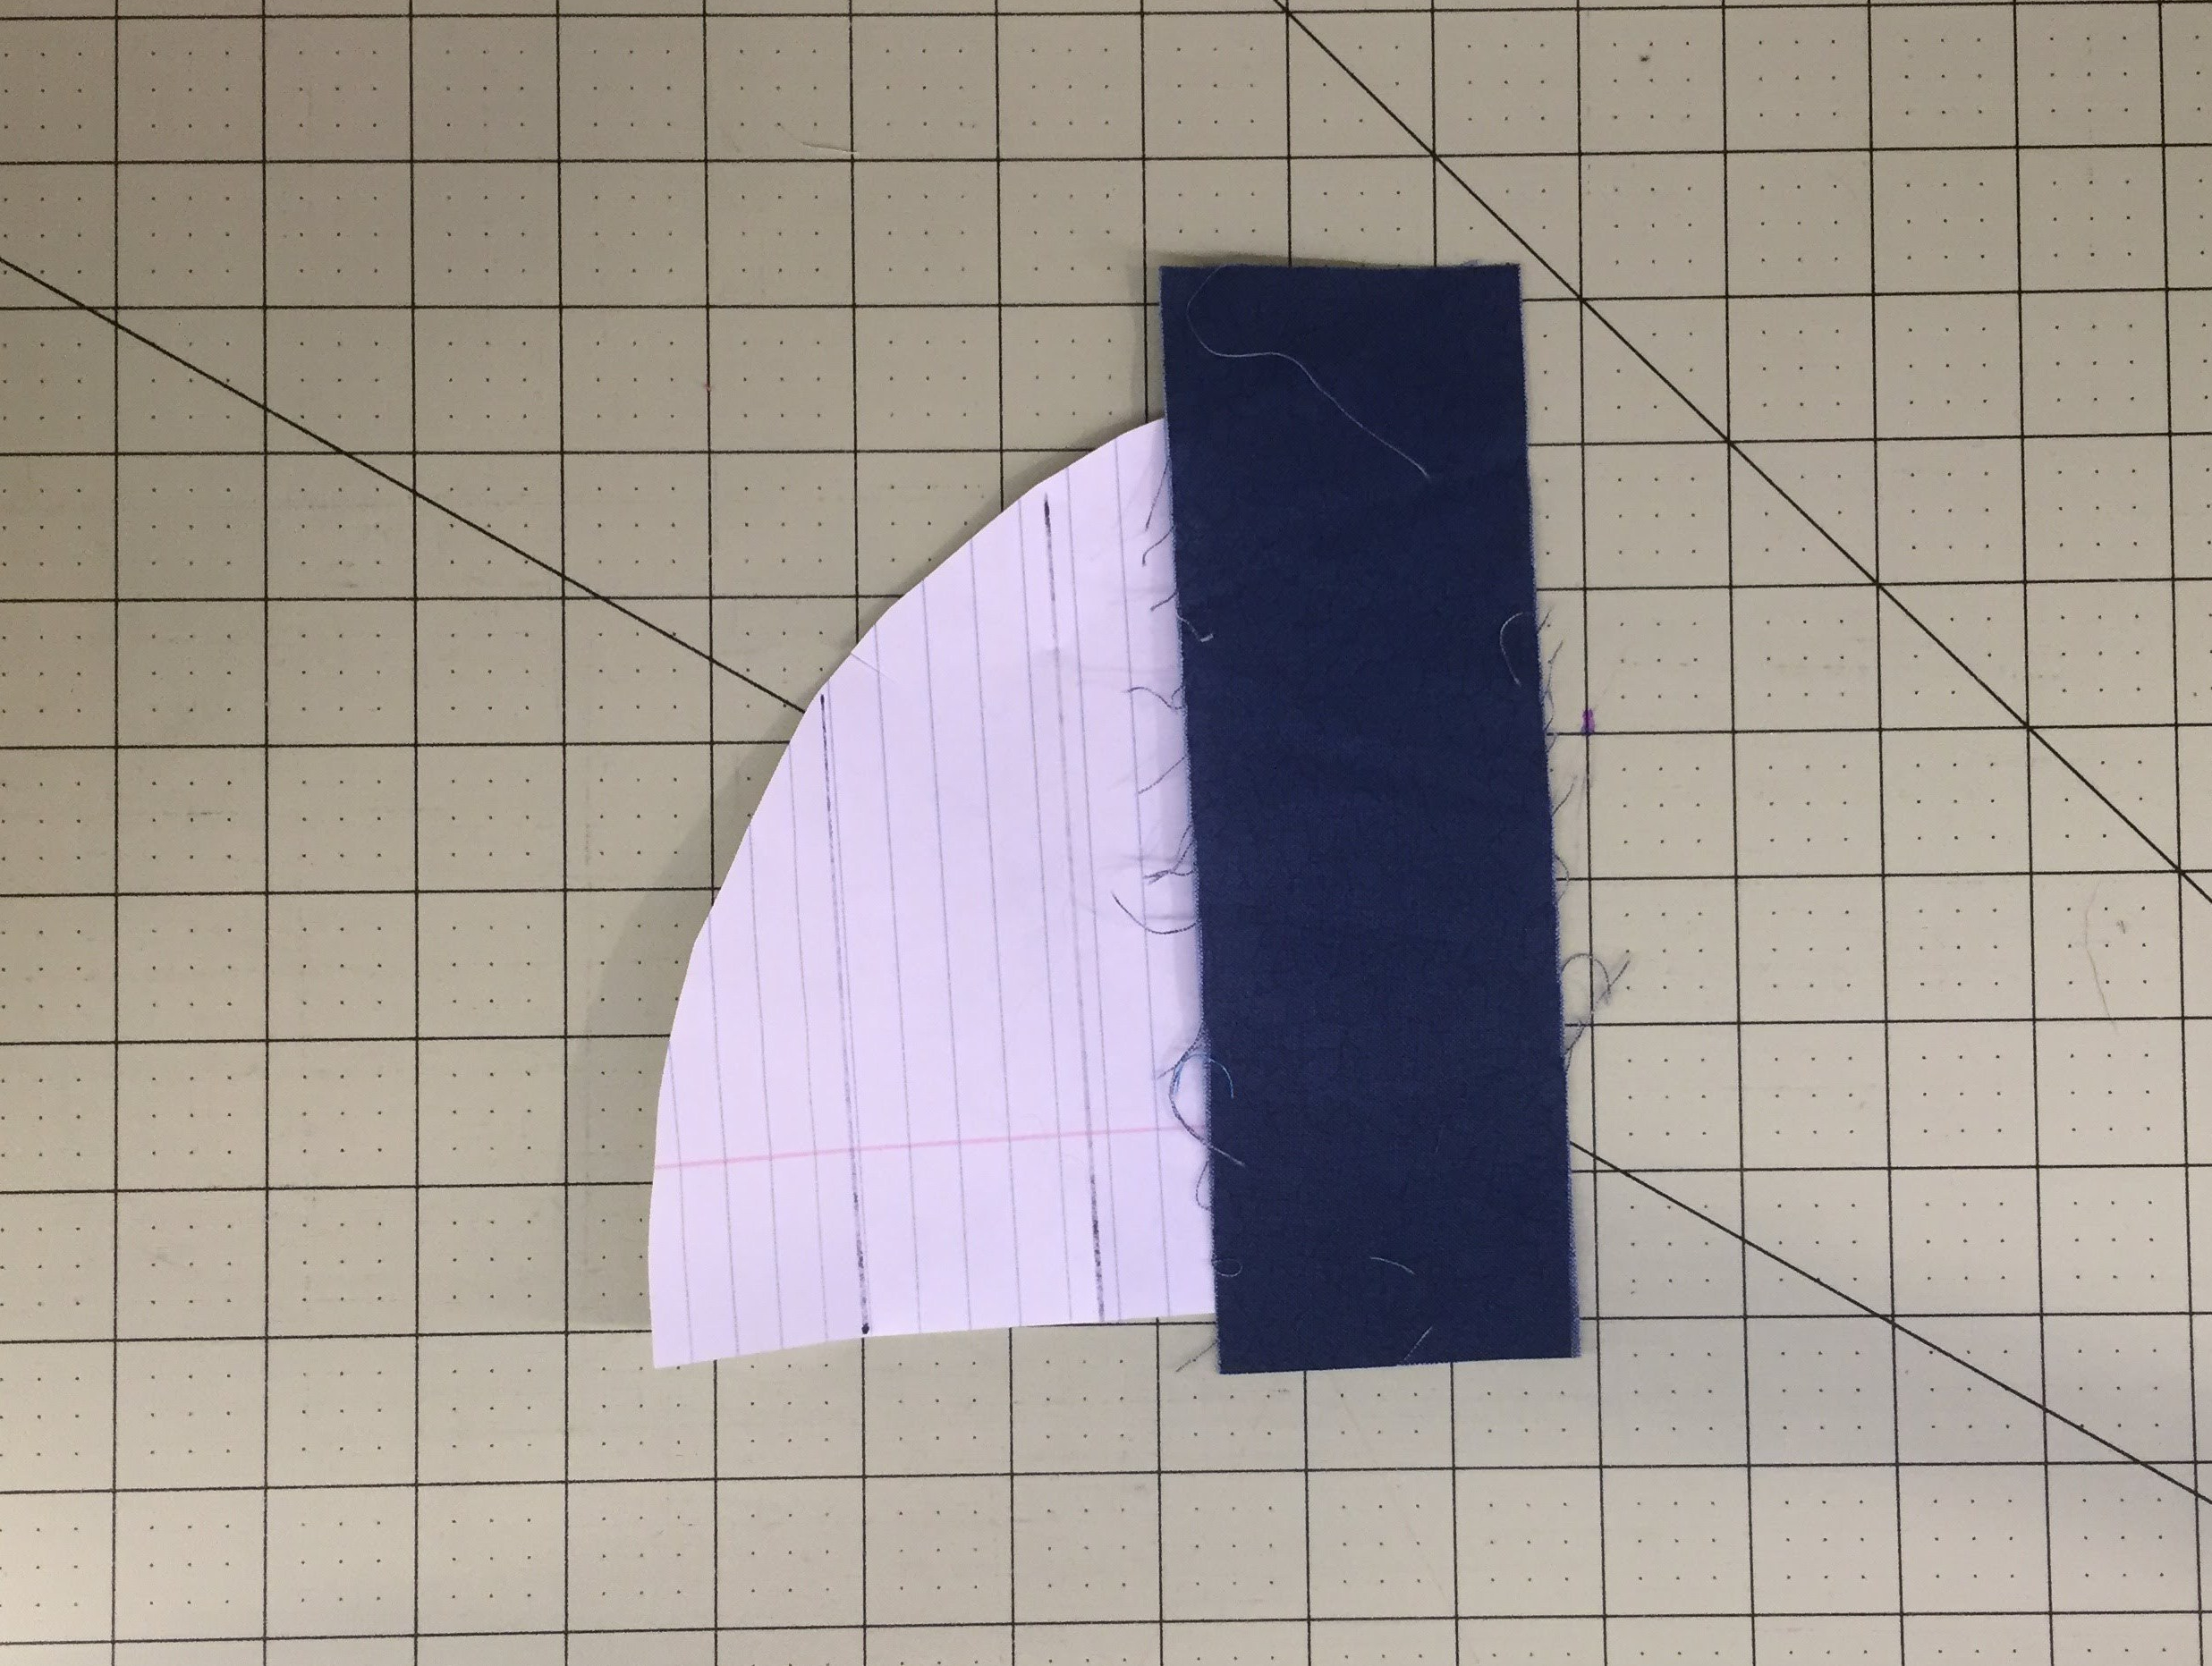 Take your darkest strip, lay it down wrong side against the paper.
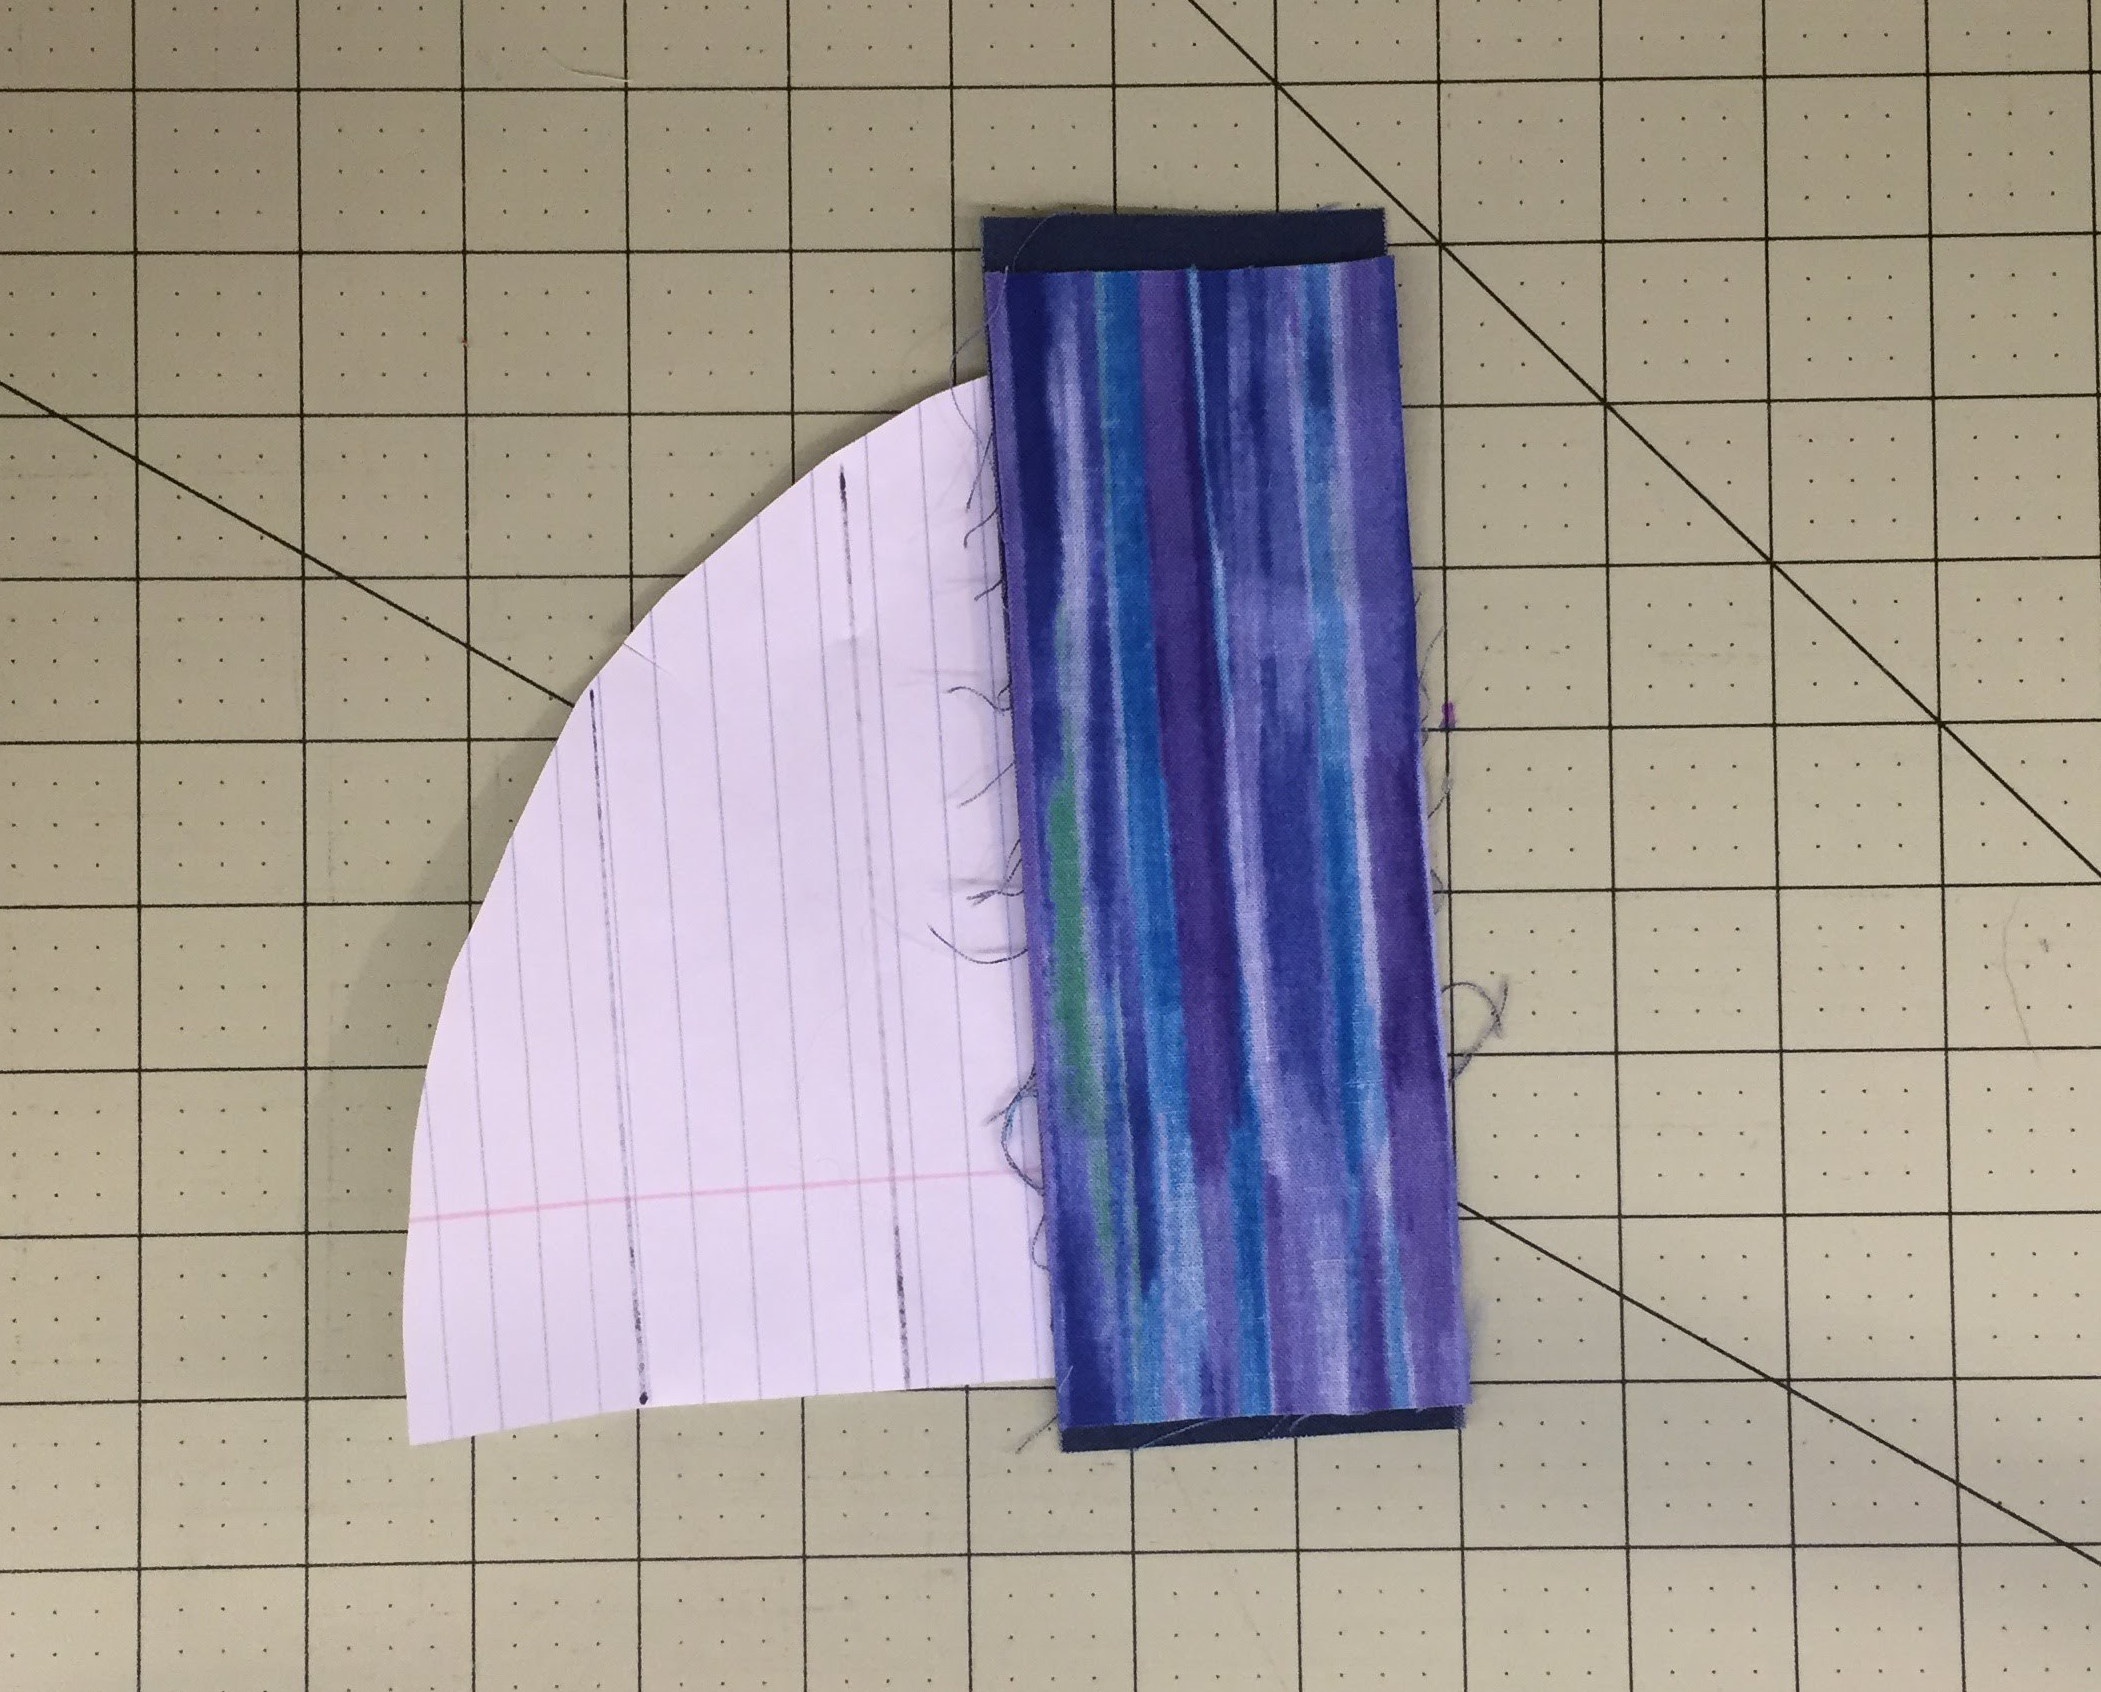 Place your next strip on top of it, right sides together. Flip your paper over, and stitch along the fold line.
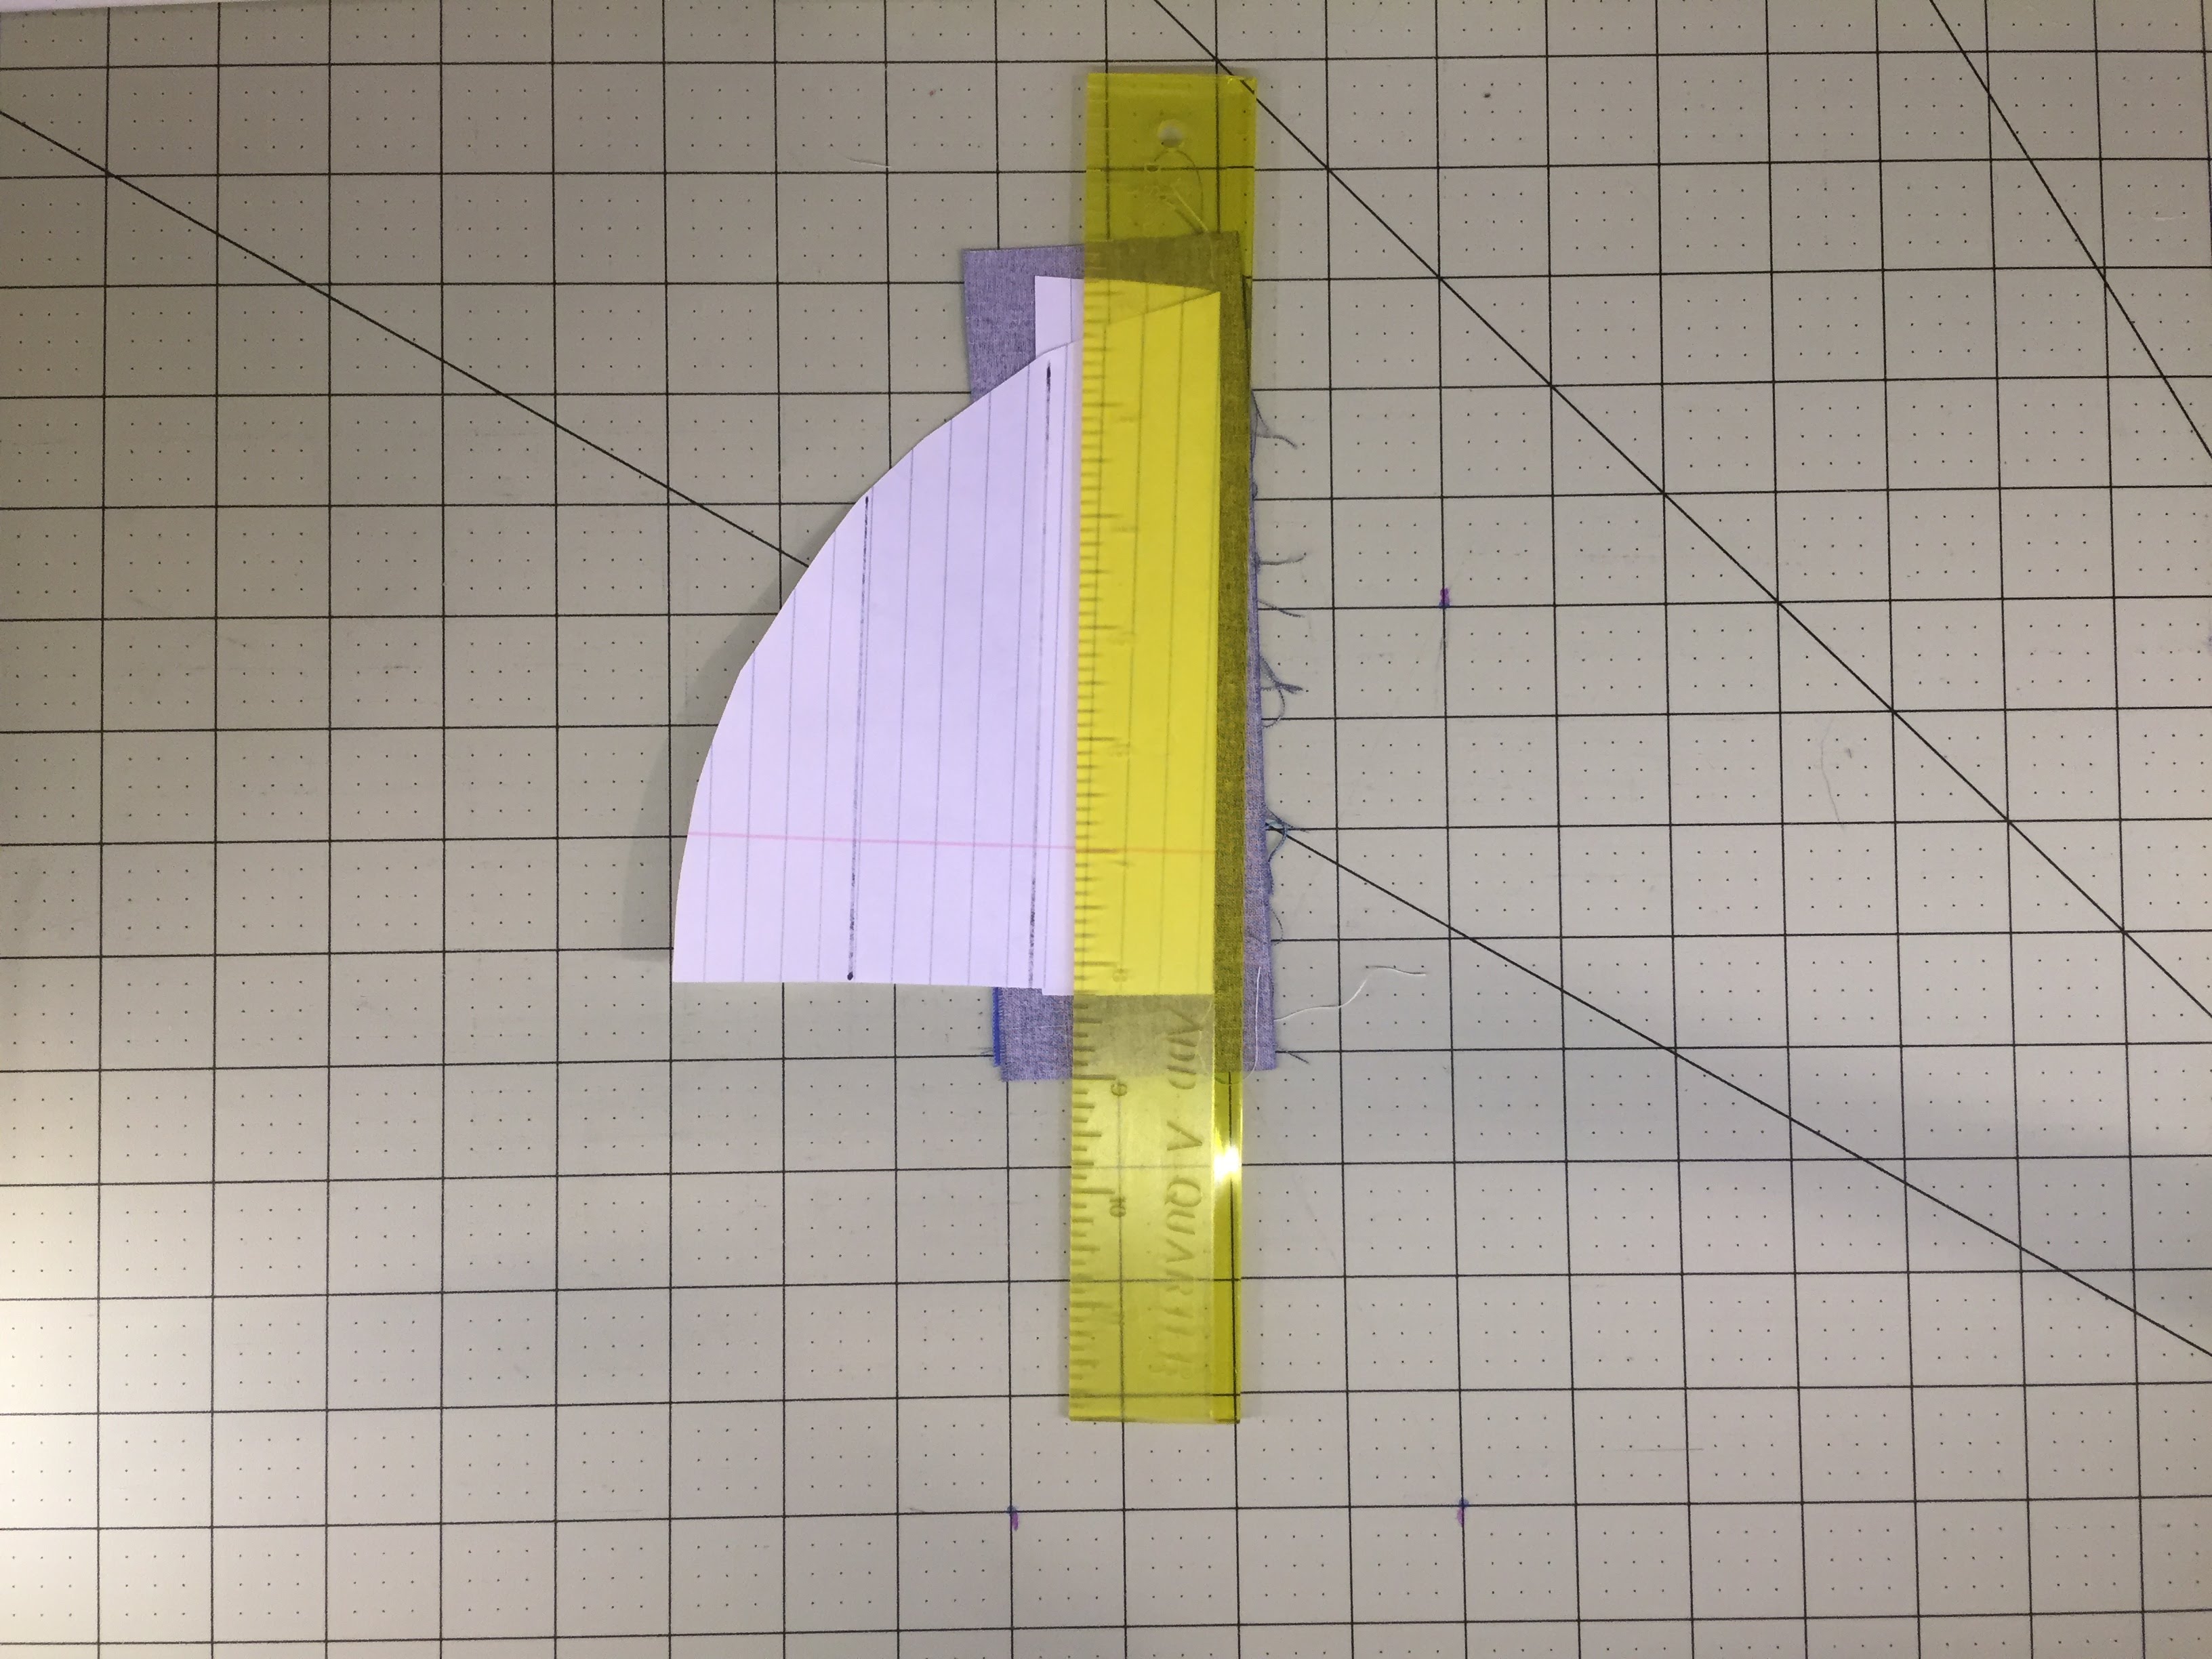 Take your block to your cutting mat, and using an add a quarter ruler*, trim off any excess seam allowance.
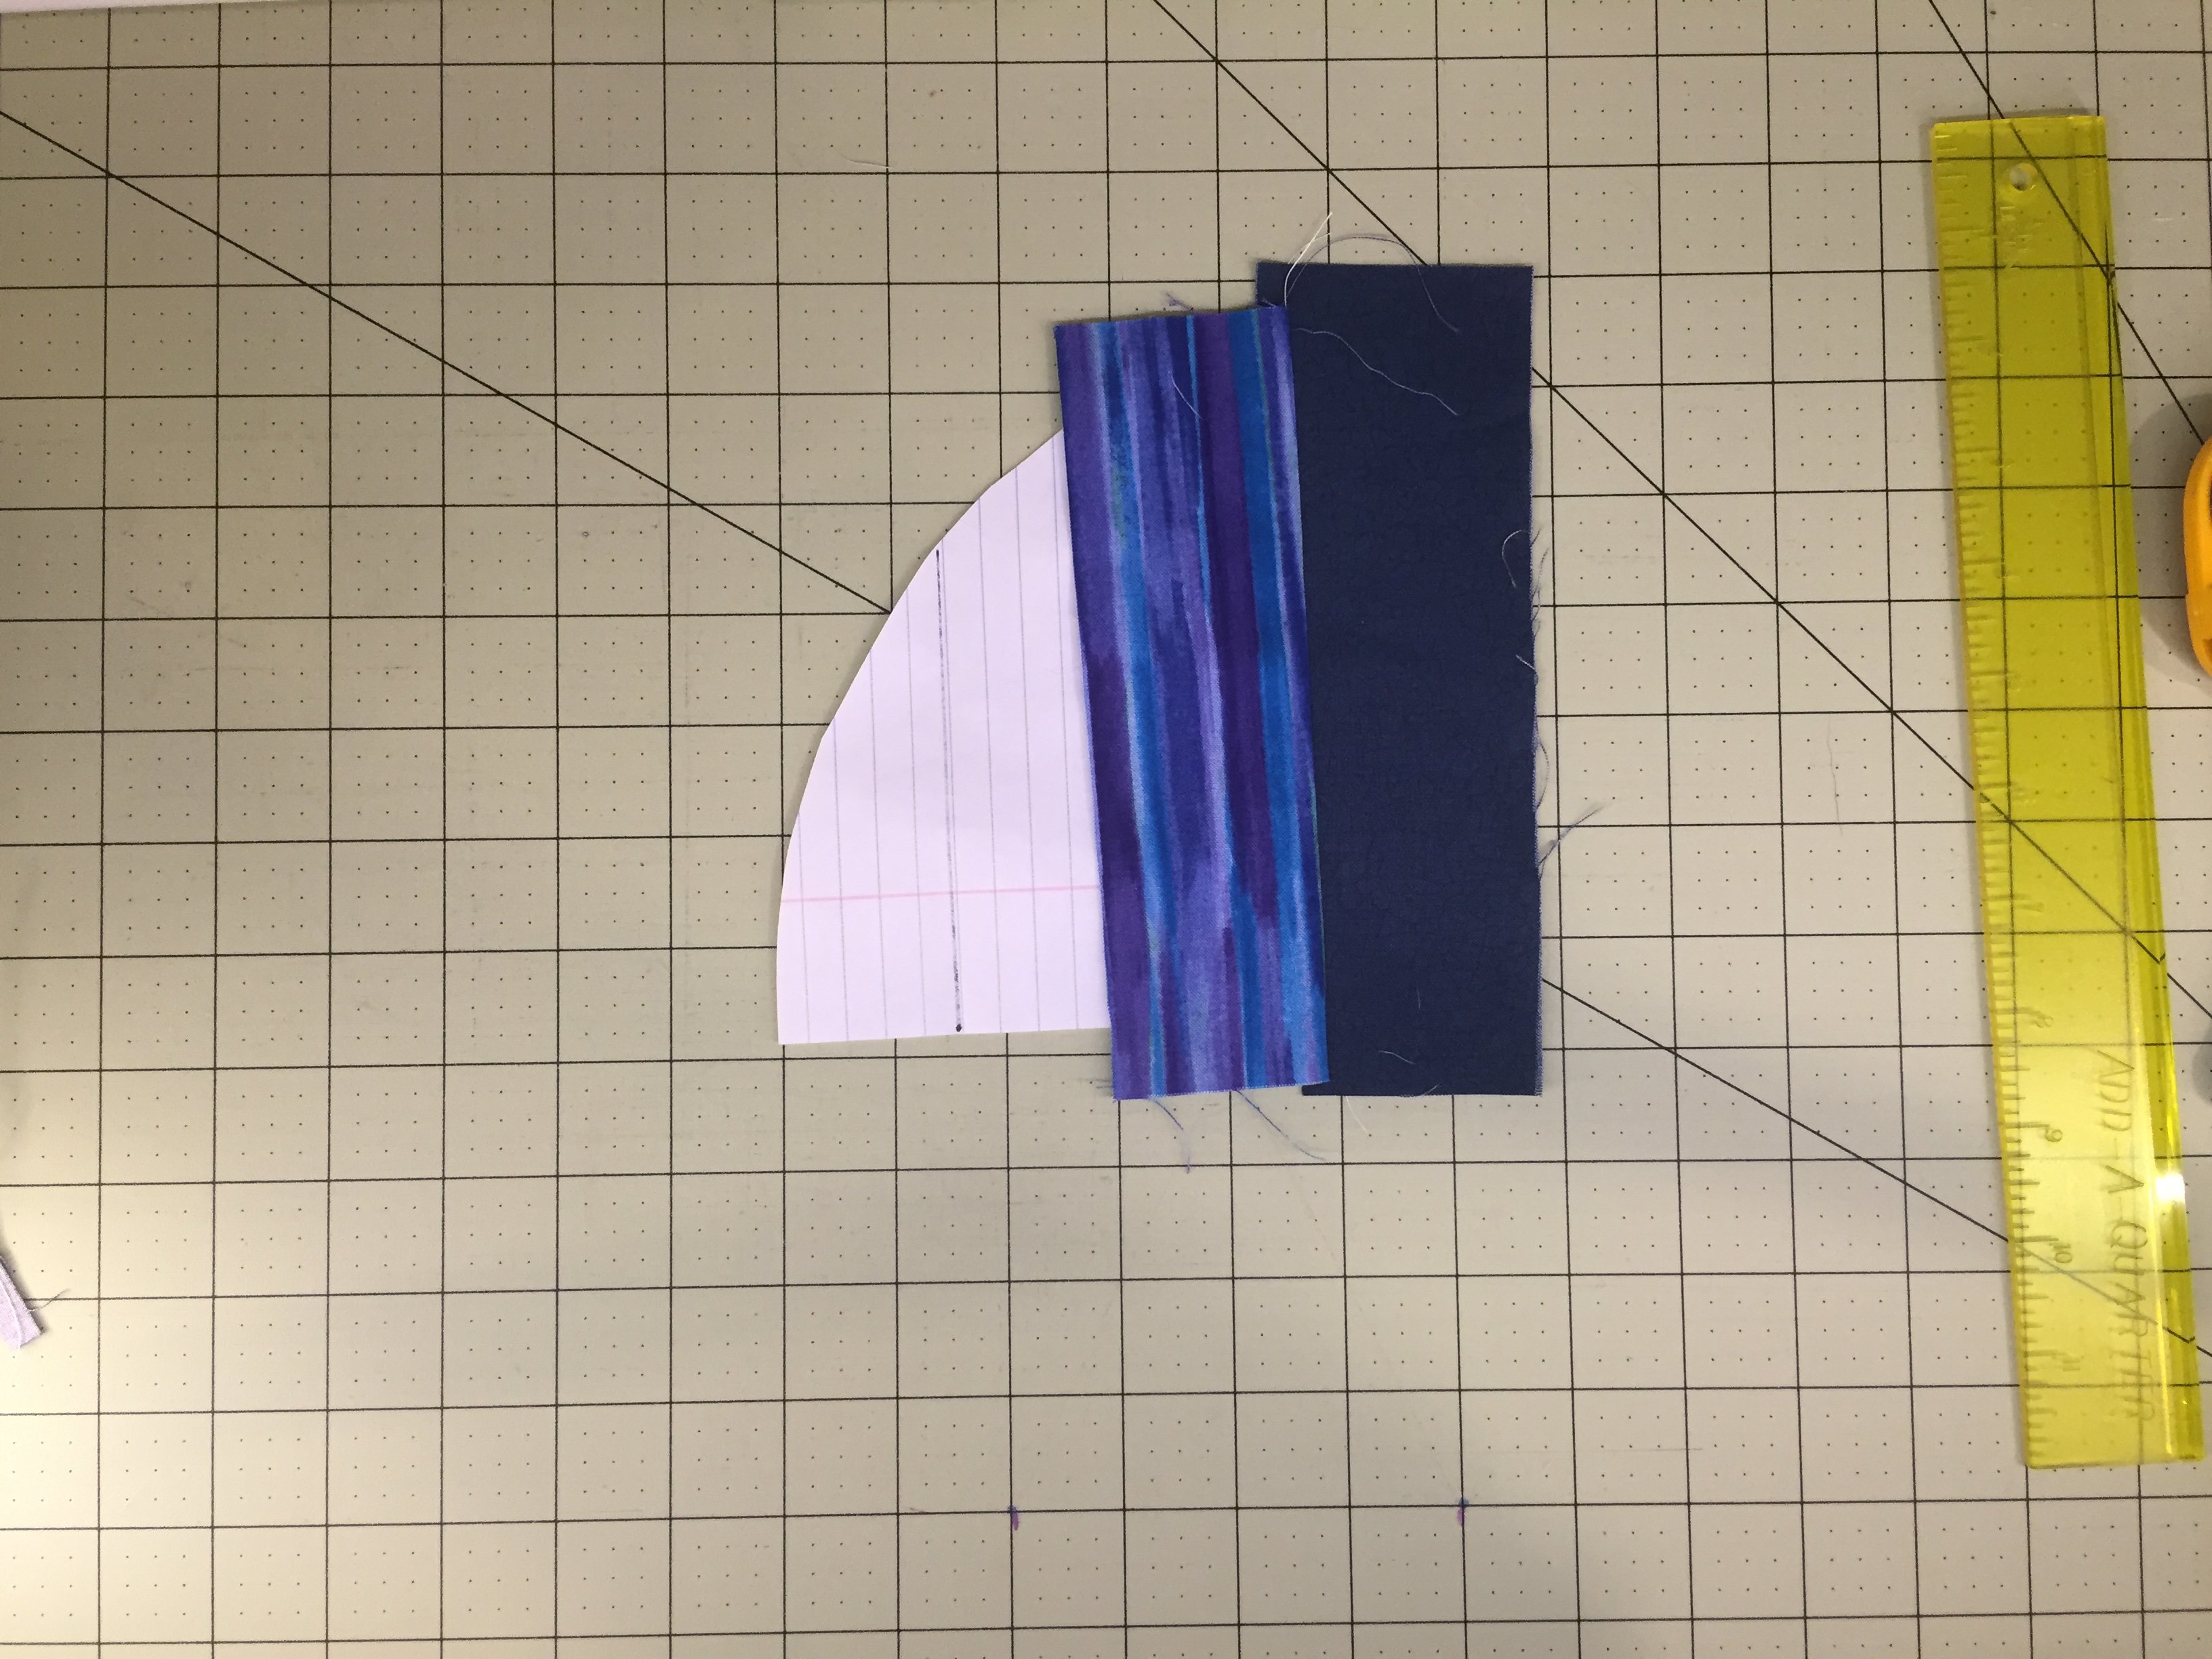
Press your fabric open.
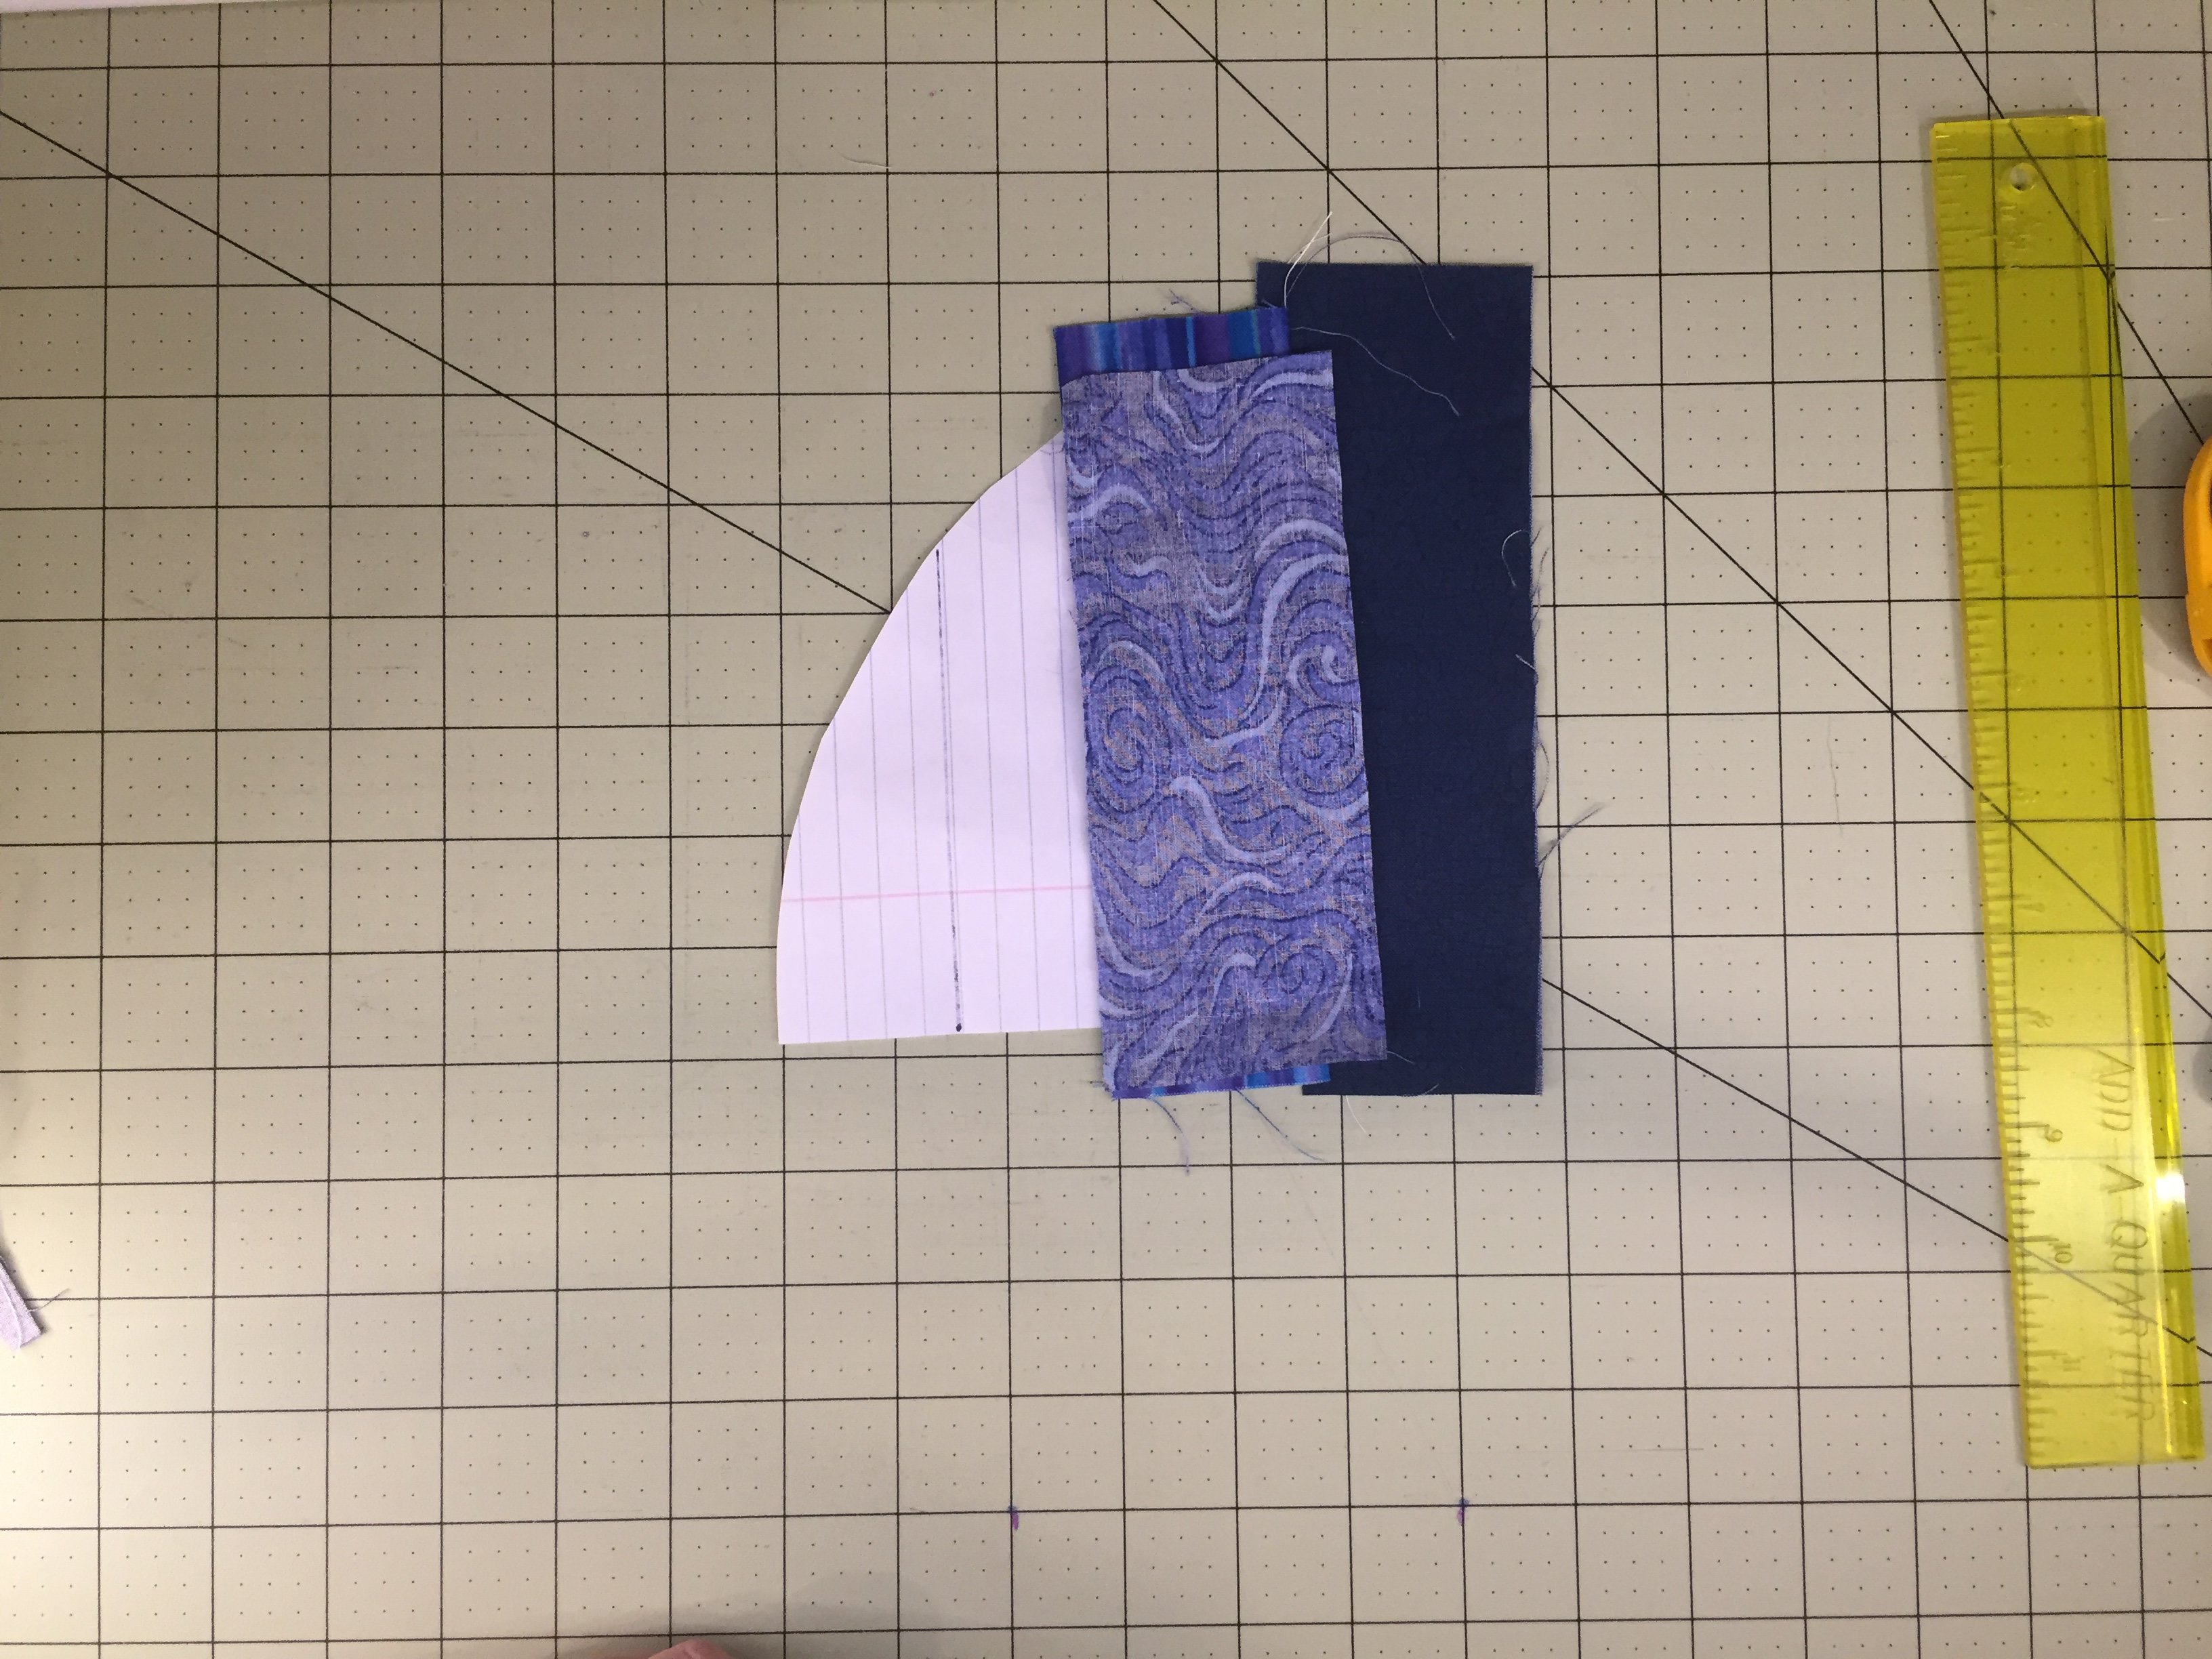 Add your third strip, right sides together with the second strip. Flip the piece over, and stitch along your fold line. Trim up your seam allowance, and press open.
 Add your fourth strip, right sides together with the third strip. Flip the piece over, and stitch along your fold line. Trim up your seam allowance, and press open.

Using the arc template, trim your piece.
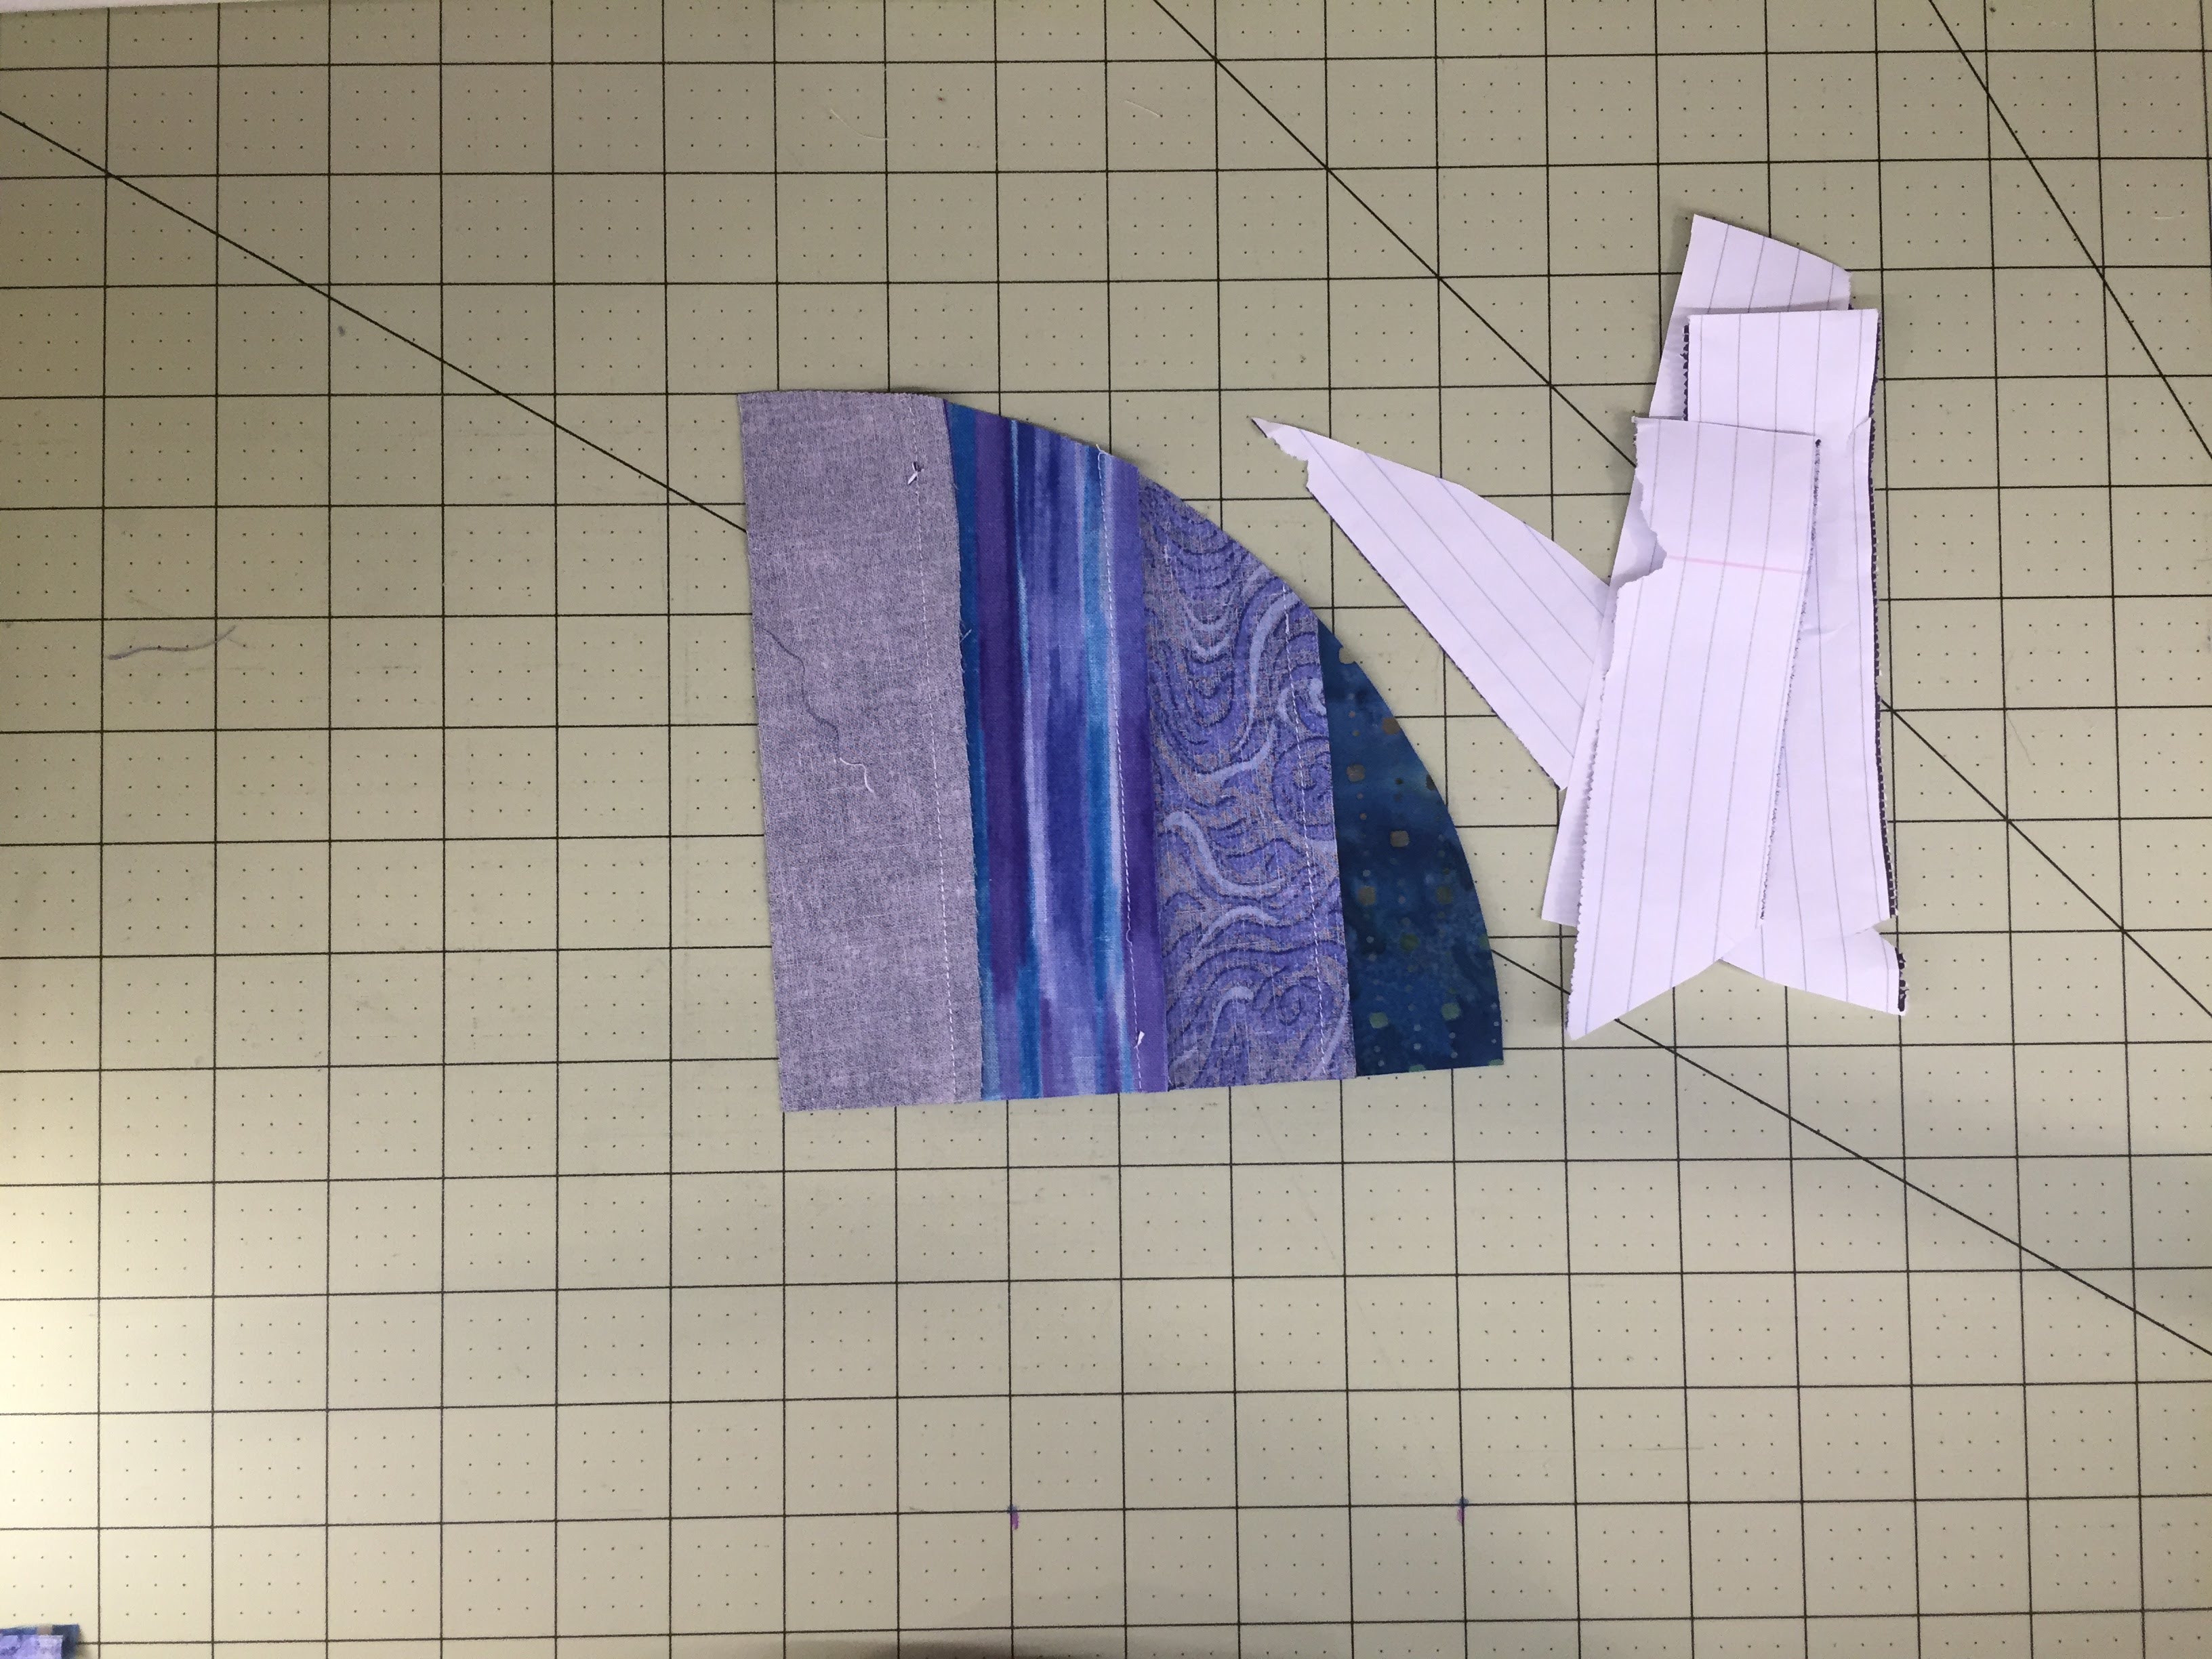 Remove the paper, being gentle and not putting too much stress on your stitches.
 Fold the arc in half, pinching to make a crease midway along the curve.
Use the creases you made to line up an arc with a background piece. Pin the center and both ends. I also like to add two more pins in each section. I’m an over-pinner.
Stitch carefully along the curve, easing in any fullness.
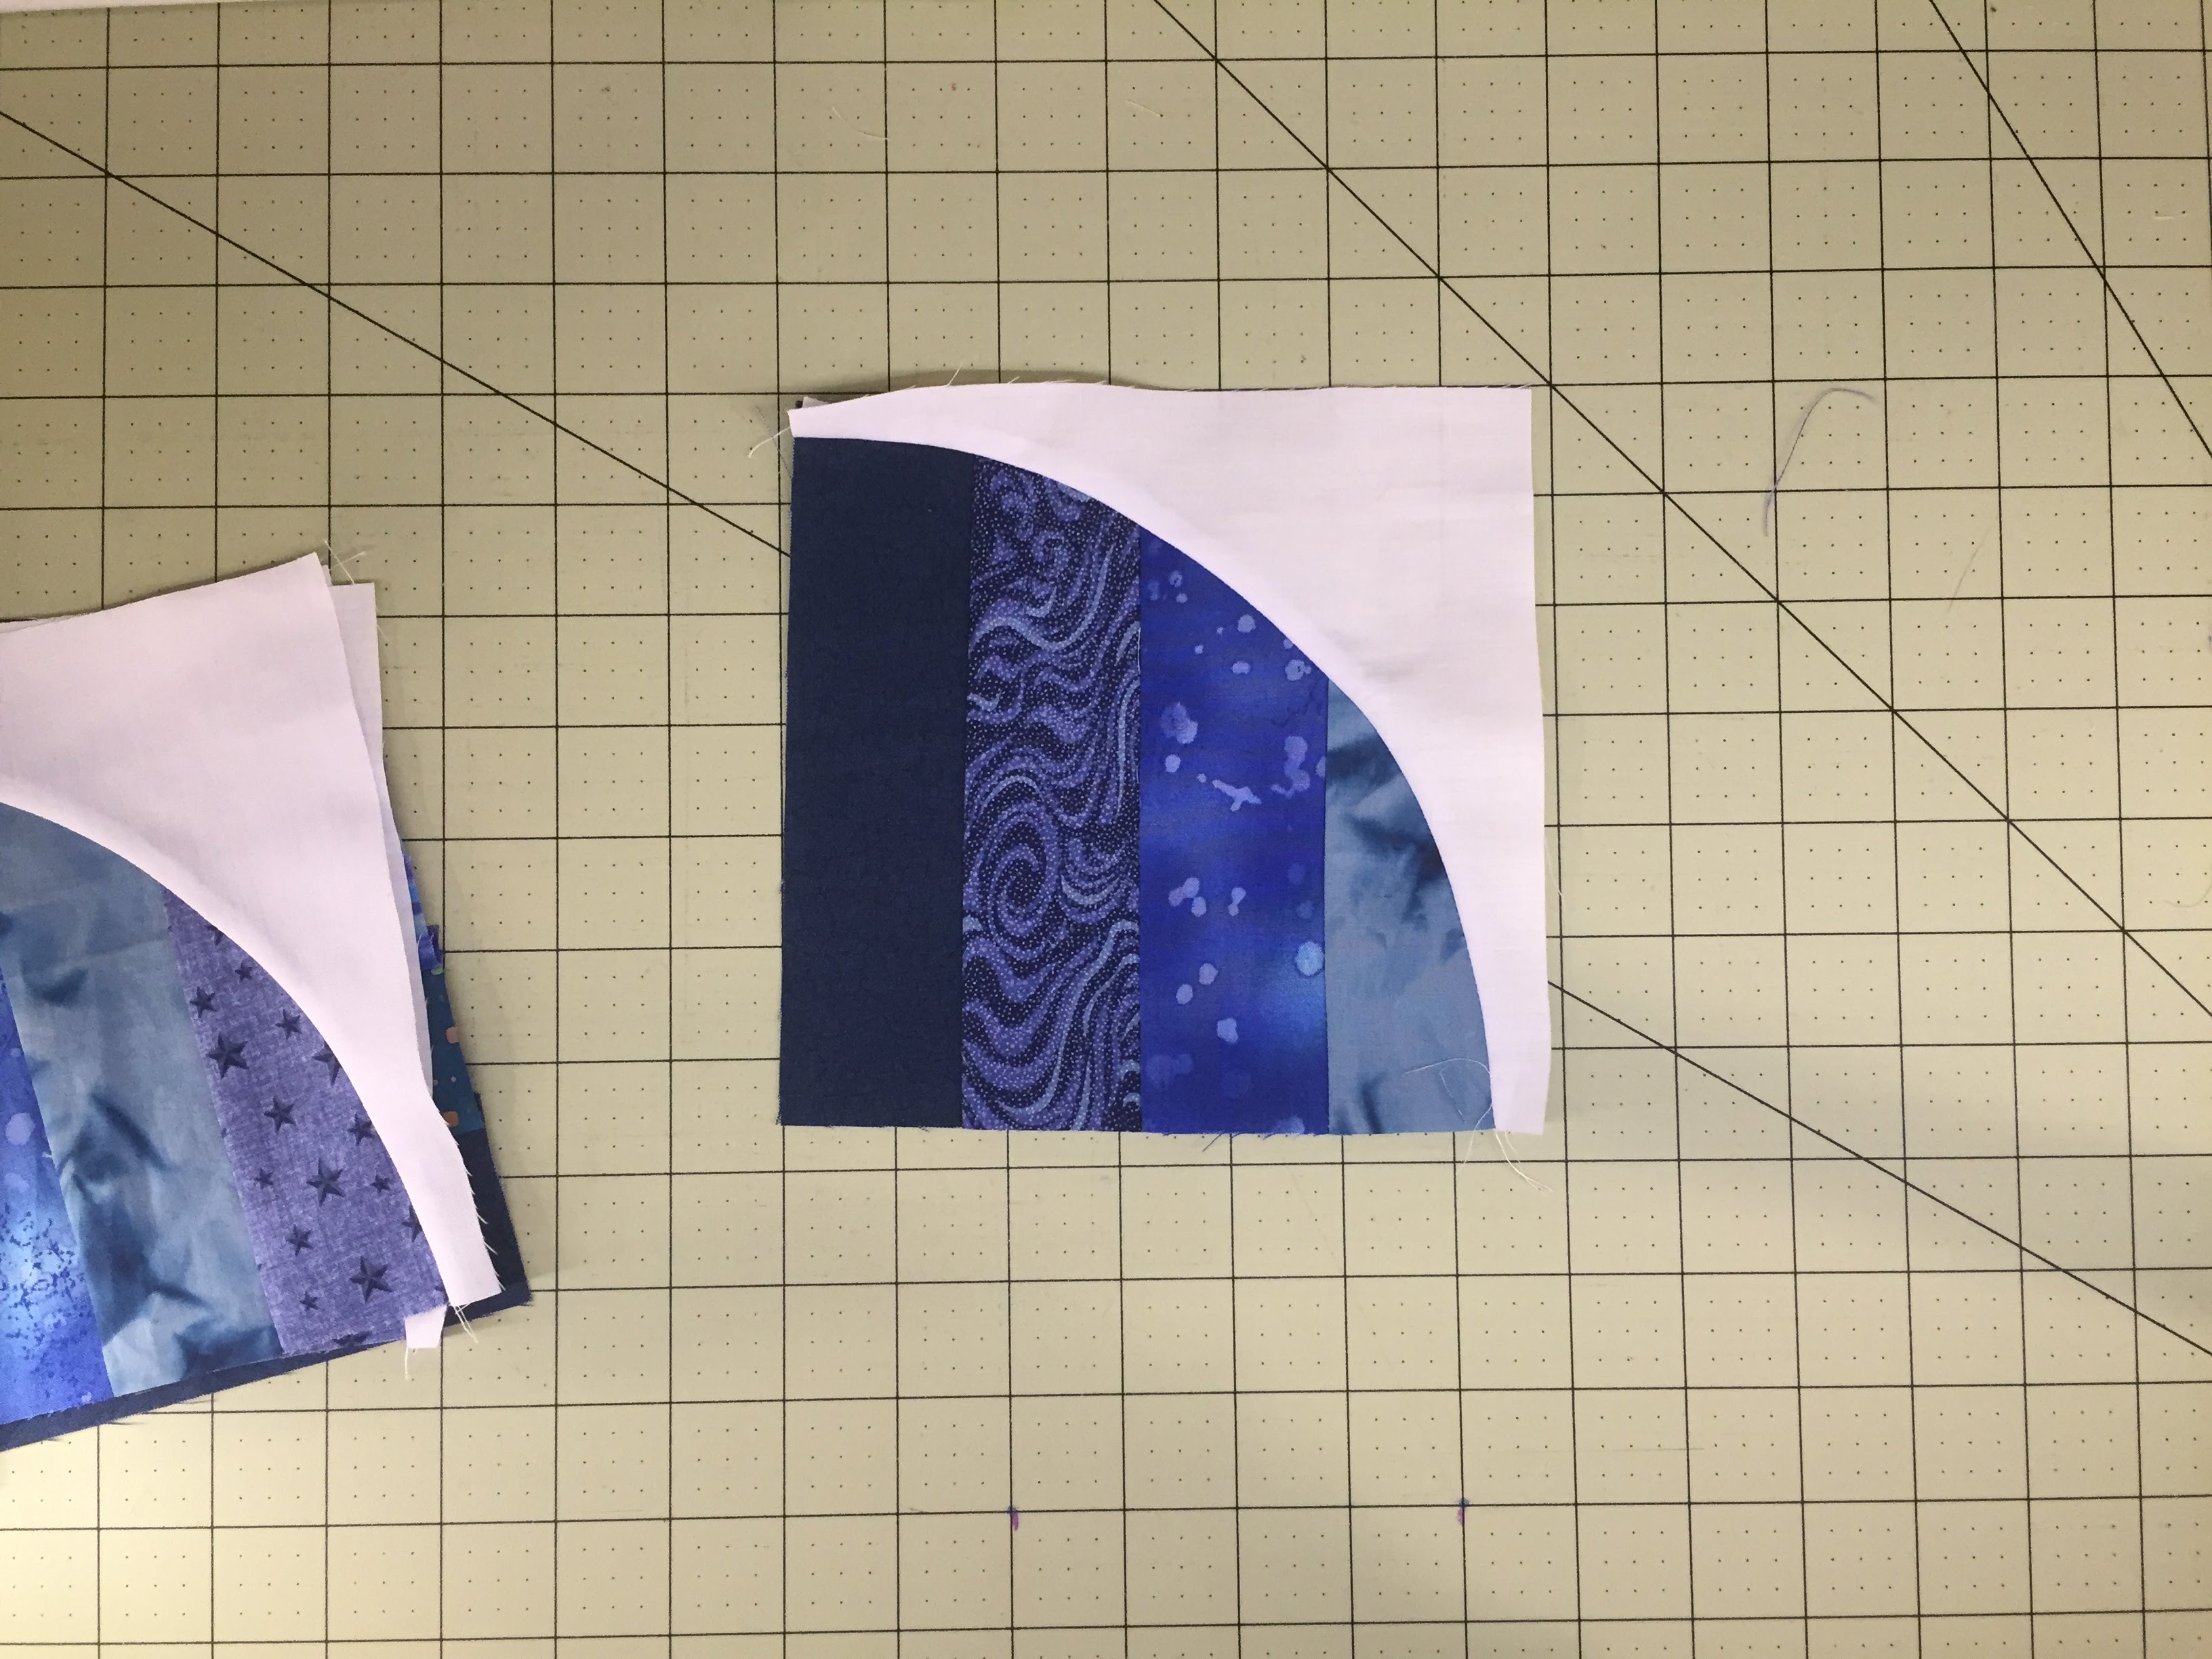 Press your piece open.
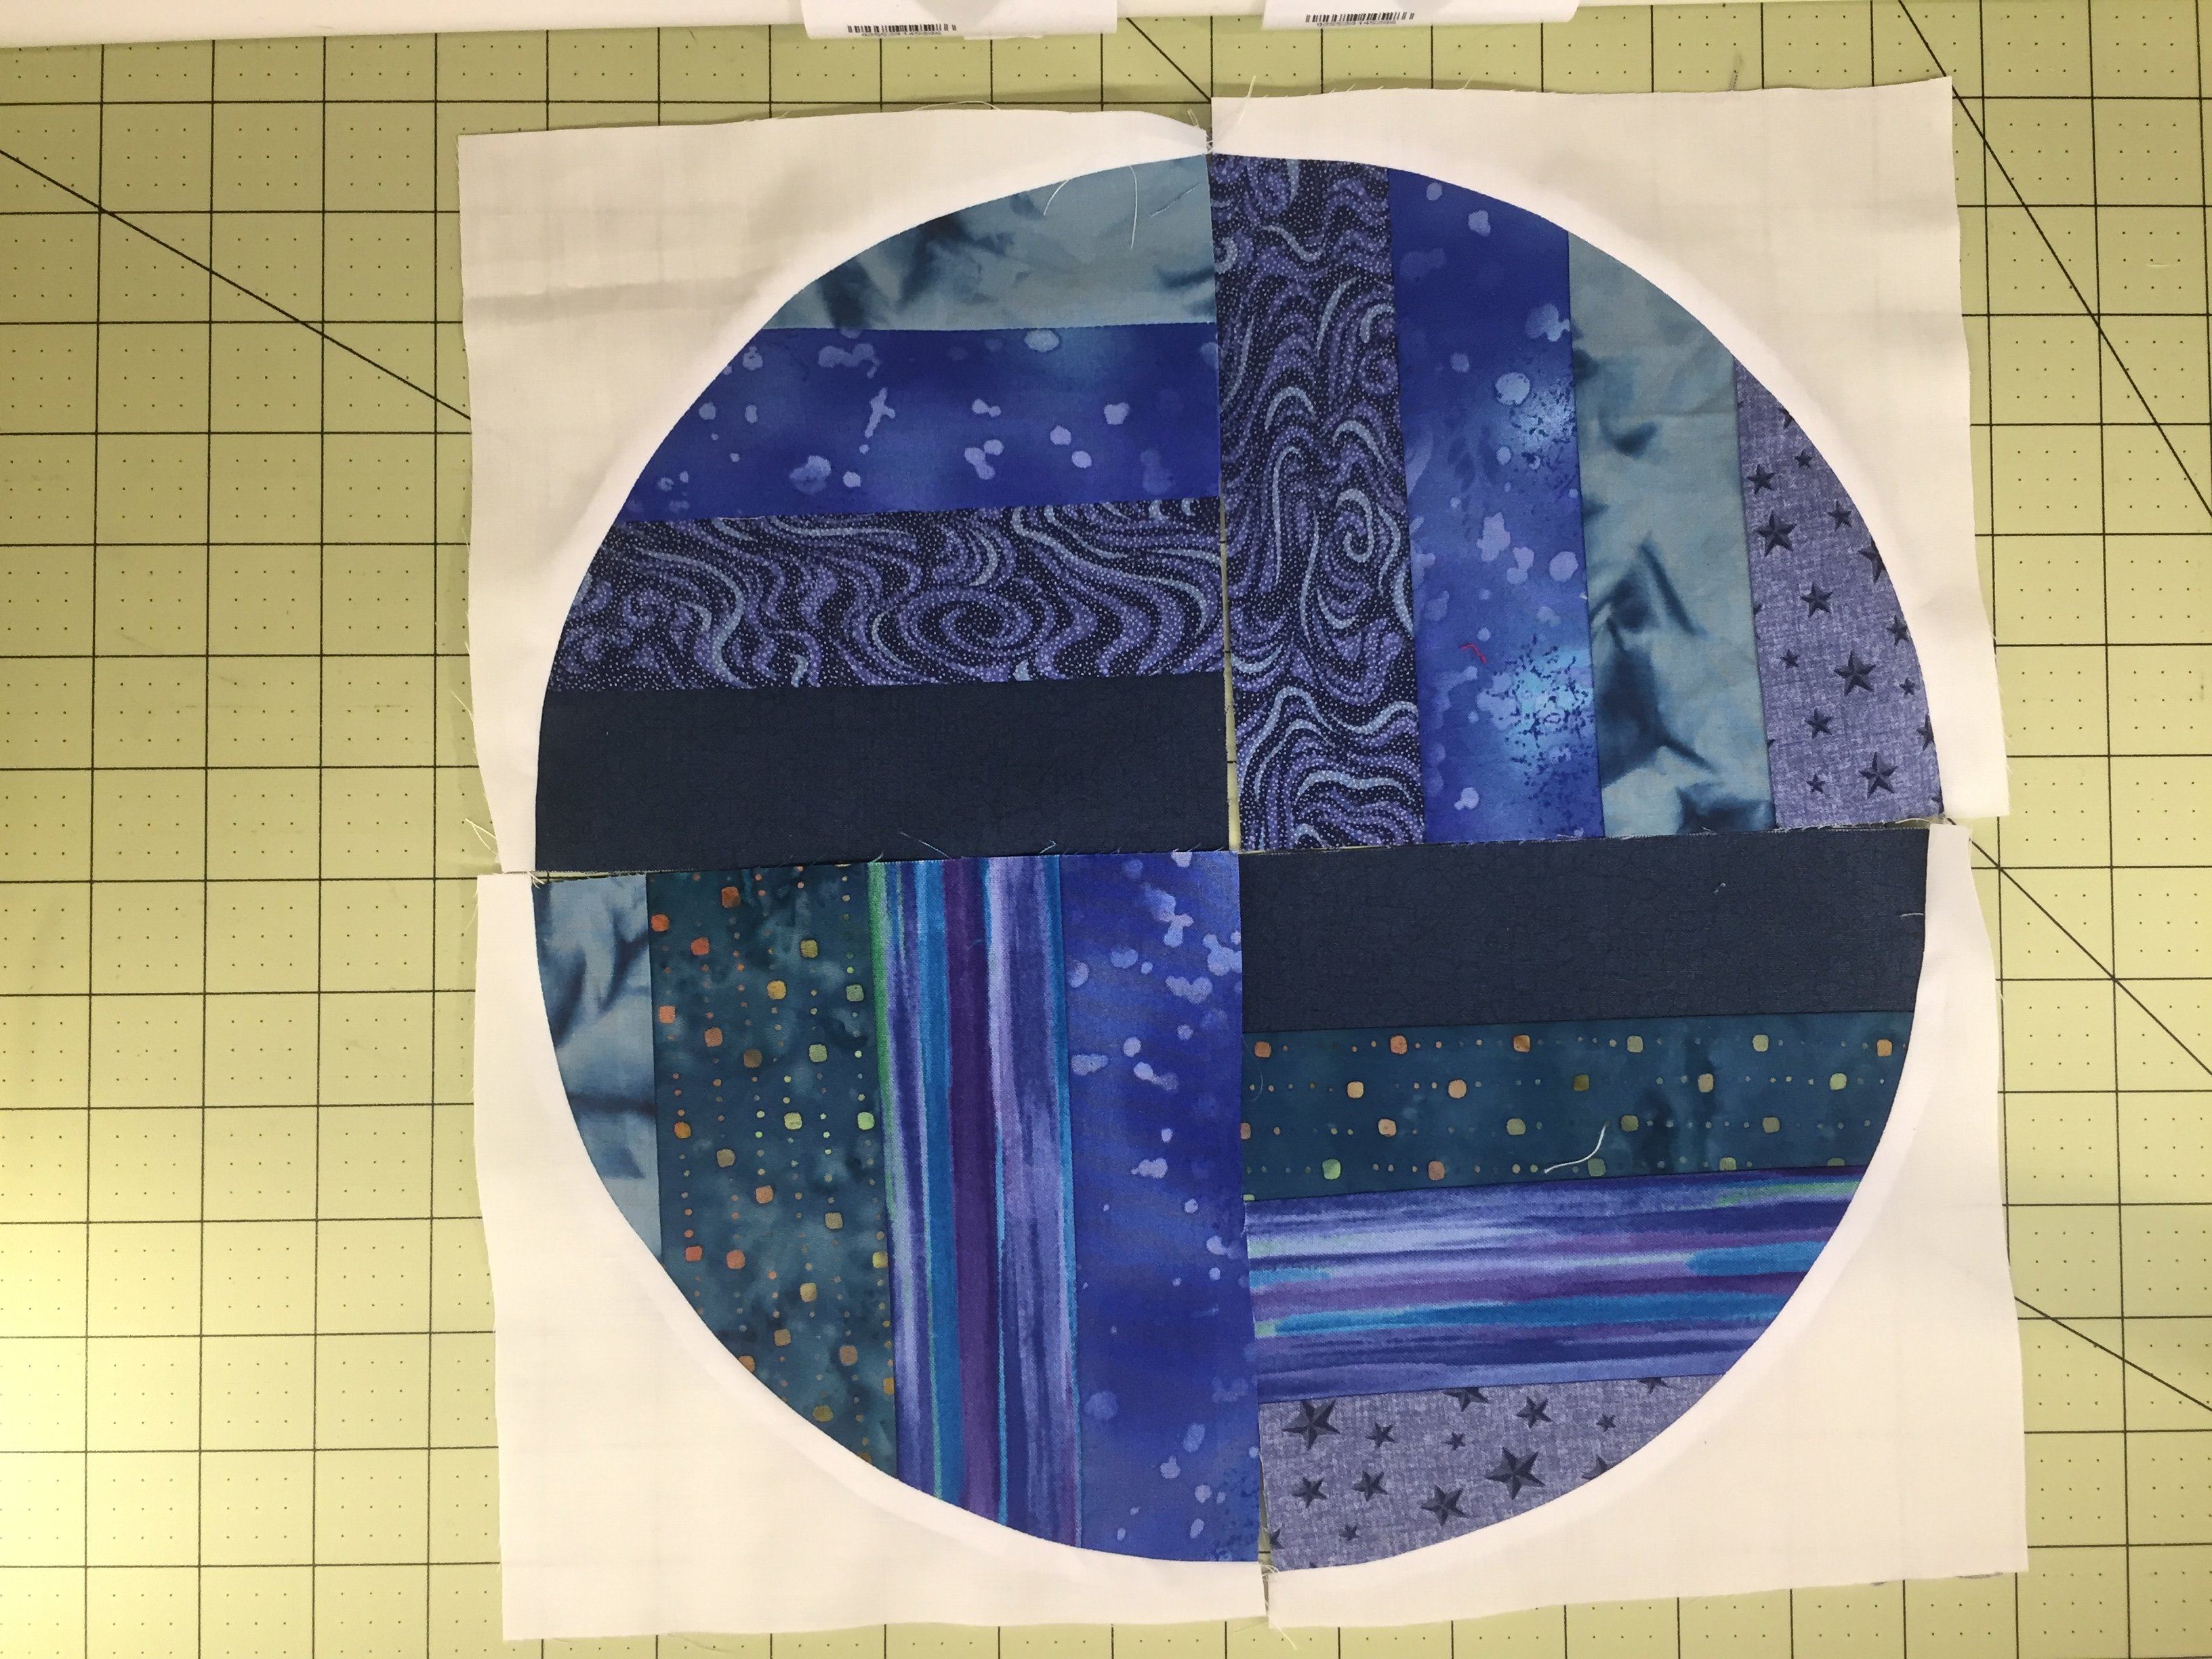 Lay out your four blocks, making sure you like the color interaction.
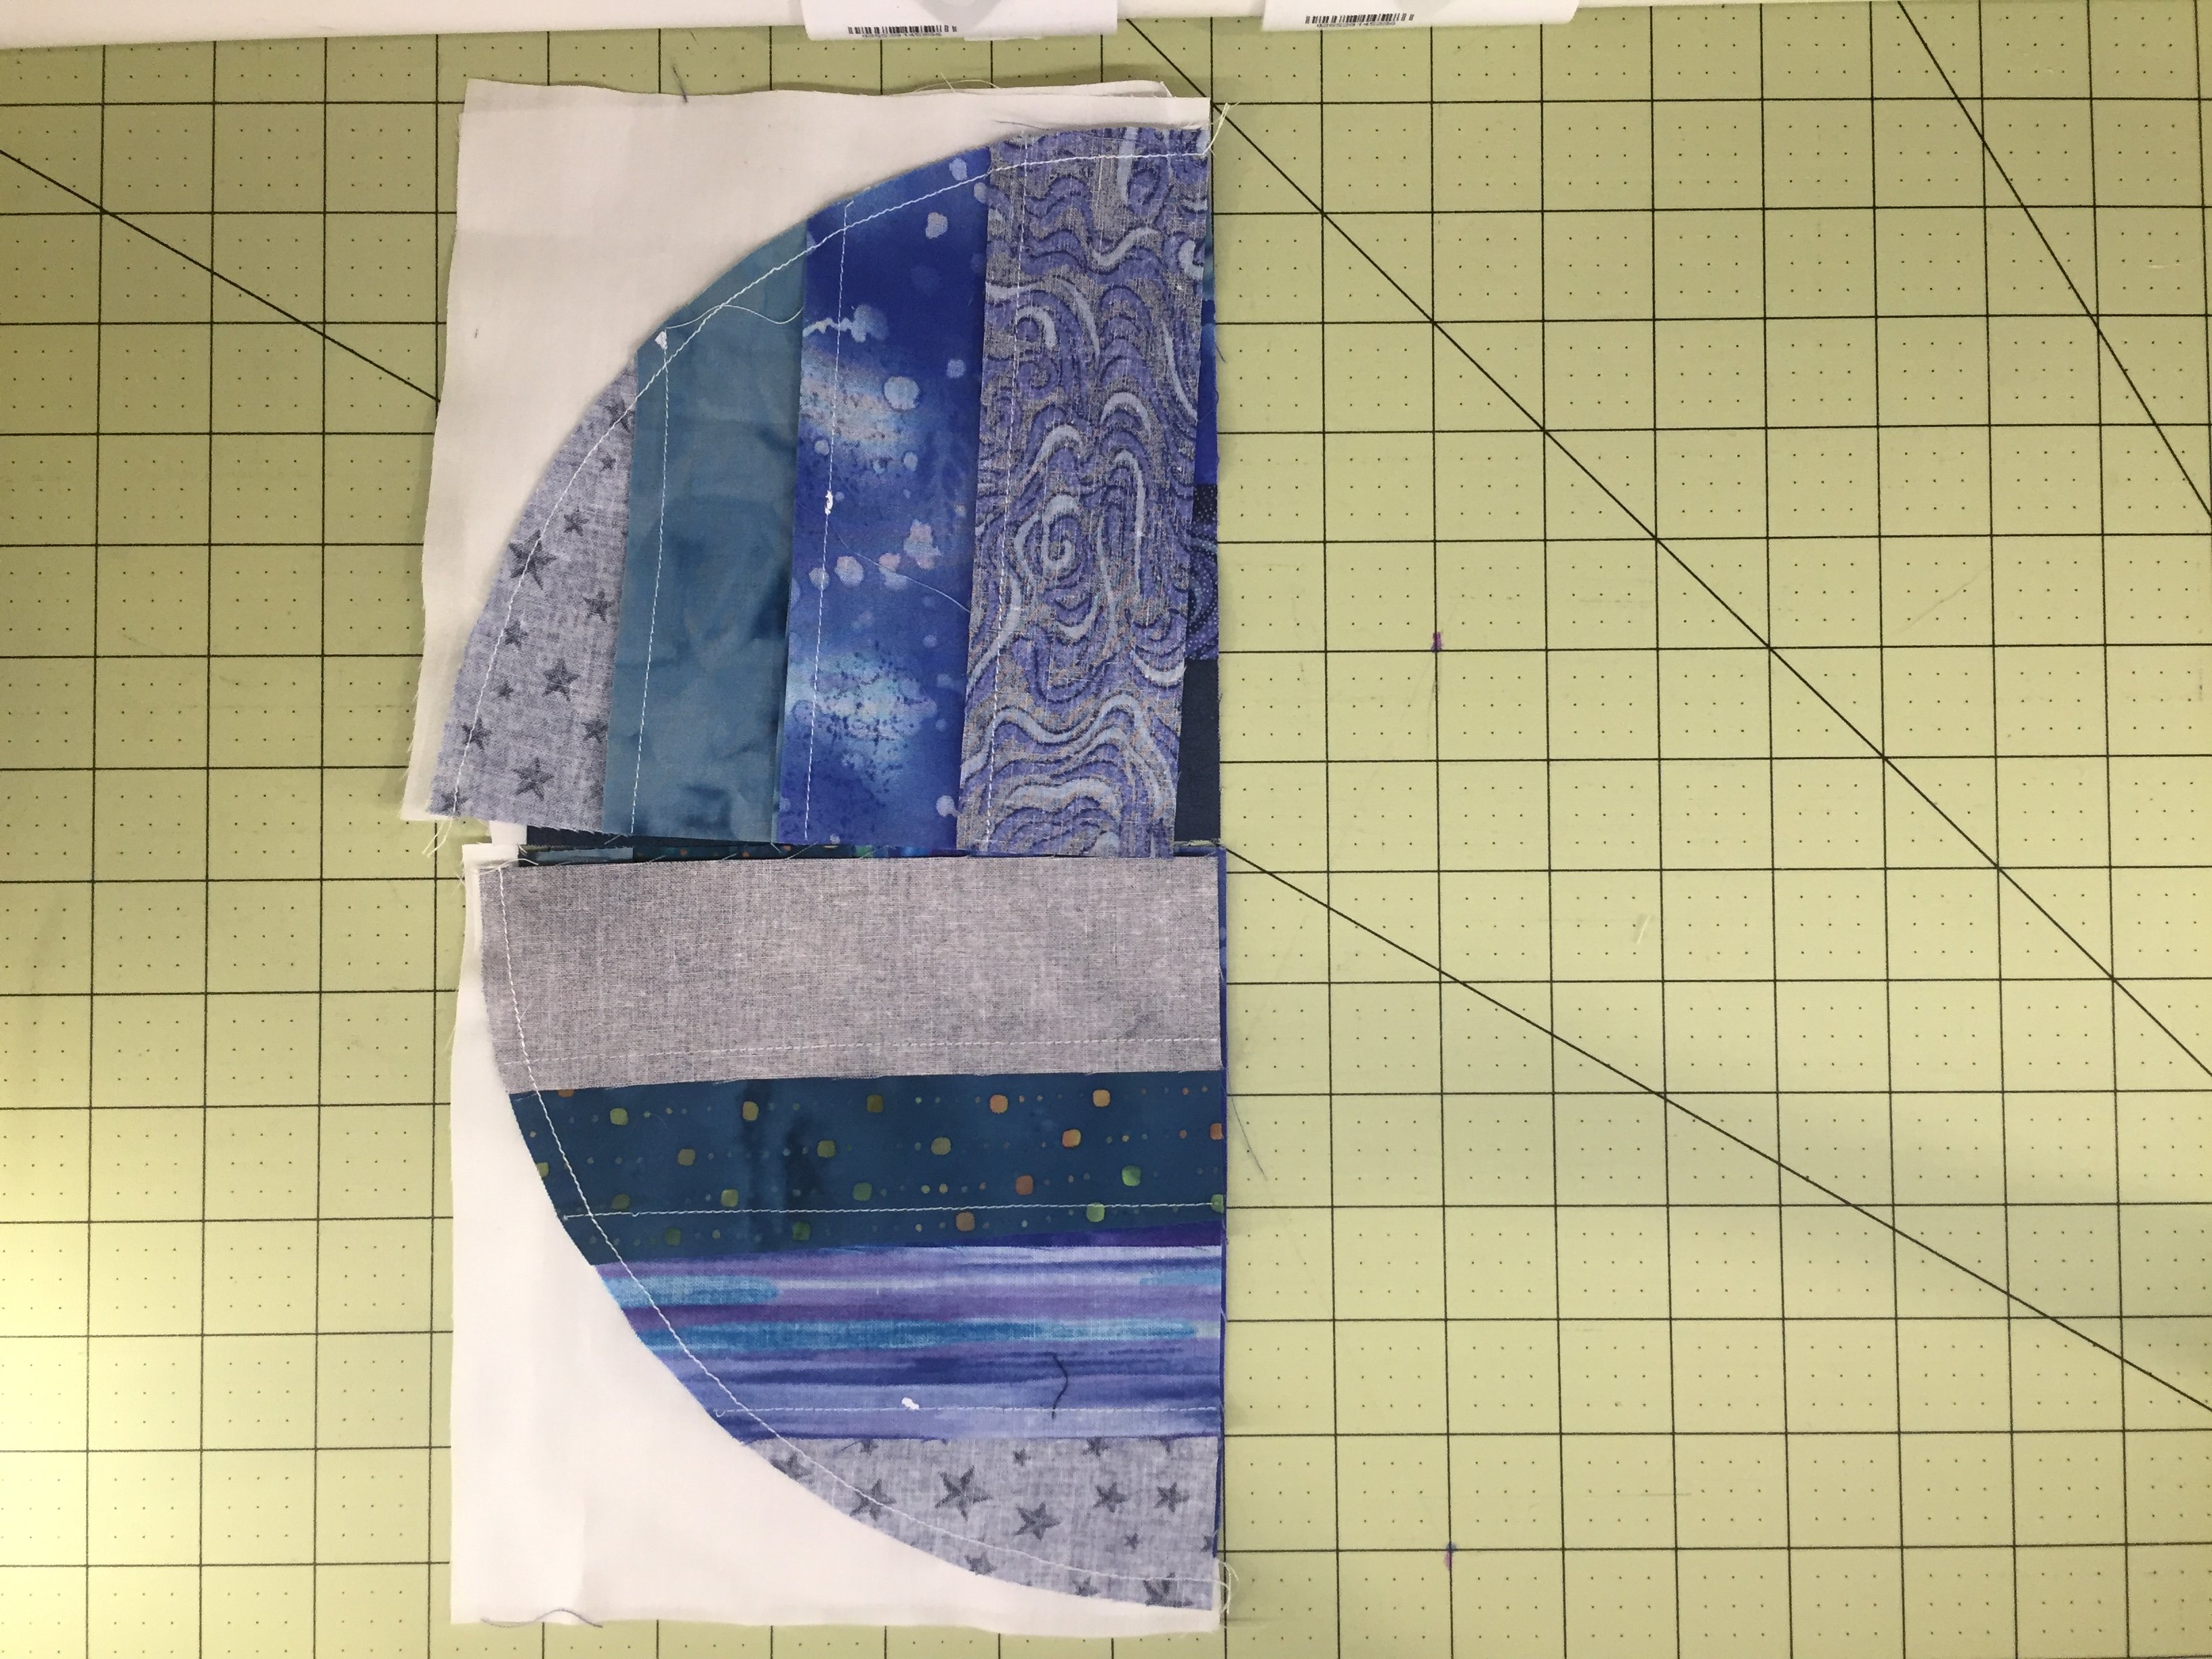 Stitch them together in pairs, being sure to pin at the spot where edge of the circle meets. Press seams open.
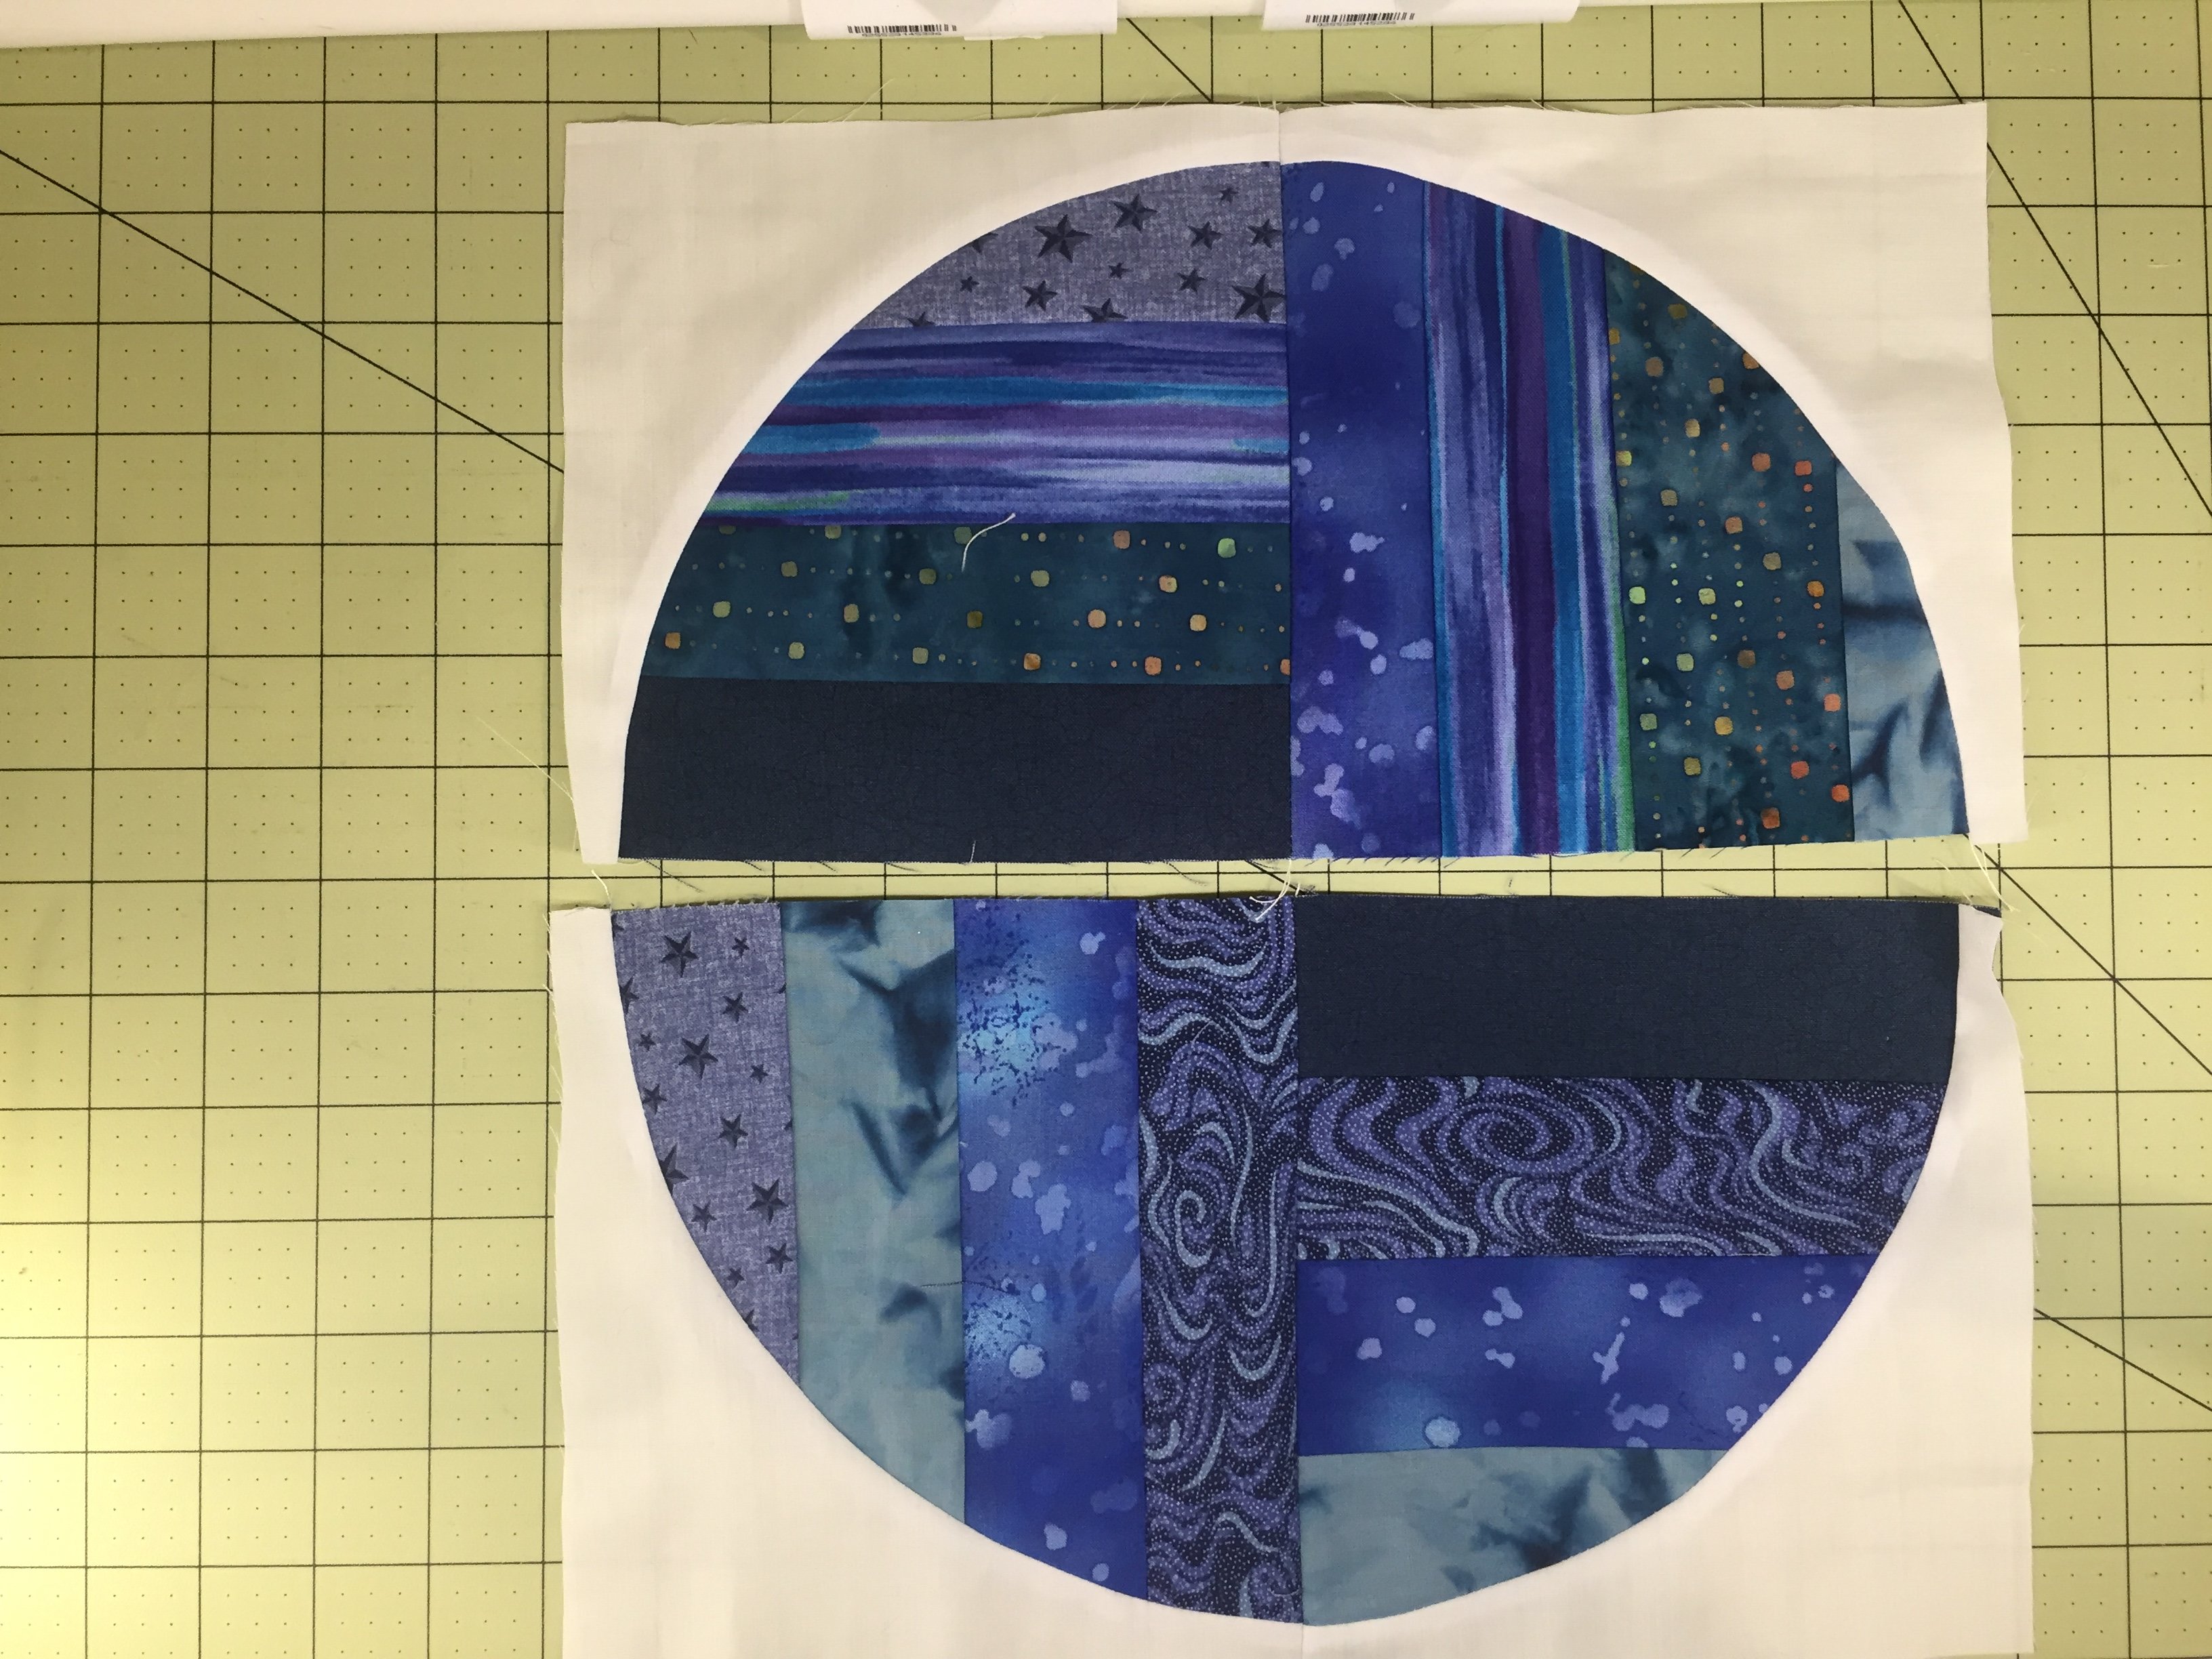 Pin the two halves of the circle together. Stitch, then press seams open.
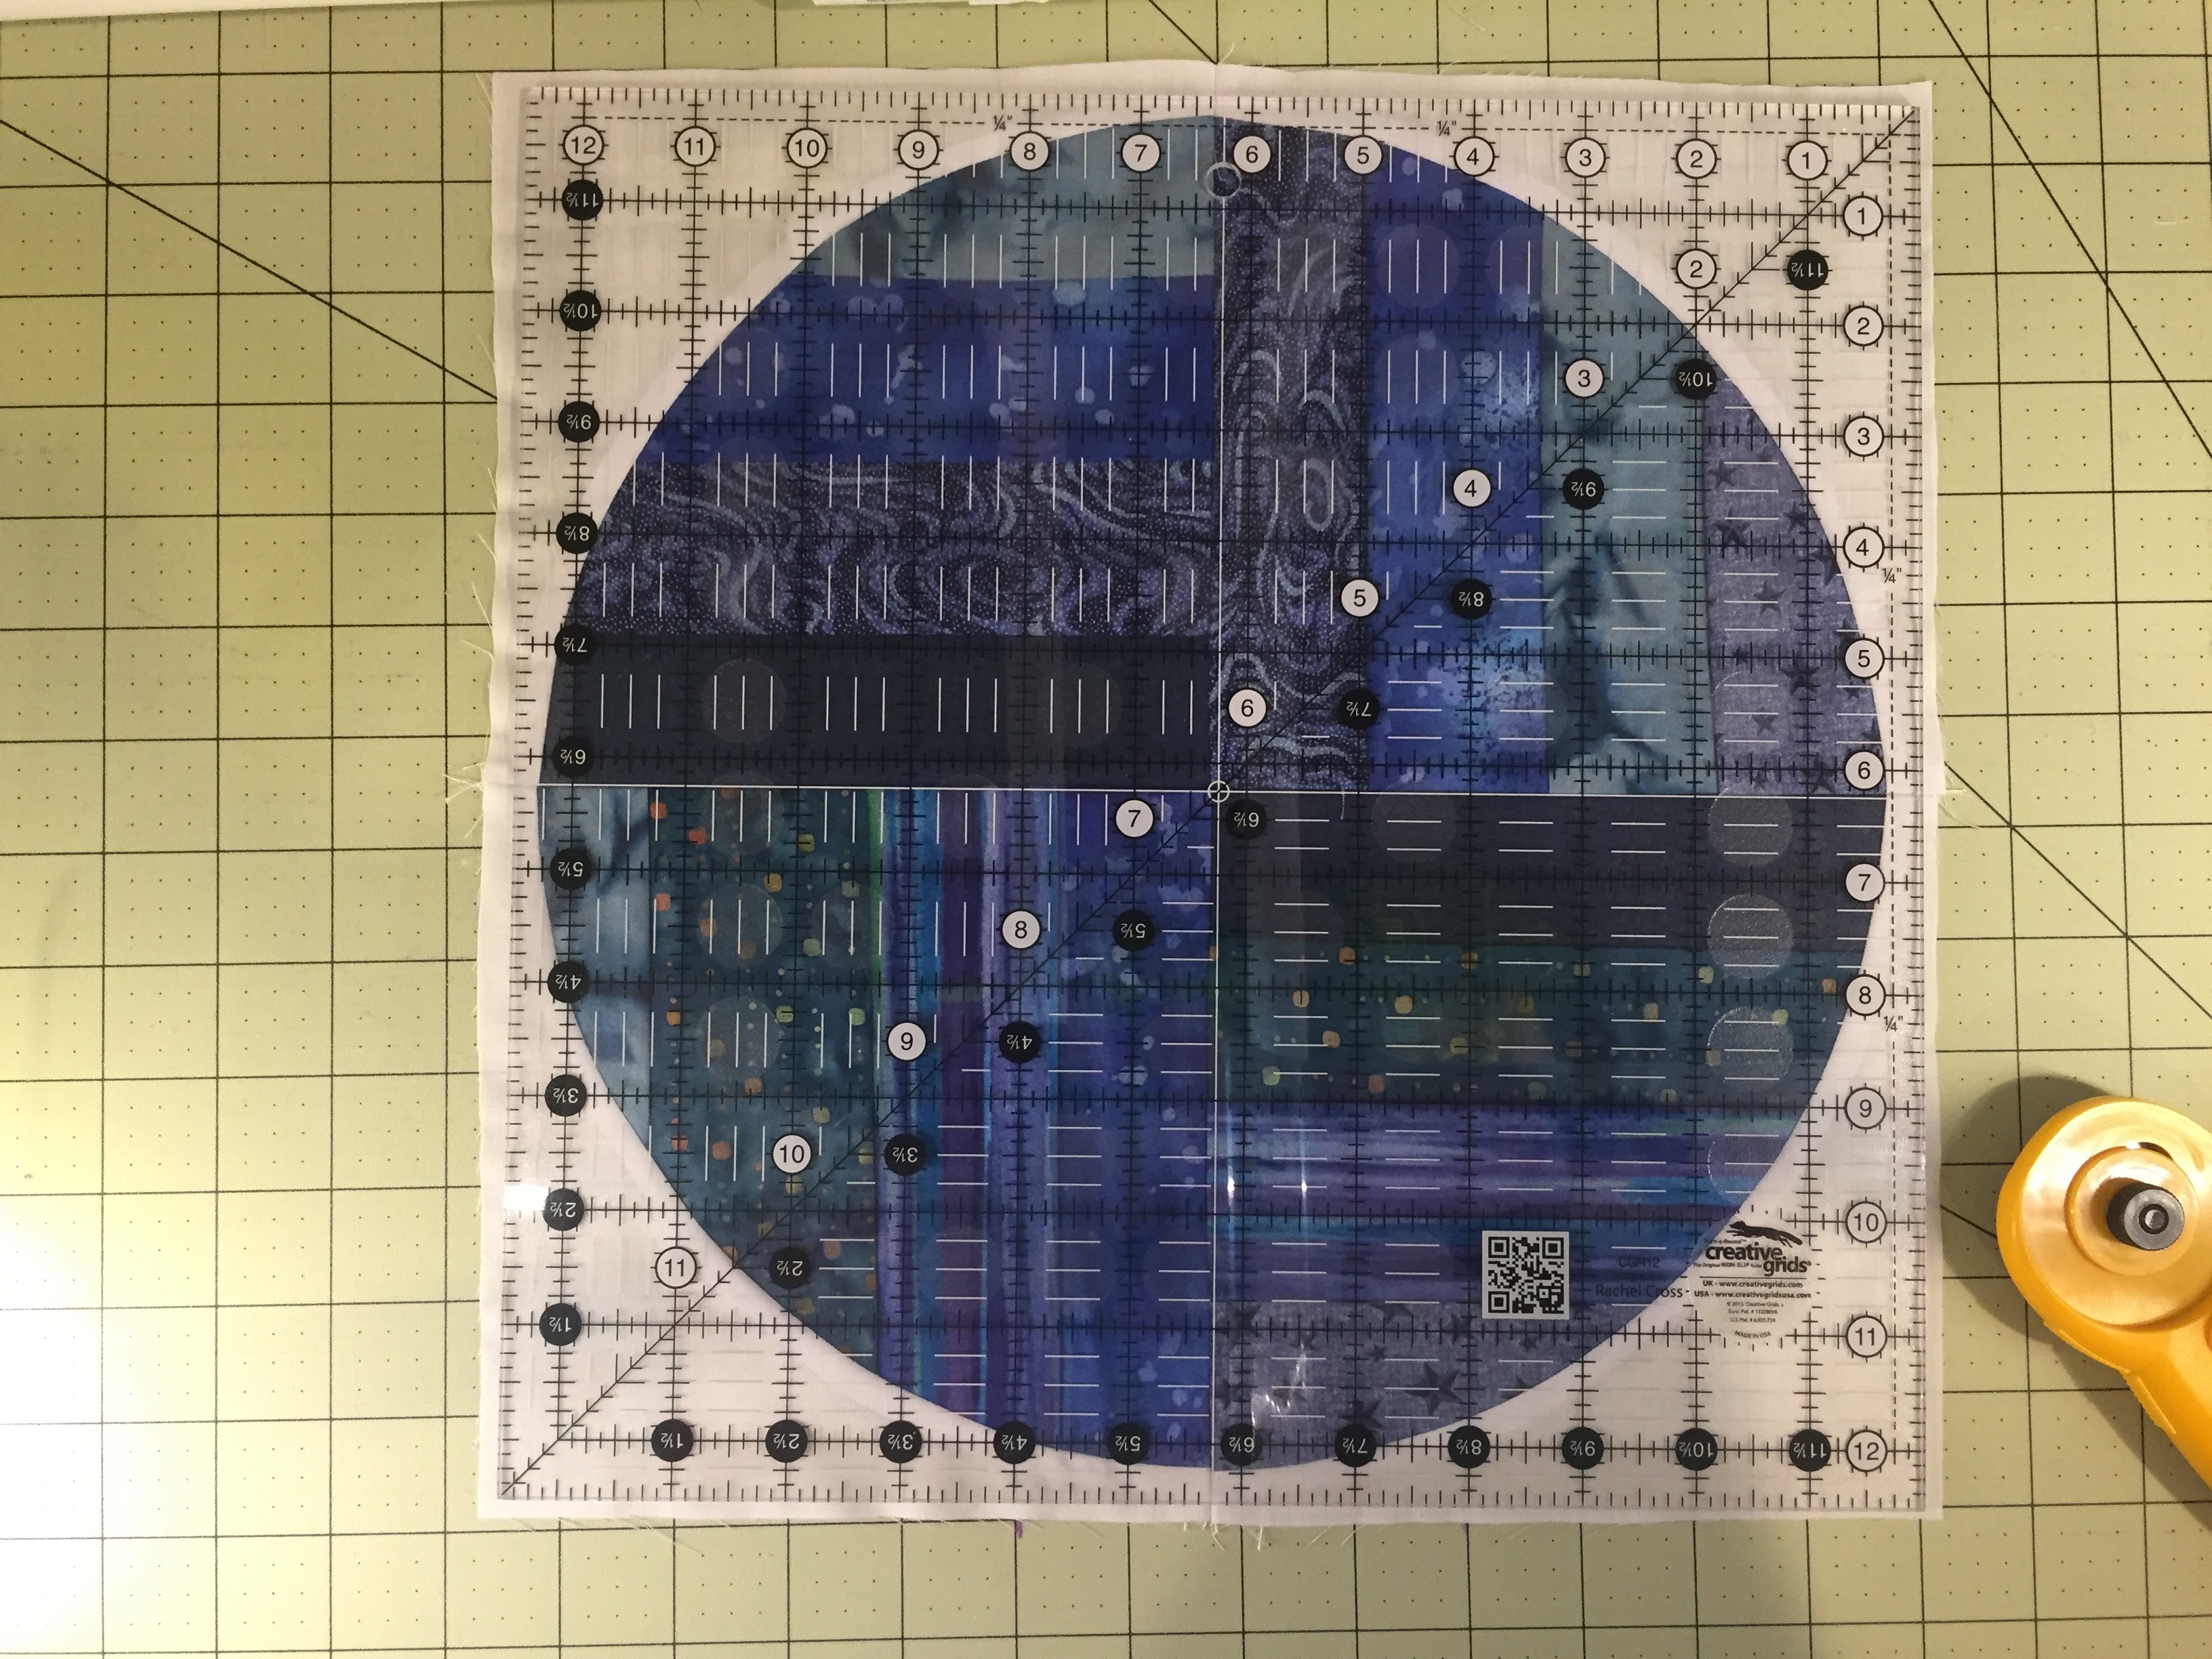 Using a 12 1/2″ ruler, square up your block.
 Stand back, admire your lovely block.
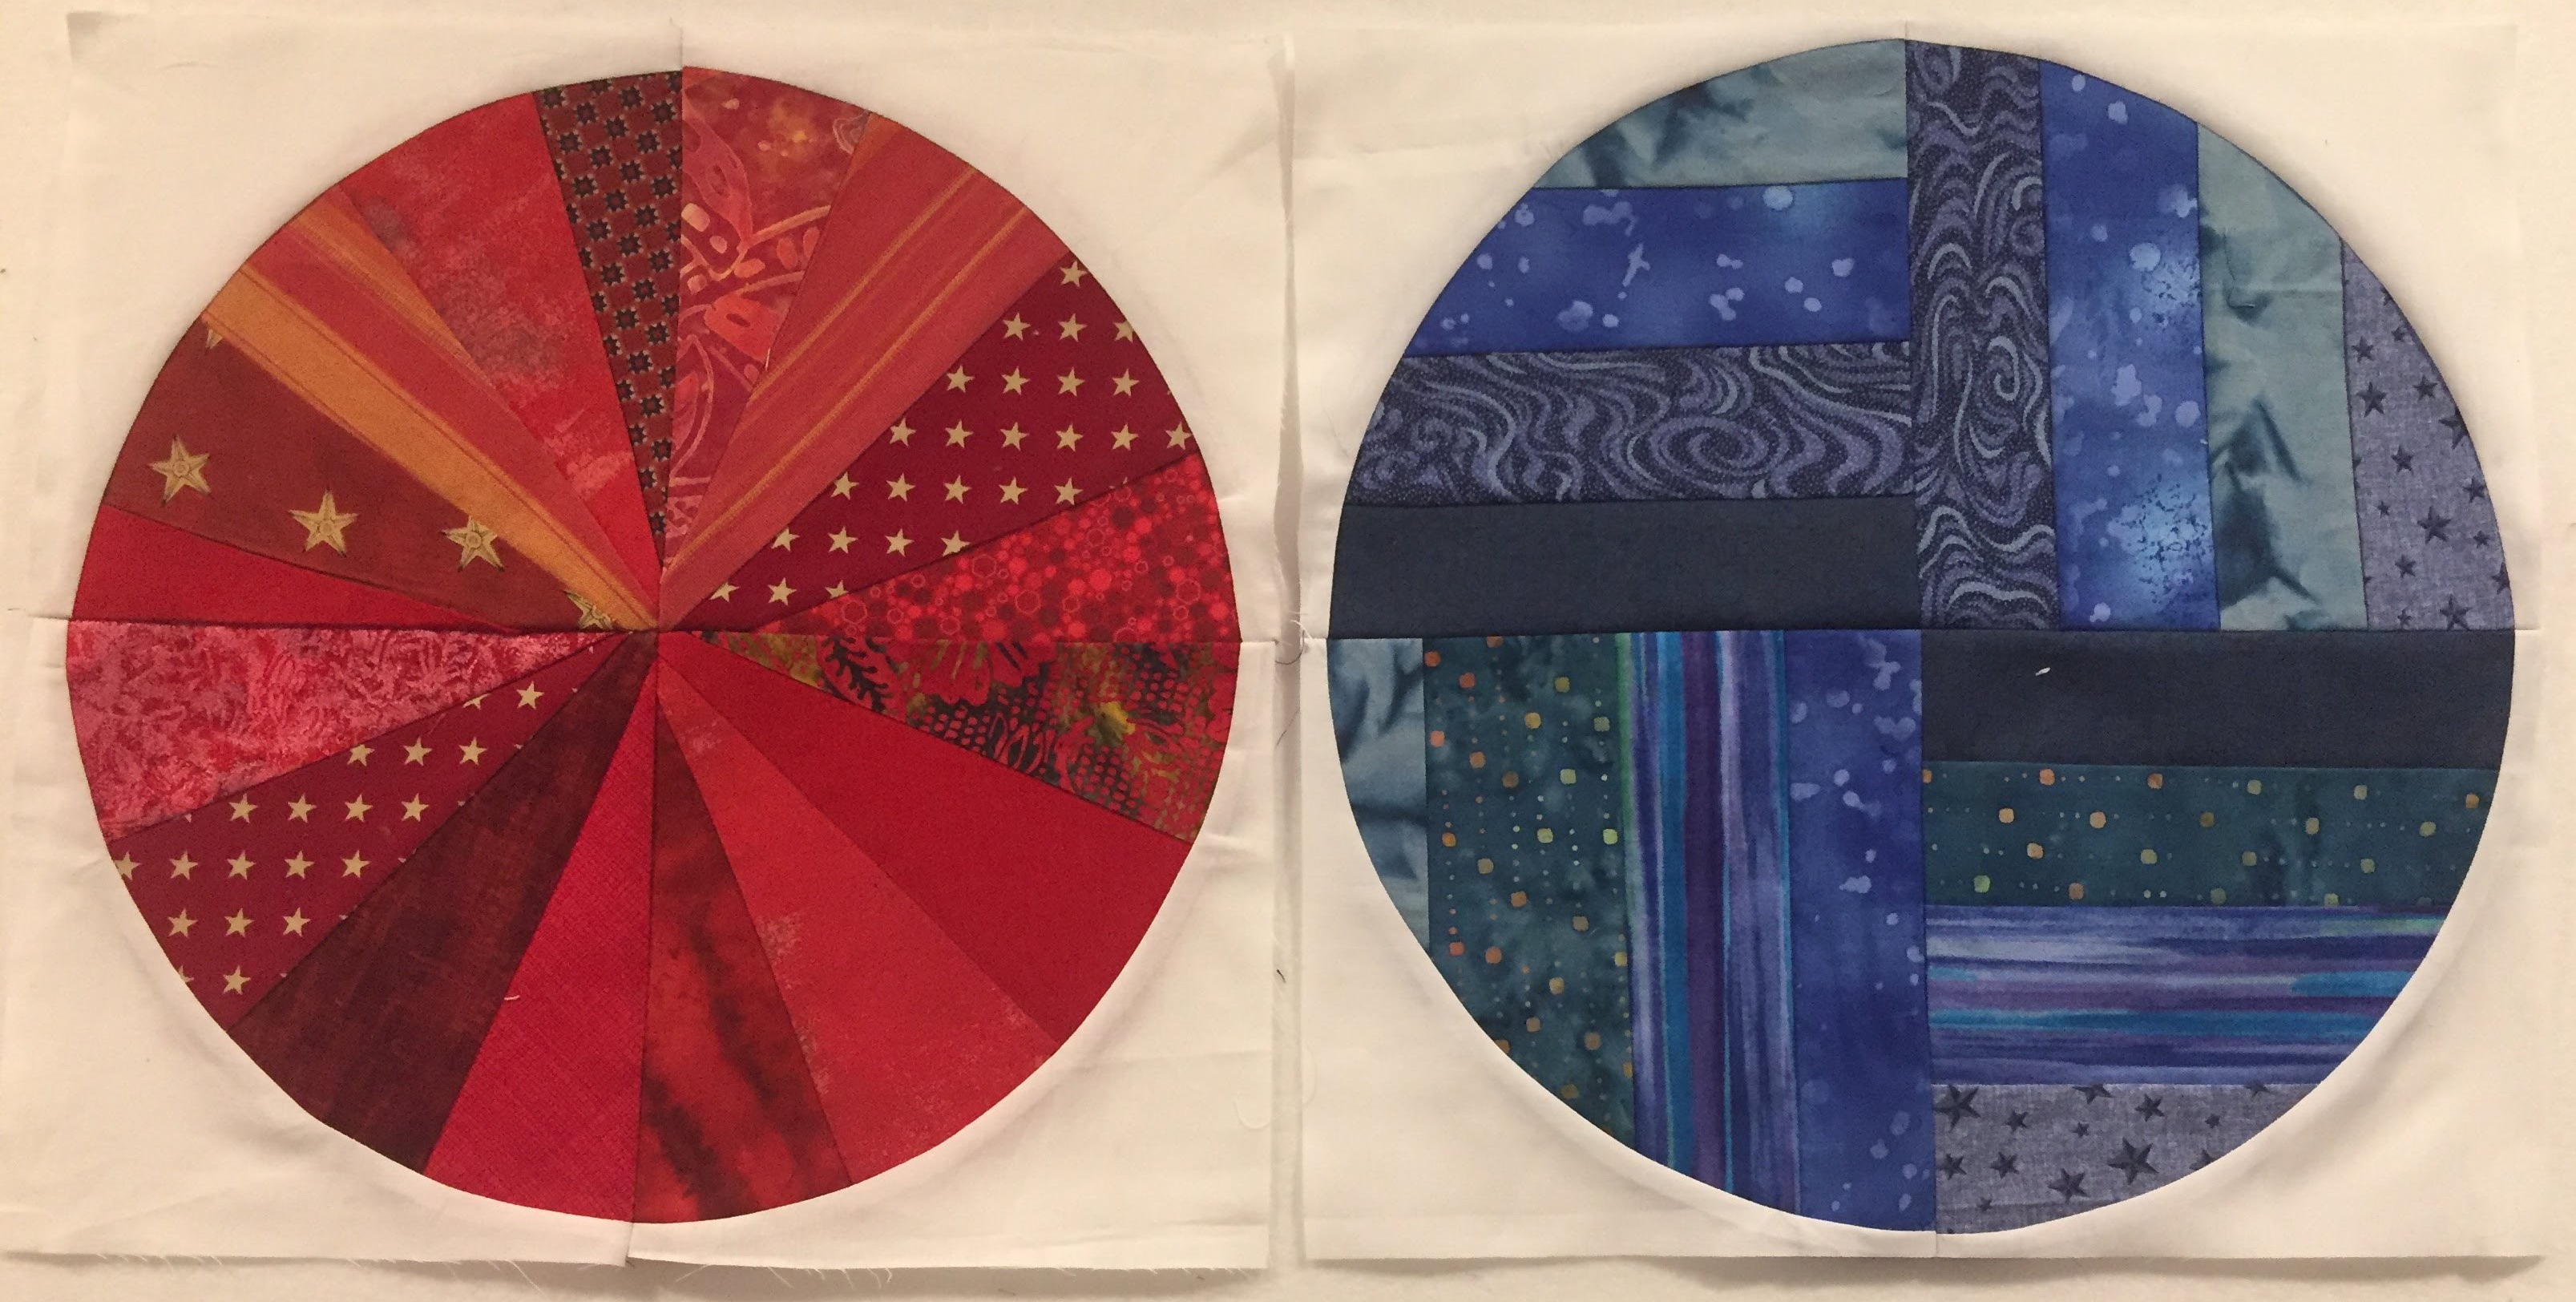 Put it next to your red block. Aren’t they lovely together?
Be sure to tag me on Instagram @JenStrauser or on Facebook @Dizzy Quilter. And, be sure to go to Pattern’s by Jen’s website and register for the giveaway February 24th.
Ok. I am going to have to come back to these and give them a go. So pretty! And a great way to use up “Some” of my scraps. 😀 I too have an abundance that fills a bin or two.
Thanks!
I love that block. I am going to have to try it. I have always loved “circle” quilts. Thank you for the inspiration
Thank you! I’m really enjoying playing with it each month.
Love this version! So pretty!
I can see these alternating with Dione’s teddies. Love the designs. stunning.
Thanks! I need to get my rear in gear and make some teddies.
Great project, I like it even more now you have two blocks. I am so scared of set in circles. But this is fabulous….. maybe we should make a pact….. you make the teddies, I make the circles?! Who’s going to blink first?! 🙂 lol
Love your block and the tutorial was great! Thank you! Watched the video from January as well. My block didn’t turn out as planned (tried to make my own template and also sewed one of the arcs on the wrong side of the foundation paper) so instead went with kind of wonky. Nevertheless, I like it!
Thanks! I need to edit the video for this. Somehow Feb 1 sneaked up on me.