
The fantastic organizers of the 2016 New Quilt Bloggers Blog Hop offered us the opportunity to join in on a block design challenge. Thank you so much Yvonne at Quilting Jetgirl, Stephanie at Late Night Quilter, and Cheryl at Meadow Mist Designs. I signed up right away, thinking it would be a piece of cake. I’m a creative person, I just bought EQ7, I know what I’m doing, right? Wrong. I had a version of Electric Quilter many, many years ago, and it didn’t go well for me. It is complicated and I never took to it. I seem to have forgotten that. The software hasn’t gotten any easier, but I have managed to figure some things out. I really need to set aside time in my calendar to do learning tasks, but sewing is much more fun than learning software.
My first few design ideas were a little flat, and my genius brainstorm was too advanced for my EQ7 skills. I wanted to give you all an English Paper Pieced design that was out of this world. After several hours of struggle, I have set that pattern design aside for later. Instead, I have a modified log cabin for you. It uses all five of the Cloud 9 fabrics we were assigned, and I think it will make a gorgeous scrappy quilt.
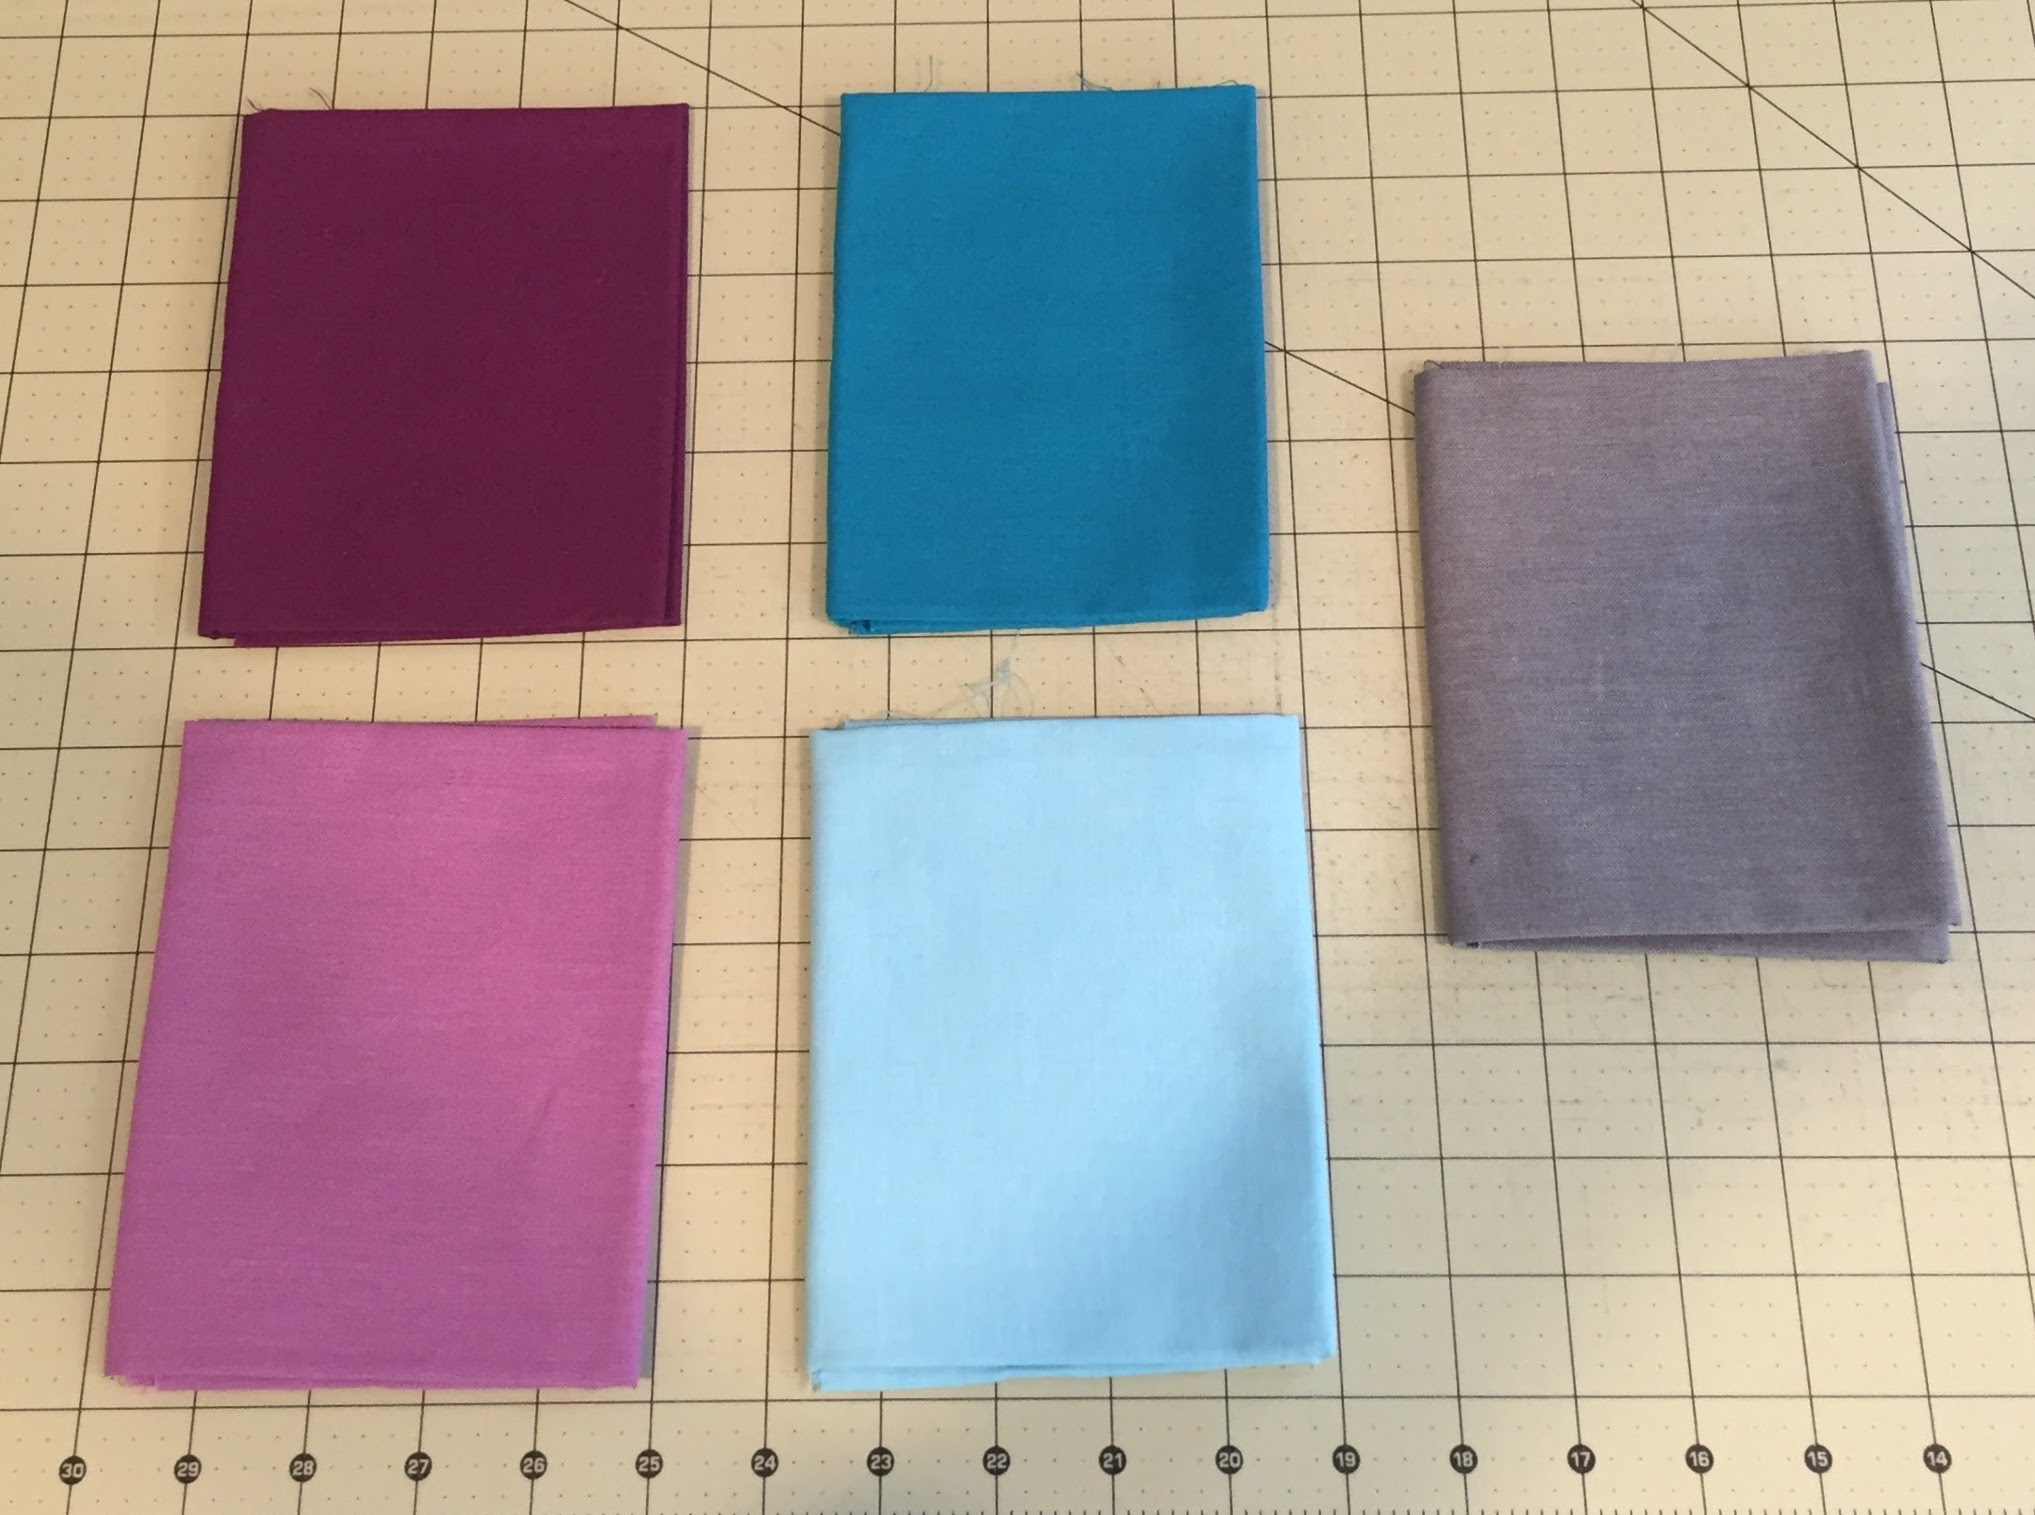 These are the fabrics we were assigned back in July. The palette is called “Berry Harvest”. Cloud9 Fabrics sent each participant a bundle of their organic Cirrus Solids. They have been sitting on my desk, and pinned to my design wall in different configurations for weeks. They are a lovely texture – so soft. The weave is a little loose, almost like a homespun or plaid. I really enjoyed working with them.
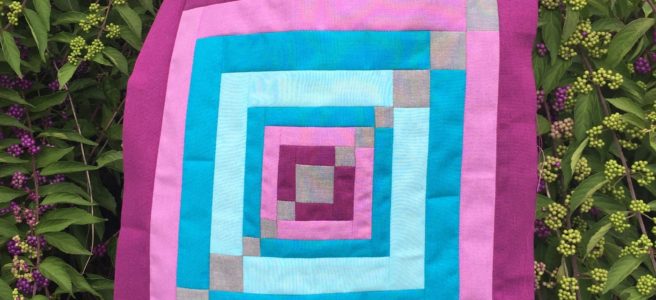
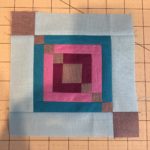
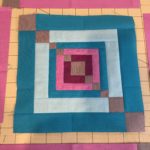
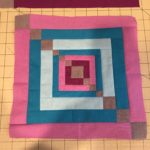
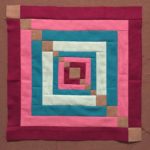
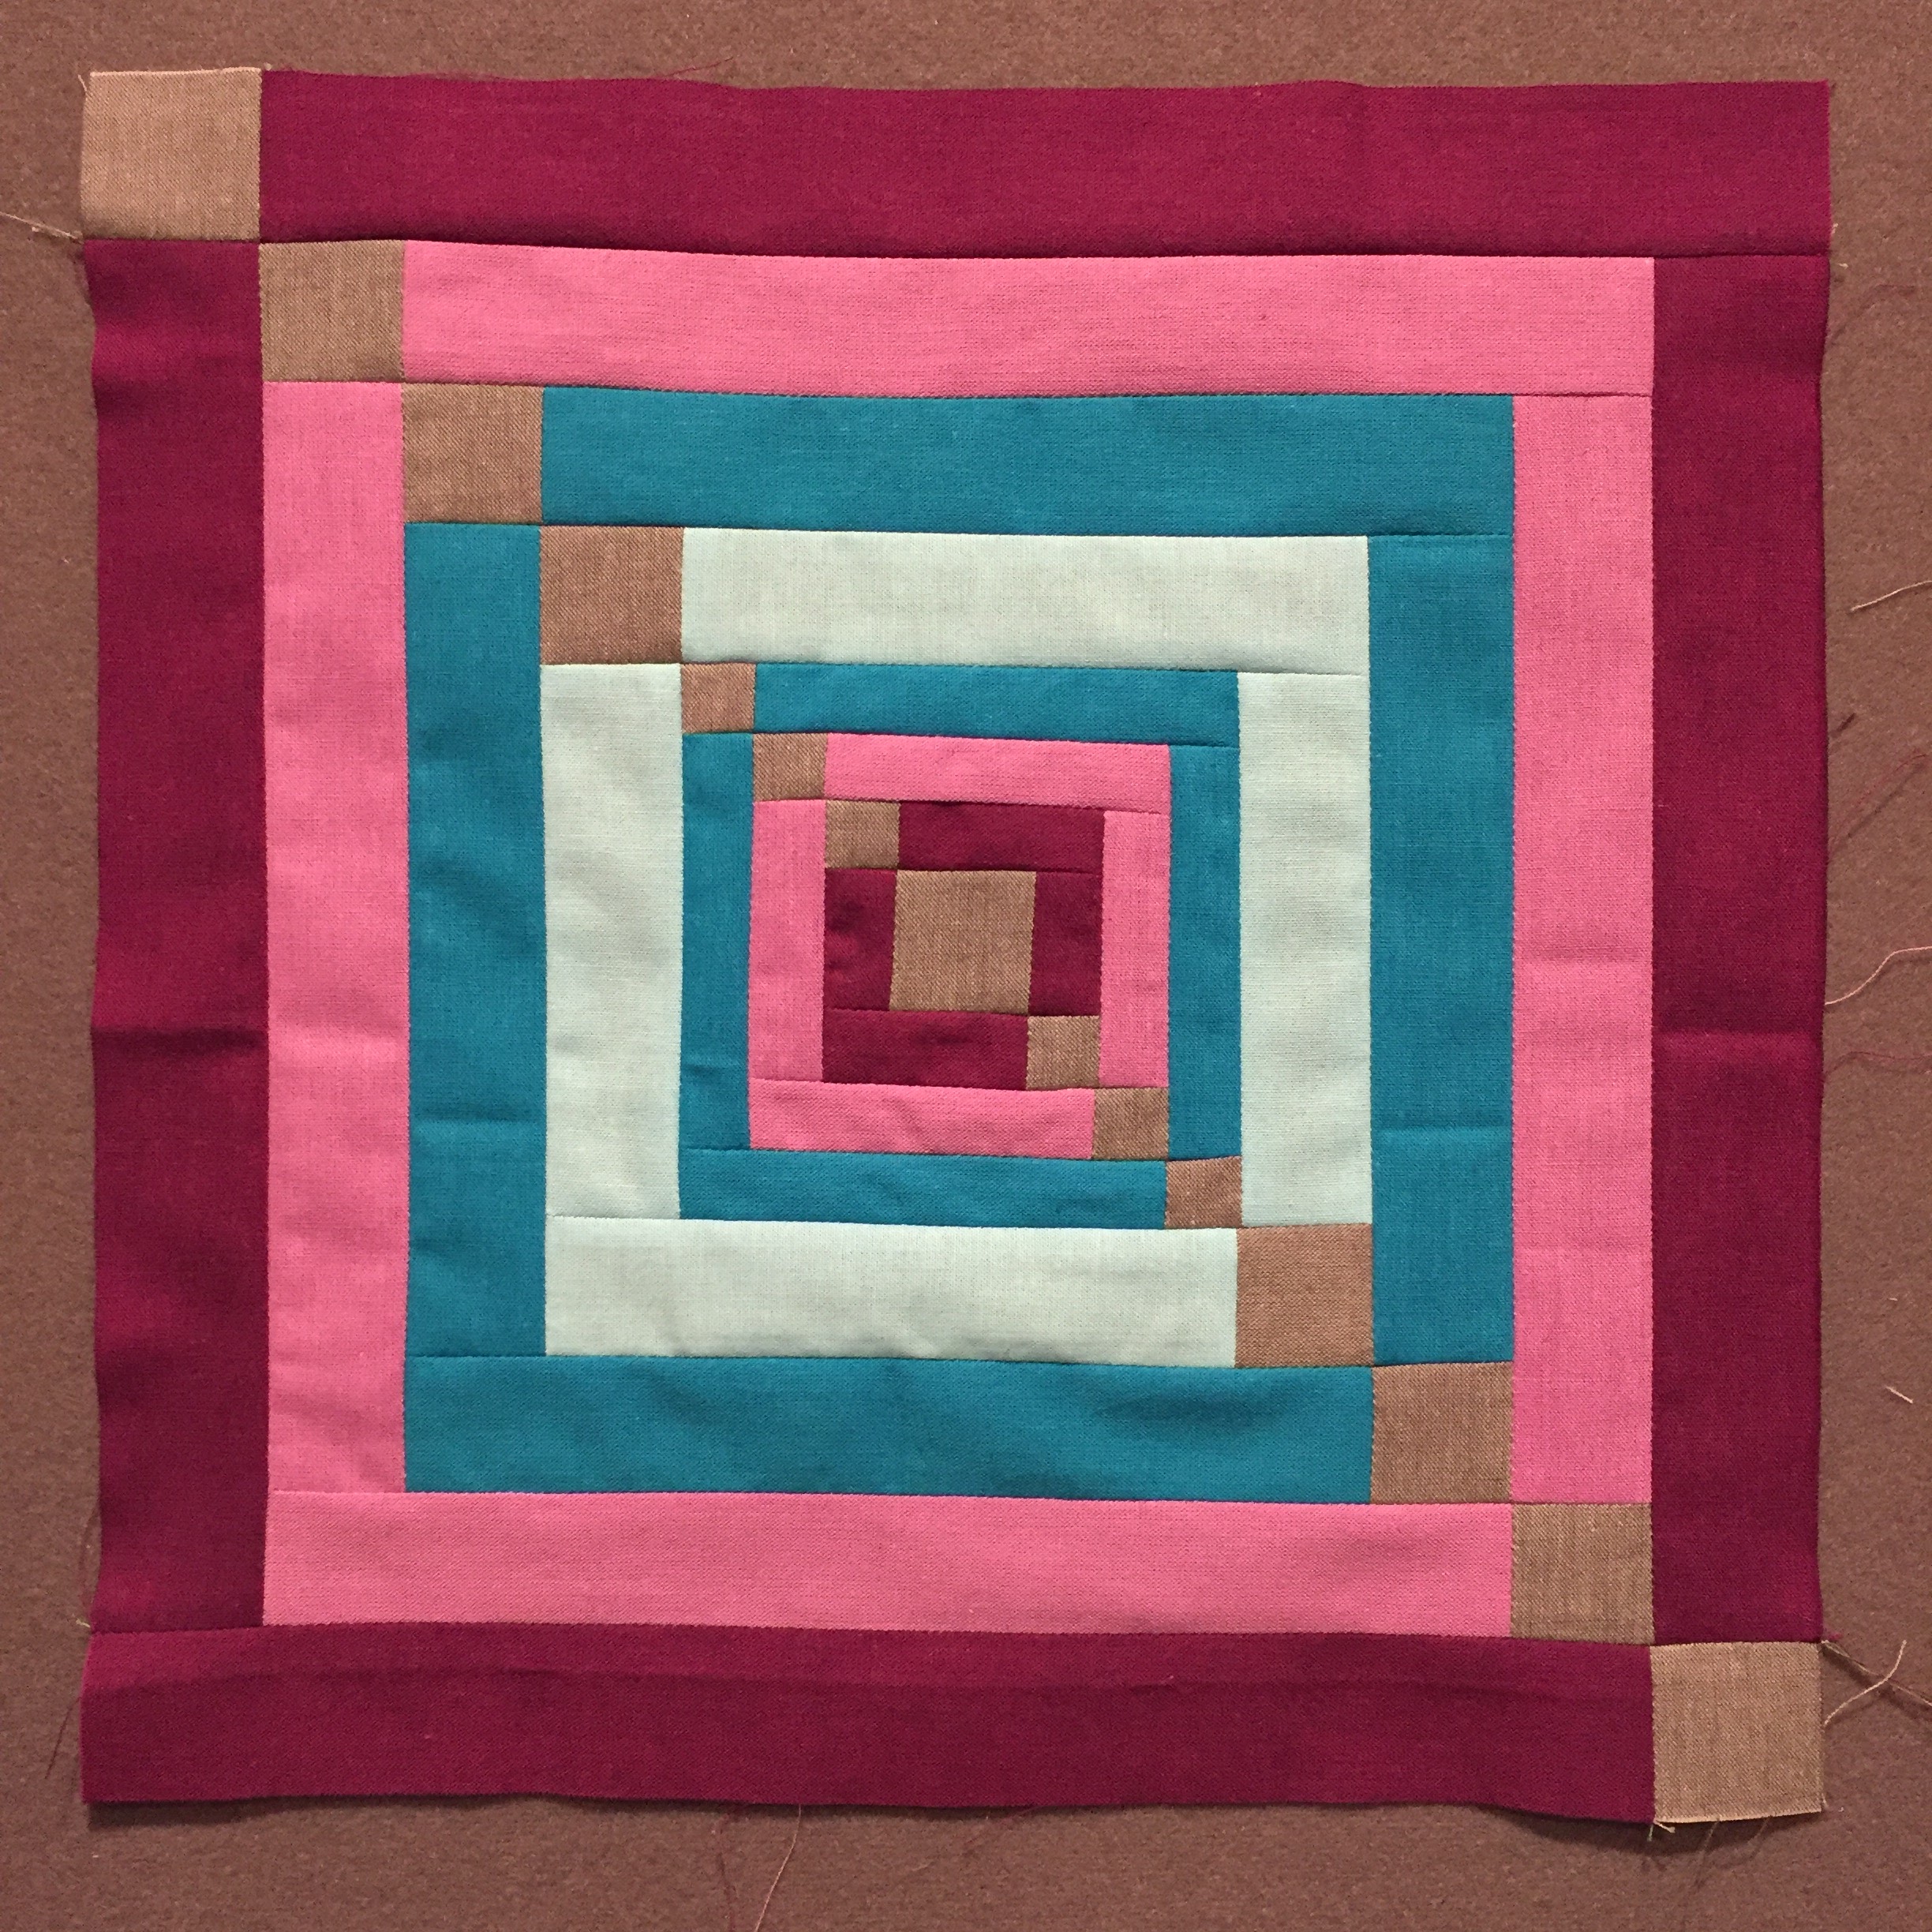 And here is the block I designed, Beautyberry Basket. (The colors are a little muddy in this photo. The photo I took outside is much more accurate.) This month I’ve been working on Tula Pink’s City Sampler, and I just finished my mini shadow block quilt, so I seem to have picked up some bad habits with little pieces. Enjoy!
This block makes a 12″ finished block, 12 1/2″ with seam allowances.
You will need to choose 5 different fabrics – one neutral and a light and dark value of two colors. I suggest printing out the key block and coloring it in to keep things straight.
I am labeling them Dark A, Light A, Dark B, Light B, and Neutral. For the Cloud9 New Block I used:
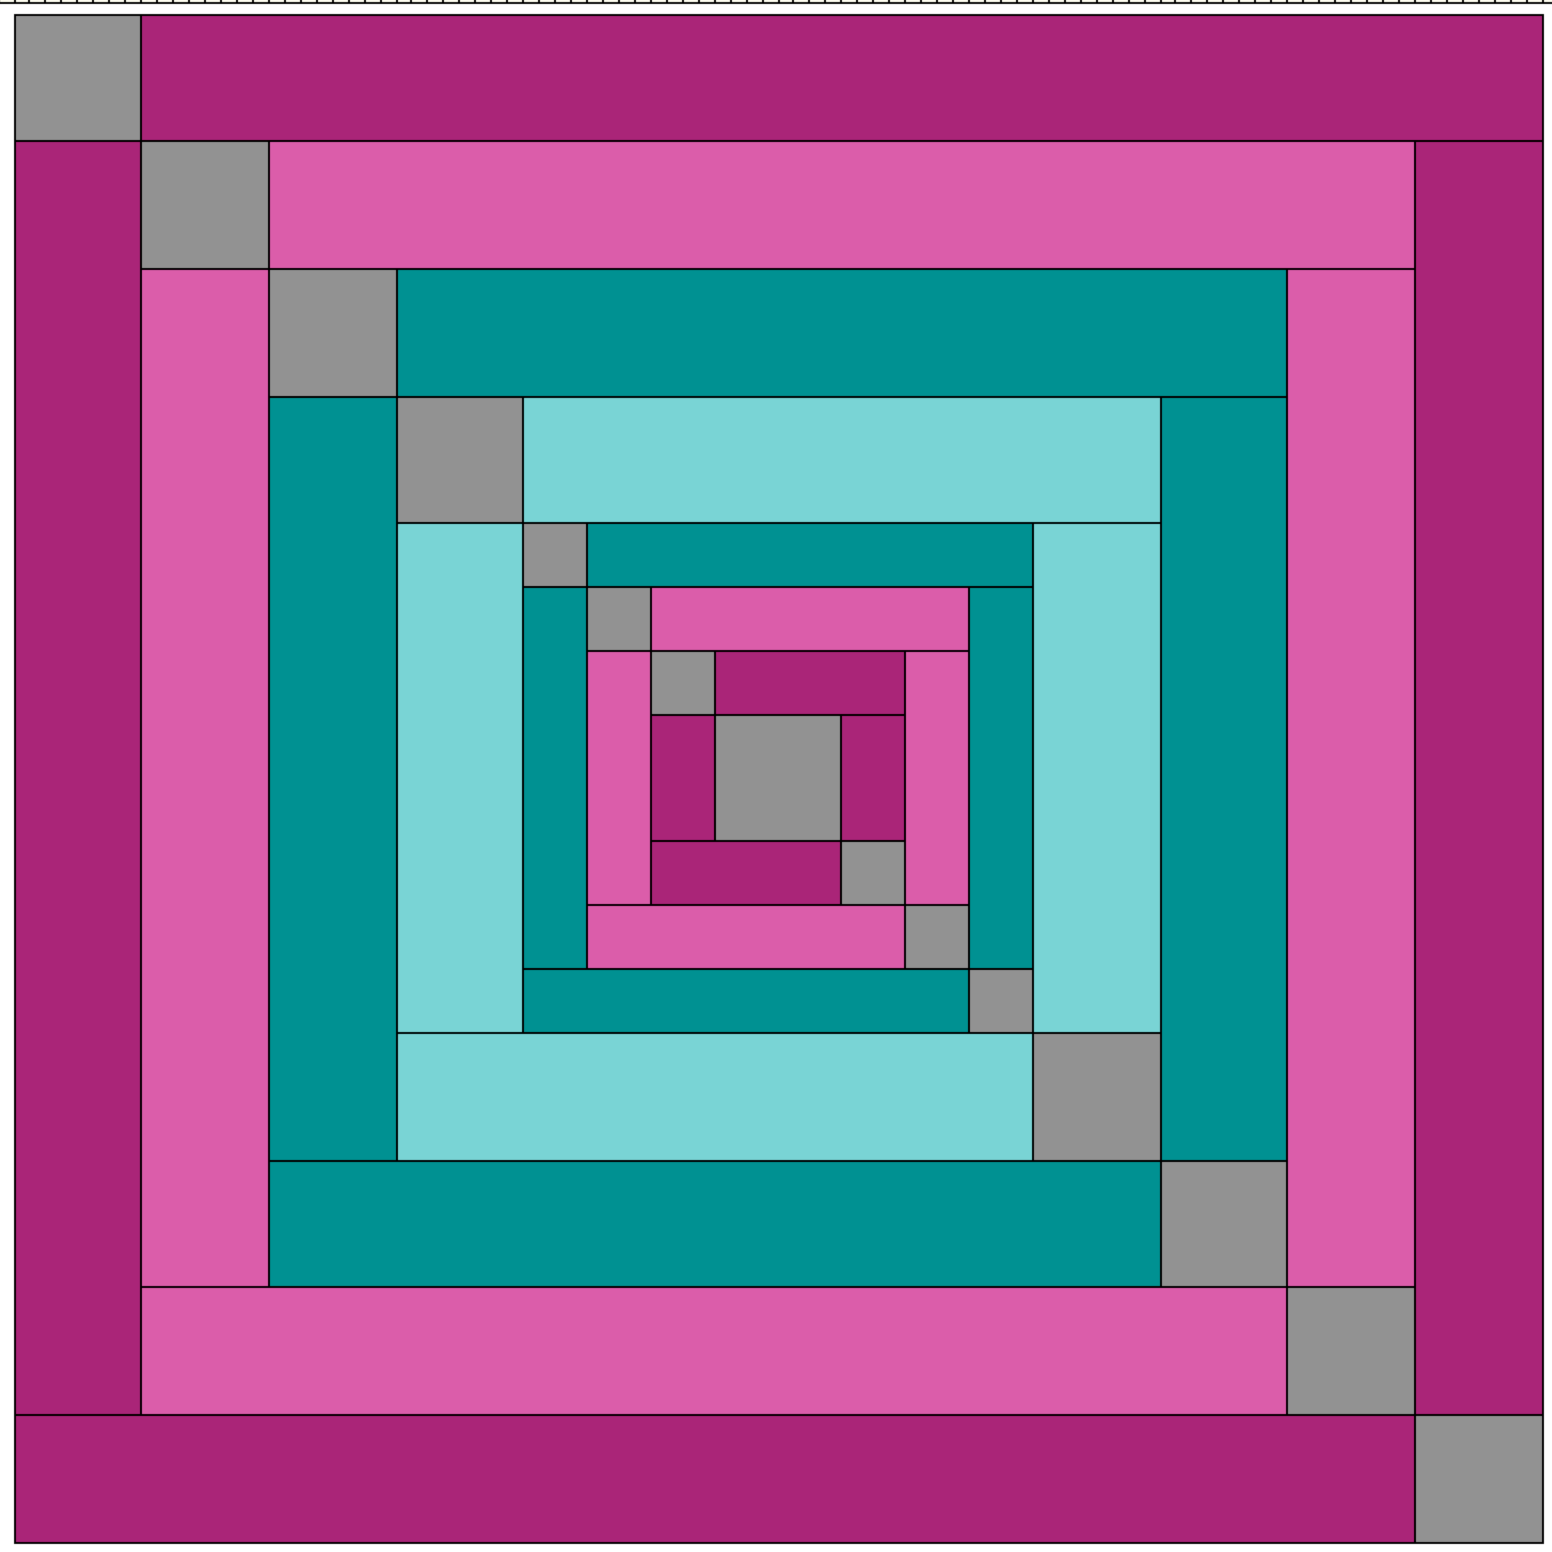 Dark A: Iris
Light A: Lilac
Dark B: Amazon
Light B: Sky
Neutral: Shadow
Cut the following:
Dark A
2 – 1 1/2″ x 11 1/2“
2 – 1 1/2″ x 10 1/2″
2 – 1″ x 1 1/2″
2 – 1″ x 2″
Light A
2 – 1 1/2″ x 9 1/2″
2 – 1 1/2″ x 8 1/2″
2 – 1″ x 3″
2 – 1″ x 2 1/2″
Dark B
2 – 1 1/2″ x 7 1/2″
2 – 1 1/2″ x 6 1/2″
2 – 1″ x 4″
2 – 1″ x 3 1/2″
Light B
2 – 1 1/2″ x 5 1/2″
2 – 1 1/2″ x 4 1/2″
Neutral
9 – 1 1/2″ x 1 1/2″
6 – 1″ x 1″
Lay out your pieces on your cutting table. This gives you a chance to see how the colors will work together and to make sure you have all of the pieces.
Now that we have all of our pieces, it is time for my favorite part – putting it all together. Ready? Let’s go!
We are going to put this together like a Courthouse Steps block, but two sides are pieced, rather than solid. Each round gets the sides added, seams pressed open, then top and bottom added. Then on to the next round. I am a recent convert to the pressing seams open school of pressing. The blocks really look a lot nicer, particularly for up close photography.
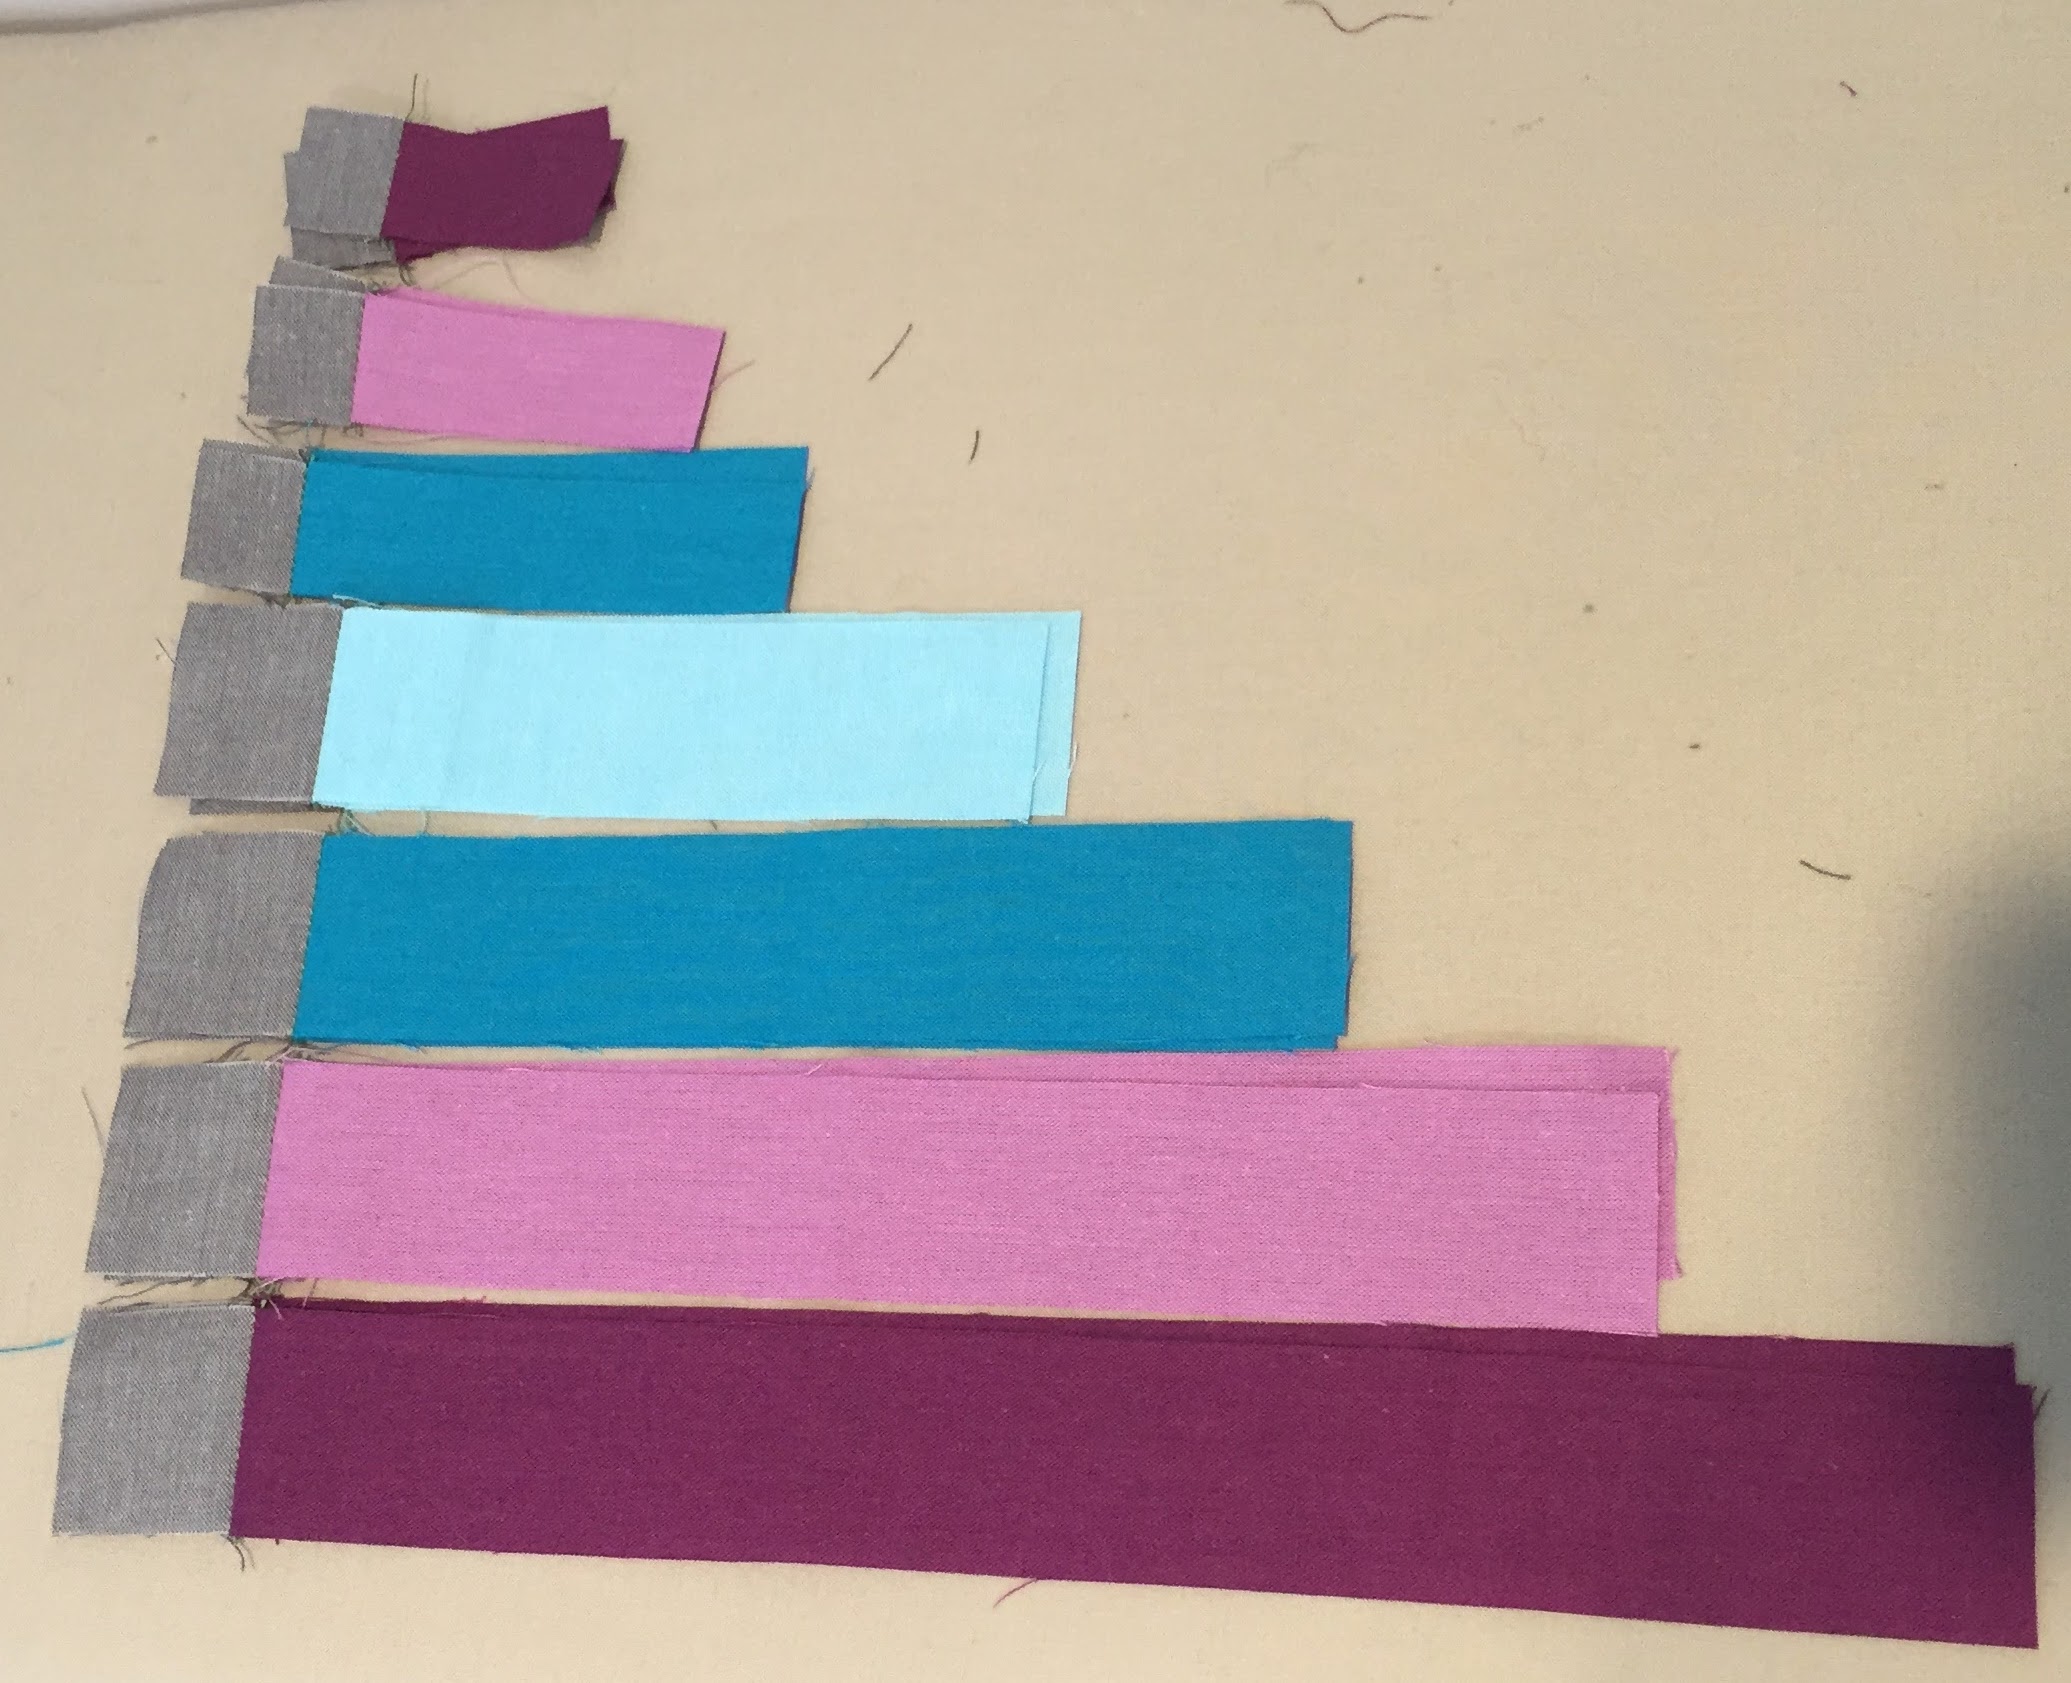
First we prepare all of the longer sides by sewing the neutral squares to one end. (In the cutting instructions, the longer sides have been underlined.) I am a big fan of chain piecing – no clipping loose threads, and less wasted thread. Once all of the squares are sewn on, press them open.
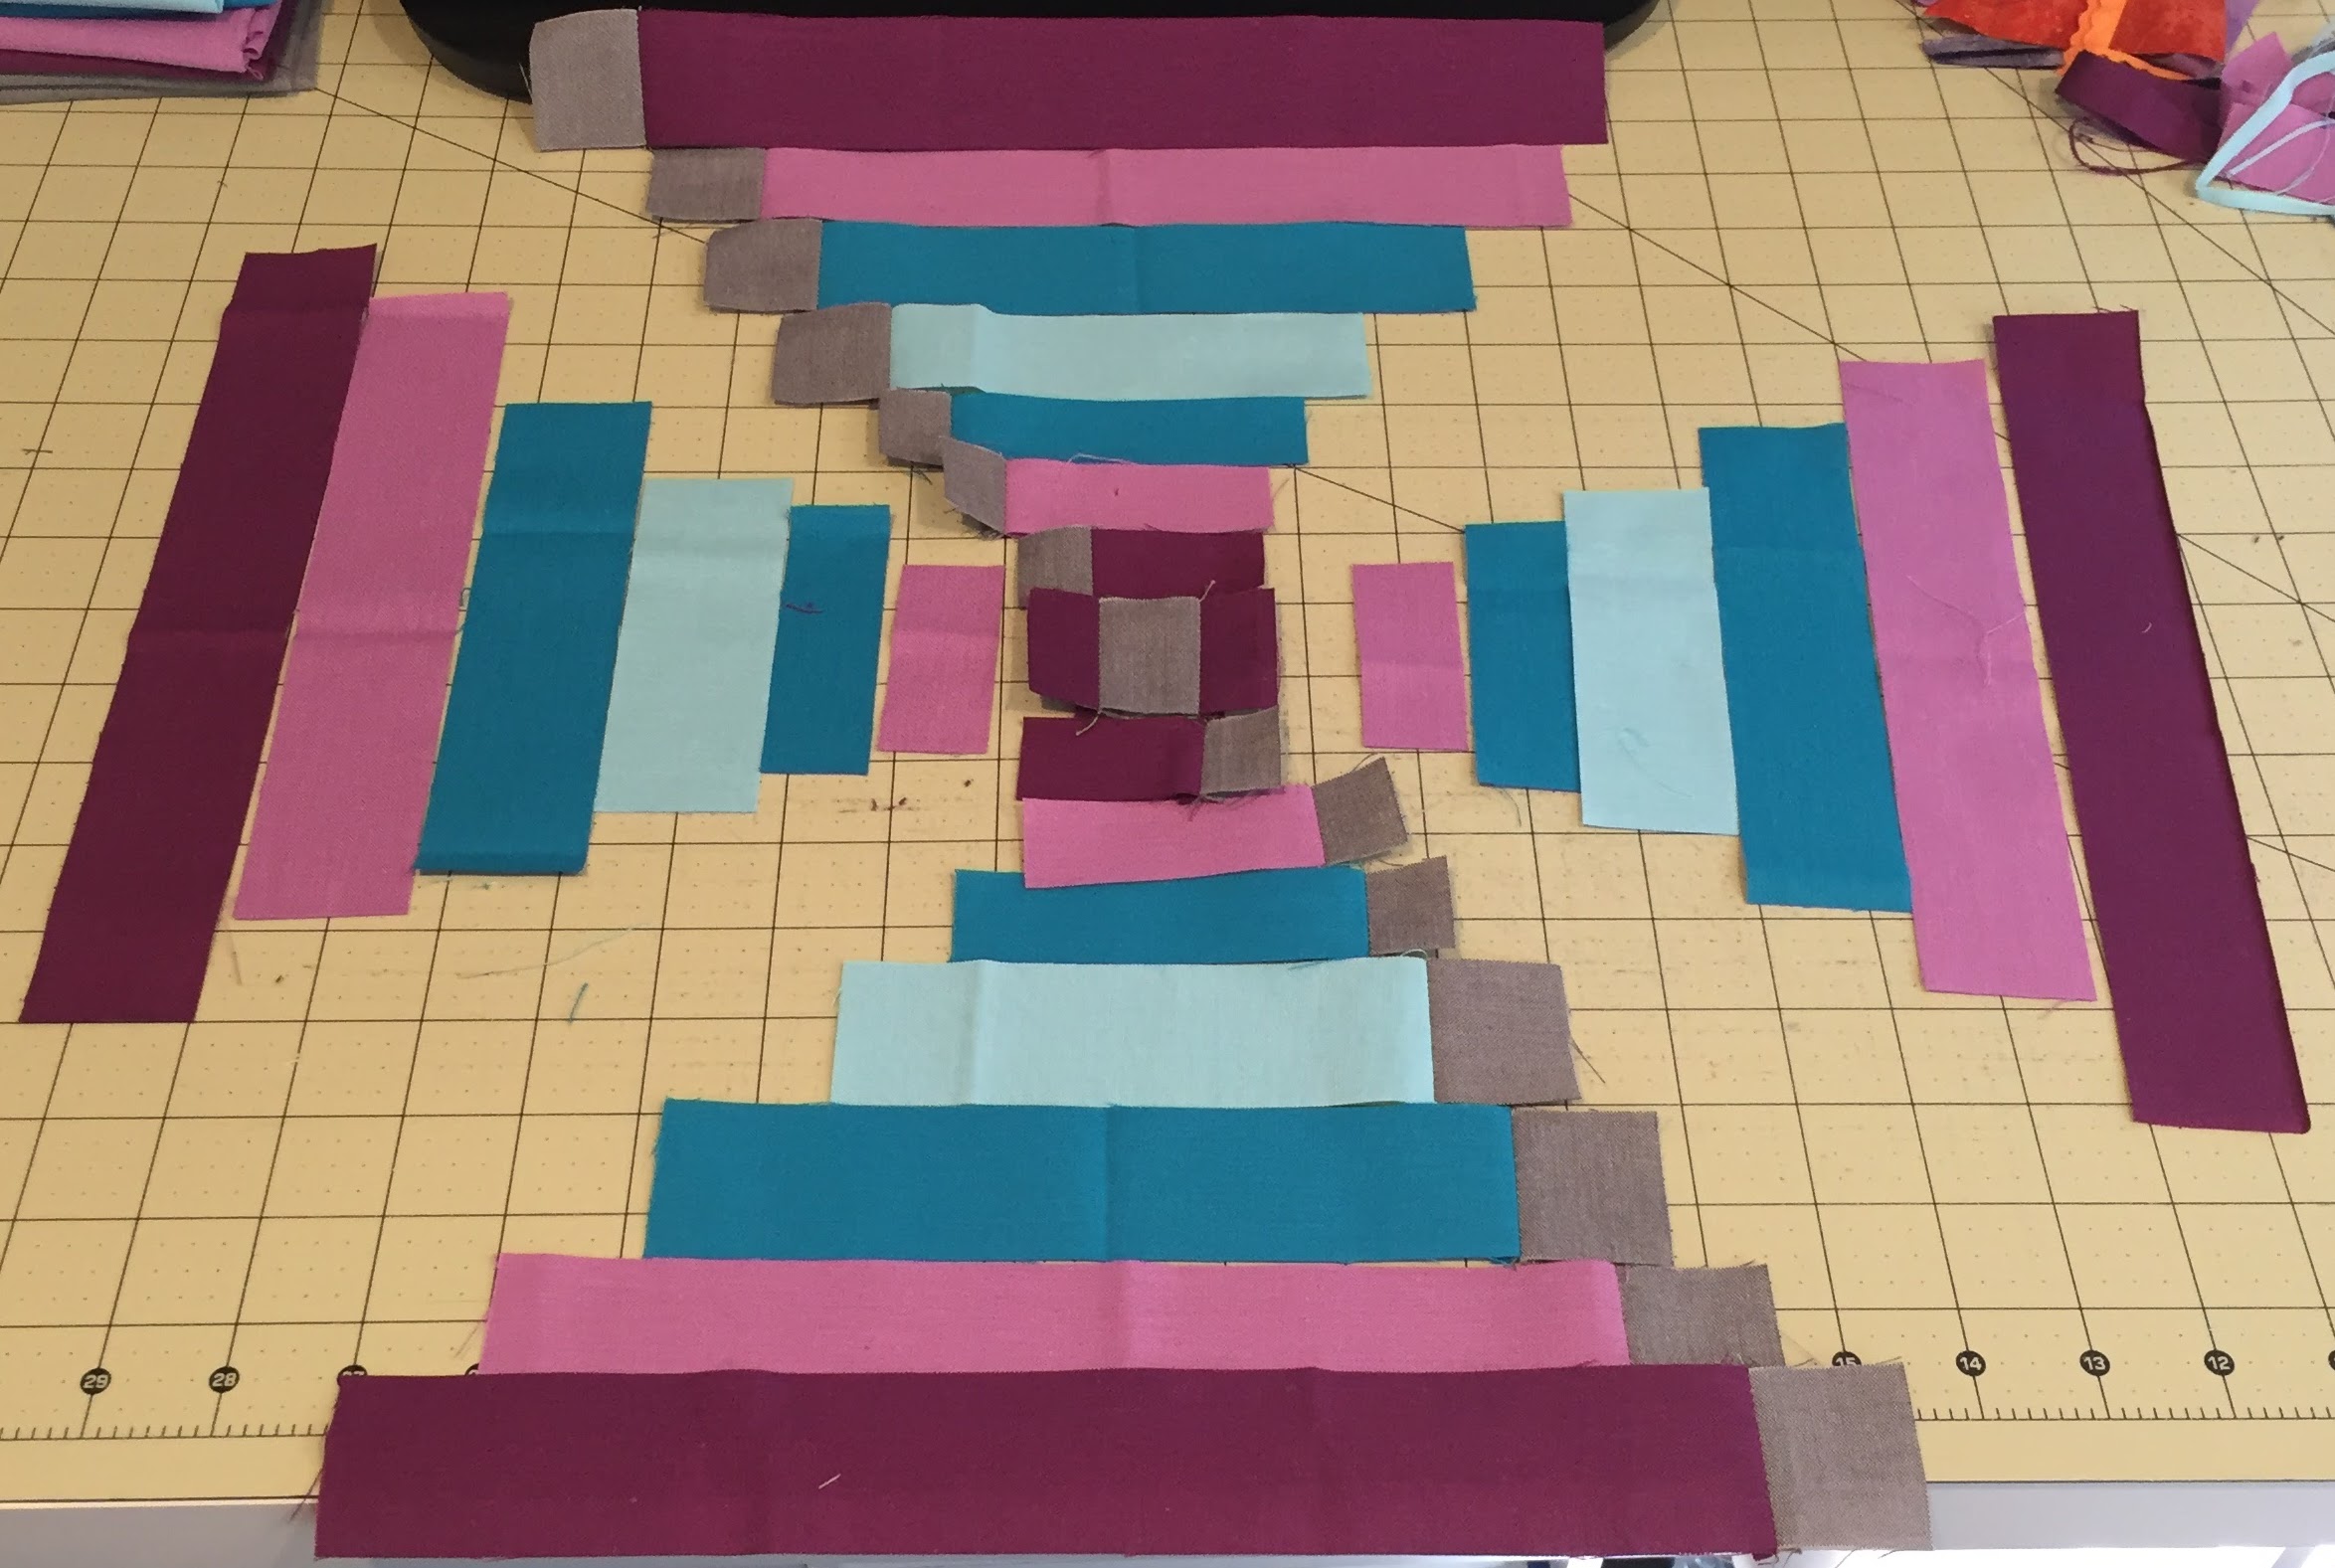 At this point I find it helpful to lay the block out next to my sewing machine. This way I can keep the pieces straight, and I love watching the block come together this way.
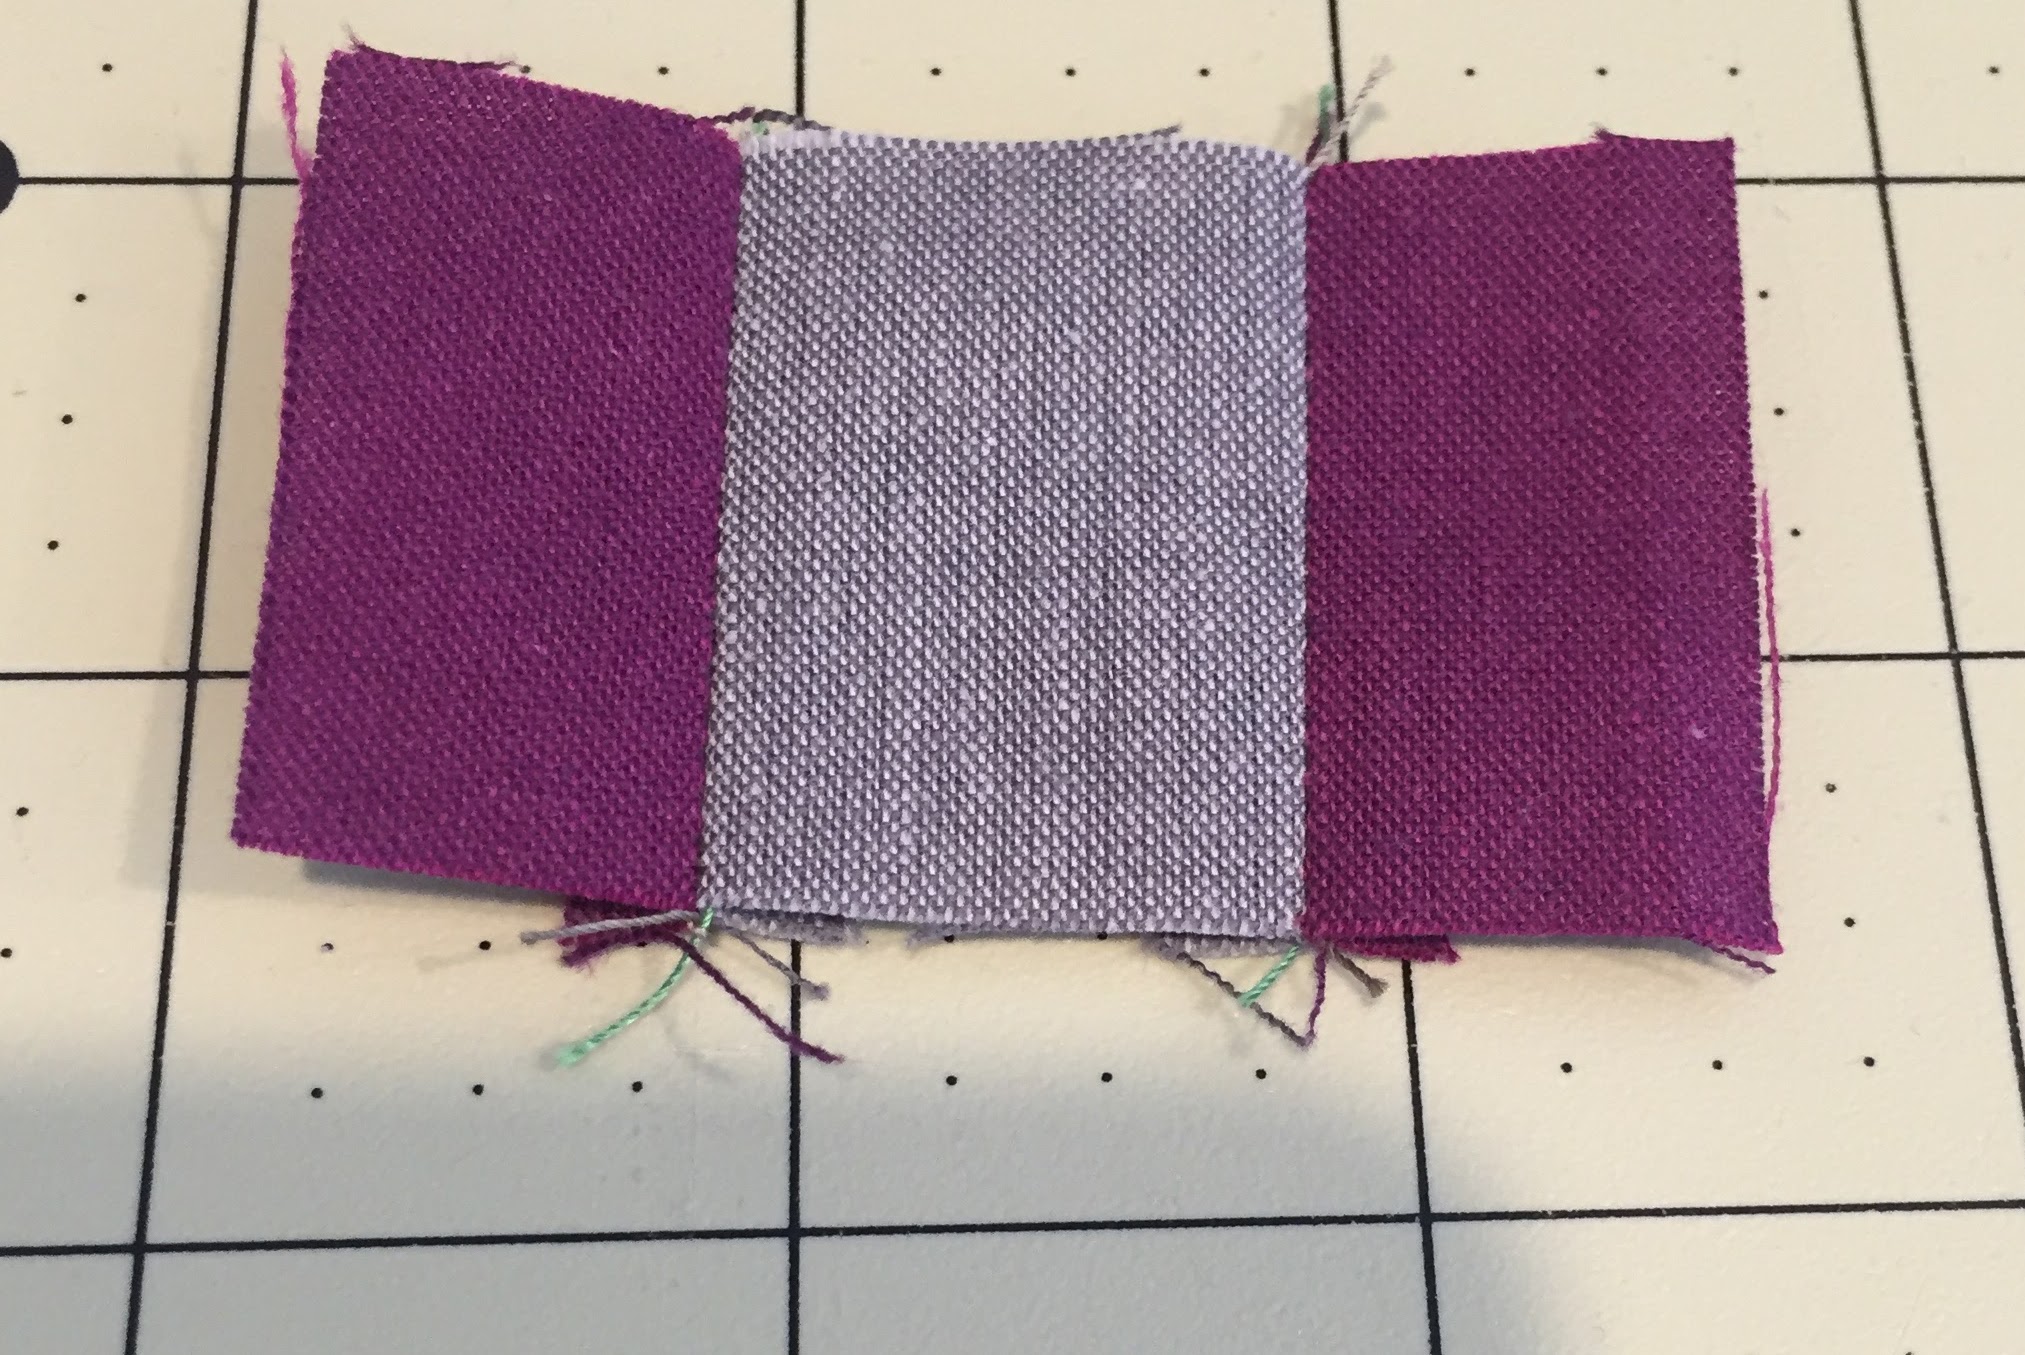
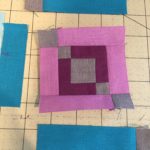
Take one neutral 1 1/2″ square and a Dark A 1″ x 1 1/2″ rectangle and stitch together. Add the other Dark A 1″ x 1 1/2″ rectangle to the opposite side, and press open. You can press after adding each piece, or you can wait until you have done both sides and press. I have to get up to walk to my ironing board, so I attach two sides at a time.
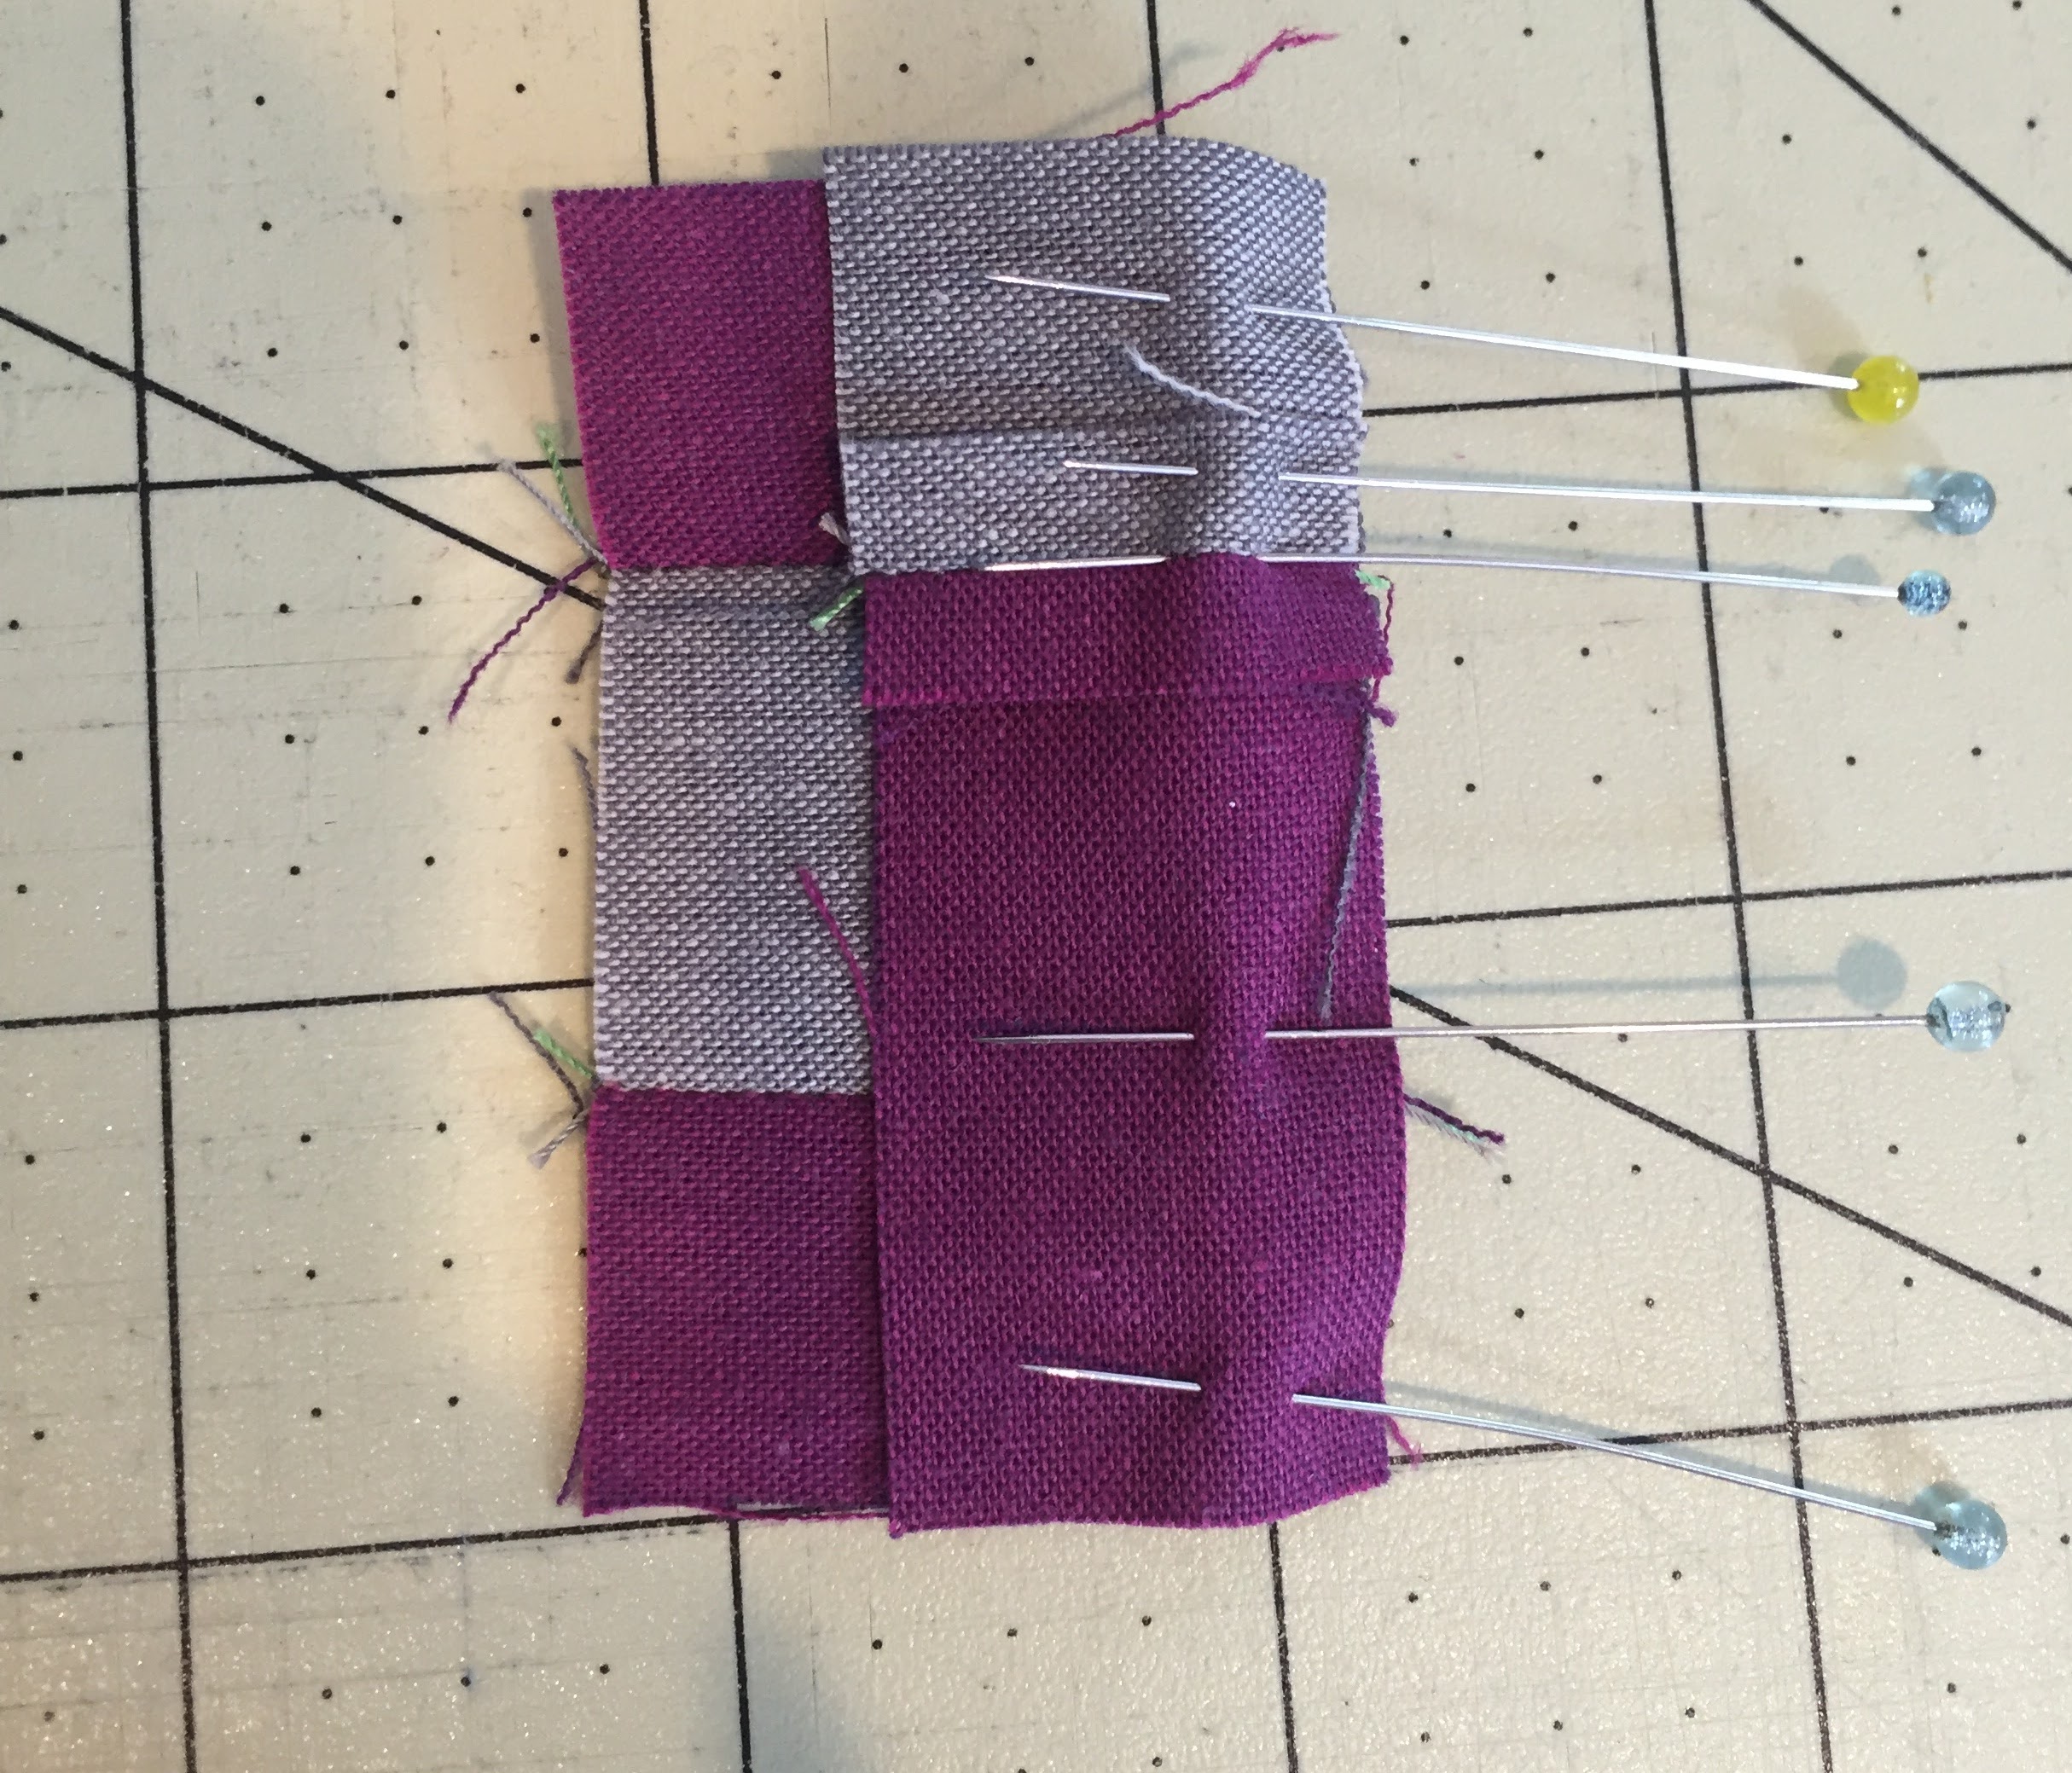
Now pin your Dark A 1″ x 2″ strip, which has a neutral square attached to the end. Be careful to pin both ends and at the intersection to ensure you get perfect corners. I also like to pin at any seams, to make sure the seam allowance doesn’t flip over when stitching. It seems silly to use a lot of pins on such a small piece, but I find smaller pieces need more pins, because any error will really show on a small piece. Plus, seam ripping sucks.
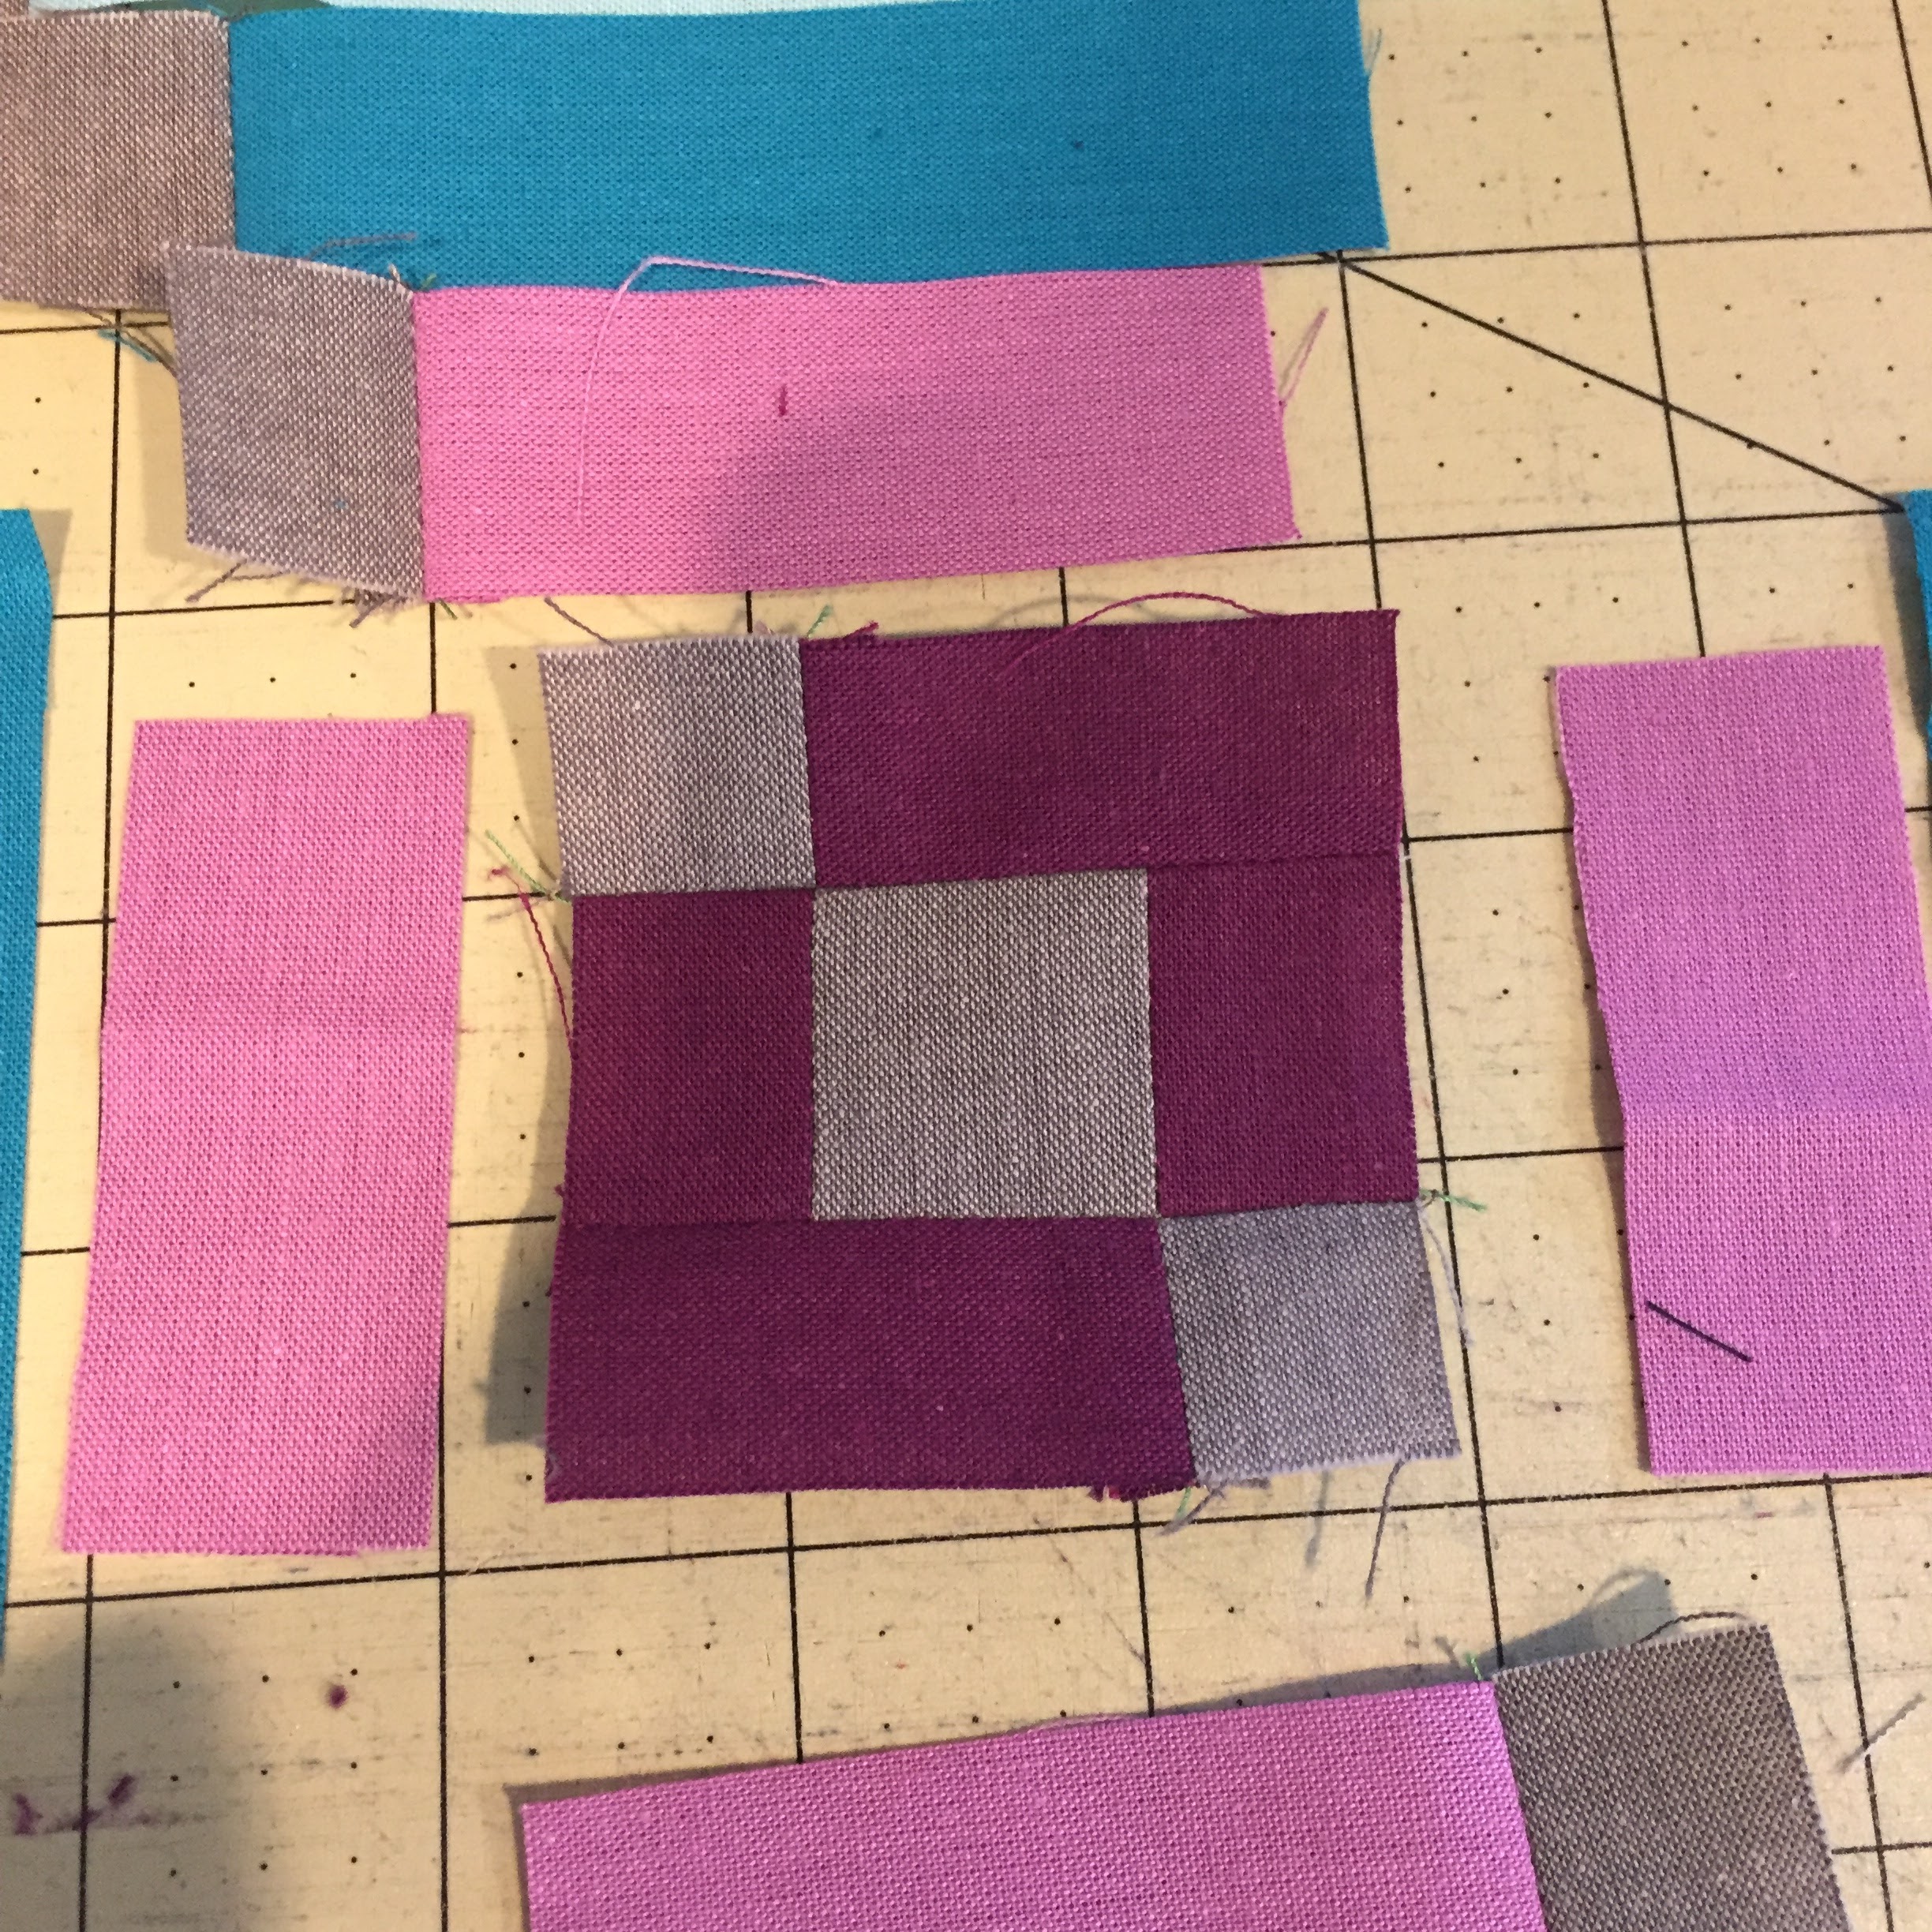 Tah Dah! Here is the center of the block.
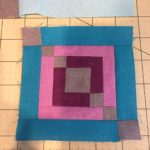
Repeat with each larger grouping of strips until you have the block completed. Add the sides first, then the top and bottom, pinning the seam intersections carefully.
If you decide to make a block from this tutorial, I would love to see it.
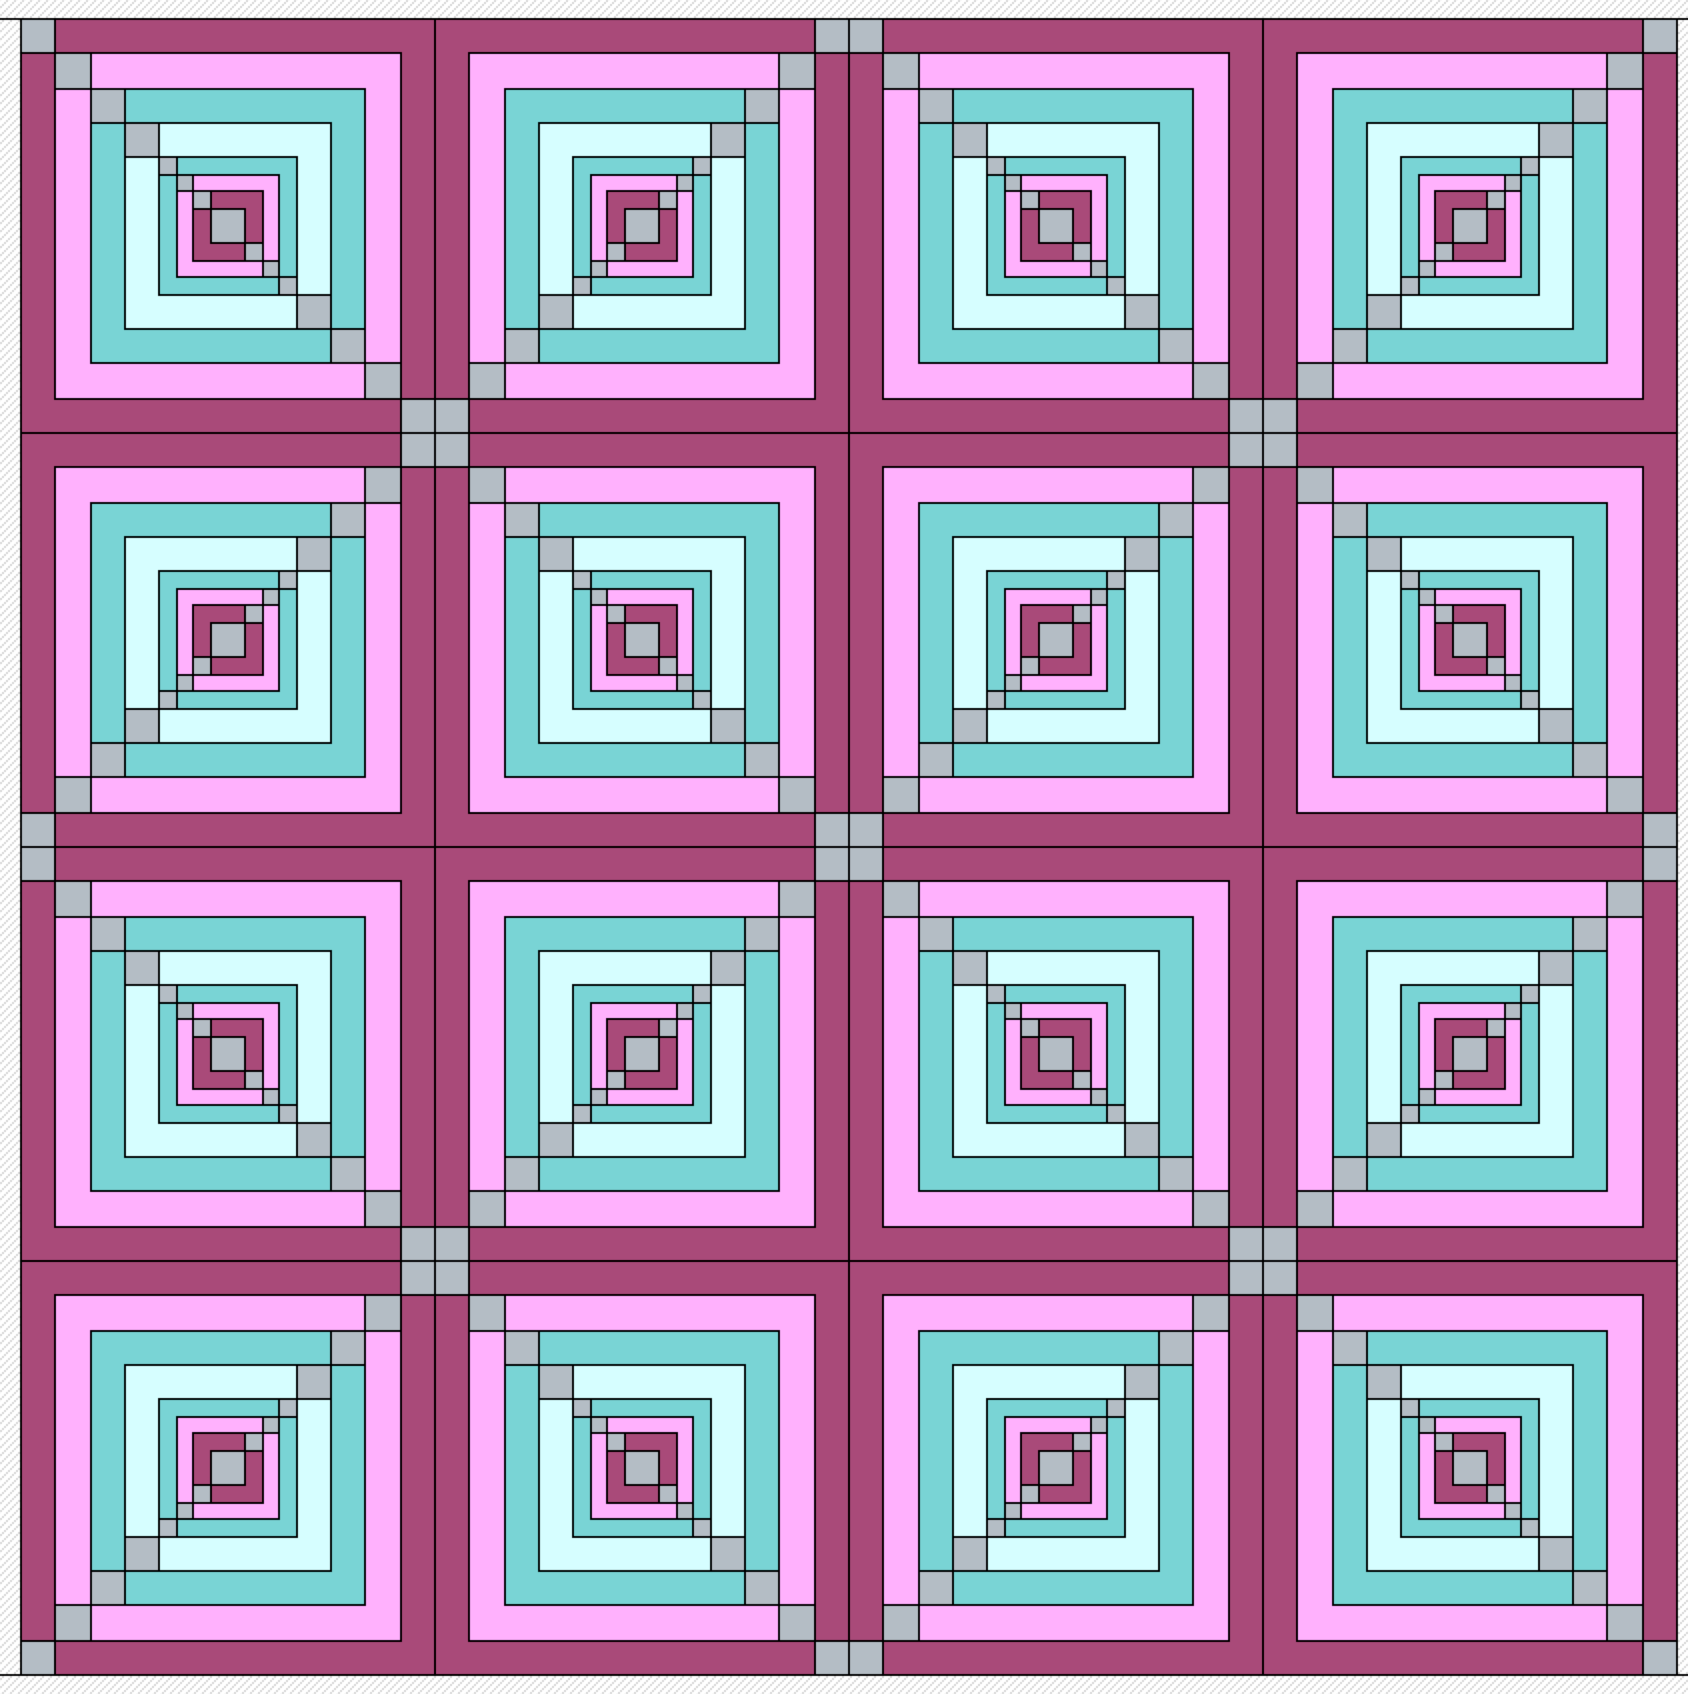
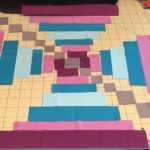
The real beauty of this block is what happens when you combine them and generate a secondary pattern. I haven’t made a complete quilt yet, but I can definitely see that one will happen soon. This is the mock up from EQ7. The colors aren’t perfect, but you can see where I was going. I’m becoming quite fascinated with secondary patterns.
There are bunch of other bloggers designing blocks for this project, using the same fabric. Check out their gorgeous creations!
* I did not create a pdf version of my tutorial. I know that others have. If this is something that would be helpful, please leave a comment and I will create one and add it to the post. Thanks for visiting.
Monday, September 12th
Host: Yvonne @Quilting Jetgirl
Abigail @Cut & Alter
Janice @Color, Creating, and Quilting!
Lorinda @Laurel, Poppy, and Pine
Melva @Melva Loves Scraps
Renee @Quilts of a Feather
Kathryn @Upitis Quilts
Kim @Leland Ave Studios
Amanda @this mom quilts
Holly @Lighthouse Lane Designs
Irene @Patchwork and Pastry
Karen @Tu-Na Quilts, Travels, and Eats
Anne @Said With Love
Suzy @Adventurous Applique and Quilting
Sharla @Thistle Thicket Studio
Kathleen @Smiles From Kate
Amanda @Gypsy Moon Quilt Co.
Sarah @Sarah Goer Quilts
Chelsea @Patch the Giraffe
Jinger @Trials of a Newbie Quilter
Anja @Anja Quilts
Daisy @Ants to Sugar
Tuesday, September 13th
Host: Cheryl @Meadow Mist Designs
Miranda @I Have Purple Hair
Jennifer @The Inquiring Quilter
Sarah @123 Quilt
Leanne @Devoted Quilter
Jen @Patterns By Jen
Jennifer @RV Quilting
Amanda @Quiltologie
Sharon @Yellow Cat Quilt Designs
Jen @A Dream and A Stitch
Jen @Faith and Fabric
Carole @Carole Lyles Shaw
Stephanie @Quilt’n Party
Susan @Sevenoaks Street Quilts
Katrin @Now What Puppilalla
Amista @Hilltop Custom Designs
Nicole @Handwrought Quilts
Marla @Penny Lane Quilts
Silvia @A Stranger View
Sarah @Smiles Too Loudly
Carrie @the zen quilter
Mary @Quilting is in My Blood
Velda @GRANNYcanQUILT
Wednesday, September 14th
Host: Stephanie @Late Night Quilter
Kathy @Kathys Kwilts and More
Paige @Quilted Blooms
Mary @Strip Quilts Pass it On
Allison @Woodberry Way
Seven @The Concerned Craft
Olusola @Alice Samuel’s Quilt Co.
Ann @Brown Paws Quilting
Jodie @Persimmon + Pear
Vicki @Orchid Owl Quilts
Kitty @Night Quilter
Francine @Mocha Wild Child
Shelley @The Carpenter’s Daughter who Quilts
Jayne @Twiggy and Opal
Geraldine @Living Water Quilter
Shannon @Shannon Fraser Designs
Lisa @Sunlight In Winter Quilts
Jessica @Quilty Habit
Cassandra @The (not so) Dramatic Life
Deanna @Stitches Quilting
Denise @Craft Traditions
Jayne @ Twiggy and Opal was kind enough to put together a Pinterest board with all of the blocks. Thanks, Jayne!
What great block and name too! Beautyberry is what I named mine! 🙂
I love your block, Jen! and I love the mock up as well
Love your log cabin variation, and it makes a great secondary pattern.
Smiles
Kate
Thank you!
Really like your block – the quilt mockup looks fab!
Thanks! I’m excited to put one together.
What a lovely name for a lovely block! I too have become quite addicted to seeing what secondary patterns are made by blocks. I have never made a quilt from just one or two block before but this has made me want to. Great mock up – it’s lovely to see what a quilt would look like, Well done!!
Thanks!
Great block. Thanks for sharing a really nice block.
Wow! All the tiny pieces! I’m impressed and I love it.
Thank you!
Oh my gosh, your block is gorgeous. Many thanks for the easy-to-follow tutorial.
I really like that this seems to be a combination of a log cabin and Irish chain block; it came together so well! Thank you so much for joining the hop.
Love the Irish Chain feeling that this block creates when laid out in a quilt! Great job!
Thanks!
Great block, Jennifer! I like the way the size of the units change and the mock up was perfect for showing the secondary designs when the blocks are joined. Well done!
Thank you!
I like the dimensional effect you achieved with your block. Nice job! And such a clever name 😉
This is such a fun block! I really like how you rotated it in the quilt mock up to make a bit of an Irish Chain.
This is such a great, versatile block. It almost creates an optical illusion that skews the size of the block. Nice job on your tutorial.
What a great modification of a log cabin block! I love how it creates an Irish Chain effect when blocks are put together 🙂
I love that your block looks so 3D…. it just keeps getting deeper as the pieces get smaller! Great job!
Thank you!
Well done, that mock up is fantastic and so is the block. It’s so interesting to look at and the name is so appropriate 👏
This is a neat block that looks awesome in the quilt layout.
wow this is lovely. I love how it can make different patterns and just liven up things. thanks for sharing
Cool – Irish chain meets log cabin! I like it a lot!
Lovely! I like the way it looks in repeat!
Oh, my goodness. Look at all those teeny pieces! You did a beautiful job on your block and I love how they all look in the quilt layout! Love the name too! 🙂
Love this block. Would like a PDF file, if possible.
I will put one together for you tomorrow.
Wow. 1-inch squares?? Great block.
I love this block! I am just a sucker for Irish chains, and I love the interest of the different sized chain squares. Great work!
Thank you!
Tremendous block! Love the colors
Oh, I just love the small gray blocks – they totally pop against the colour borders! And I would totally love a PDF of your pattern so I can print it out and have it with me when I make your block 🙂
Really wonderful block and a neat addition to the log cabin. I really like how your eye follows along those little squares making chains. Happy hopping!
Hi Jennifer! I LOVE this block! I do have a soft spot for the more traditional looking quilts. This one is a beauty!
Log cabin blocks are such classics and your variation is wonderful. Sorry your other design didn’t work out…I’ve had that same problem too! My designs don’t always match my skill level in EQ just yet. You made a good decision to put that aside for now. I hope though that you’ll revisit your original design and pattern it one day. I bet like this block, it’s a beauty!
Thanks!
Your blocks turned out super! I’ve been thinking about getting EQ7. But just not sure I’m ready for that yet. I love the way you included a layout so we could see how your block would look in a quilt. I also love that secondary pattern. So very interesting I just have to put this block on my “must make” list! Thanks.
Thanks! I really like EQ7 once I get started. The problem I have is that I tend to space out and design 10-20 different options, all of which I love. While I am designing, no sewing is happening, and I can’t possibly make all the ones I come up with.
Great block! Beautiful use of the colors!
Thanks!