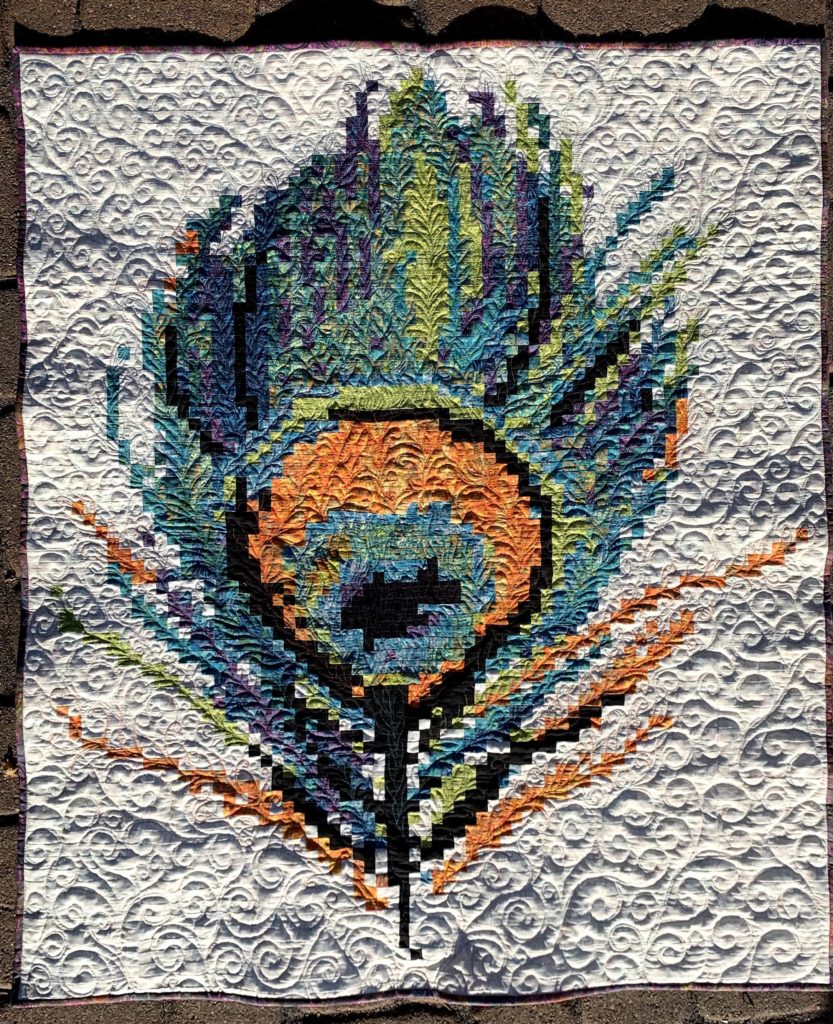
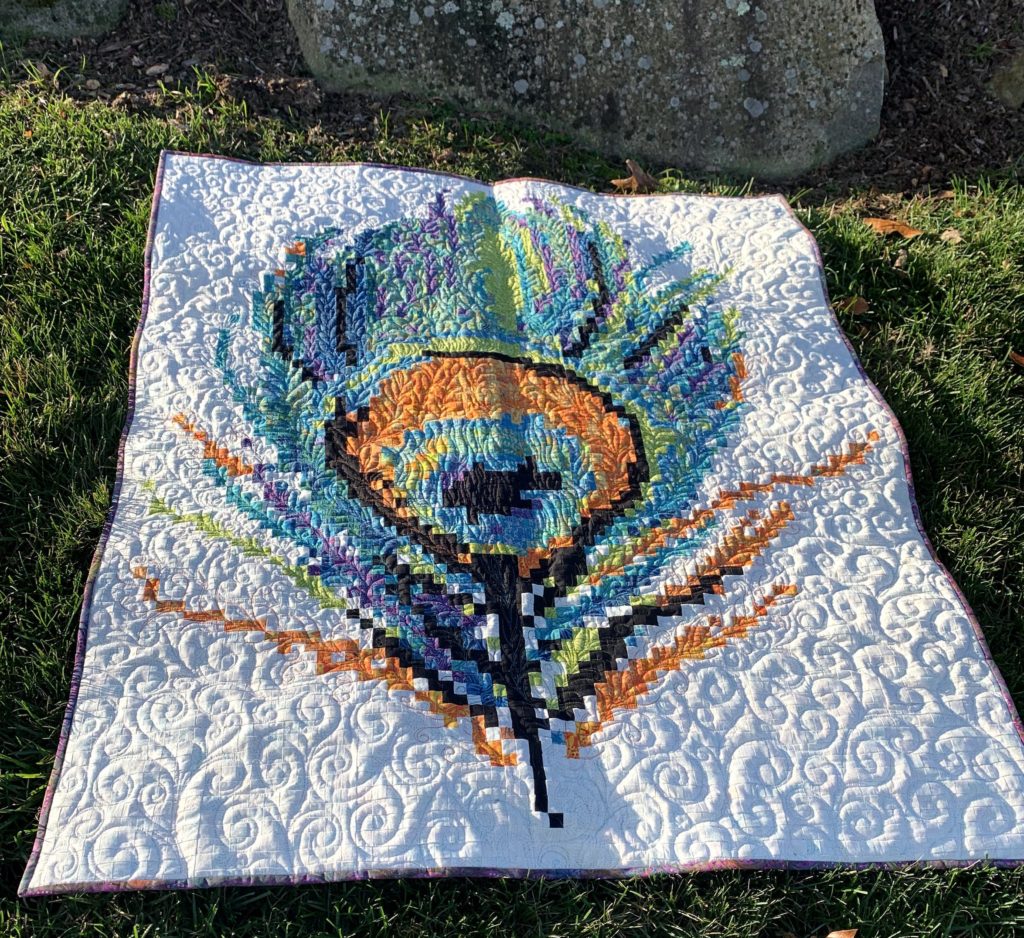
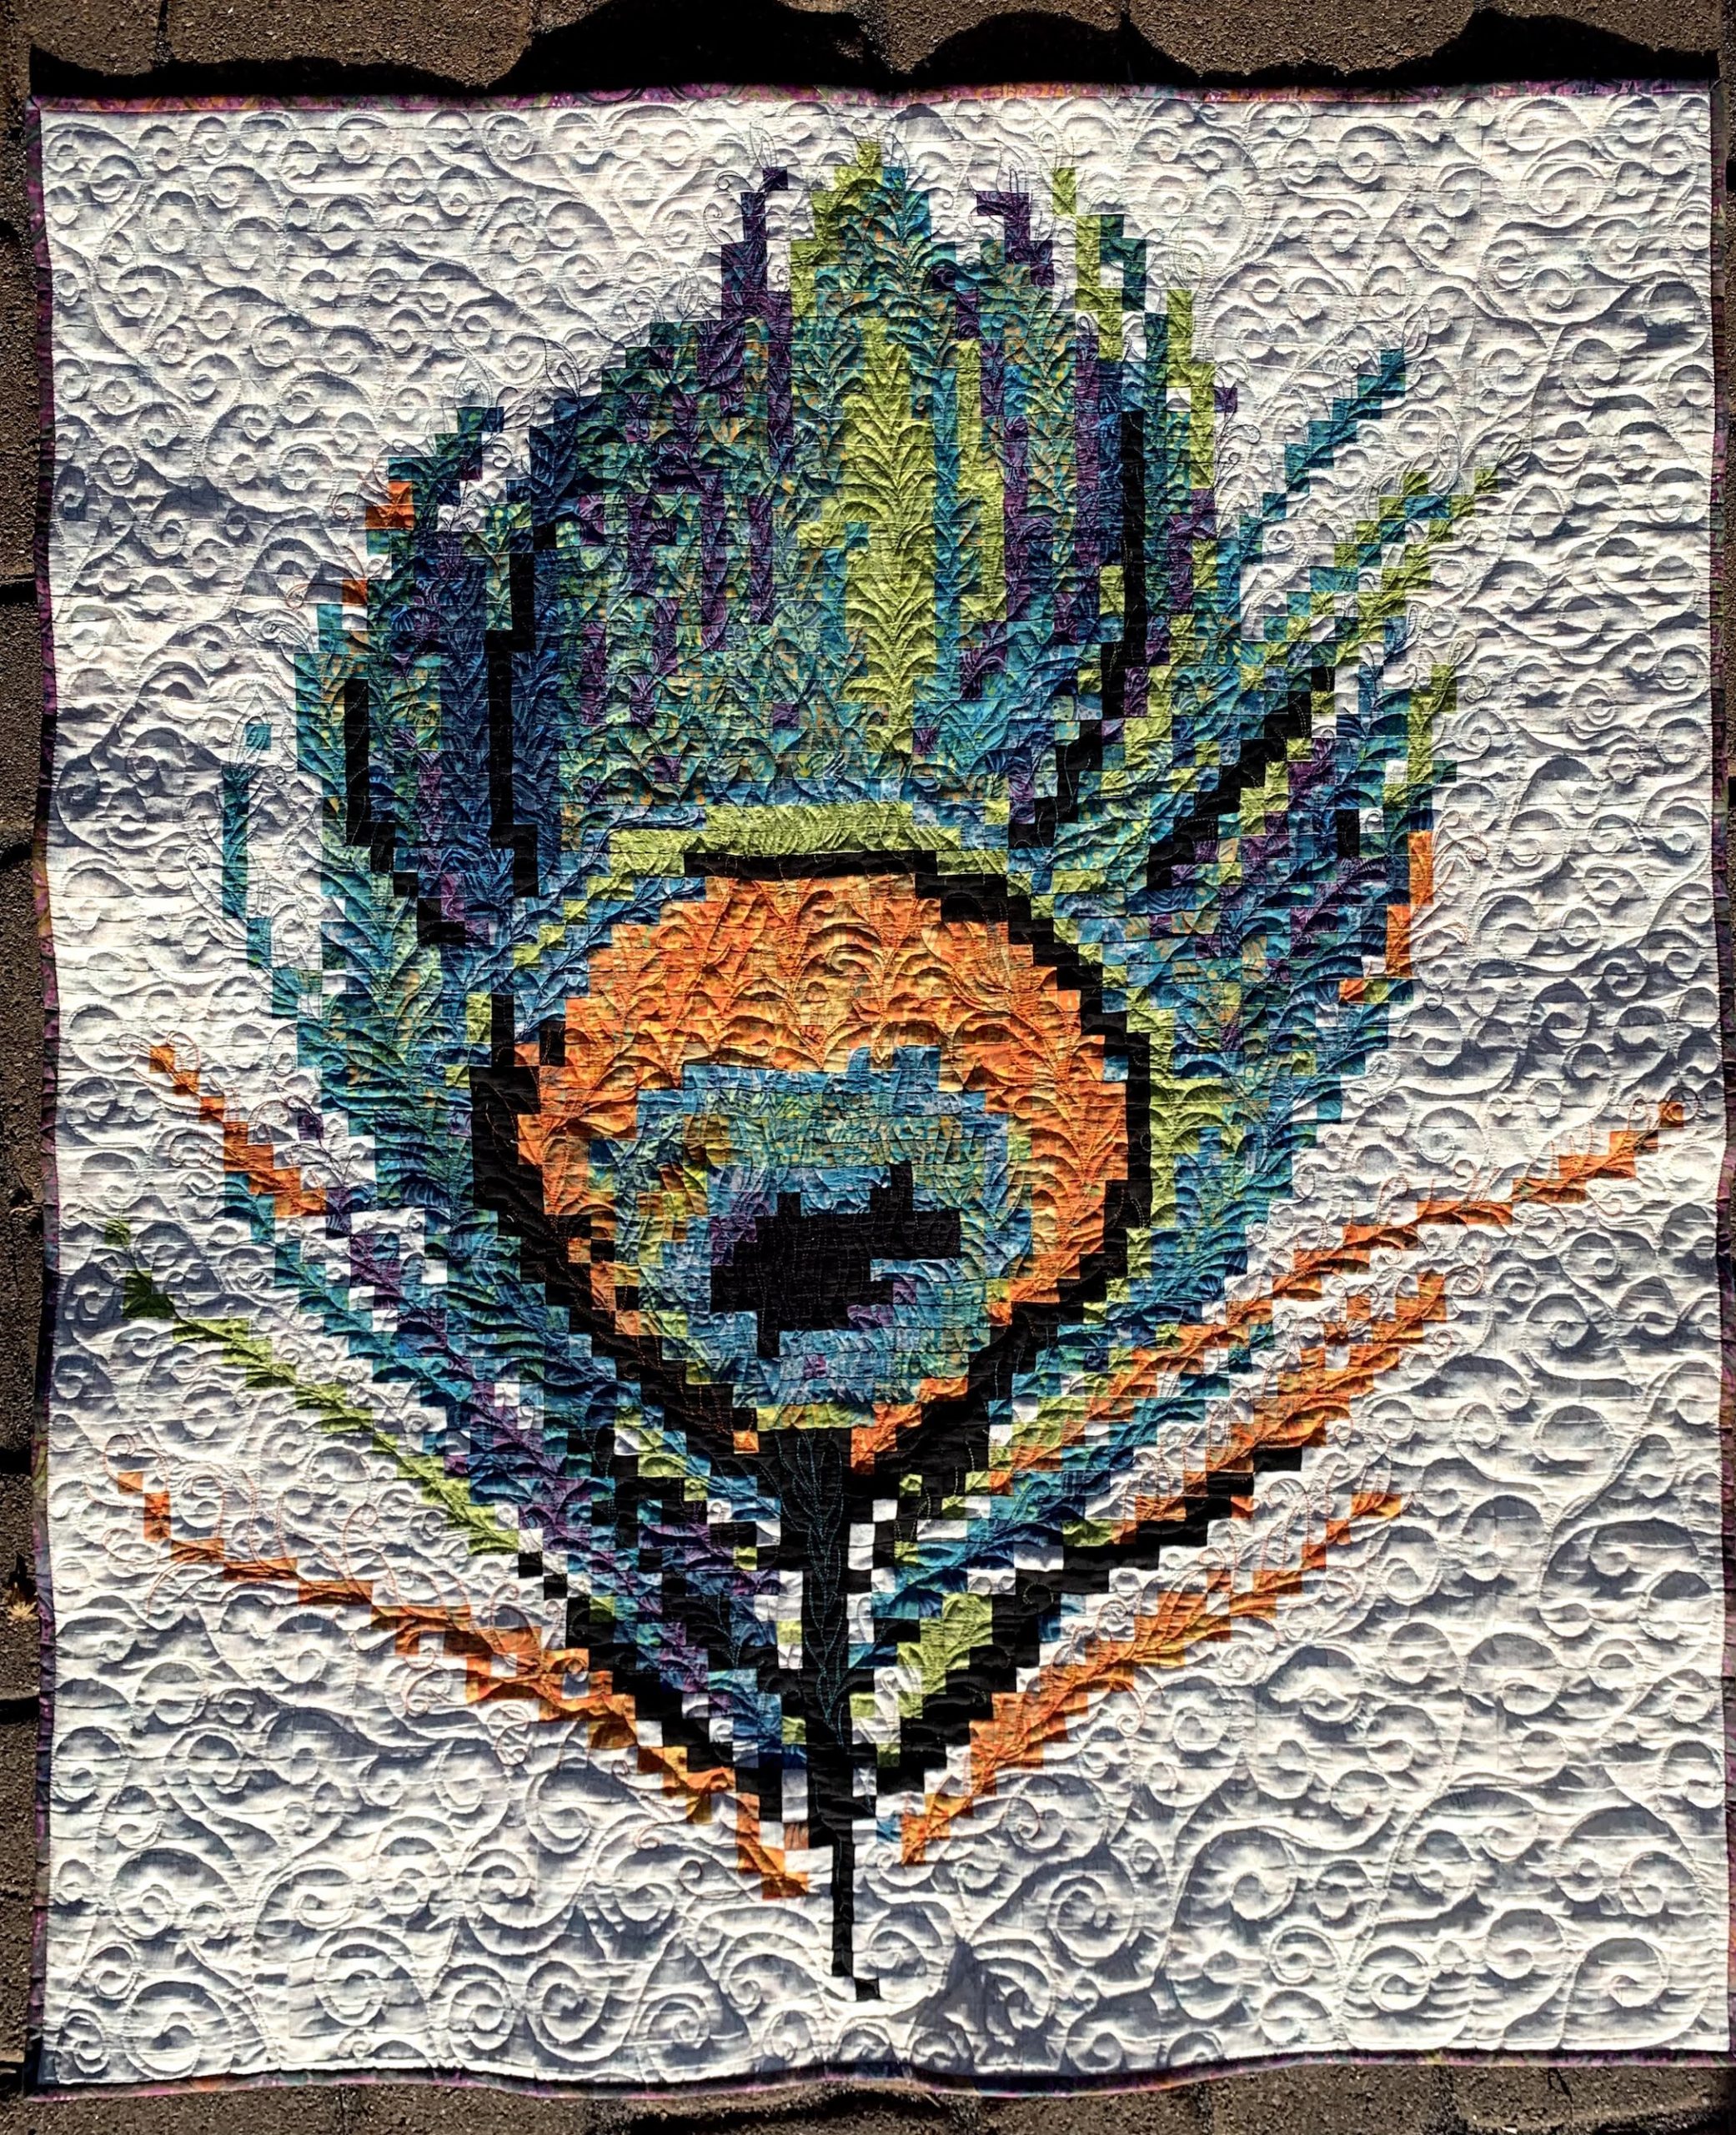
The October challenge for Island Batik Ambassadors was thread painting. I bit off a bit more than I could chew in 30 days, so I’m a little bit late with my finished project. I am so proud of my Peacock Galore Thread Painting project – it came out better than I had hoped.
What do you think?
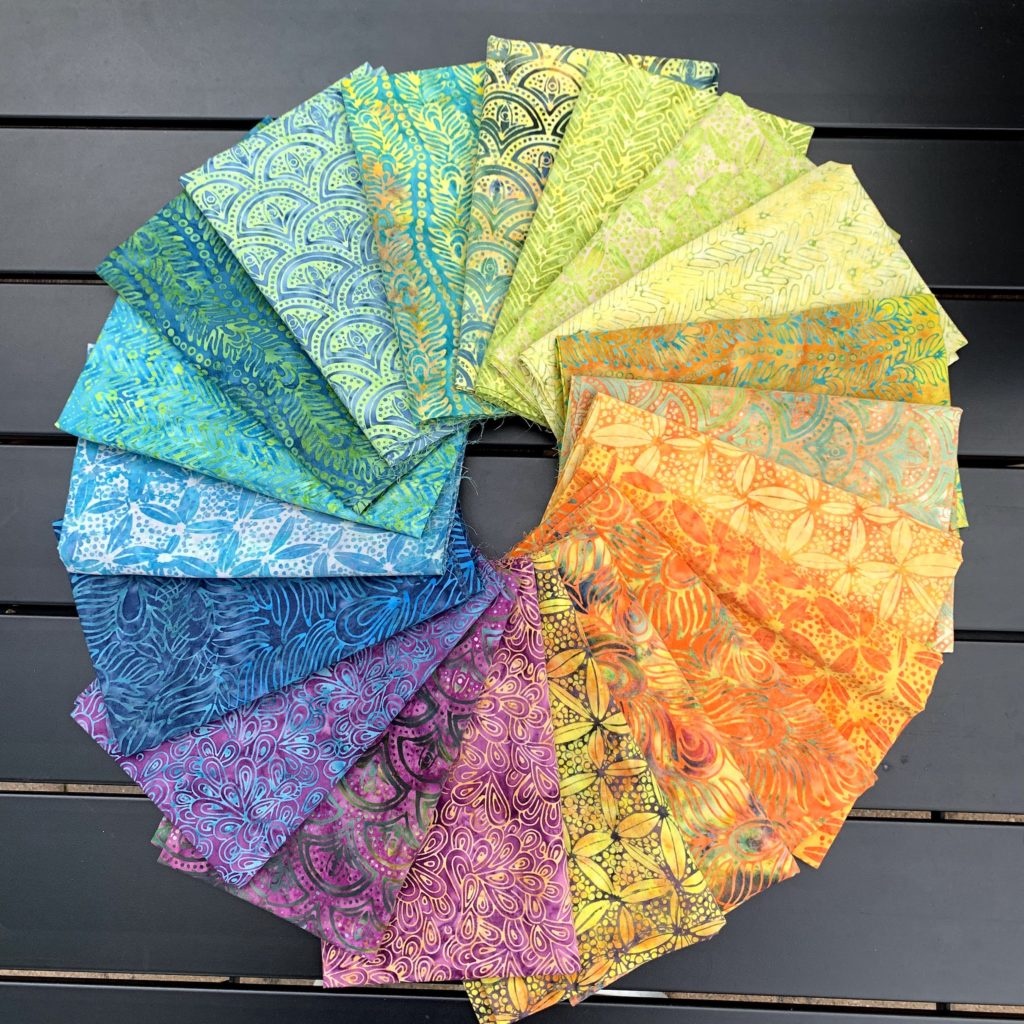
My first act of business here is to thank all of my industry partners for their support. Fabric was provided by Island Batik. The Peacock Galore Collection by Claudia Pfeil should be available at your local quilt shop now.
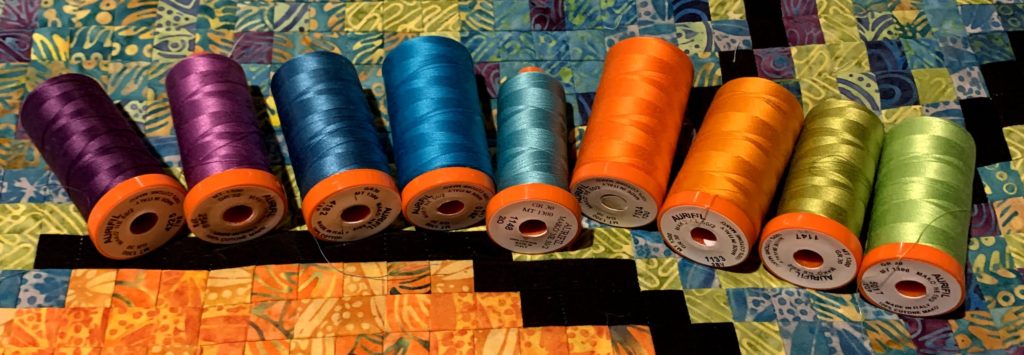
Thread for the challenge was provided to me by Aurifil. I pieced the entire top with white (I buy it by the cone!) Five different colors were used for the thread painting, with white in the background. I started out with a large selection, then narrowed my choices down as I worked.
AccuQuilt provided me with a 1″ strip cutter die for this project. It made it so much easier to cut and maintain accuracy, which is essential with a bonkers project like this one. There isn’t a lot of room for fudging when you start out with a 1″ square.
Batting was provided to me by Hobbs. I chose to use Hobbs Tuscan wool on this piece. There is just nothing that compares to wool batting in the texture department.
You can check out my first post on this project for more info on my construction technique for this quilt. I started with a cross stitch pattern by Dana Batho of Peacock and Fig, substituted fabrics for the embroidery colors, then pieced FOREVER.
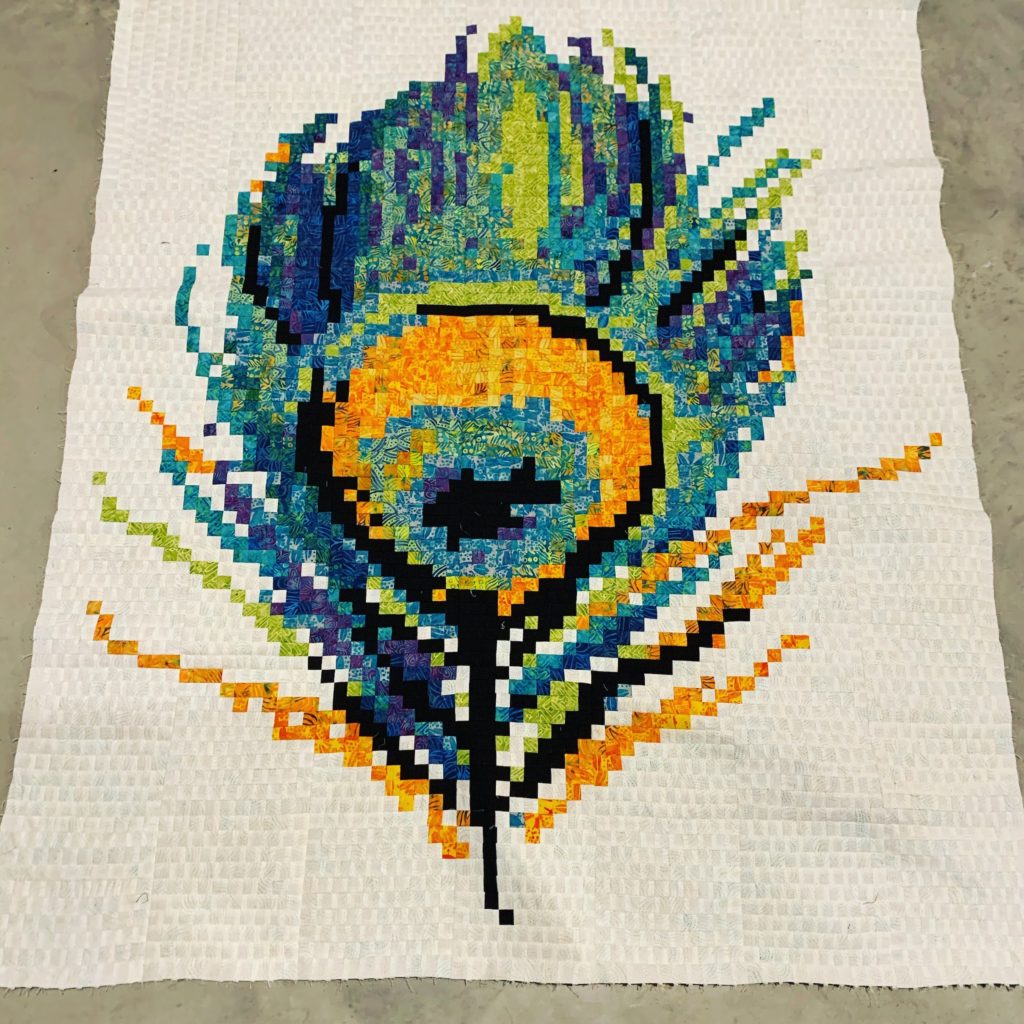
Once I got the top finished, I breathed a sigh of relief. I hate being late and missing deadlines. This month has just zoomed right by me. Then, it was immediately onto the longarm. Doesn’t that look promising?
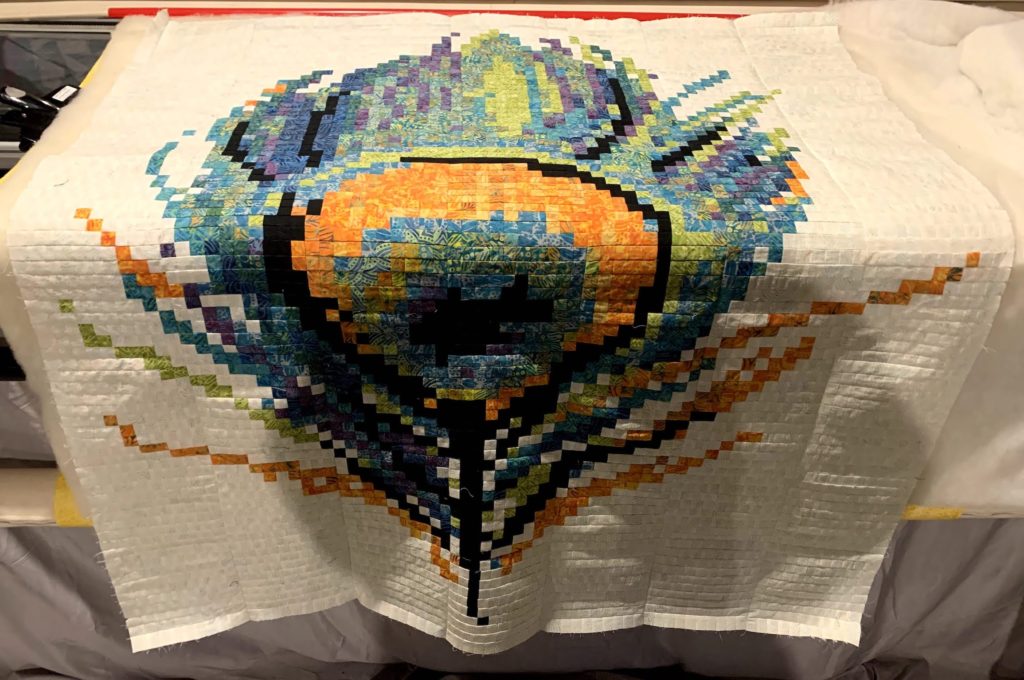
I began with my white Aurifil, quilting the background with some swirly, feathery curls. They tack the background down, and I like to start with the thread that I will use the most. Since I’m on a longarm, I don’t need to start from the middle and move out. With this project, I actually started at the bottom left, the moved around the quilt, counter-clockwise.
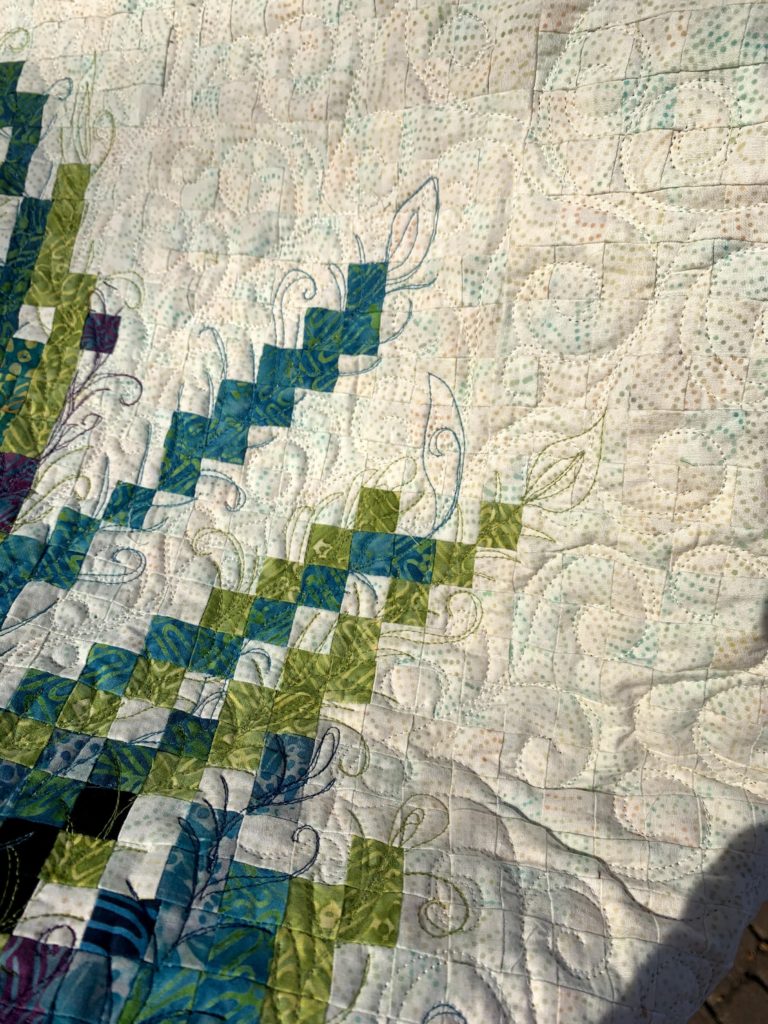
Once I finished with the white, I started with the colors. I didn’t go in any particular order, just grabbed one went over the matching colored square. My quilting is swirly and curly, and I overlapped some colors. My goal was to blur the lines between the squares a bit. I ended up using Orange, Blue, Purple, Green and Turquoise.
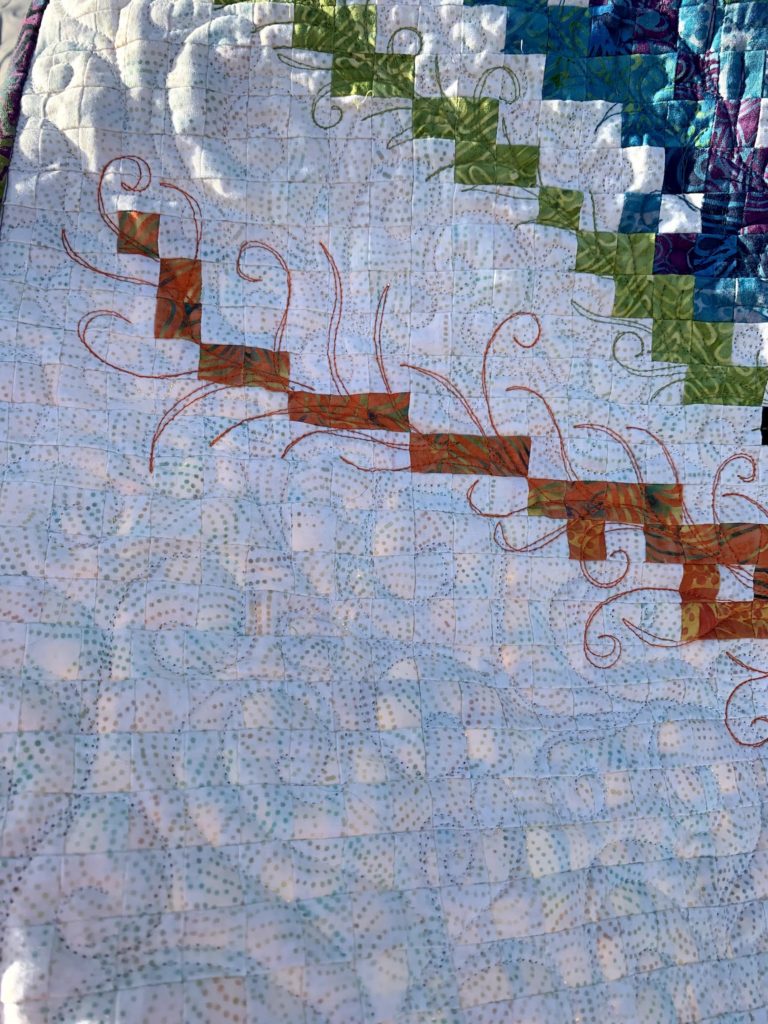
I love the way it turned out. The challenge now is, where do I hang it? I personally have loved peacock feathers forever, being a child of the 70’s. Unfortunately, it doesn’t really go with my decor.
Helpful tips for turning a cross stitch pattern into a quilt.
- Load it into a software program – I used EQ8. That will give you the number of each color square you need.
- Do the math. Make sure you look at how many squares your design covers, and figure out how big your squares need to be to make the quilt you want. I had only 1/2 yard of each color, which limited the sizes I could use. If I had used 2″ squares, I would not have had enough fabric, and I would have ended up with a very large quilt.
- Take your time and pin when needed. There are a lot of little squares here. If you aren’t accurate, things can go horribly awry.
- Remember, this is fun!
I’m a huge fan of the texture on this top, even before being quilted. I have a lot of extra 1″ squares cut, and rather than toss them, I’m going to start a leaders and enders project, with the goal of making a new quilt for my bed. My bed is a king size – this is do-able, right? I think this time, rather than calculate how many pieces I need, I’ll just start a color wash project.
I’ll be back next week, participating in our Inspired by Nature Blog Hop. Where the heck did I put my rotary cutter?
Oh, and if thread painting drives you wild, check out Barbara Persing. She designs fabric for Island Batik, and also does the most amazing thread painting projects. She’s a great teacher, too.
Be sure to check out my fellow Island Batik Ambassadors. This is such a talented group, and they really made magic this month.
- Carolina Asmussen ~ Carolina Asmussen
- Megan Best ~ Best Quilter
- PamelaBoatright ~ PamelaQuilts
- JenniferFulton ~ Inquiring Quilter
- Vasudha Govindan ~ Storied Quilts
- Joanne Hart ~ Unicorn Harts
- Mania Hatziioannidi ~ Mania for Quilts
- CarlaHenton ~ Create in the Sticks
- ConnieKauffman ~ Kauffman Designs
- EmilyLeachman ~ The Darling Dogwood
- DeniseLooney ~ For the Love of Geese
- LeahMalasky ~ Quilted Delights
- SallyManke ~ Sally Manke
- Maryellen McAuliffe ~ Mary Mack’s Blog
- Kathleen McCormick ~ Kathleen McMusing
- CarolMoellers ~ Carol Moellers Designs
- Gail Renna ~ Quilt Haven Threads
- Sharon Riley ~ Sew Riley Designs
- MichelleRoberts ~ Creative Blonde
- Gail Sheppard ~ Quilting Gail
- Jennifer Strauser ~ Dizzy Quilter
- JenniferThomas ~ Curlicue Creations
- AlisonVermilya ~ Little Bunny Quilts
- SandraWalker ~ mmm! quilts
- SuzyWebster ~ Adventurous Applique and Quilting
- JanetYamamoto ~ Whispers of Yore
Neat!
😍❤️ Too detailed for Oscar?
He wasn’t up for a photo shoot this morning.
Love, love, love!!! Awesome project! Weren’t we lucky to get this line? So inpiring!
That is so gorgeous! I honor you and your spirit for taking on a 1″ project like that – omg! You did it and it is totally amazing – congratulations.
This is phenomenal! And you made it during a move….what a crazy quilter you are. I so admire your determination to piece the entire background too. It is a knockdown, gorgeous quilt – congratulations.
Fantastic job!!! Love how this turned out. It’s absolutely amazing. Love how the cross stitch pattern translated into the raw quilt top. The thread painting is is such a fun way to blur the lines of the edges. Your quilt is lovely!!!