I have indulged in some selfish sewing recently. I started on Mother’s Day weekend, and I’ve sneaked moments here and there over the next two weeks.
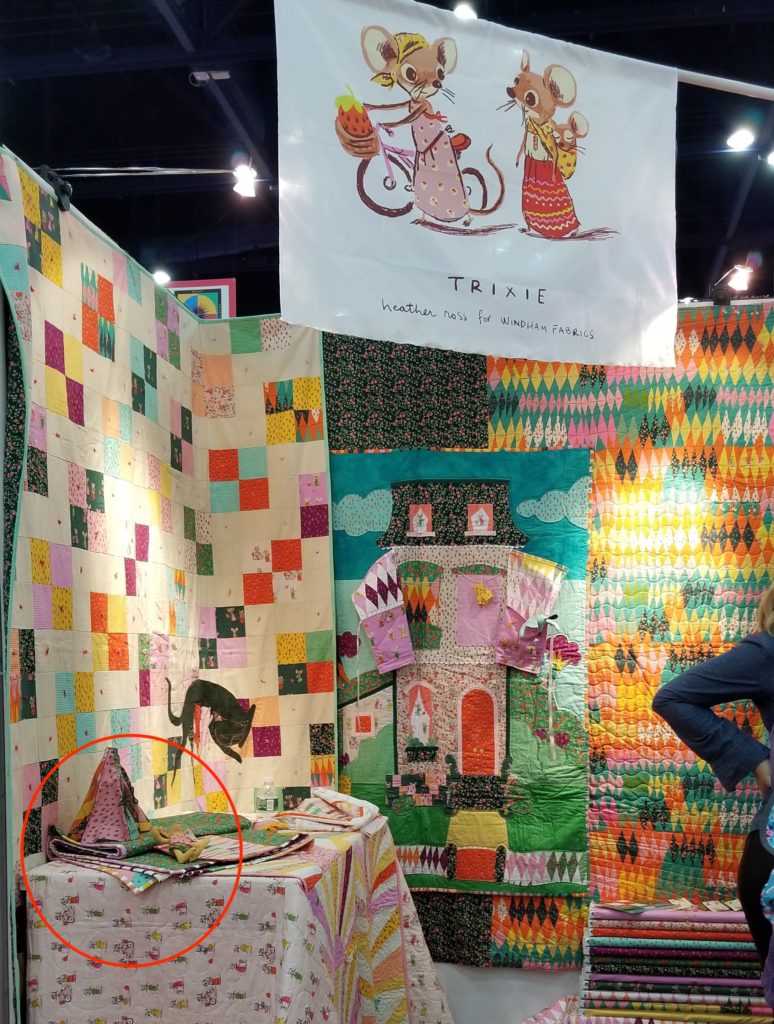
I caught my first glimpse of this project at Quilt Market in Houston, back in October. I was THRILLED when Ivete and Andrea ordered it for the shop. I snapped one up as soon as it arrived. Usually I play coy, but not when it comes to little mice. This was the first doll panel I purchased, too. I’ve been resisting the Stacey Iest Hsu dolls for years. Heather Ross broke me.
My mice are made 100% by hand. The pieces are so small, I just didn’t think it was worth it to bother with the sewing machine. I used Superior Bottom Line threads, because I have this rainbow donut, making color matching easy.
I’ve seen some people posting on Instagram, complaining that the panel isn’t well made, and the instructions aren’t clear. I confess, I’m not a good reader of instructions if pictures are available. I didn’t read through all of them – the photos were enough for me.
One thing I did notice is that there is no clear indication of cutting line versus seam line on the panel, as there are on other doll panels I have seen. I believe this is a printing error, as the Windham website shows the panel with cutting lines. When I cut my pieces I decided there wasn’t enough space between pieces to add a consistent seam allowance, so I cut along the edge of the piece. I used somewhere between a 1/4″ and an 1/8″ seam allowance. I didn’t mark it, because I was too excited to get started.
Since I was hand stitching, I was able to make sure my stitches went exactly where I wanted them, especially on tricky spots, like where the ears get attached to the head. I cut my dart maybe three threads deeper than printed, and after getting the ears in, I made sure I did a back stitch there to secure the seam properly.
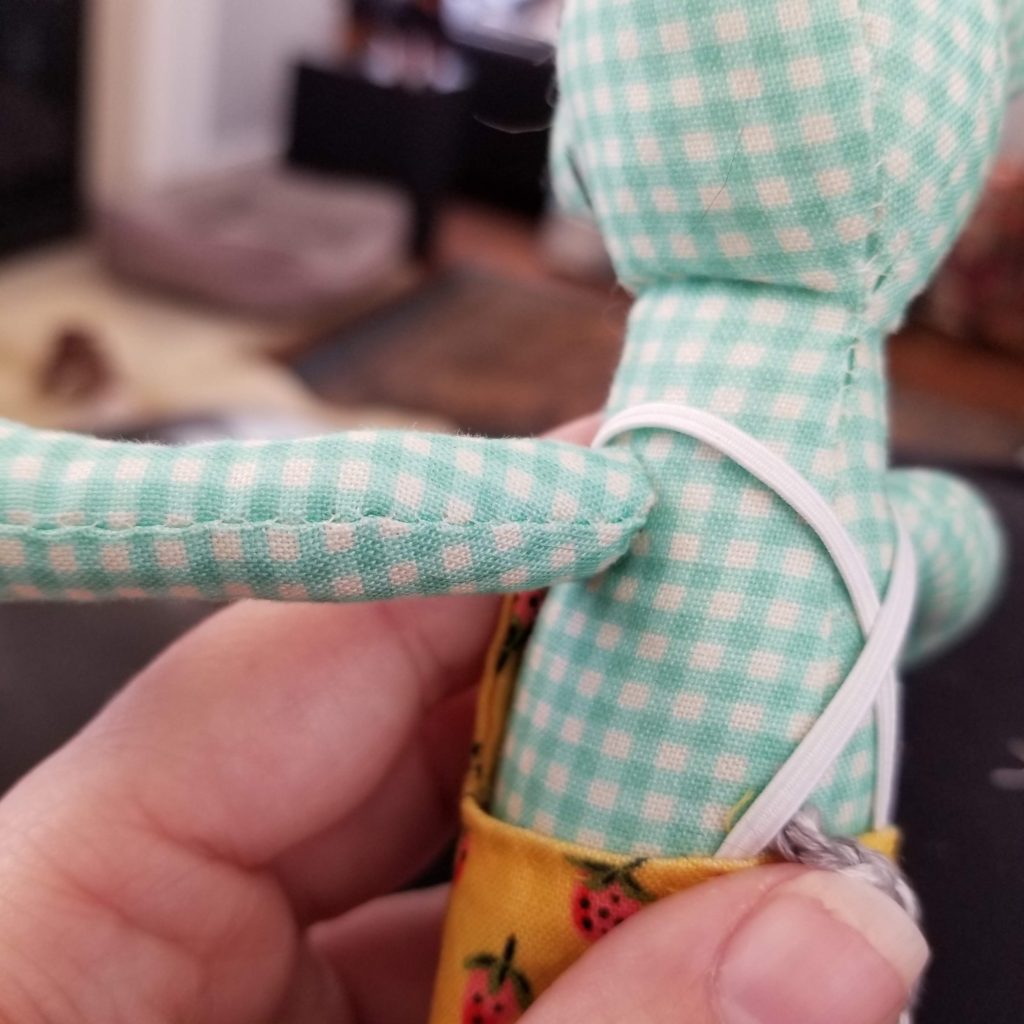
Overall, the mice went together more easily than I had expected. I stitched the arms on round. I’ve not done many stuffed animals, so I don’t know the correct terminology. I didn’t flatten out the stuffed end of the arm. I turned under the edge, so that it was full all the way up, then I stitched around the opening, so that the arm sticks out, rather than hanging flat.
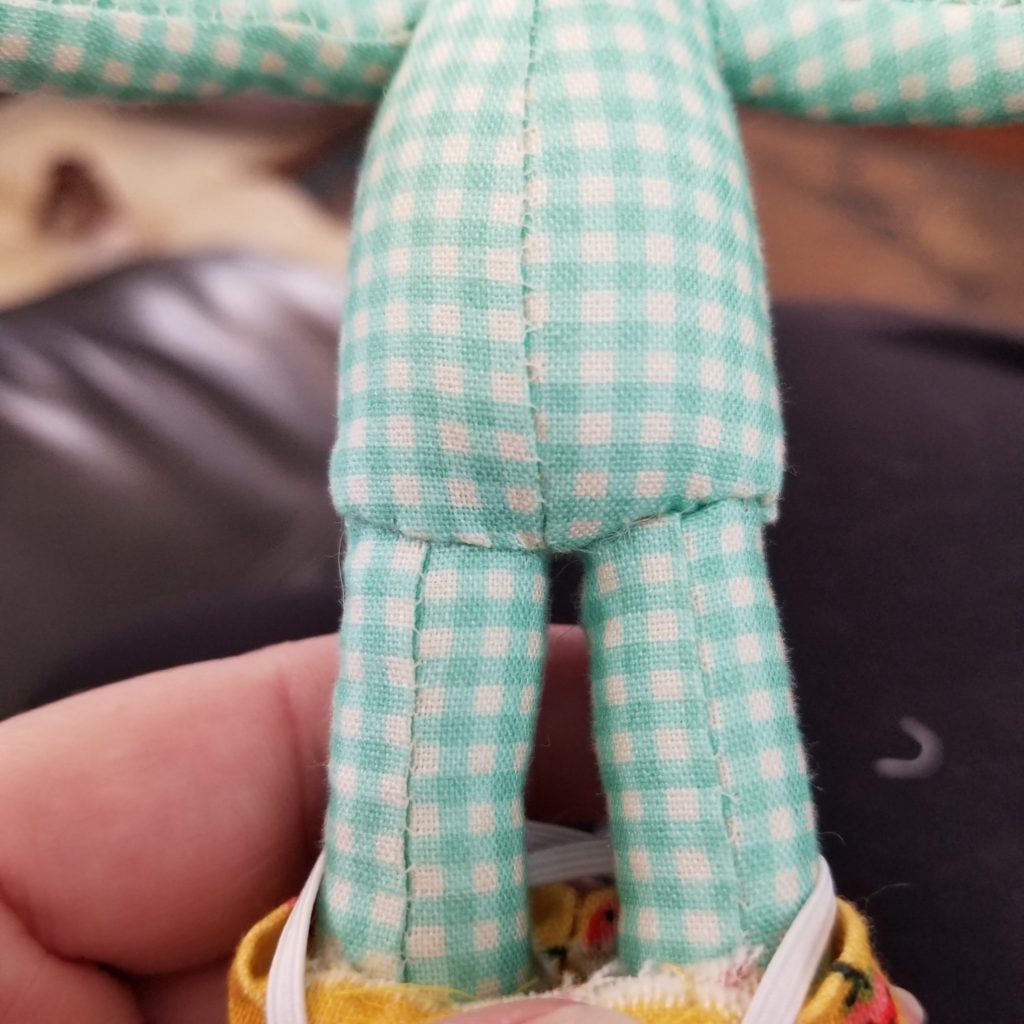
The legs went into the open torso and I sewed around them, turning a seam allowance under on the torso bit. (The boys just watched me pull down the mouse pants and take a photo. I was called a perv.)
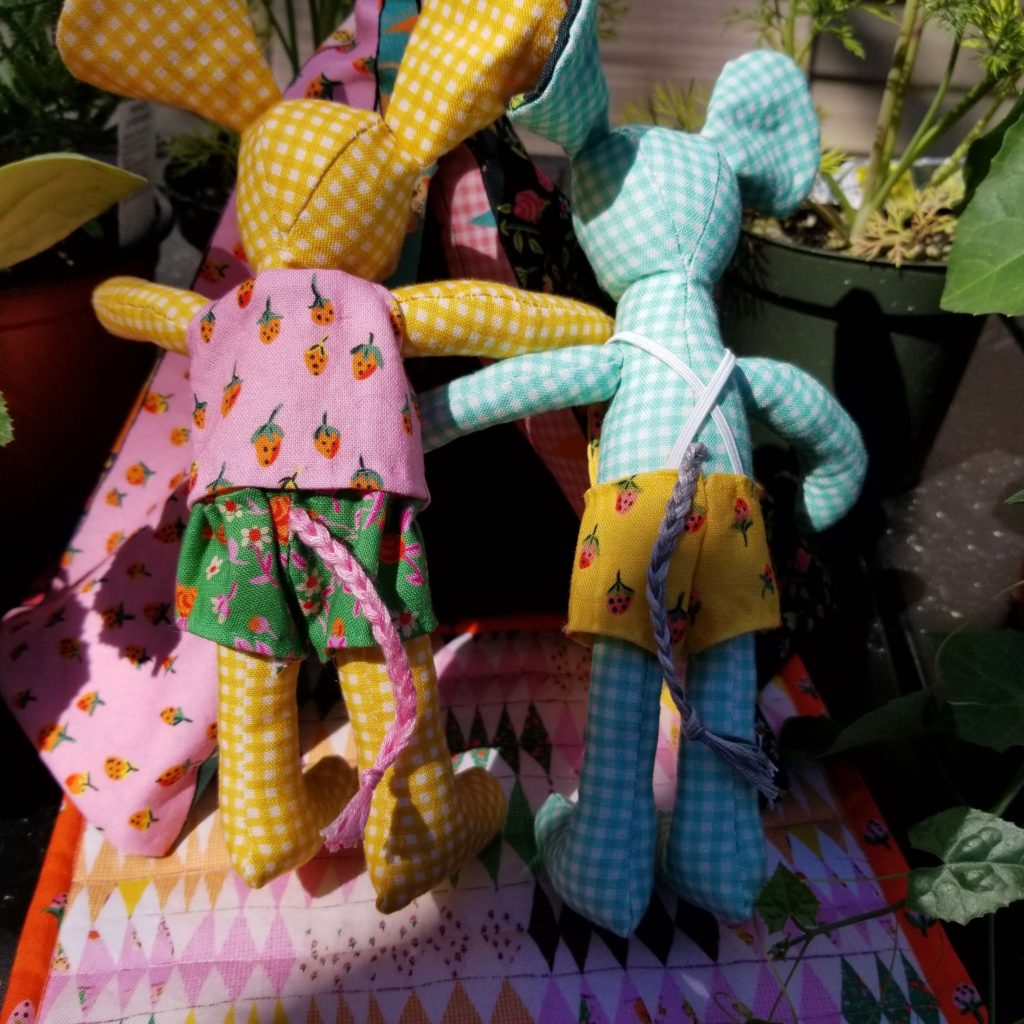
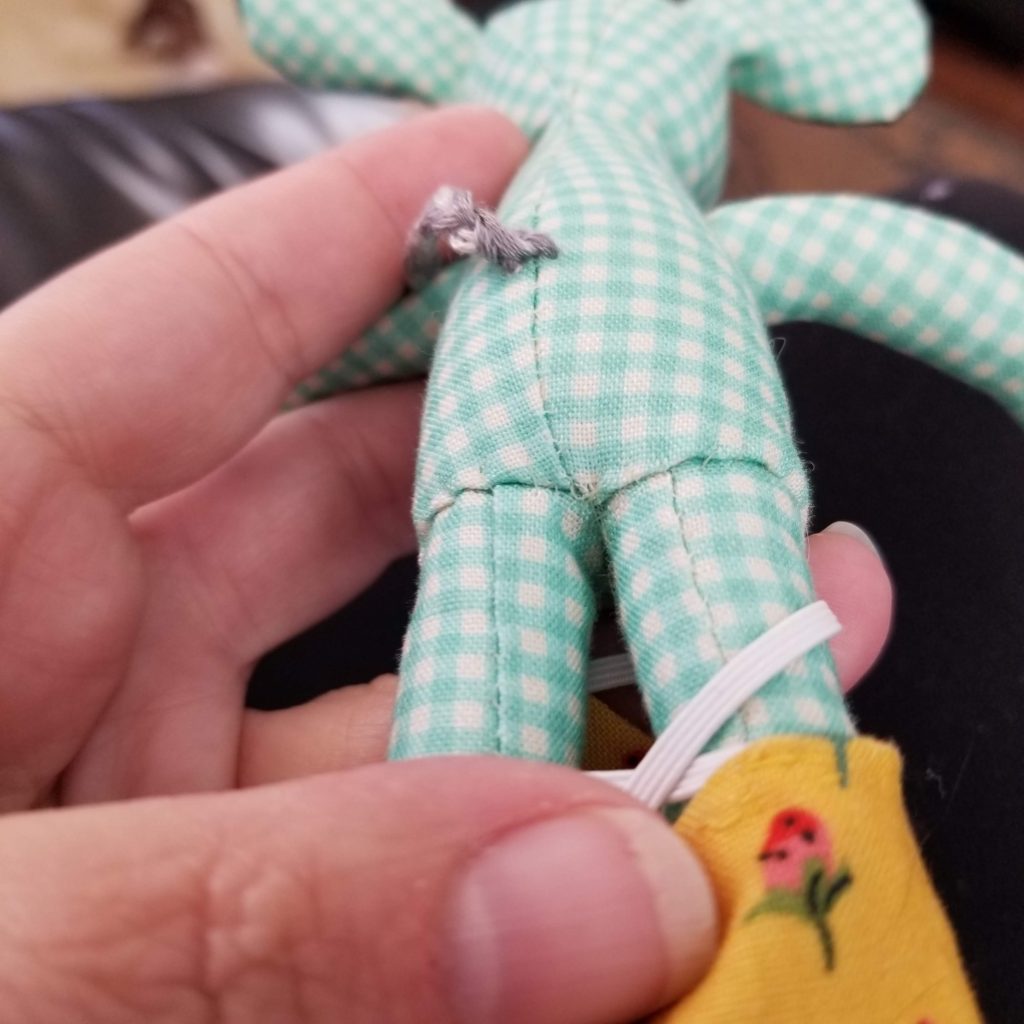
I embroidered a nose using a satin stitch, french knot eyes, and a little smile. I used three full strands of embroidery floss to make the tails, threading them through the back before braiding and knotting the ends. Trixie has a low tail, more anatomically correct, but I had to put a hole in her pants to accommodate it. Now her pants are sewn to her butt. (There goes my plan for a full wardrobe for her!) Thomas has a tail up more mid-back, so it hangs over his pants.
The clothes were a pain in the ass. I’m not going to lie. The seams are only turned under once, because it was just so small and difficult to work with. Make sure you look at the instructions before you stitch the pieces together. If you do the pants wrong they don’t fit. Then you have to pick out your tiny invisible stitches and make them again.
The instructions on the clothes call for 1/8″ elastic. I spent some time picking some up at a local shop, then some more time looking for it after I lost it in the studio. I don’t think it is necessary, and it was tough to work with. Trixie’s pants did turn out way too wide at the waist band for her, but that could just as easily have been due to a mistake I made. If lack of elastic is holding you up, I would say just go with ribbon or embroidery floss.
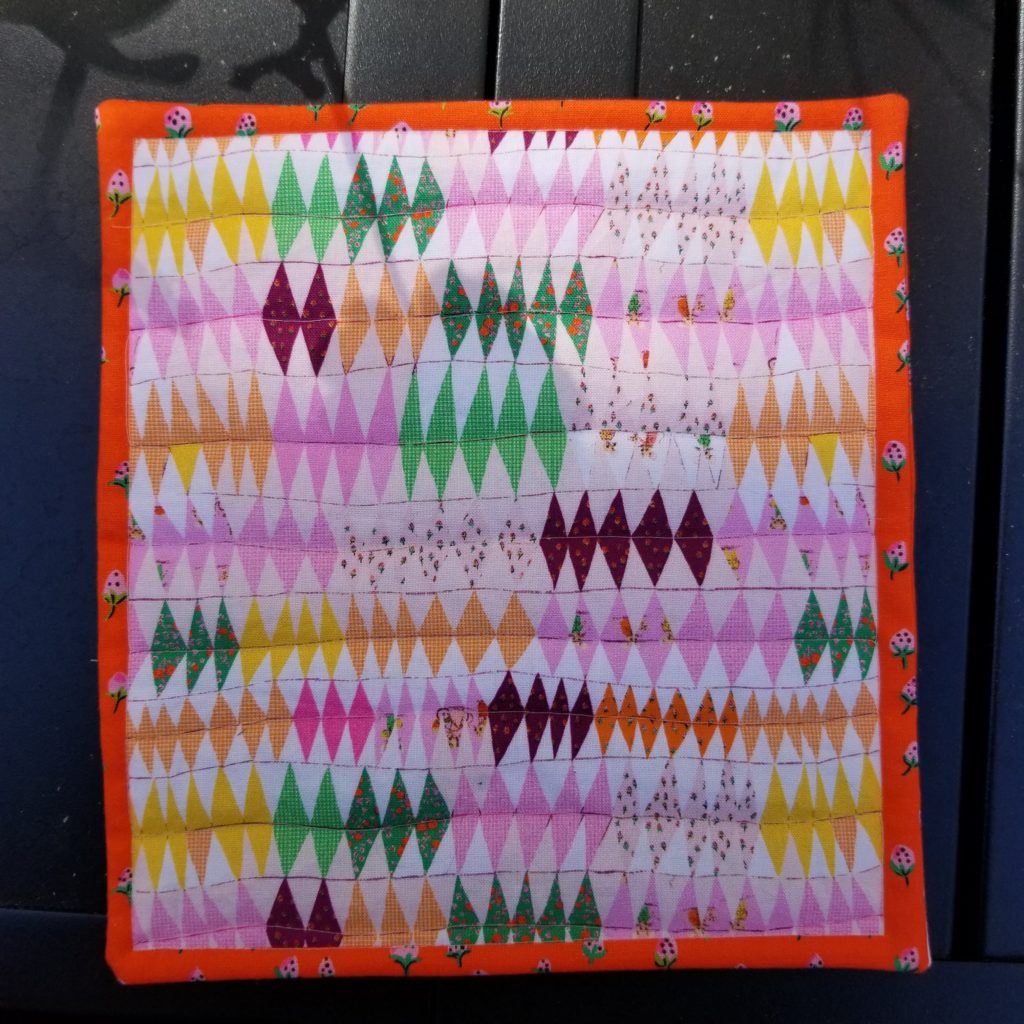
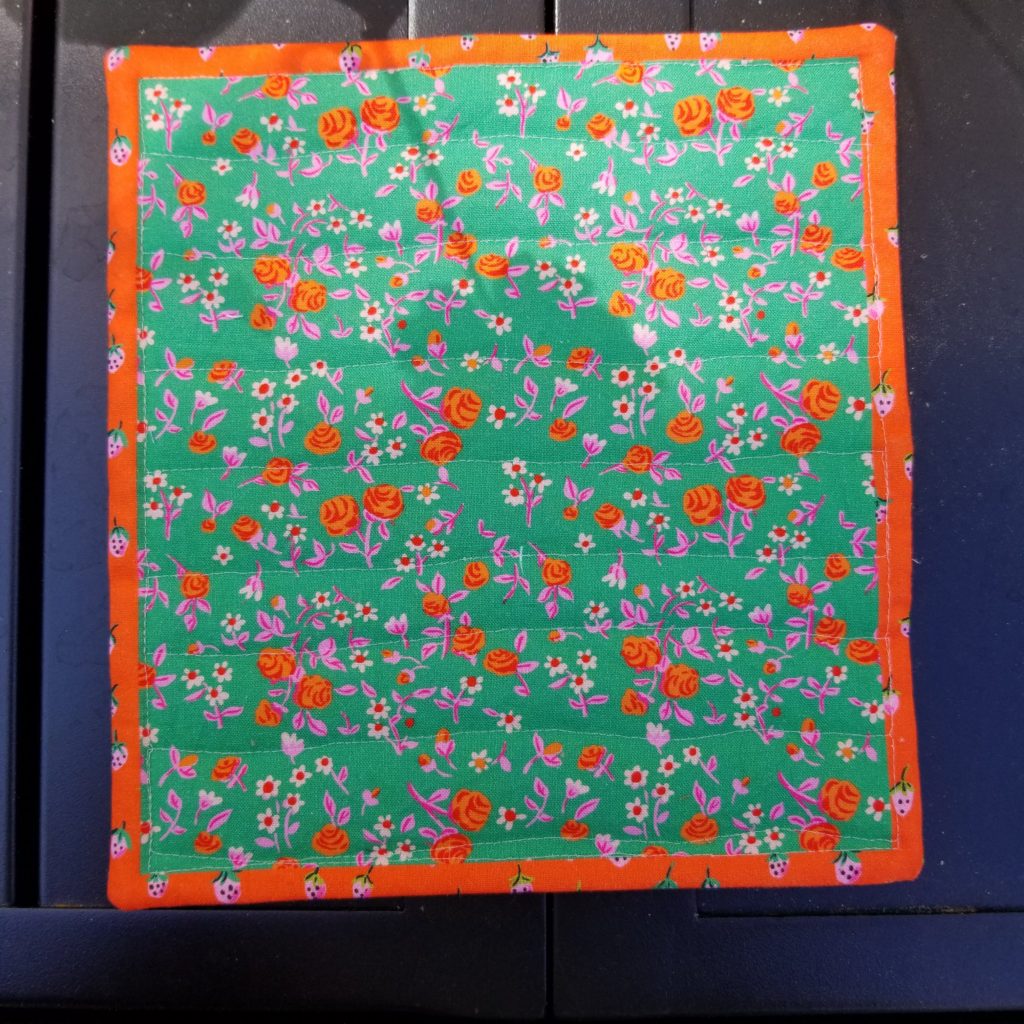
The quilt was a breeze. I used a tiny scrap of wool batting, and I peeled it in half, so it is more to scale, and not too puffy. I did put this together on my machine.
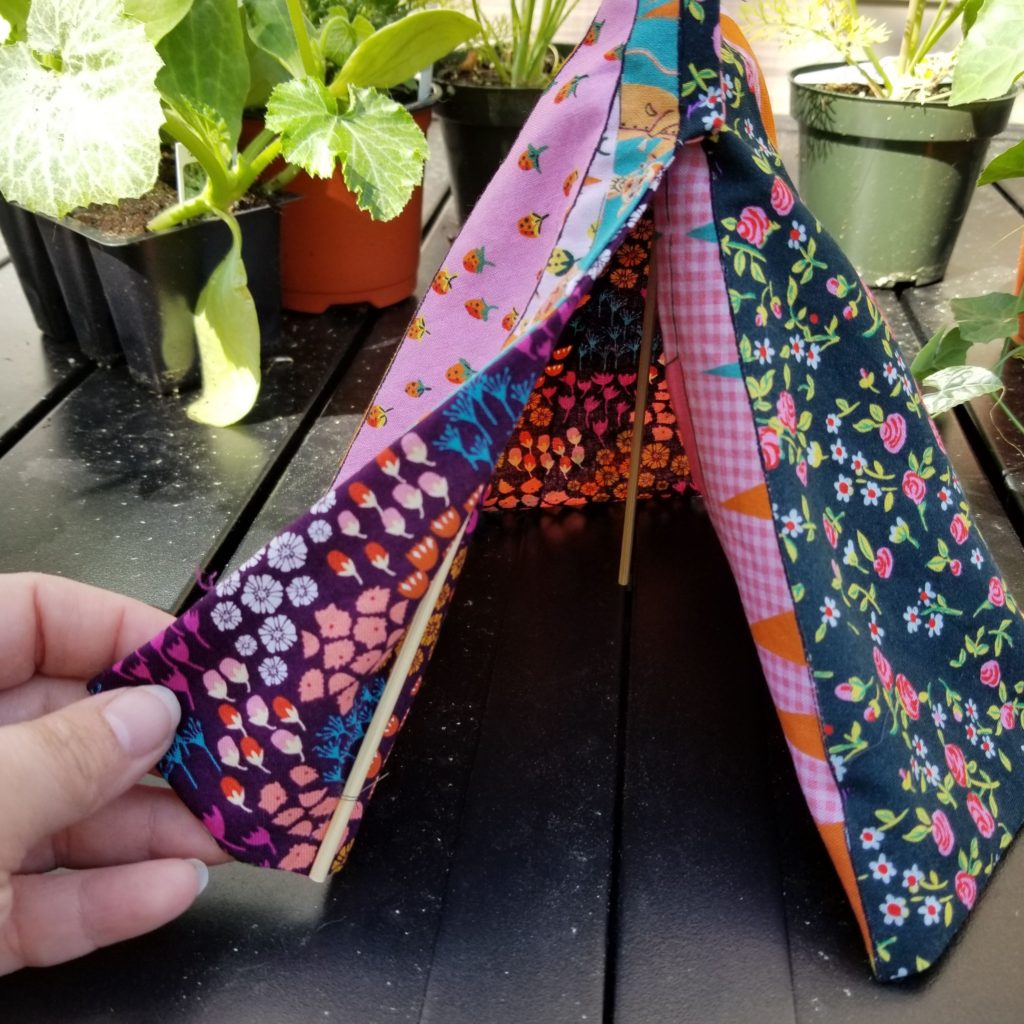
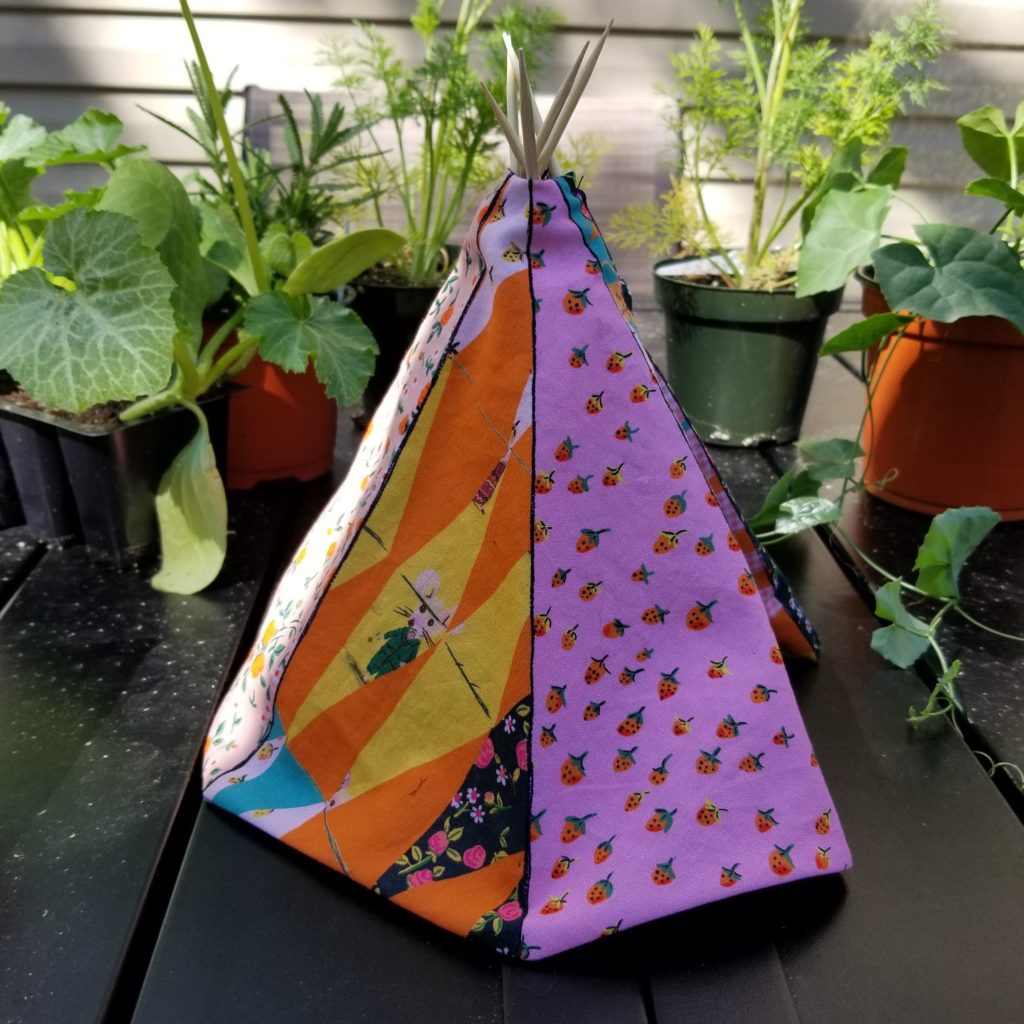
I decided to line the play tent for added sturdiness. I used a leftover scrap from my Alexandria fabric from Lizzie Clark. The hardest part has been finding six chopsticks all the same size, and long enough. In my house the only chopsticks are fancy enameled ones, and they are too slippery to stay in. I spent a few days looking for ones that are long enough, and eventually just grabbed a pack of bamboo skewers from the supermarket. I stitched them in place, but I’m not happy with them. They slide around. I’ll probably find a dowel and cut it down at some point, adding notches to keep them in place.
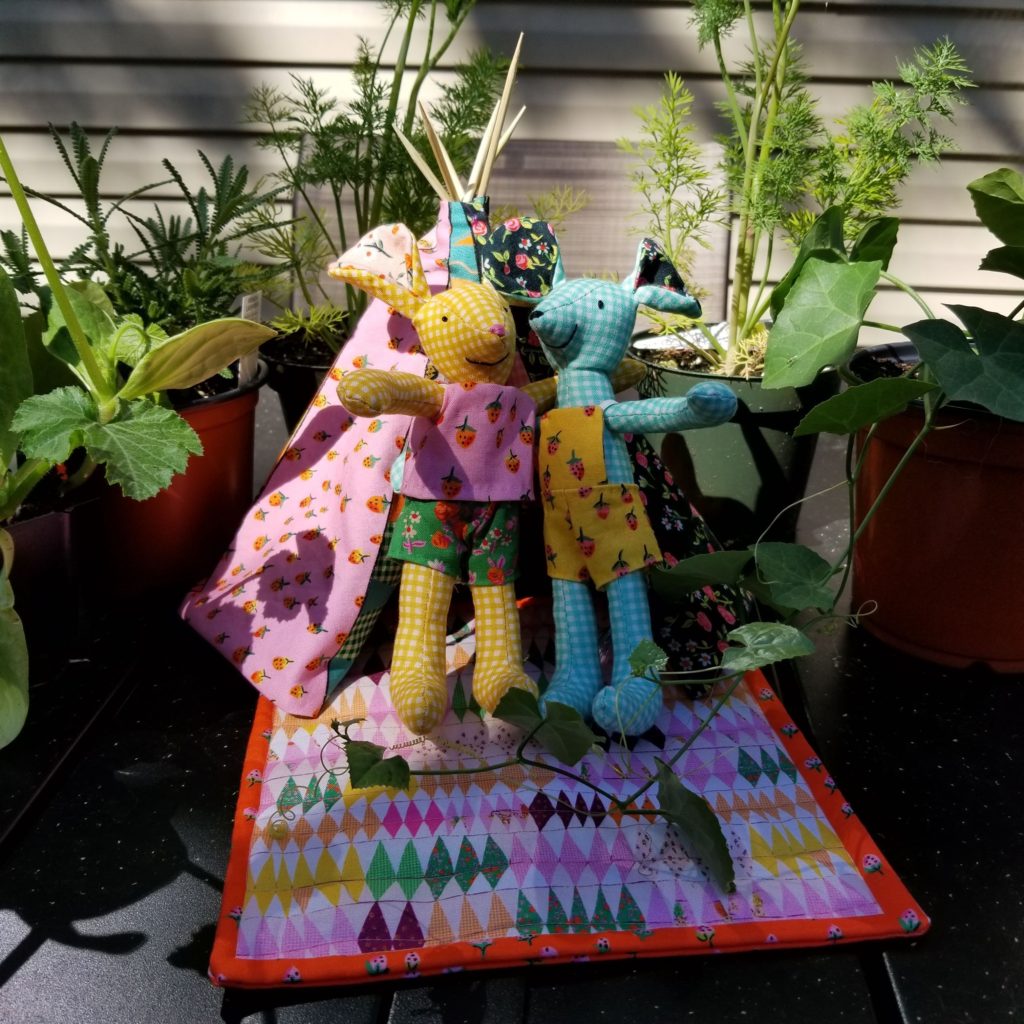
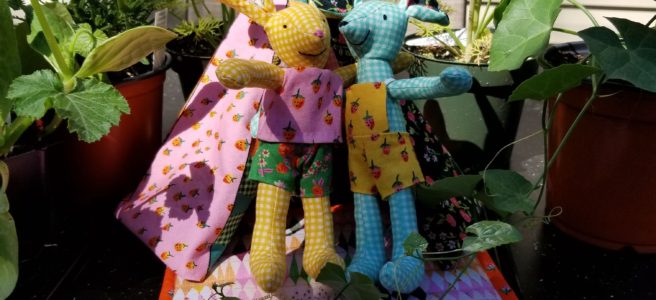
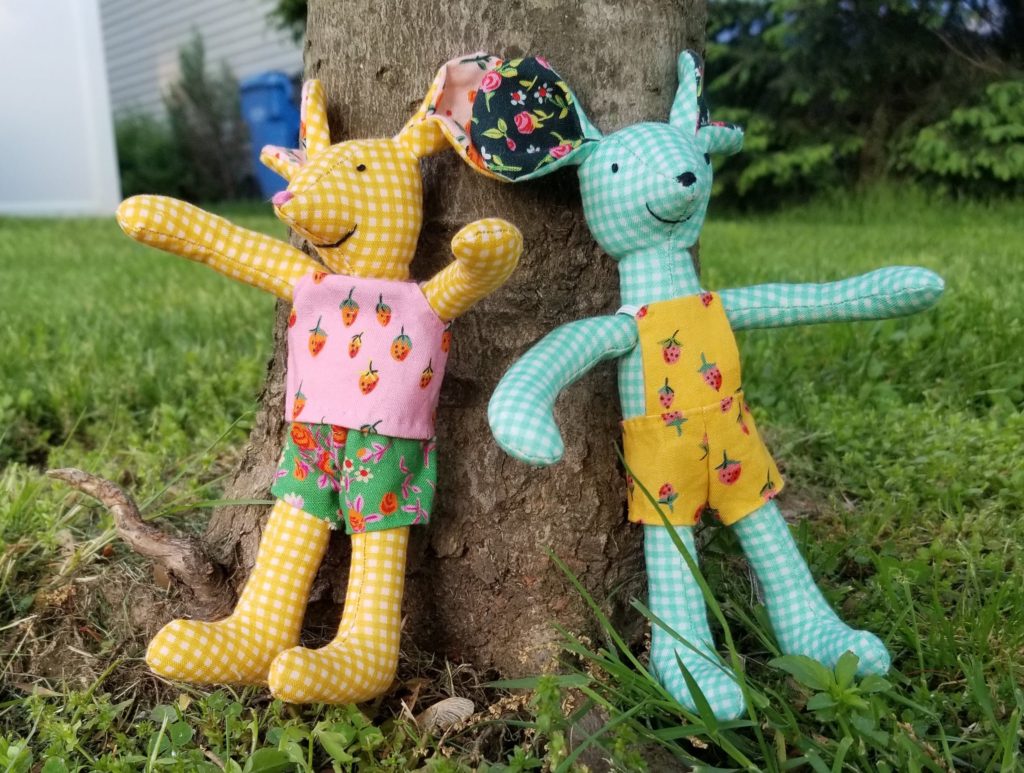
Here they are, all finished and posed. So cute! I want to add whiskers, but the monopoly thread I have is not thick enough. I need to find some fishing line to play with. I have plans for more mice (I traced the pieces to make a pattern), a more diverse wardrobe, and accessories. Thomas needs a pocket on his overalls and a fishing rod, and Trixie wants a pretty beaded necklace.
Someday there will be small children in my life again, and they are going to hit the jackpot on handmade toys.
Want to try out a Thomas and Trixie panel of your very own? It really is a fun little project, and a nice change of pace if you are feeling a little bit of quilting burnout. Gotham Quilts has several in stock.
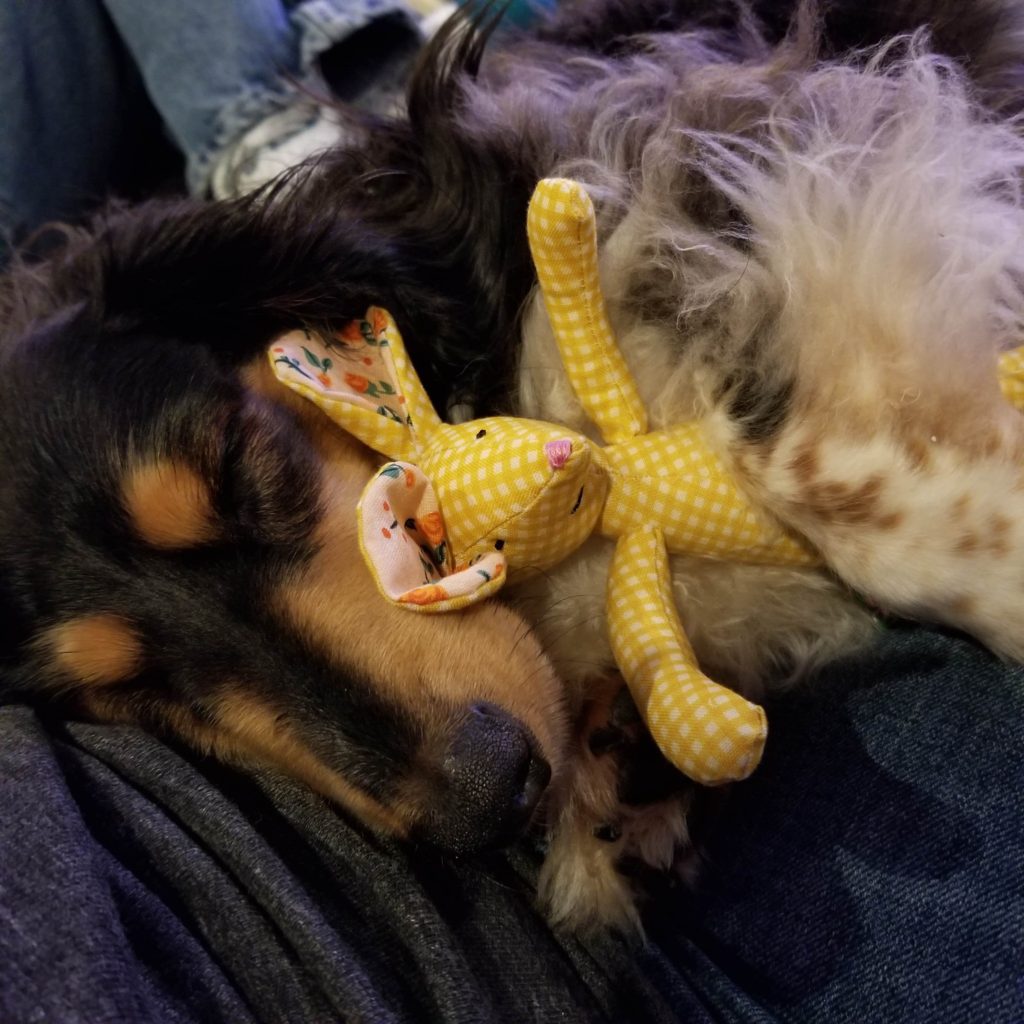
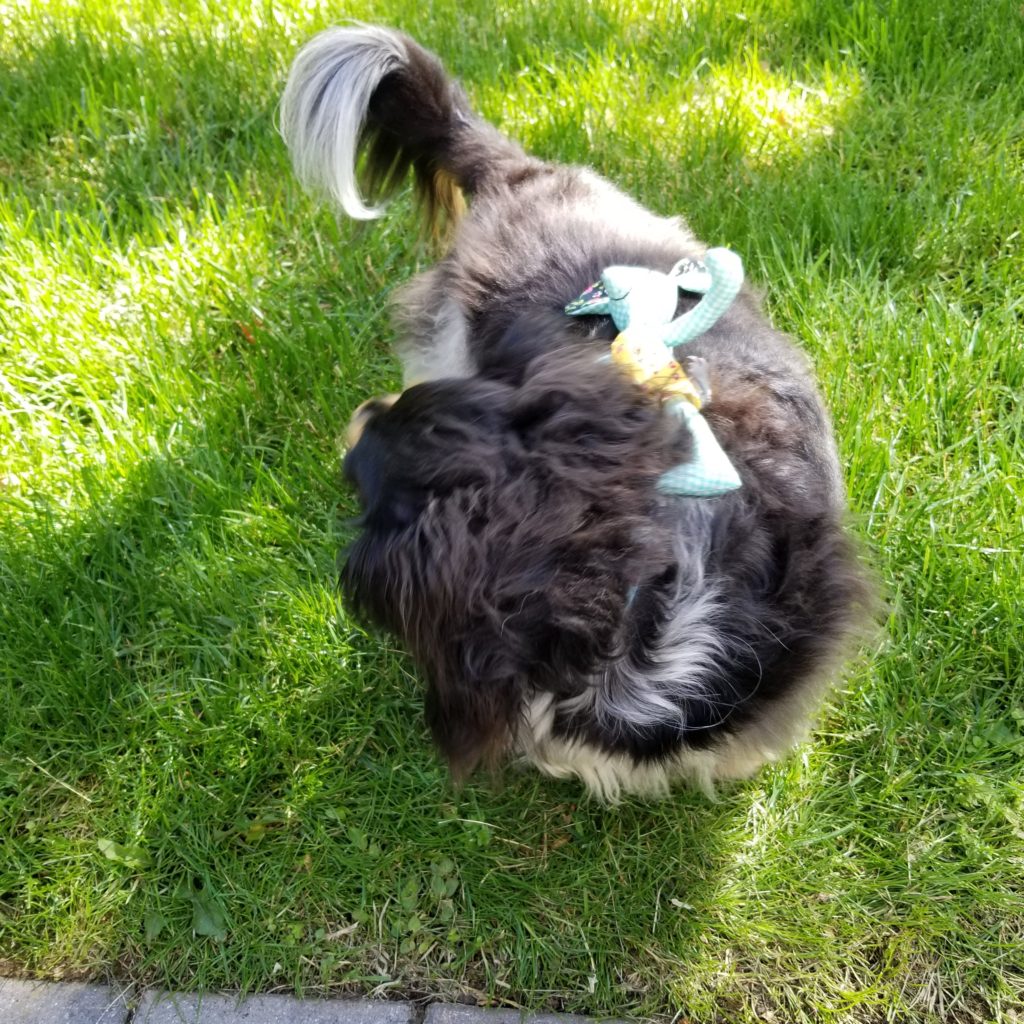
Oscar loves Trixie, but finds Thomas to be a pain in the butt.
My next Silly Sewing project will be doll panels by Stacey Iest Hsu. Squee!
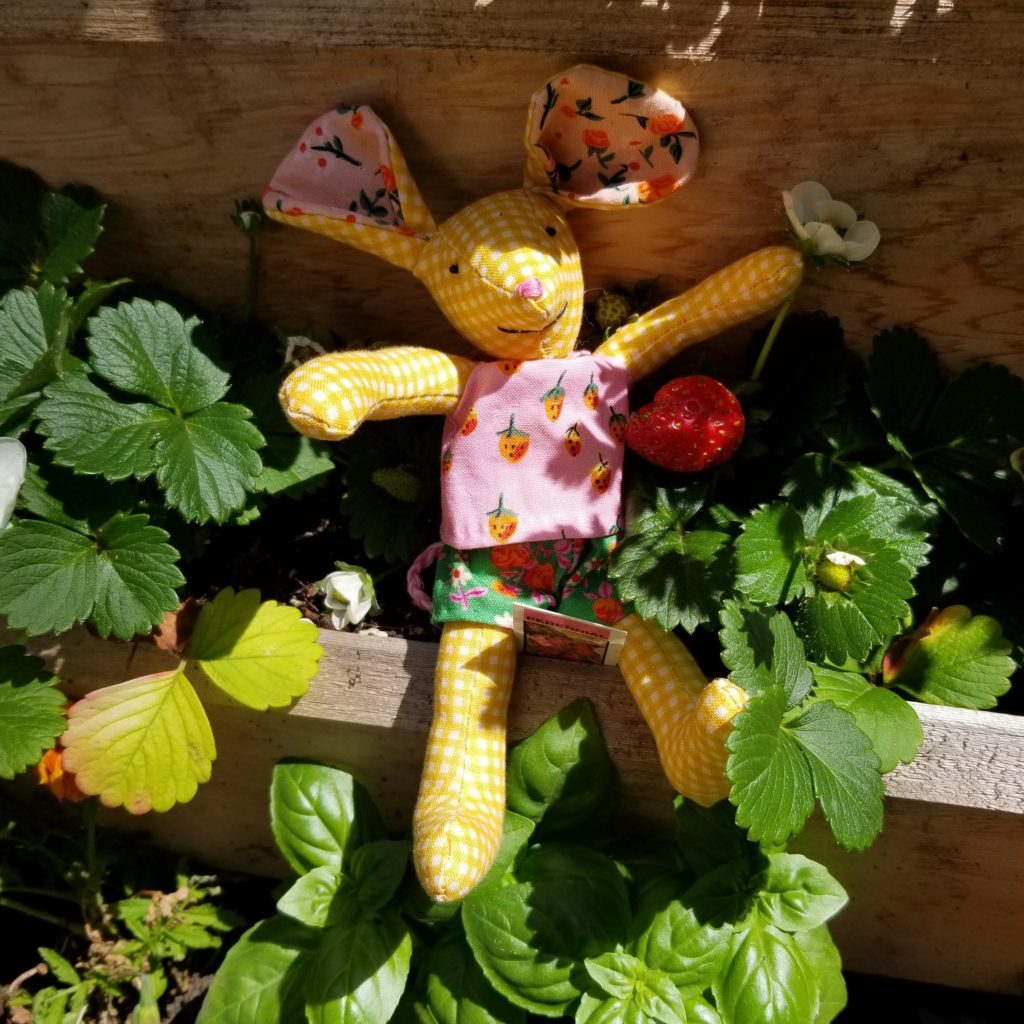
If you want visible whiskers, you could try a waxed thread, like hemp used for beading. I used that on a bunny I made, and you can crunch it to make the whiskers look like their crumpled a bit. These are really cute, and so small! I’m giggling because it reminds me of one of my favorite lines by Tom Hanks in You’ve Got Mail (What if she has a voice like the mice in Cinderella?) Hahahaha.
Oooh. Good tip. Thanks!
Thanks so much for detailing out the steps you took. Love the photos and commentary. Have a great weekend!!!