Have you seen the North Pole fabric collection by Stacey Iest Hsu for Moda? It is so cute. Gotham had it in stock for months before I finally managed to come up with a reason to use a jelly roll. I really tried to resist. Seriously, but they are so darn adorable. They don’t have the jelly roll in stock anymore, but they do have a fat quarter bundle, and an adorable doll panel.
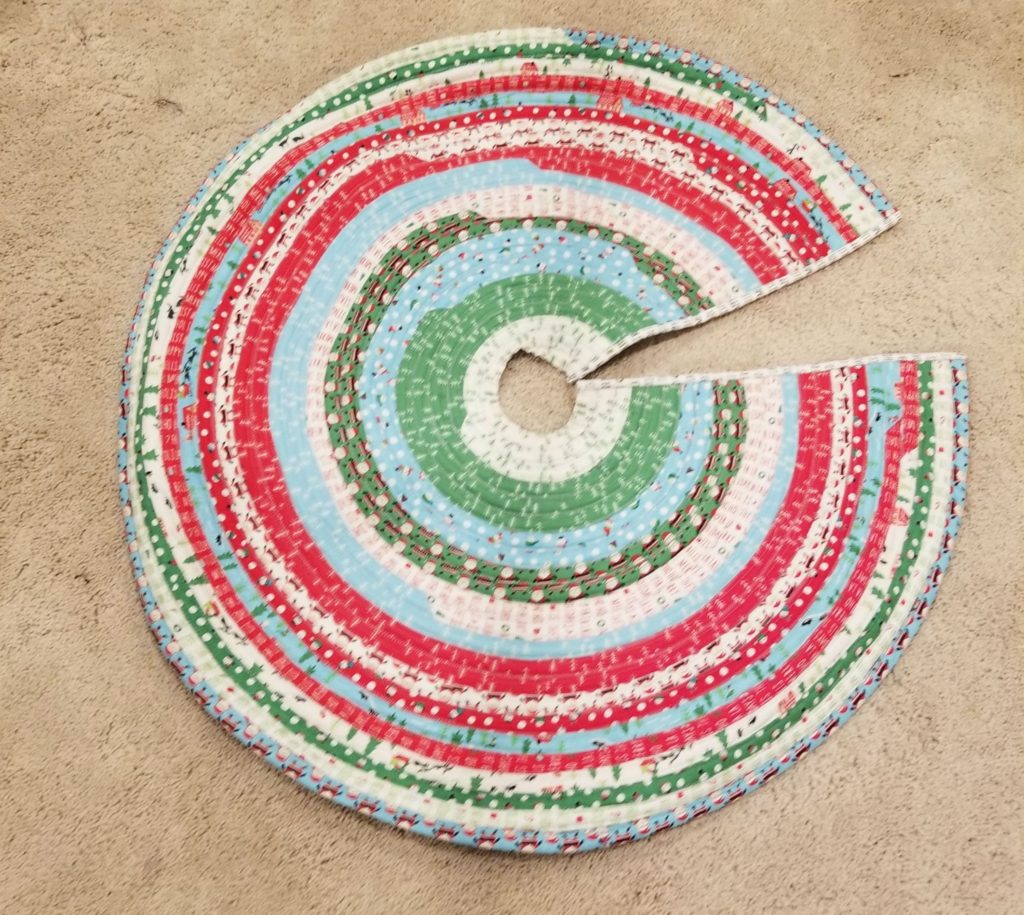
All is forgiven, though, because I used it and made something I needed. Well, something I wanted. Anyway. Check out this cool tree skirt!
I started this project during a Jelly Roll Placemat class I taught at Gotham Quilts. I love sharing my love of quilting with others.
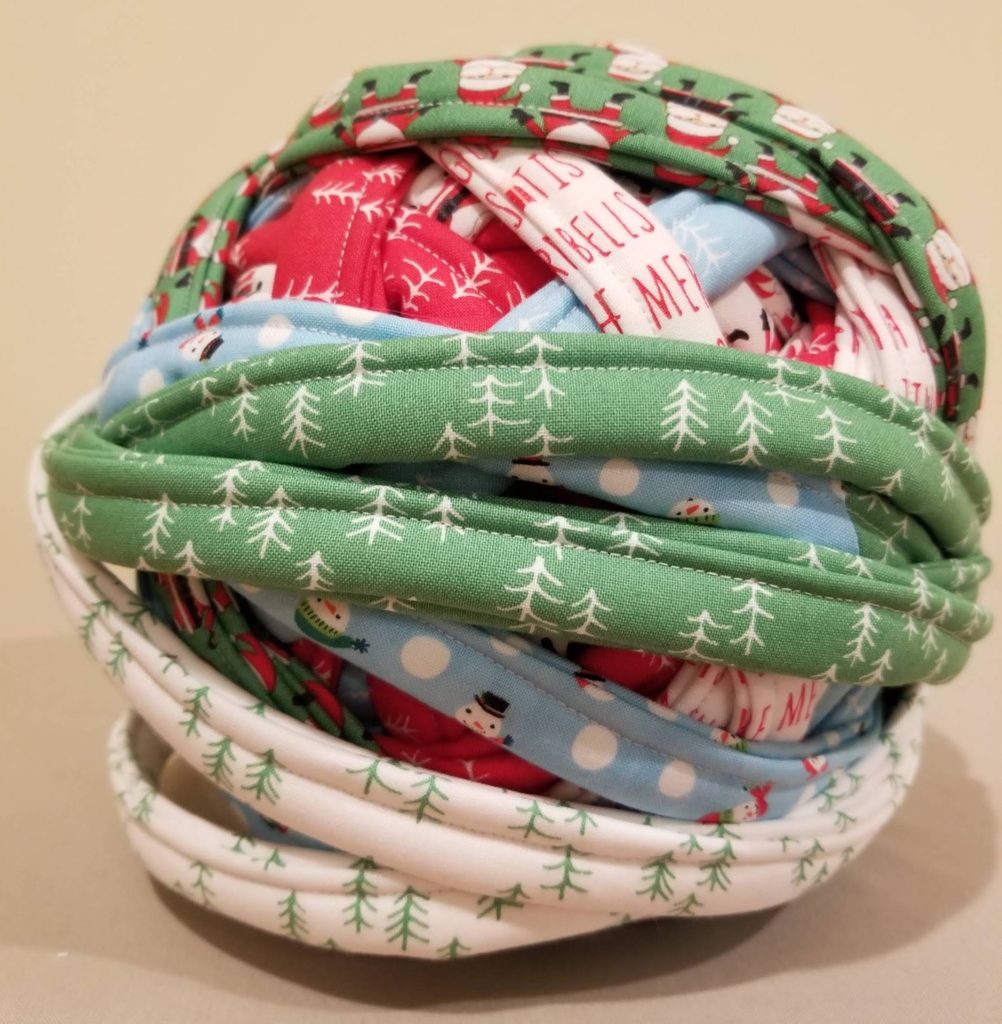
The pink background strips from the collection were left out of this project. I think I used 35 of the 42 strips included in the fabric collection. I also set aside a couple of strips for binding strips. Also, I may eventually add ties to secure it. That does seem unlikely, though.
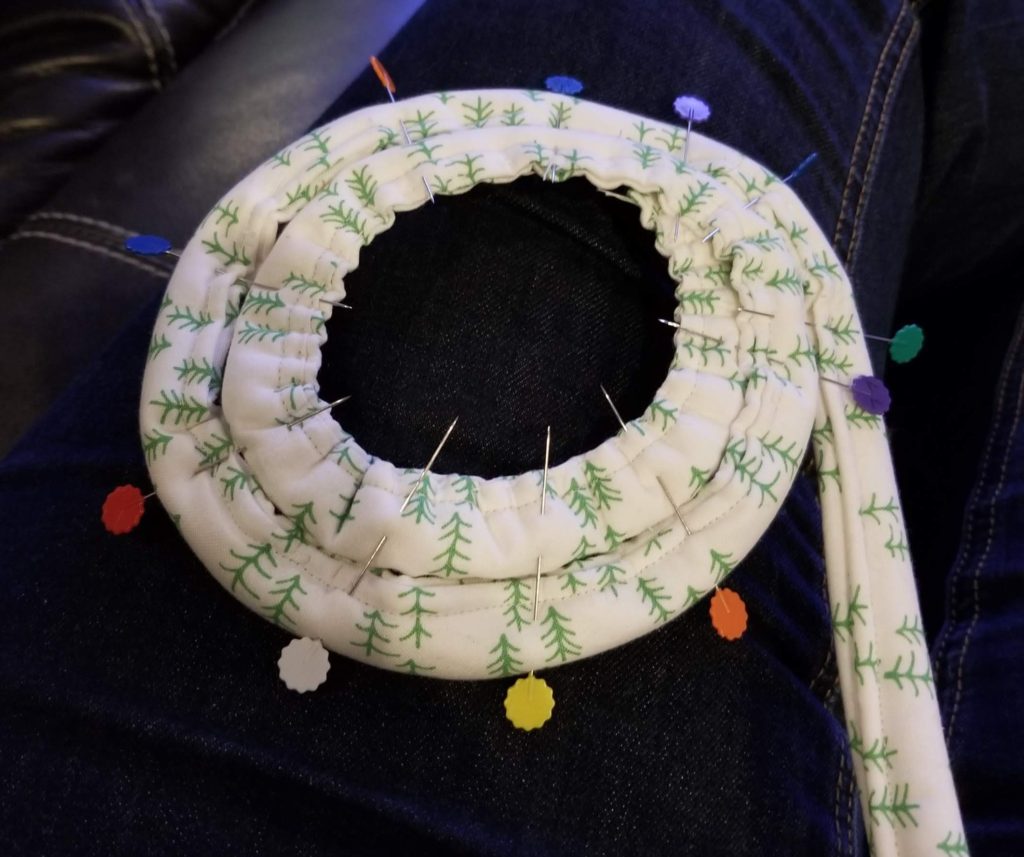
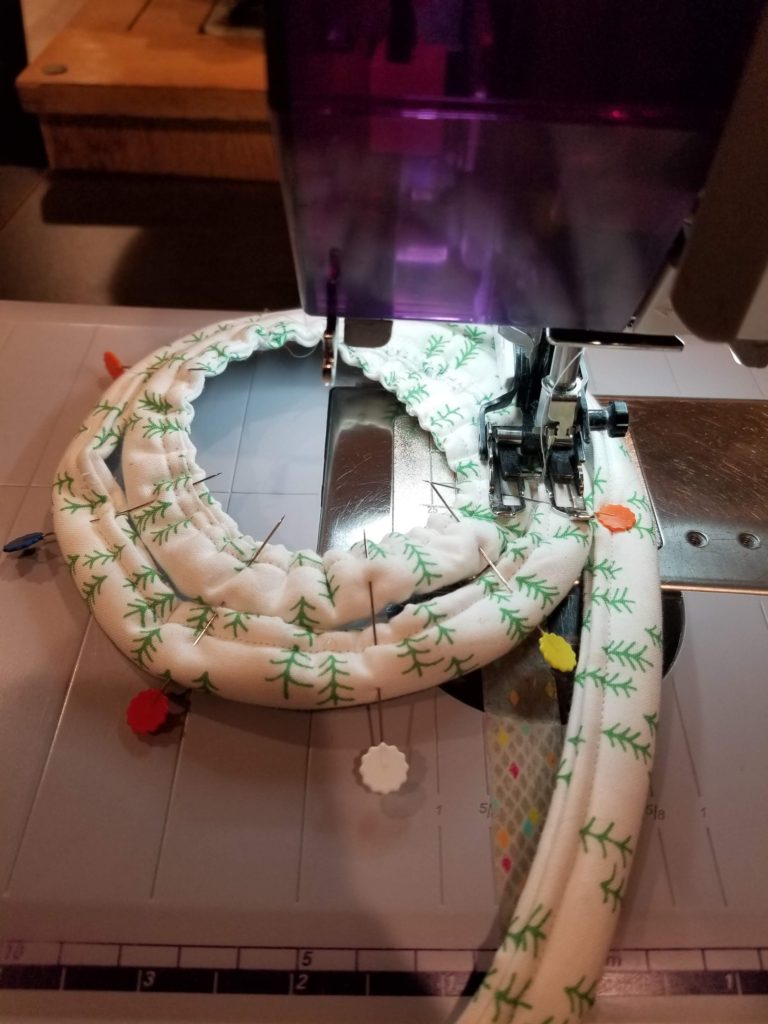
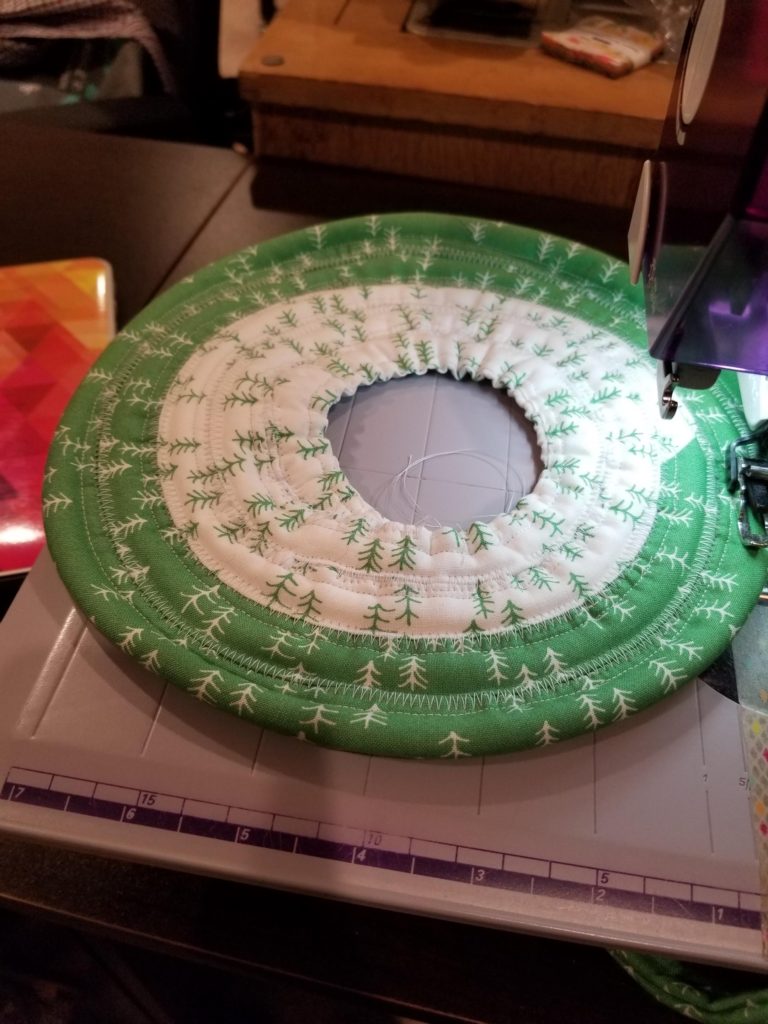
I thought I could figure out how to make the round shape on my own. I tried for a bit, ending up with a tube and a headache. Luckily, RJ Designs has created a pattern for a round rug. I purchased it, followed the fantastic directions, and got my round rug started. I did leave an opening to accommodate the trunk of my tree, but it was very easy to figure out.
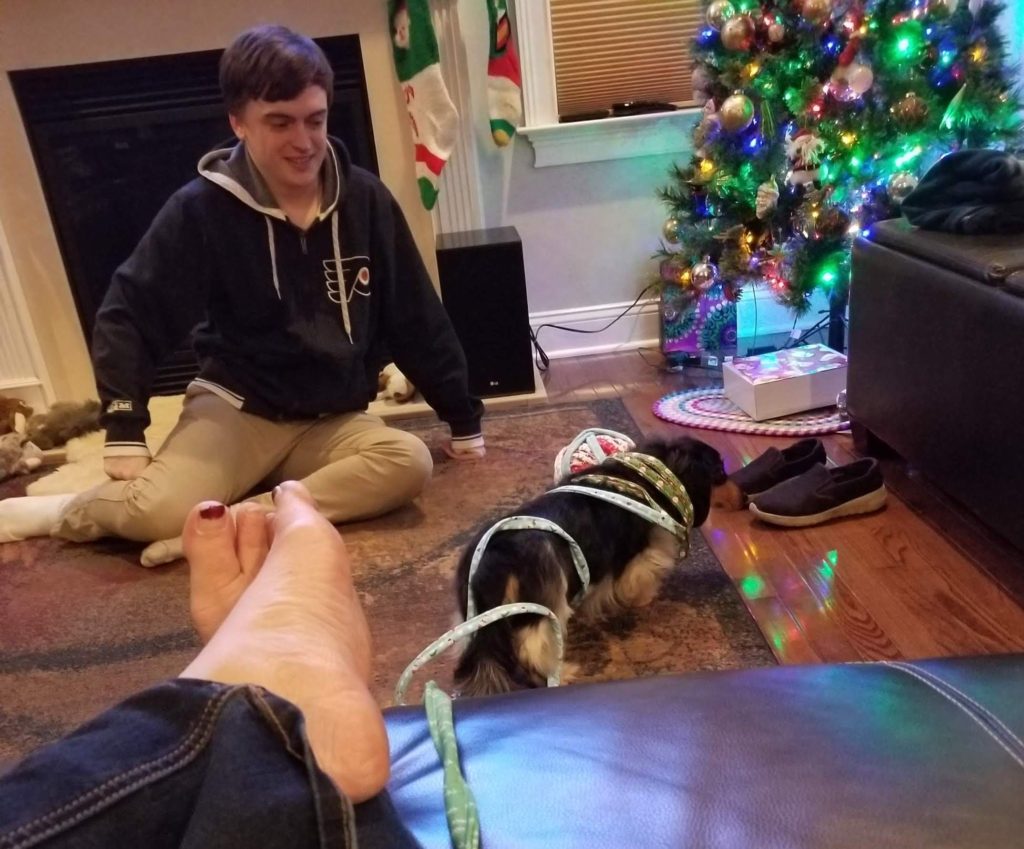
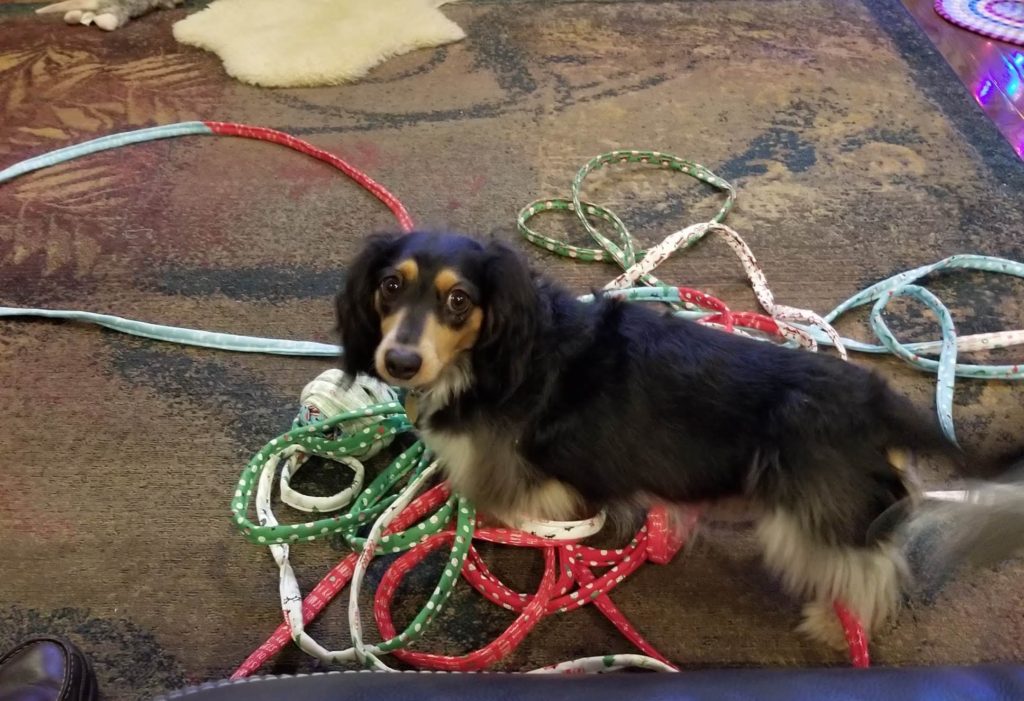
Of course, Oscar and my son, John, decided to play with the ball of rope while I was trying to get the center started. My son was careful to ask if I would be selling the finished project before playing with it. Oscar neither asked permission nor apologized.
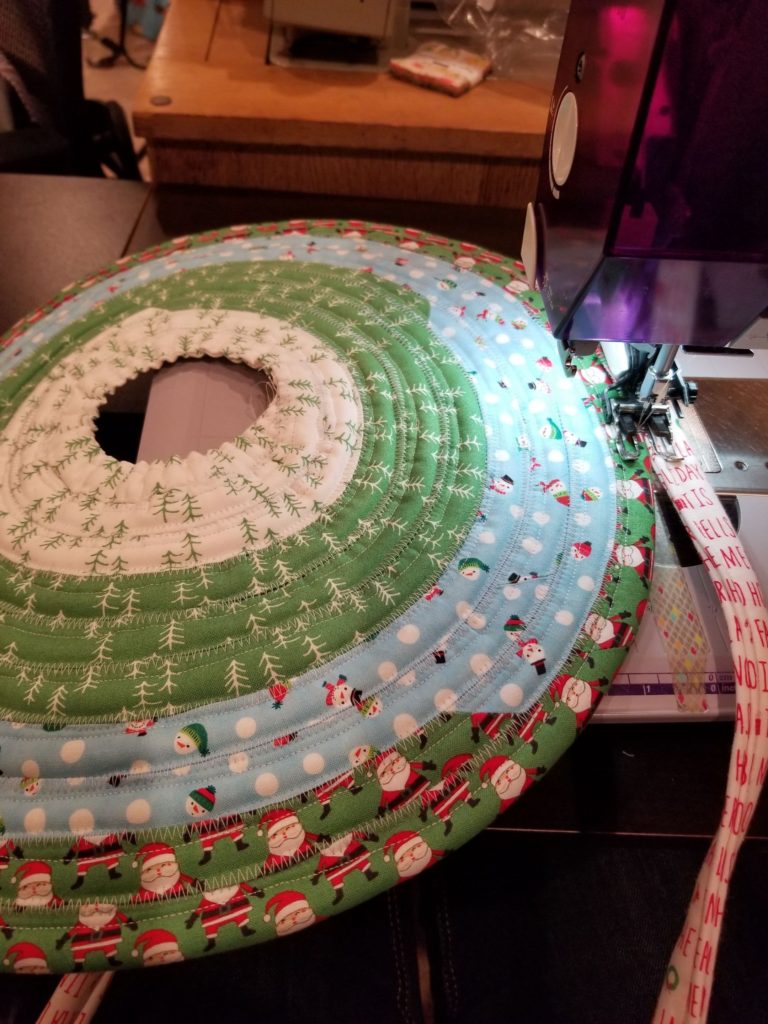
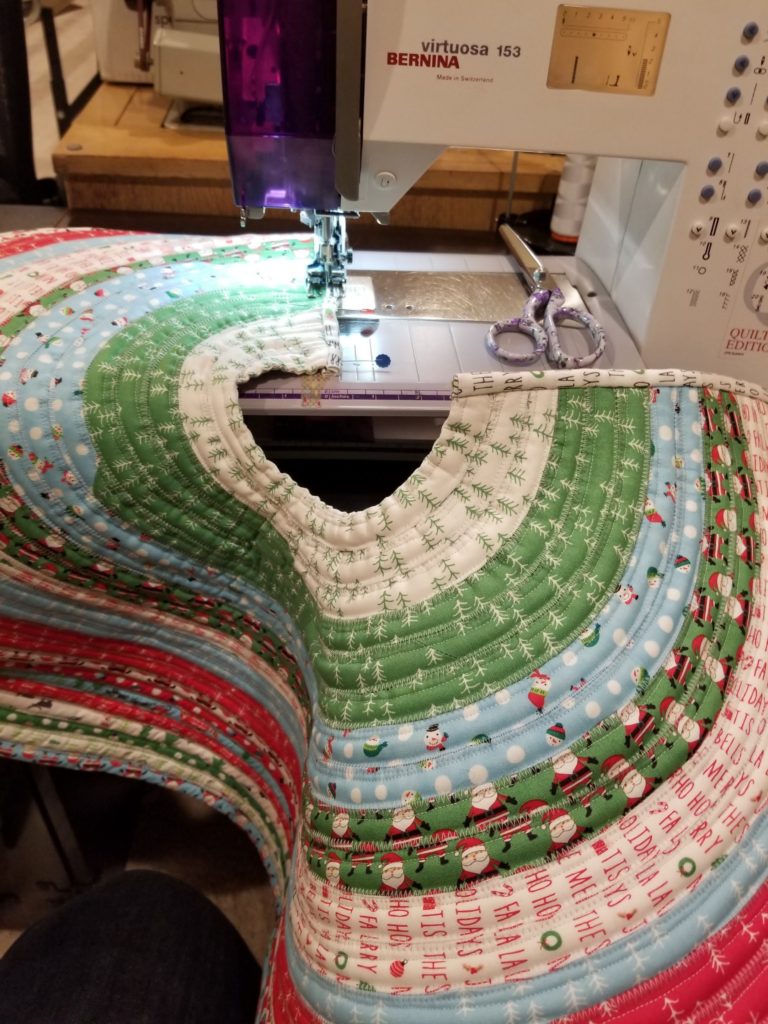
Sewing the rope together is the best part of making the rug. It goes together so quickly. I put my pedal to the metal and, boom, there is a jelly roll rug. If I’m lucky, I notice when the bobbin runs out within just a few inches. Making the rope takes a long time – usually 4+ hours. Making the rug takes about 1 hour.
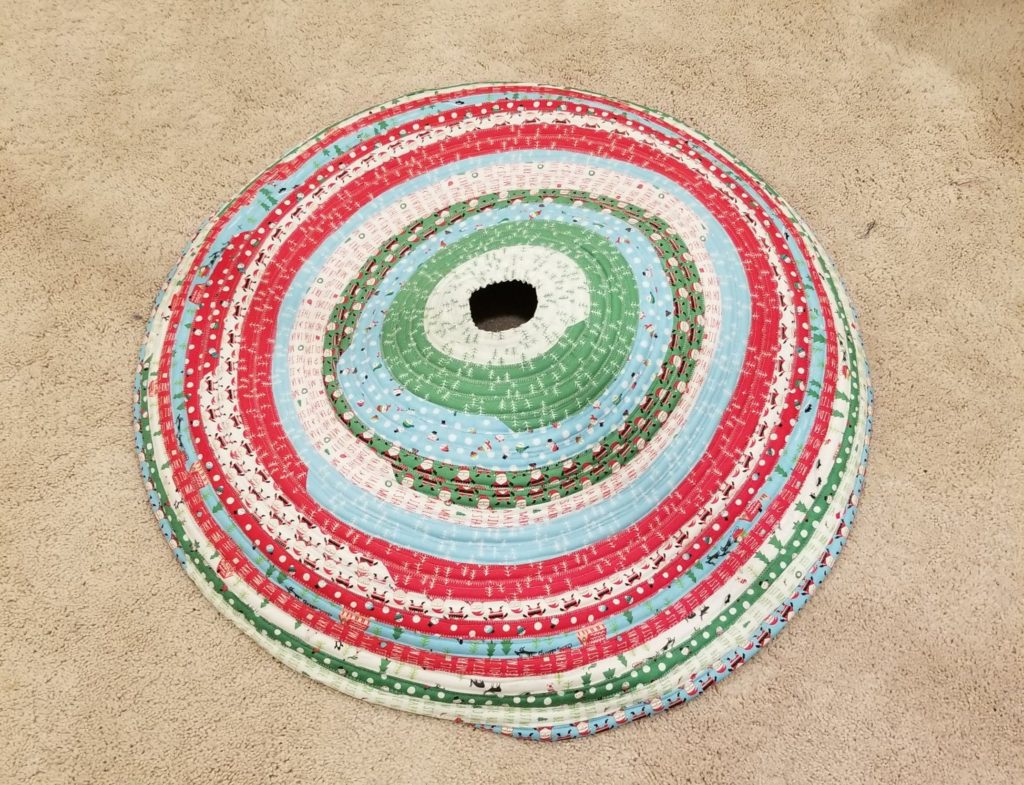
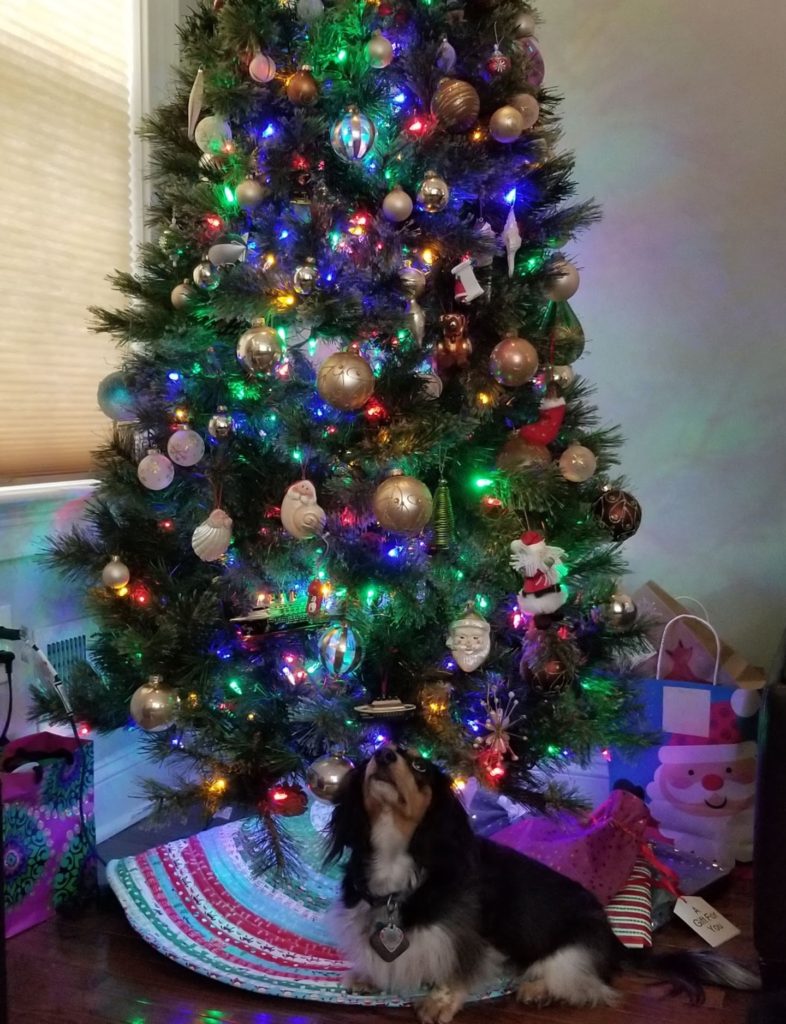
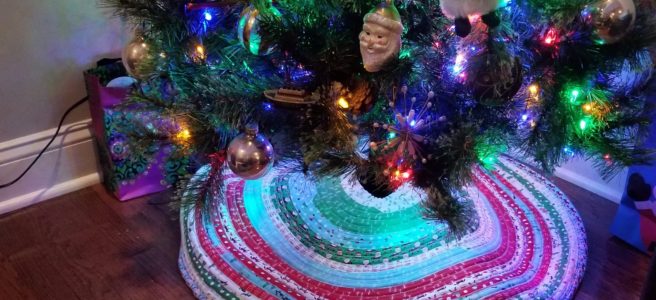
I skipped putting supports around my sewing table this time, so the rug is warped again. You can see it developing on the third photo above. This time the warping is okay – it works well under the tree and over the stand.
In January I am teaching a Jelly Roll Rug class at my local guild. I’m going to have to make another rug and make sure I can make a flat one reliably. I also want to make the new version that uses straight strips for a rectangular rug. It looks a little more modern, which is better for the decor in my home.
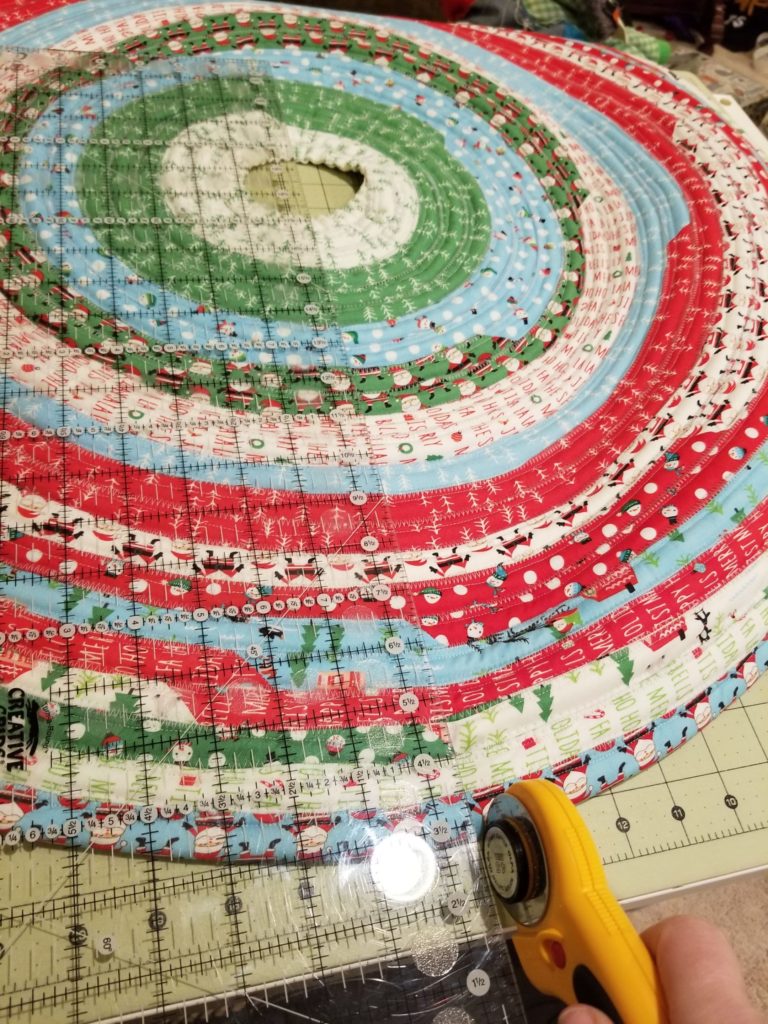
Once the circle was all together, I cut a straight line from the middle hole to the edge, being careful that I was not cutting through either the start or the end of the rug. I’ll be honest – I was a little nervous about cutting into the circle.
I bound each cut side the same way I do a quilt. It was easy to do the first one, but the second was a bit of a battle.
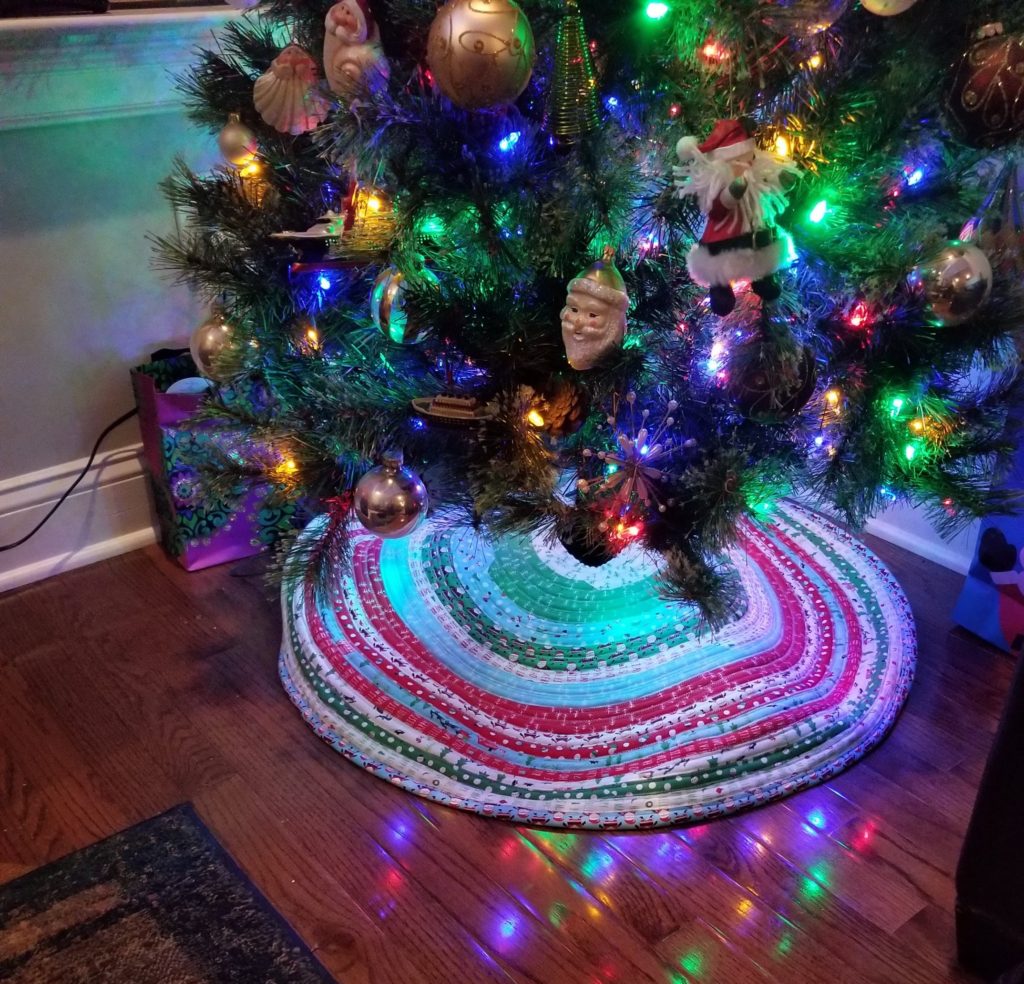
Here it is, all installed, and I’m quite happy with it. It is replacing the Target skirt that I have used for 20+ years.
Have you made your own Christmas tree skirt? If you don’t want to try out a jelly roll rug style one, Mr. Domestic has a great pieced tree skirt.
Check out my other Jelly Roll Rug projects!
Huh. I’ve done several placemats, too. I guess I need to write them up!

You win the prize for the “best dressed” Christmas tree I have ever seen!
Thanks!
Hi Jen! I made a whole cloth type of tree skirt some years ago, the thought of cutting a slit through all that hard work gives me the shivers.
That might kill me.
Good Job !
Great tree skirt! Love it!
Happy Quilting! 🙂
Love it and it seems so perfect for a quilter’s tree skirt. You did great. Love the binding!
I fell in love with that fabric as I worked with it. It really is a perfect tree skirt you will enjoy for a long time – a win win!
I love this as a tree skirt! And it is such a fun line of fabric. I asked for a Jelly Roll Rug kit for Christmas, so I’m hoping to hop on this bandwagon soon! Just might have to make a tree skirt version as well!
Hi Jen! What a great idea making the tree skirt. Oh man, I would have been so nervous cutting into it though. And Oscar!! He looks so darn cute wrapped in the rope! I wonder what he’s looking at in the last photo?! Cute puppy. I hope you have a wonderful week. ~smile~ Roseanne
This is wonderful! It seems like you had a reasonably small center hole. About 2.5” – 3” across. Am I correct? Looks great!
Thanks! Yes – the center hole is about 3″.
When you start the circle, is it tapered at the beginning? Did you baste like it says in the jelly roll rug tree skirt pattern?
No. I did it just as I showed in the photos in the post.