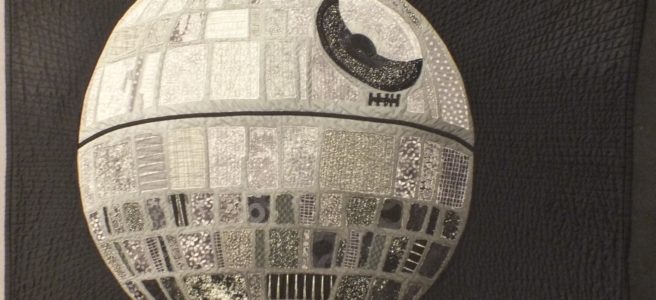
 I recently made a 3-d hexagon appliqué quilt, using Geta Grama’s fantastic “My Secret Flower Garden” pattern. My husband, the lifelong Star Wars fan, constantly referred to it as a Death Star. It really annoyed me. Clearly, there are no hexagons on the Death Star, and the Death Star is not blue. I decided to make an actual Death Star quilt for him.
Geta’s pattern is for raw edge appliqué, and I was quite happy with the results, so that is the technique I chose for this quilt. Creating a quilt from an image is fairly straightforward, just a lot of steps. First, I chose an image to work with.
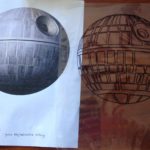
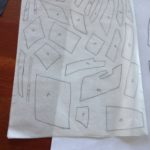
I printed the picture as large as possible, on an 8 1/2″ by 11″ piece of paper. I slipped it into a page protector, and traced over the outlines with a sharpie. My goal is to have a page similar to a coloring book, with simple lines.
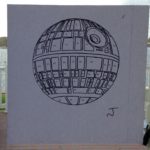
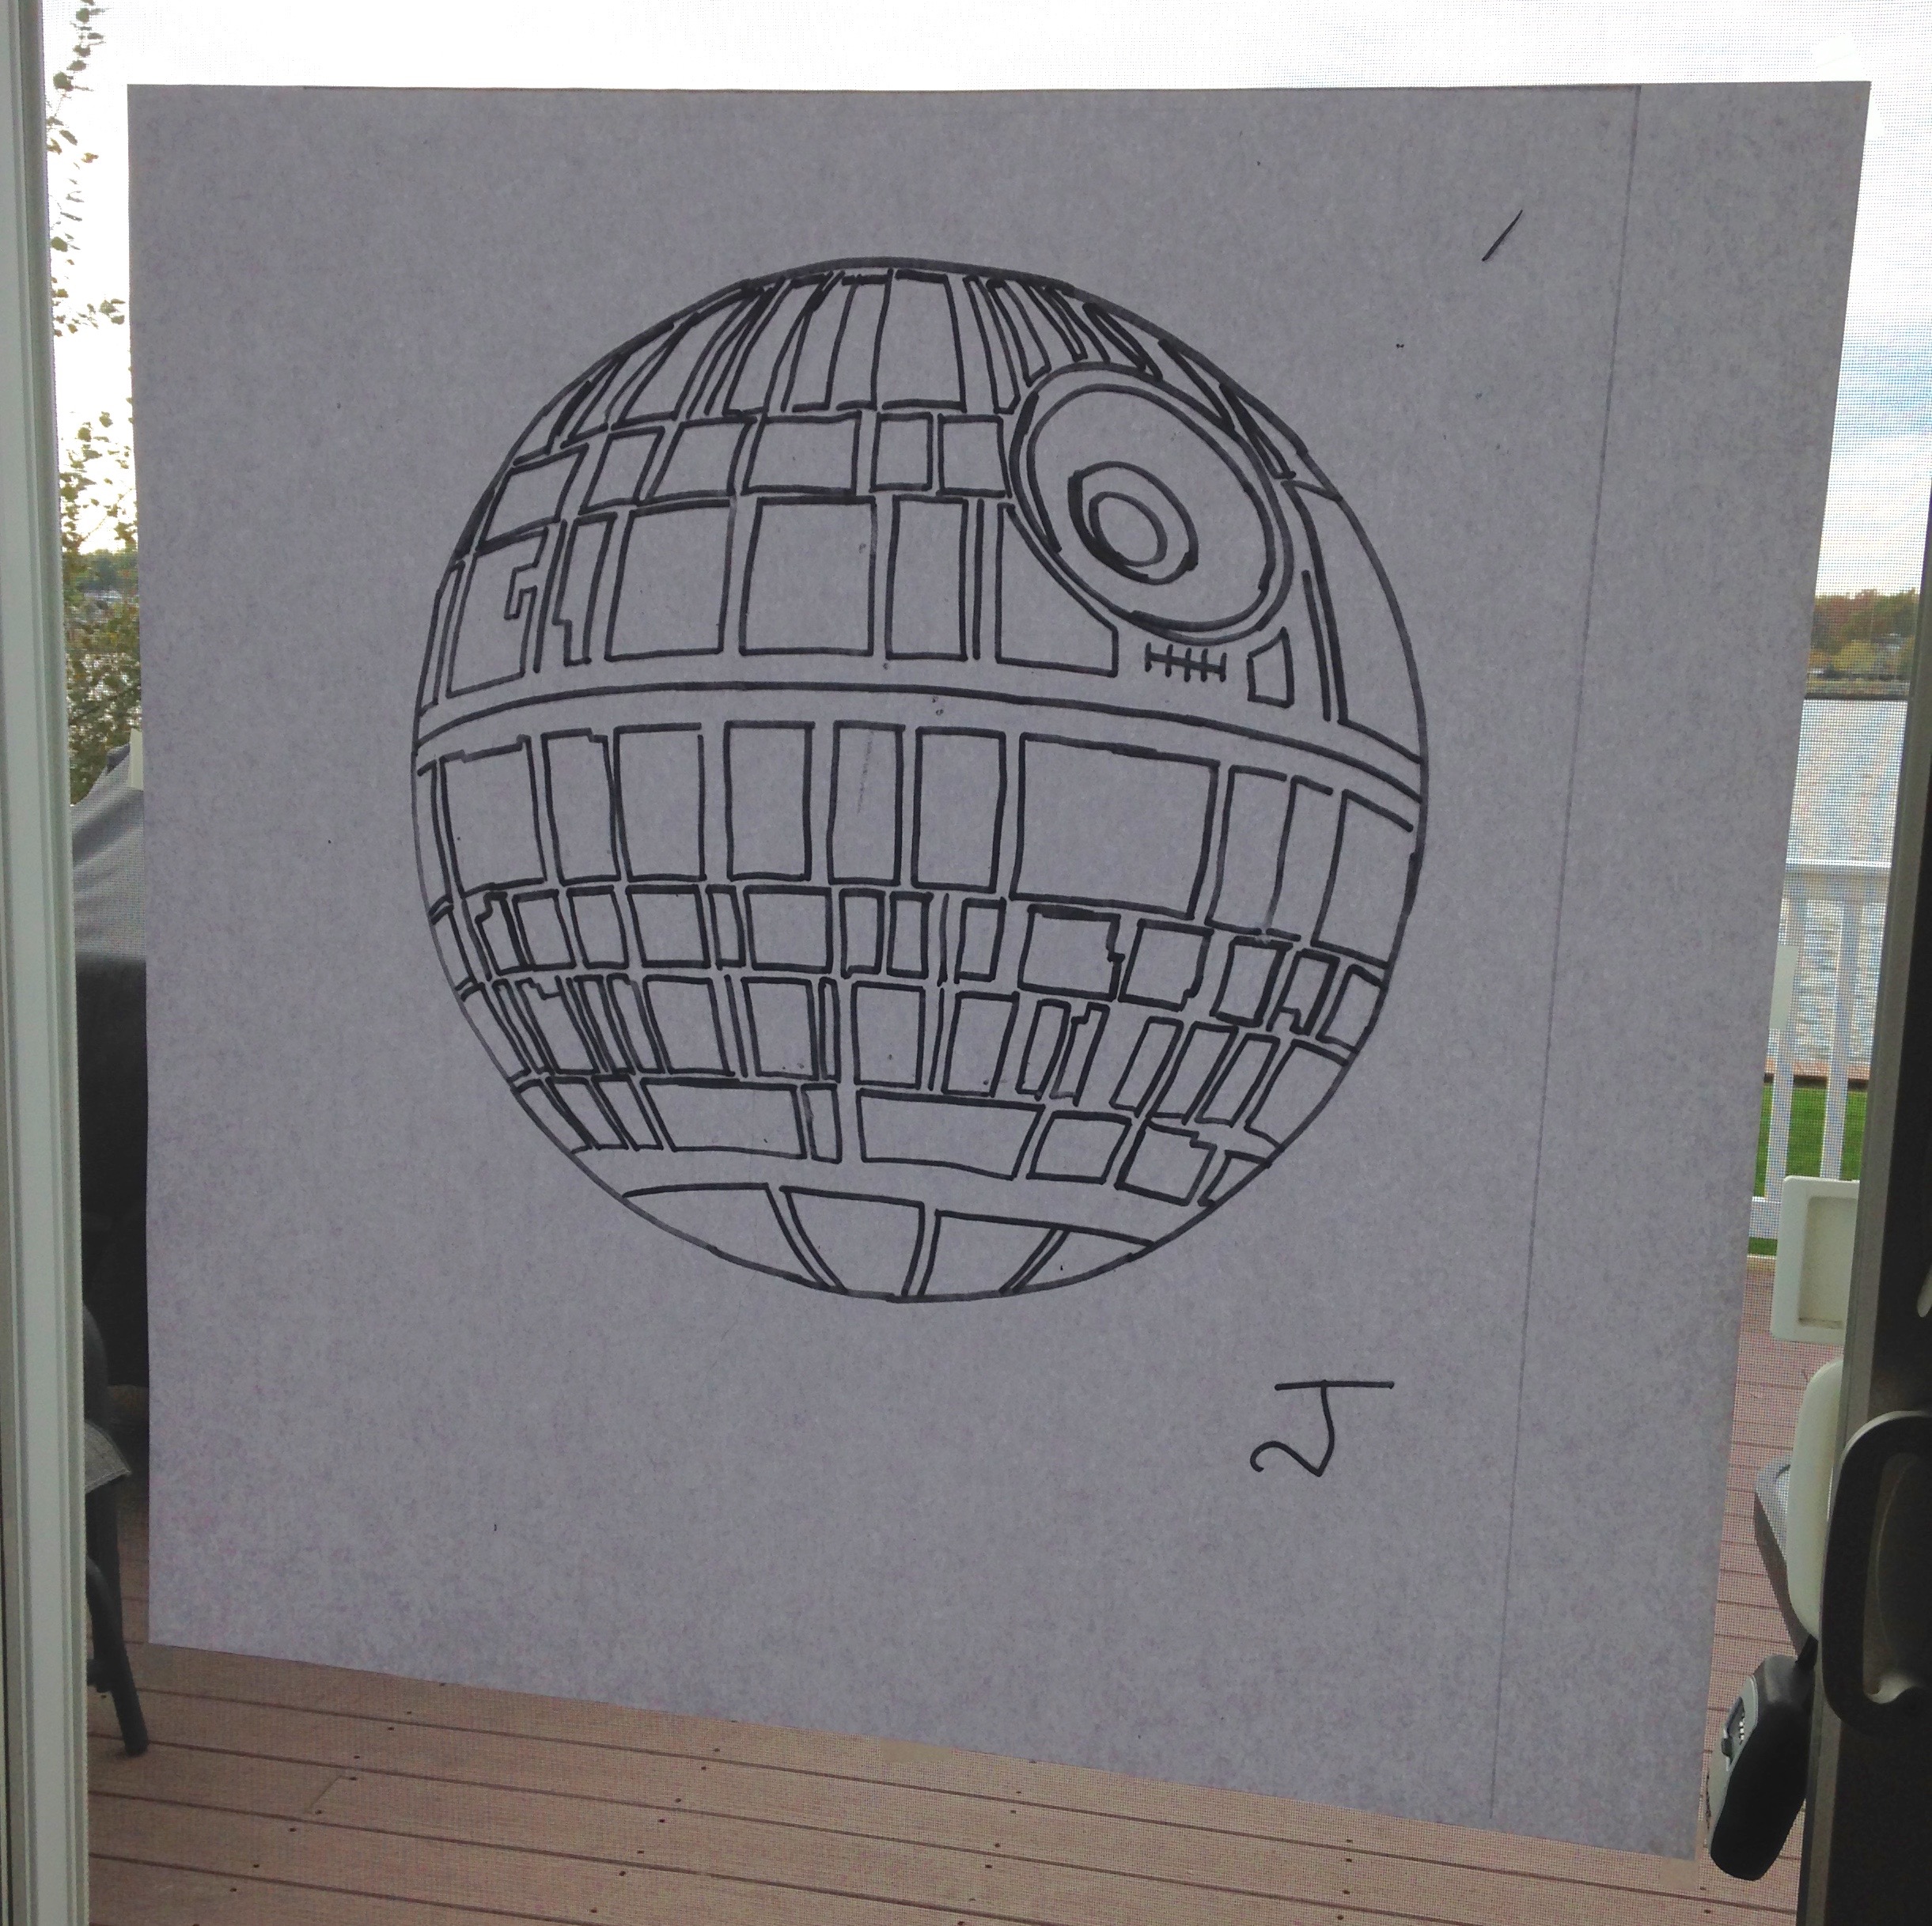 I took the page protector, minus the original page, to a copy shop and had it enlarged as much as possible. They printed it using a huge copier, and my image was about 36″ in diameter. If I had been less excited, I would have thought to have them also make a mirror image, but I was very excited.
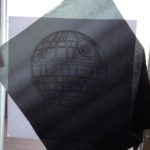
At home I taped the pattern to the sliding glass door. I marked numbers on each piece, so that I could match them to the pattern once it is cut apart. I then taped the background fabric for the Death Star over it. I was happy to find a piece of gray ombre fabric in my stash, which allowed me to easily imitate the shading on the space ship. Using a Crayola washable marker, I traced the pattern onto the fabric. I cut the background out, leaving about 1/2 an inch all the way around, just in case I decided to adjust things later.
I flipped the page over, taped it back up, and traced the back, to create a mirror image. I also copied the numbers from the front, so I would be able to read them.
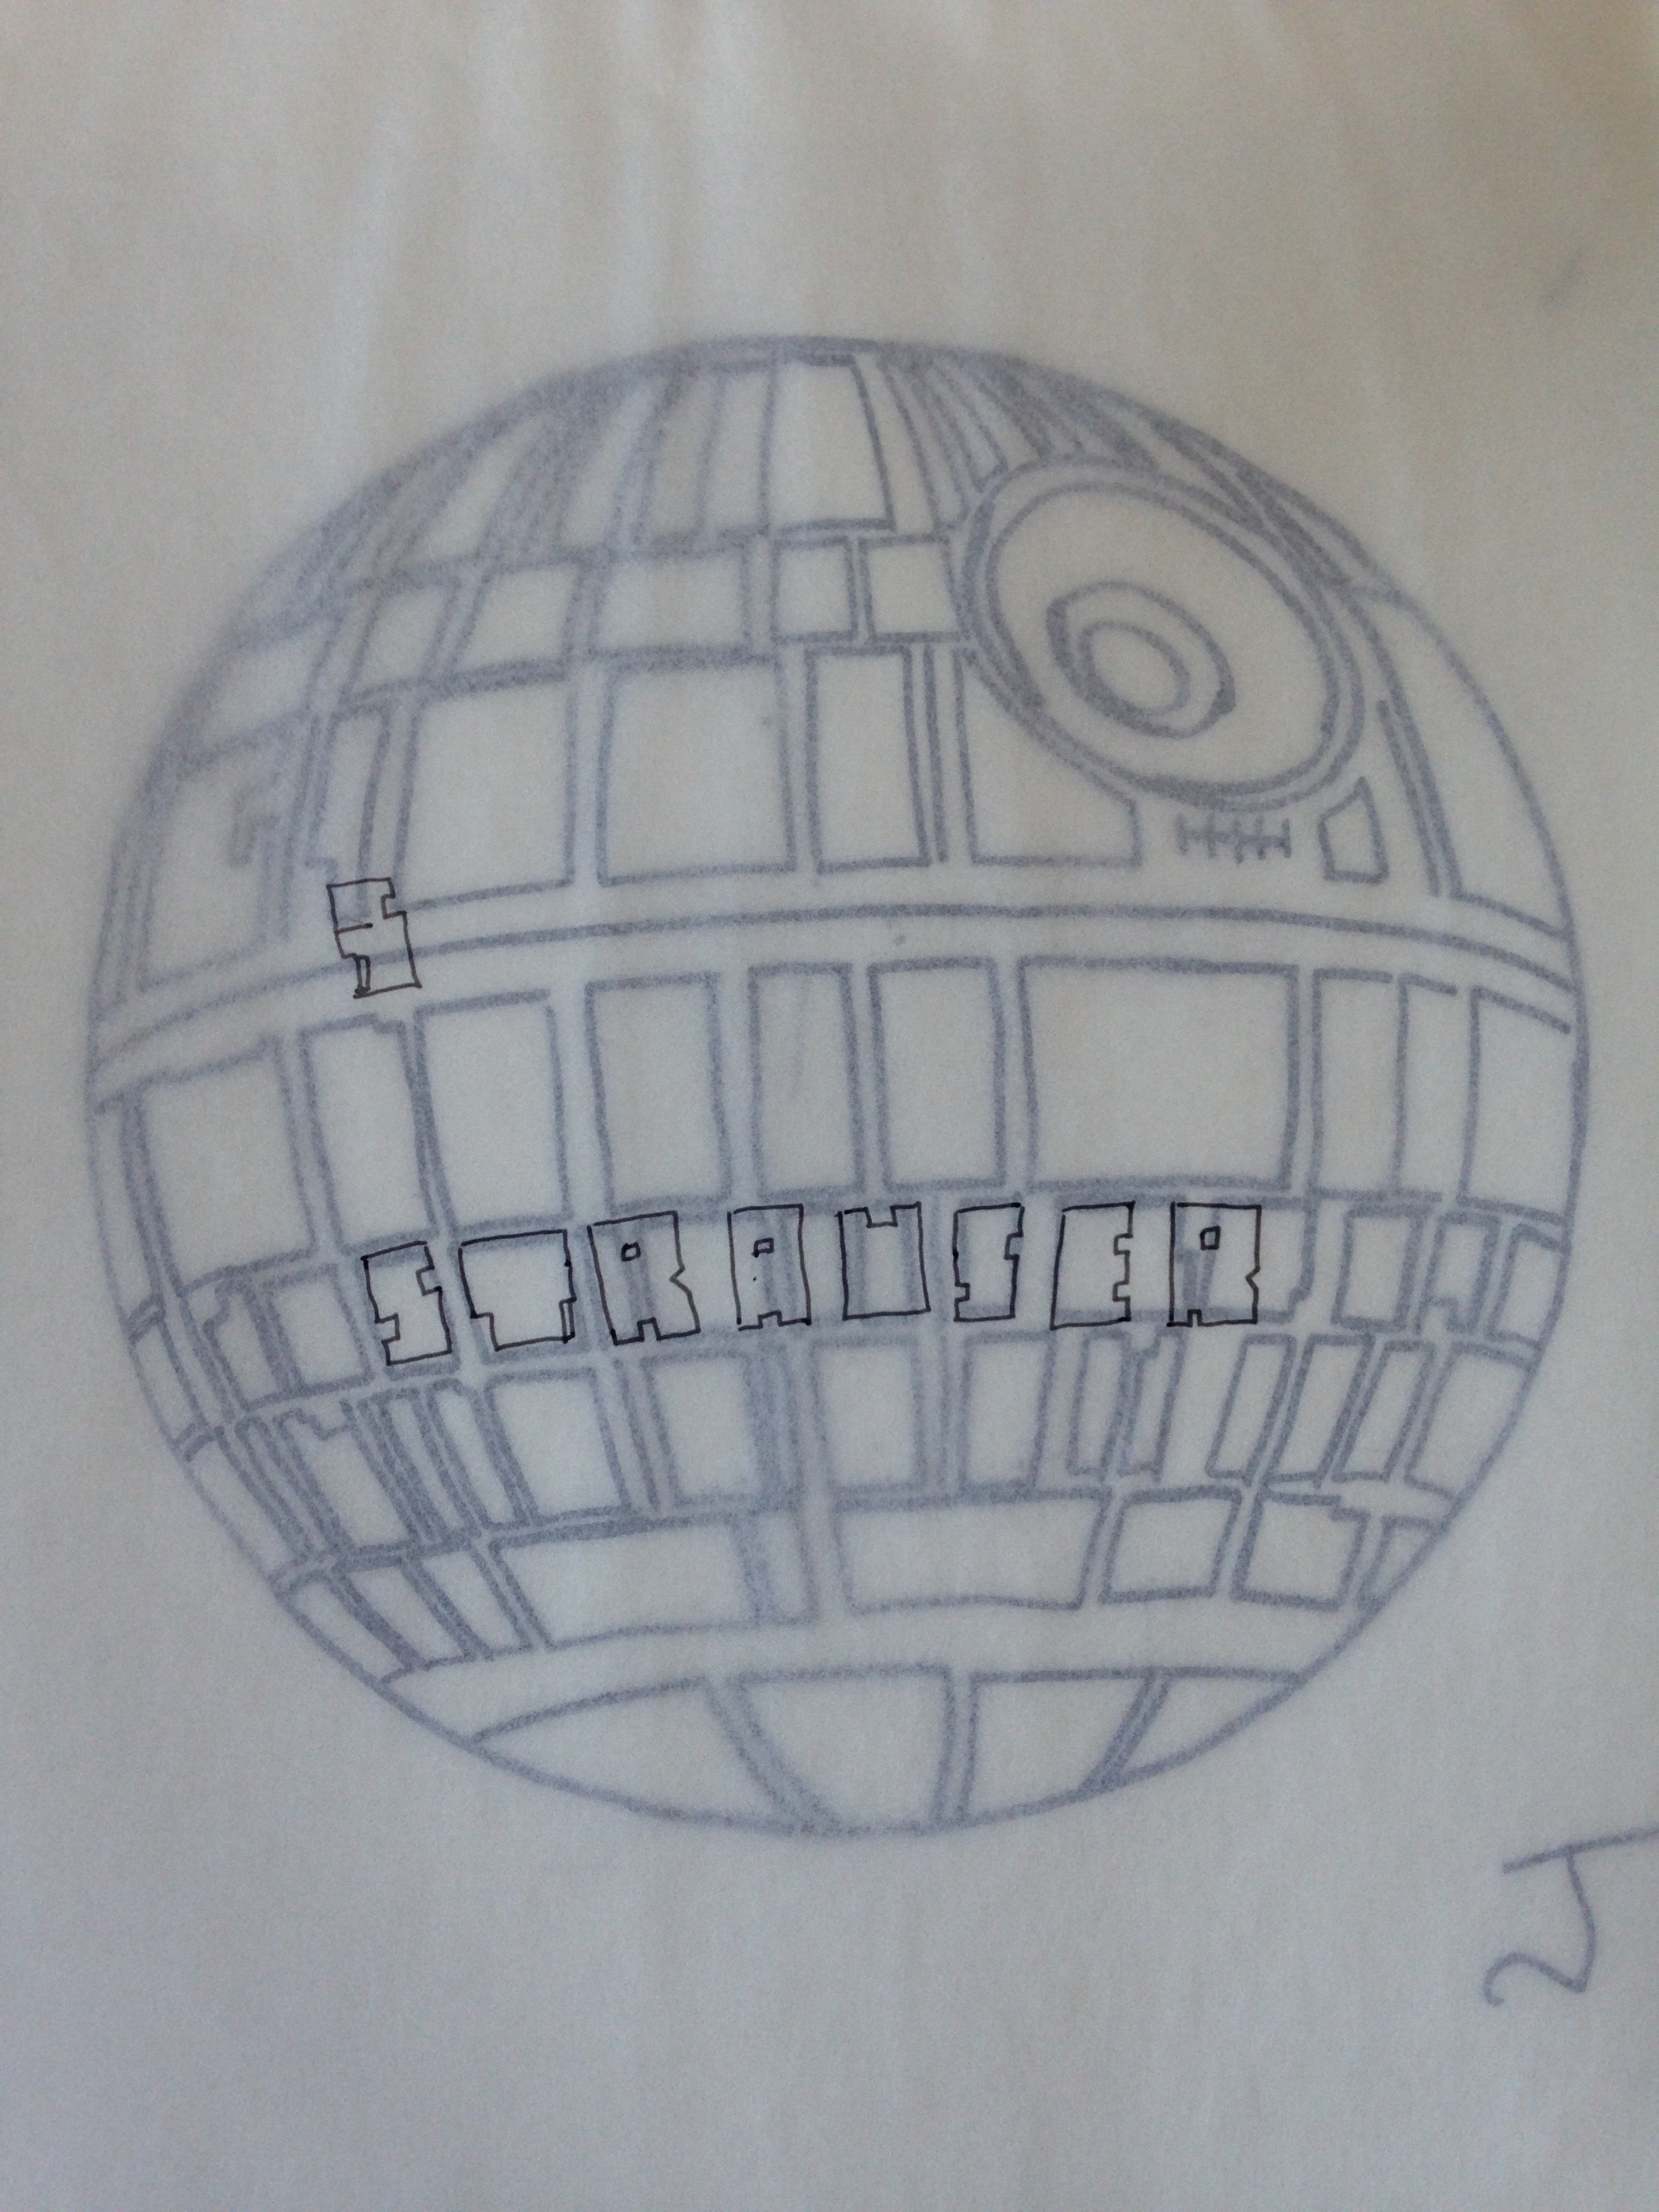
Midway through this process, I was inspired to add our name to the ship, but subtly. I adjusted the blocks in the middle a bit to spell out our last name. Sometimes my cleverness overwhelms me. Of course, by the time I thought about it, I had to retrace several different spots, both backwards and forwards.
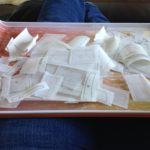
Next, the pattern moved to my table. I traced each piece onto some fusible webbing. I use a pencil for this part – marker gets all over my hands, and more importantly, wipes off the fusible backing. I leave a generous margin around each piece. After tracing all of the pieces, I cut out each piece, leaving a margin around the edge. 1/8 of an inch is enough. It does not need to be precise. You just want to leave enough that you can cut a clean edge once you have fused the fabric.
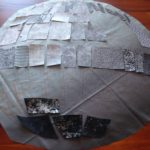
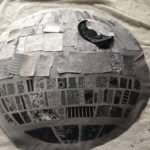
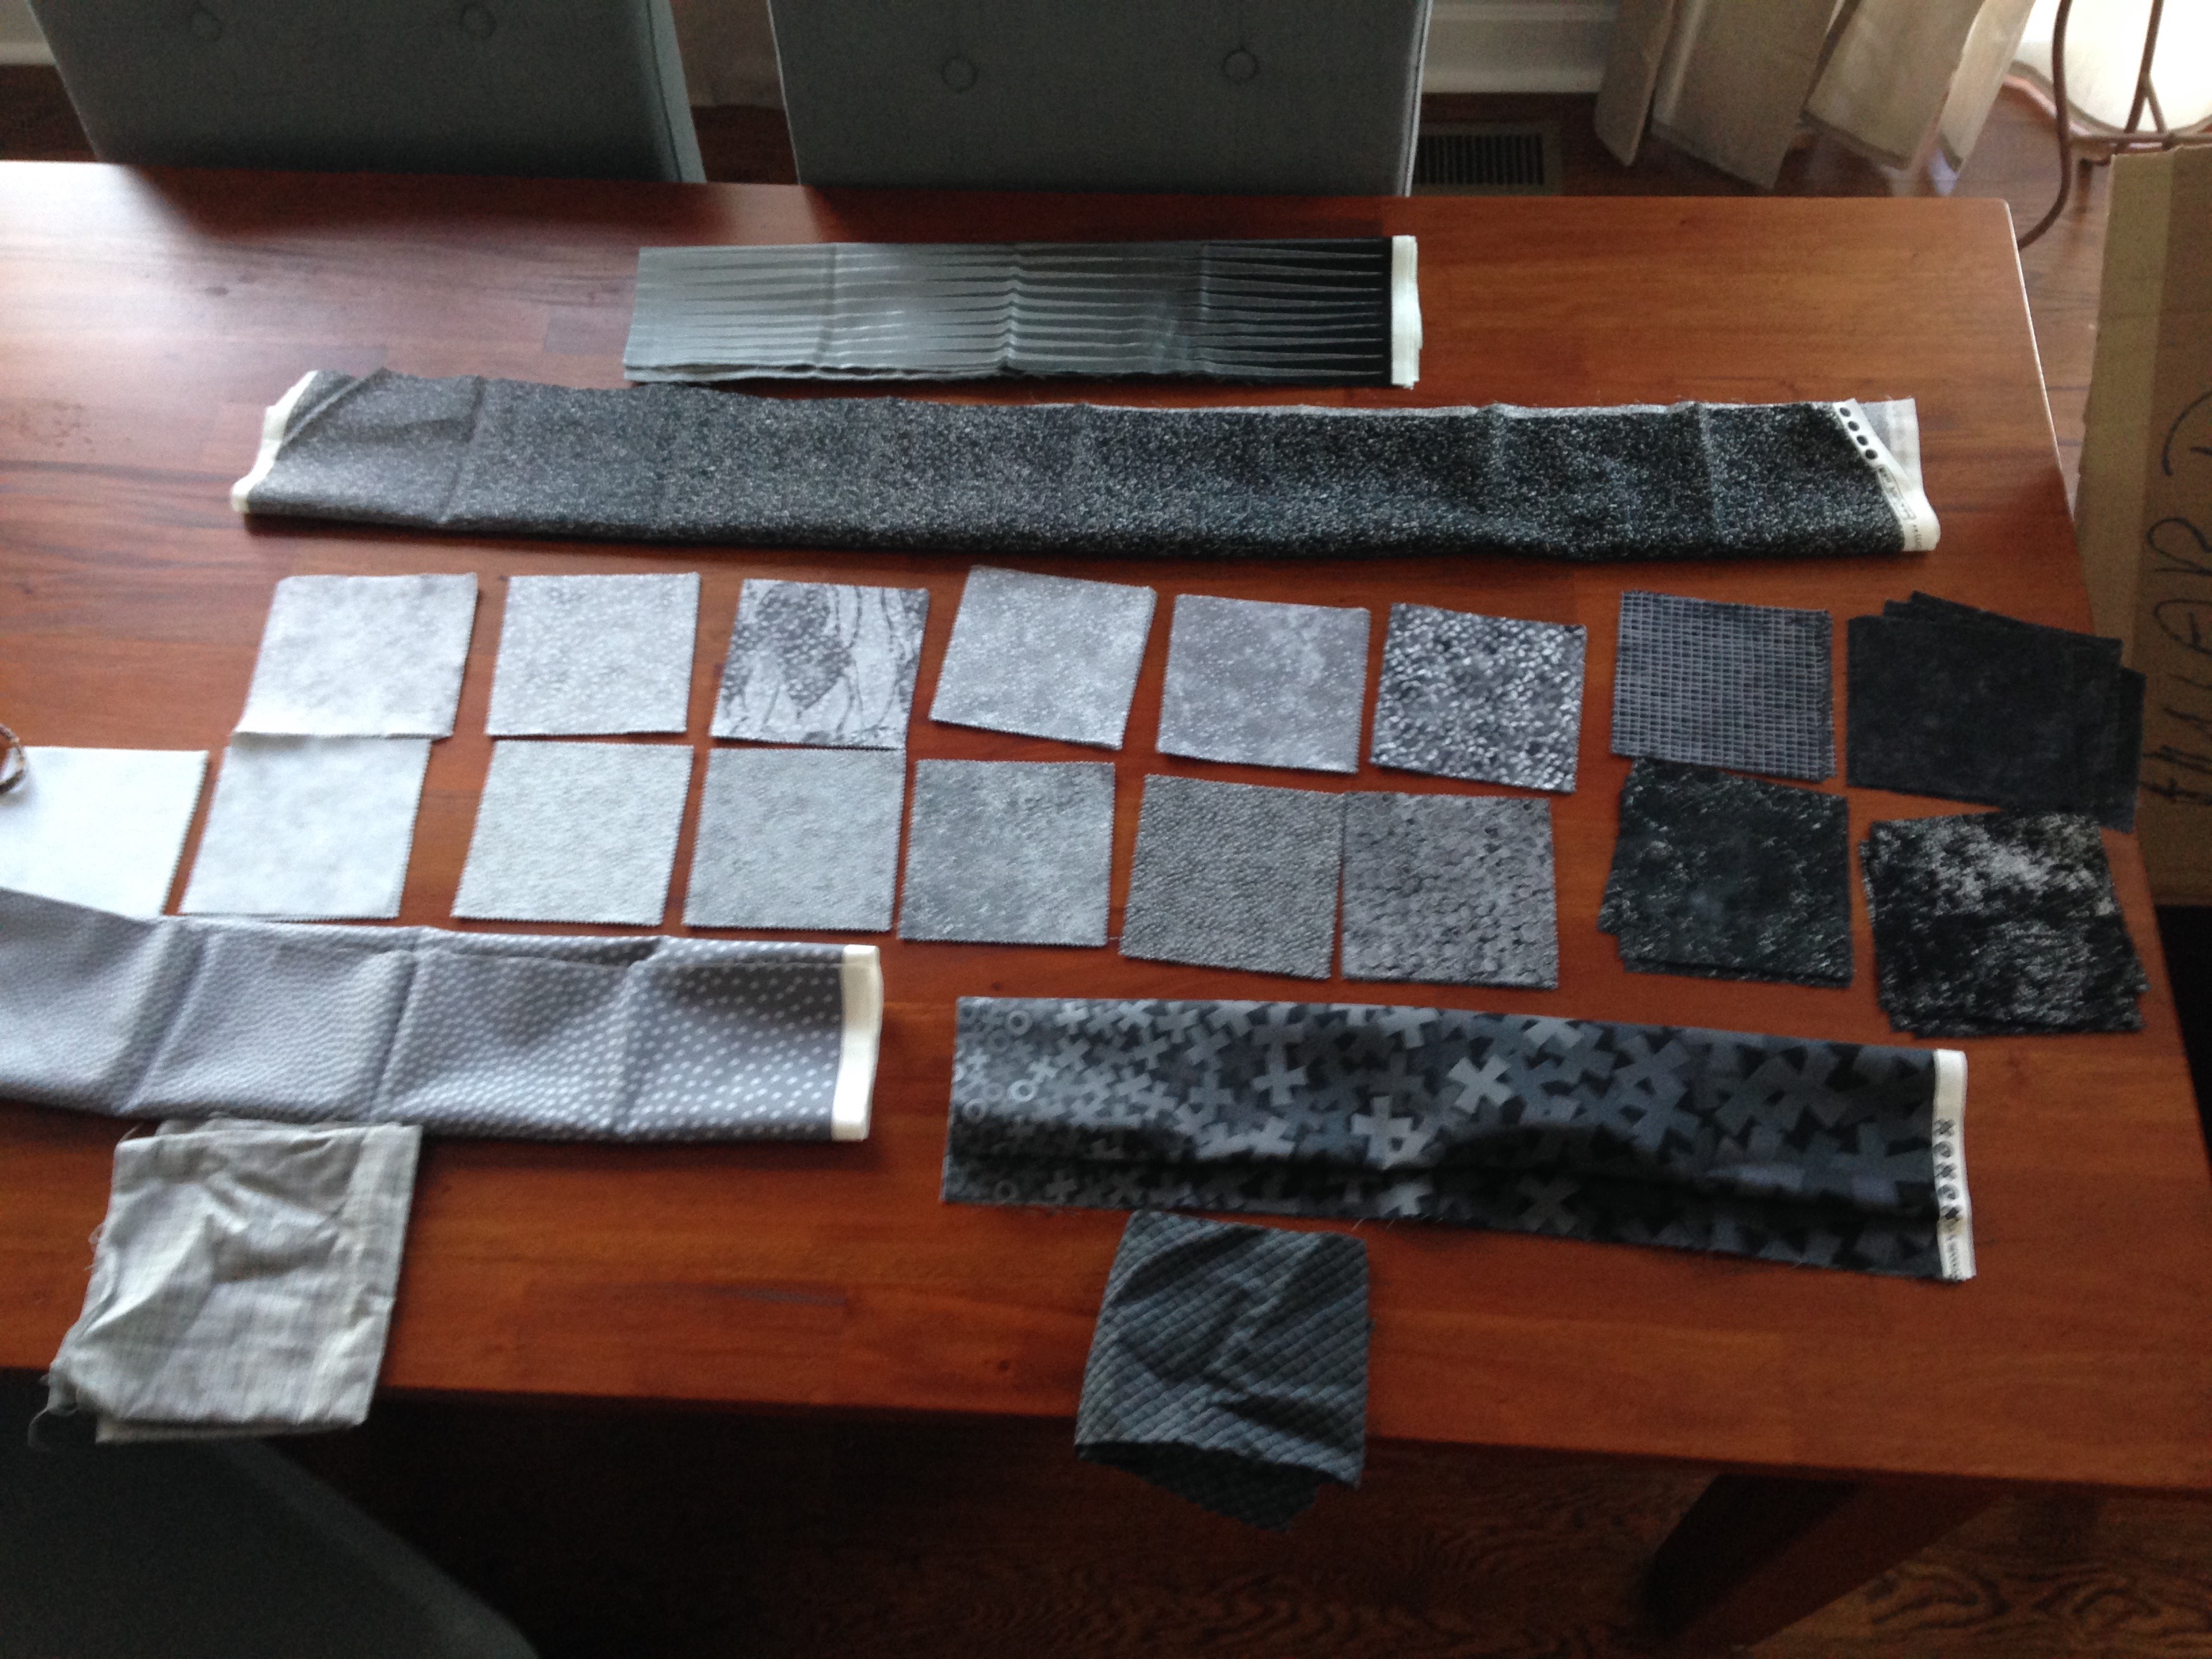 Now the fun part begins. I gathered up a bunch of gray fabrics – charm packs and stash finds – and sorted them by value. I pushed them to one side of the table, and laid down the fabric base on the other side. Then, using the original image, I decided where each fabric should be placed, trying to follow the original shading. I started from the lightest section, moving to progressively darker sections. It would have been better with a larger selection of fabrics, but I was eager to get started, and I didn’t have a large number of grays in my stash. (That problem is being solved slowly, but surely.)
Once you decide on a fabric for a piece, simply press the pattern piece to the back, trim, and place it on the original. I don’t cut it precisely yet, in case I need to make some pieces bigger or smaller to get the spacing I am looking for. It gets very exciting to see the image coming together, until you are about 1/3 done. Then you realize your pile of tiny webbing templates is still huge, your feet hurt, and you aren’t even close to done yet.
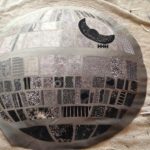
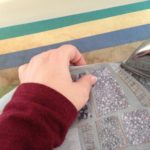
Once your pattern is covered, start trimming the pieces close to the marked lines, and lay them out, one section at a time. I did one row at a time. As the pieces are trimmed up, once in a while a color seems really off. I trace a new one, put in a different fabric, and see if I like that one better. Then, pull off the backing, and press the pieces down. Watching it go from the wonky pile of bits into a clean, crisp image is very rewarding.
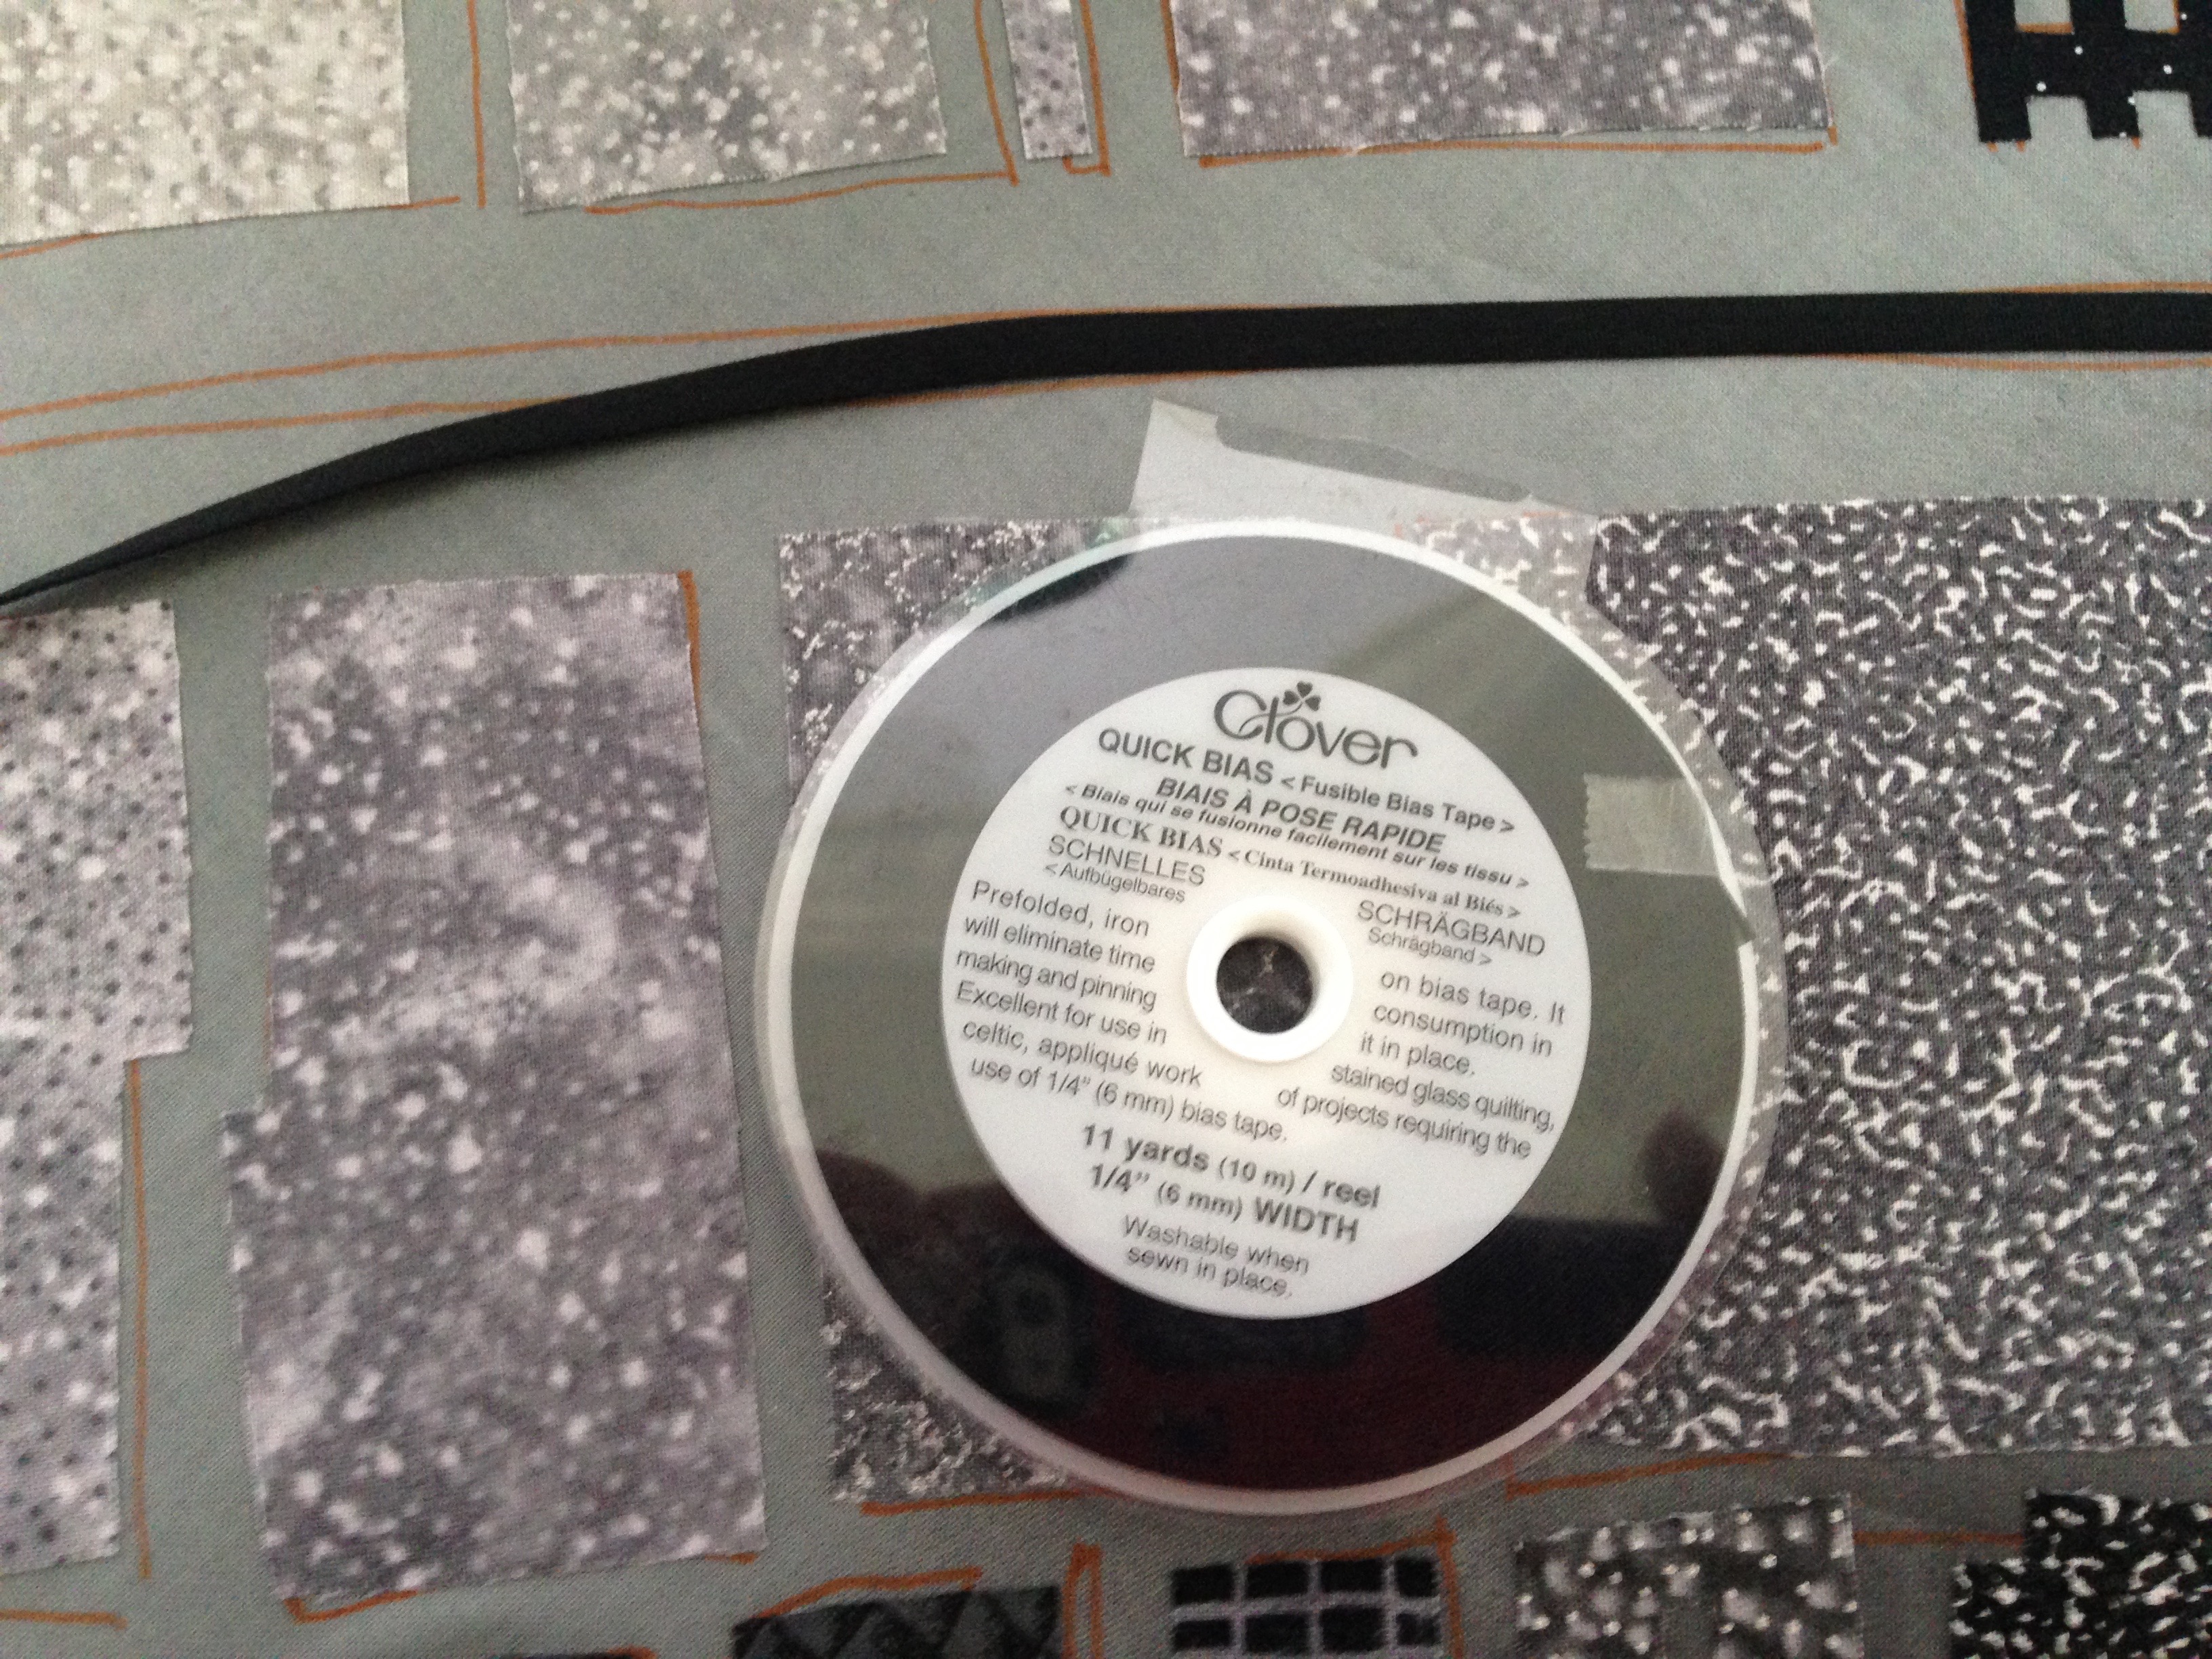
The last step for this image was the line across the middle of the Death Star. I chose to use black fusible bias, by Clover. I can copy stuff, and get it to come out fairly close to the original, but a long, consistent skinny strip is beyond my abilities. Luckily, professional products exist to help me.
I decided to turn the edges of the Death Star background. I like raw edge appliqué, but I want the edge of my death star to be finished. The sateen I used can fray quite a bit, and it is not backed with fusible. I just tucked the edge under and press, a little bit at a time, finessing the curve to get it smooth. If you know of a better way, please share it. I brought my son in to admire my work. He was kind enough to point out the various imperfections in my turned edge. Motherhood is a mixed blessing.
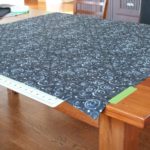
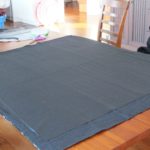
I prepared the backing, background and batting. I stretched the backing onto my dining room table, taped down the top and bottom, and left my cutting mat underneath to protect my table top. I laid out the batting, and then the background. For my quilt background I am using a solid black sateen fabric. It is from Jo-Ann fabrics. While I am usually a fabric snob, the black sateen is luscious. I have used it in many of my quilts, and I love how the slight sheen shows off my quilting lines. It is 100% cotton – I’m a rebel, not a lunatic. It has a tendency to fray badly on the edges, so it is best for projects where I am on a tear, rather than ones that will sit around and not get finished for many years.
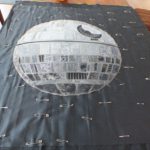
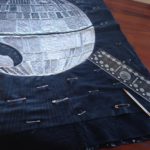
I placed the Death Star on the background, and was planning to just quilt the whole thing together. I clipped inside the curves, to try to smooth out some of the less-curvy bits, and pinned it down. I then immediately lost my mojo. I left it for the rest of the day, and the next morning I woke up knowing it needed to be attached to the backing by hand. (My husband is disturbed by my manic quilting jags. The fact that I clearly dream about my quilts surprises him, maybe more so because I wake up jabbering about sewing, rather than my usual sleepy stumbling around.)
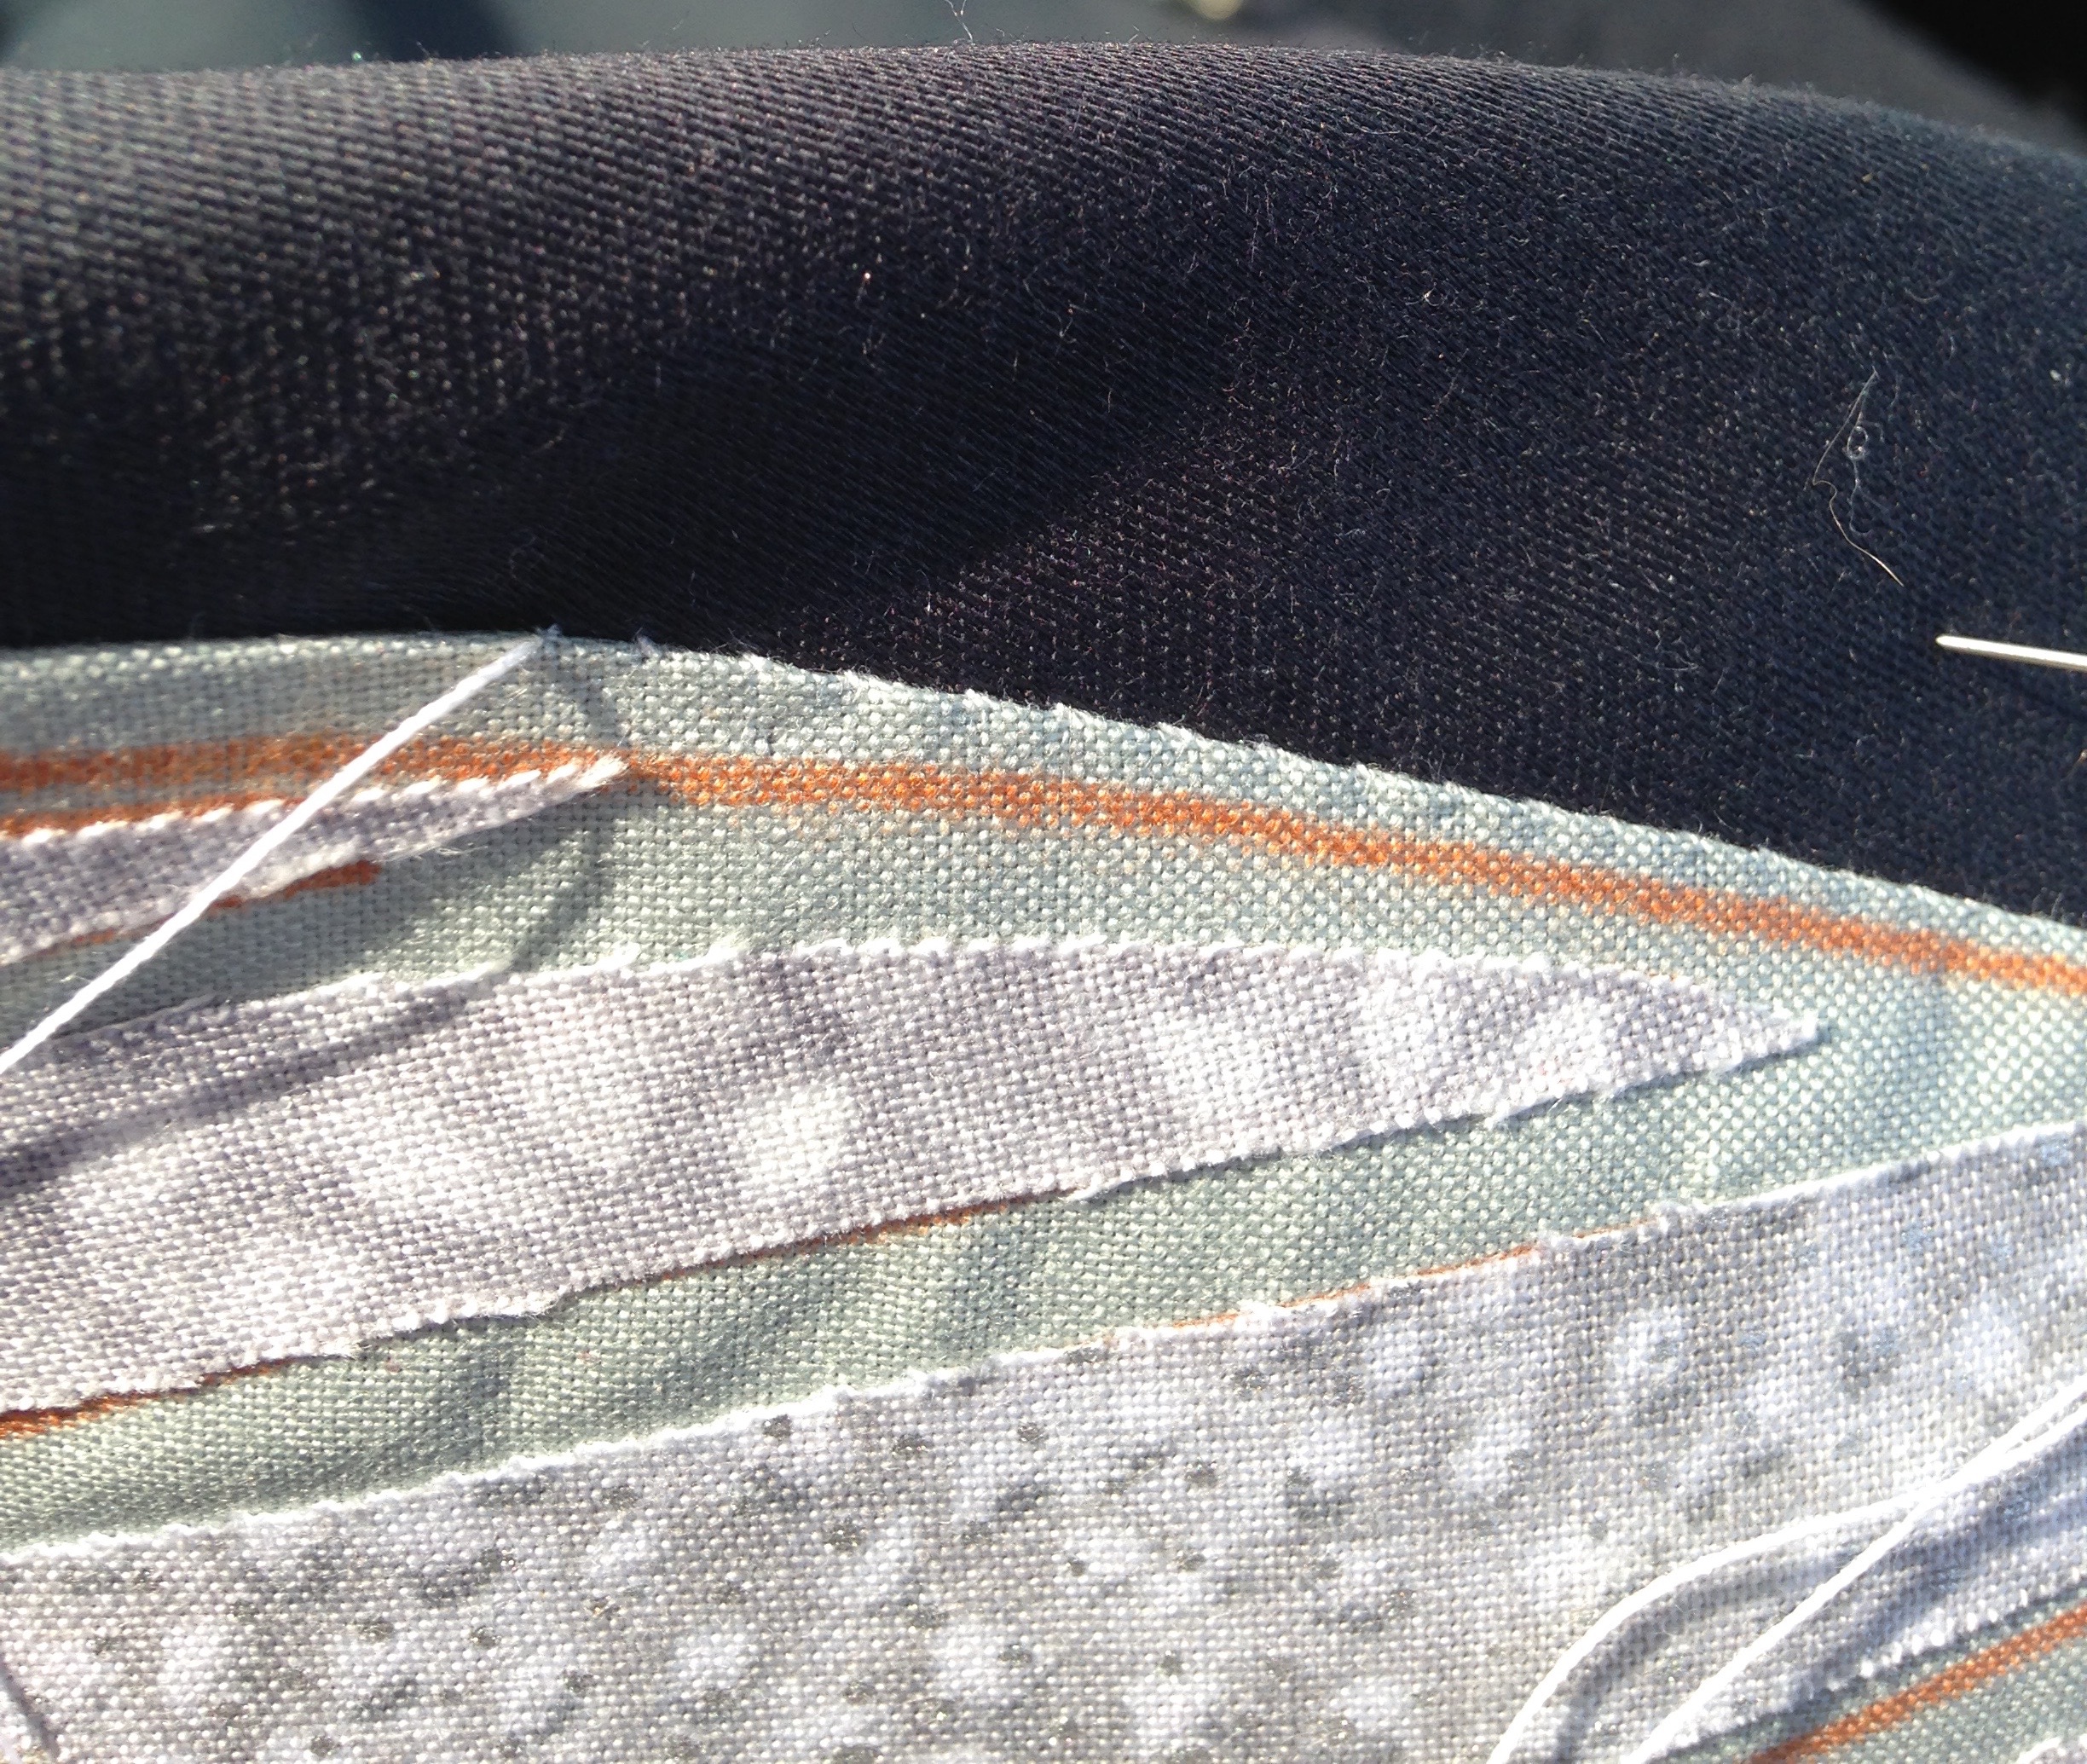
Anyhow, the Death Star came with us for Sunday dinner with the family. While everyone else watched football, I needle-turned the edge, getting it pretty darn round.
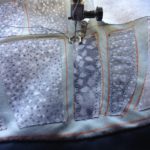
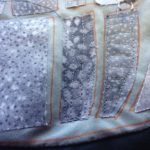
I began quilting by pulling out an assortment of threads, from black to light grey. I began with the black thread on the darkest sections of the Death Star. For most of the sections, I stitched right inside the outline of the shape first, then I filled in with various geometric patterns, using my free motion quilting foot.
Once the Death Star was fully quilted, I marked the background pattern. Usually I’m a free motion girl, but this time I wanted straight lines, to emphasize the curve of the ship. I used a very sophisticated system of ruler and silver pencil. I marked a few of the main lines – then worked in other lines mostly evenly.
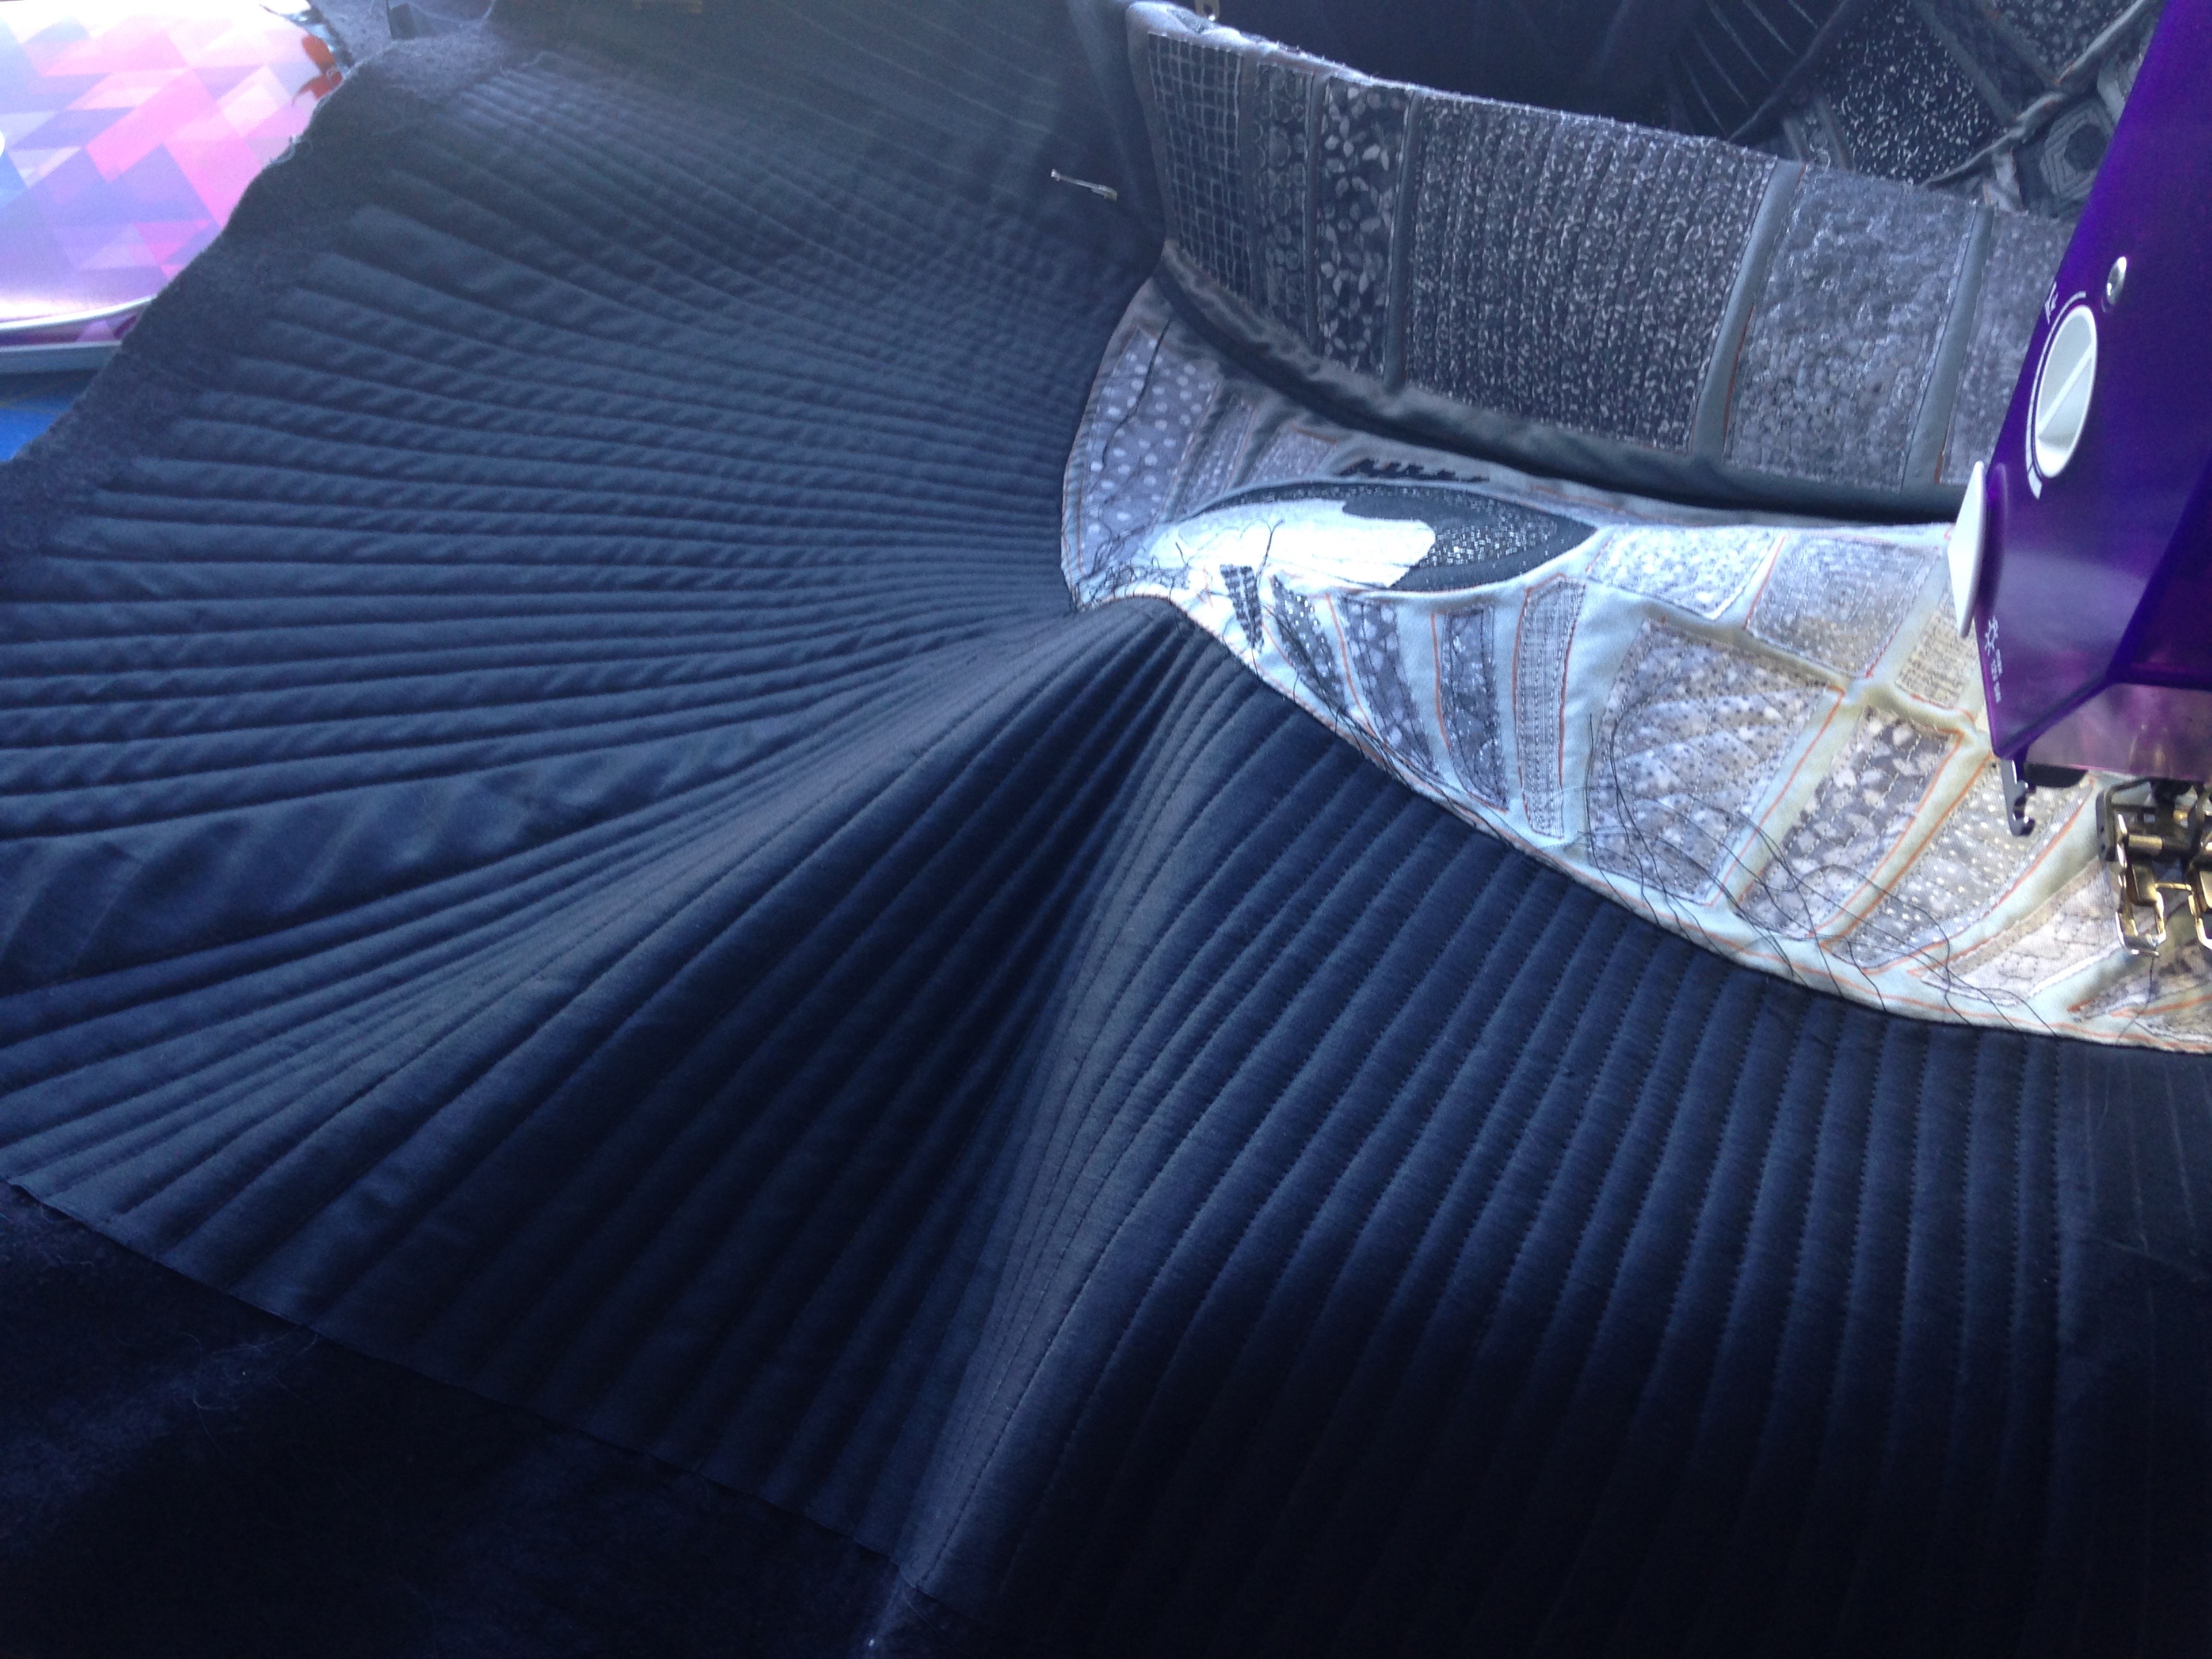 Walking foot time!
Finally, I bound the quilt in the same sateen. I decided to attach it to be back with hand stitching. Usually I do it by machine, but one of my quilts I submitted to a show was criticized for the lack of perfection in my machine binding. I’m still annoyed.
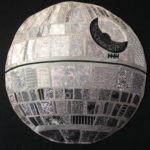
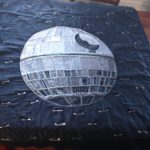
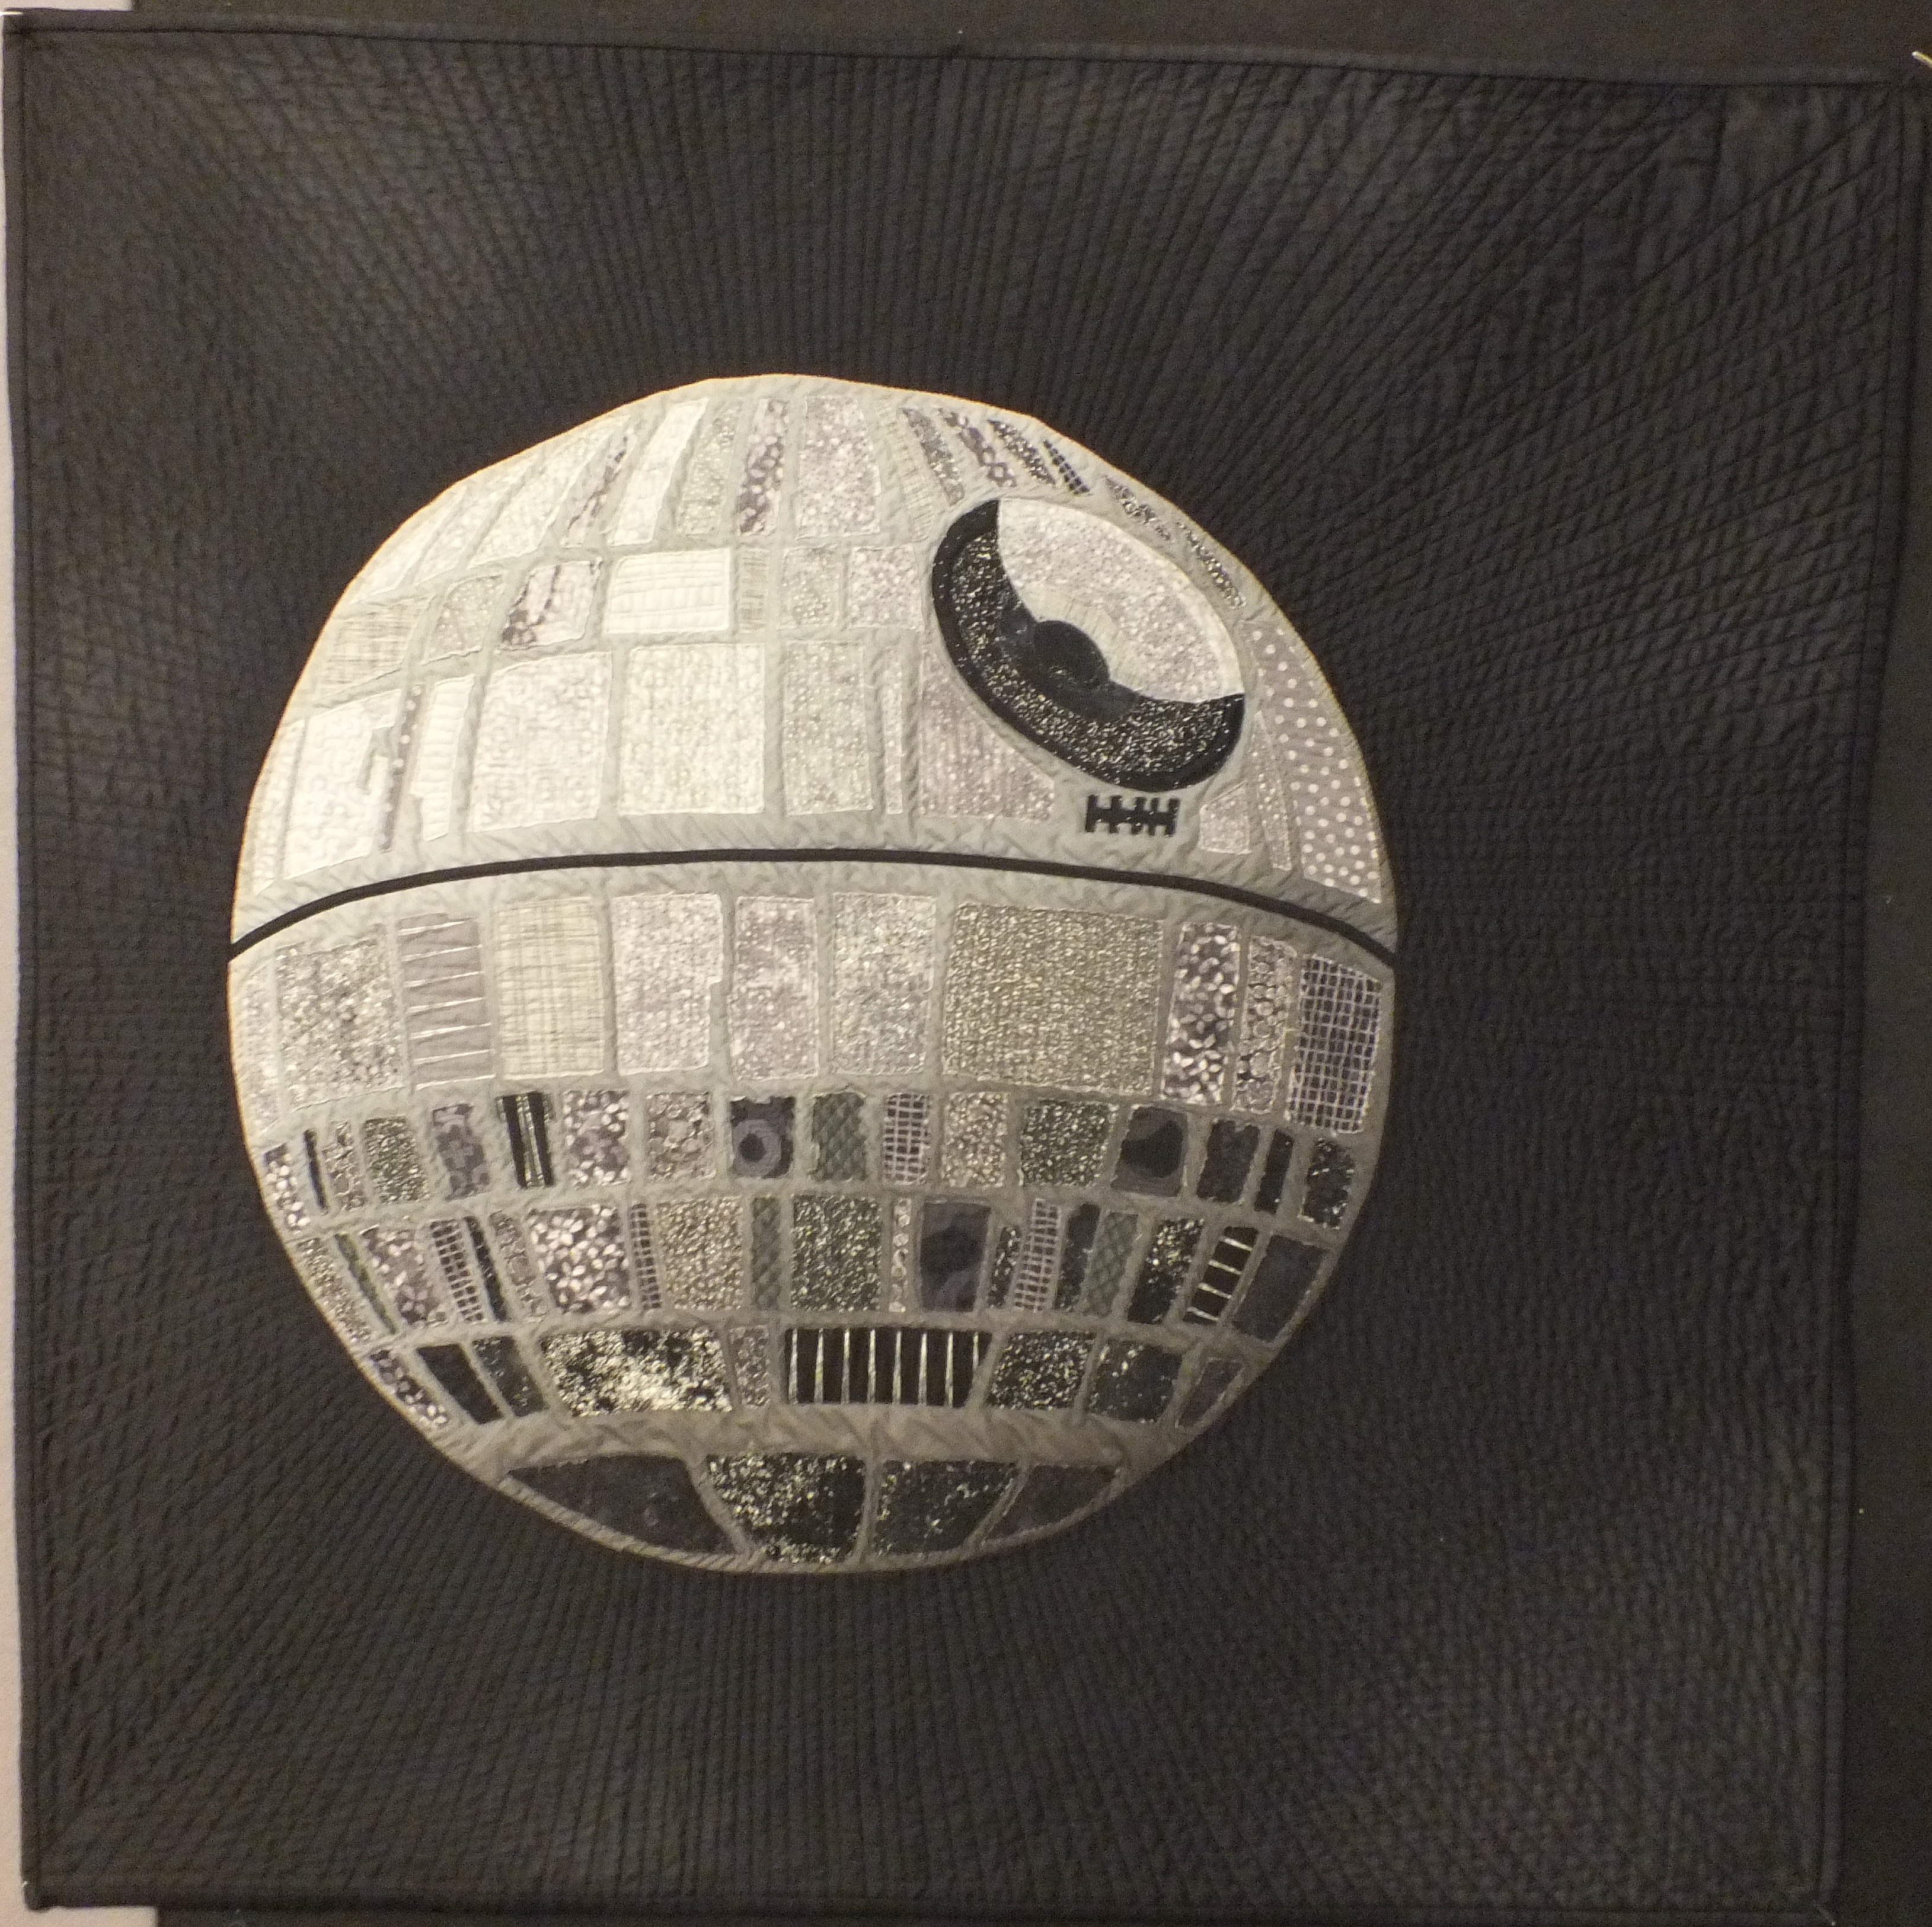 And here it is, in all of it’s imperfect glory, after a run through the wash to remove the orange marks. I’m in love. My “Strauser” section is maybe a bit too subtle, but I think it is fun to have a secret message in there, even if I’m the only one who can see it.

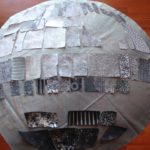
Amazing quilt! What I love about your process photos is the piecing gets more 3-d with every photo! I even went back to re-read the directions to see if I missed the step where you were piecing over a domed object….nope, it was just the visual effect making it look that way. Great, great job!
Holy criminy that is STUNNING!!! Beautifully done!
It’s GORGEOUS. I love!
An amazing work of art, a great story told with wry humor, and a triumph of good over evil. I’m speaking of the quilt, but this also applies to Star Wars.
Looks fantastic
Wow!!! This is a stunning quilt!
Awesome quilt! Thanks for sharing.
Wonderful! Both the quilt and your description, I’m still smiling about your son’s comments. I have a Dad, two brothers and a husband who would be just the same. My son is only four months old so I’ve his comments to come 😉
I don’t have an adjective strong enough for how amazing this is! WELL DONE!
Zowie, have you considered entering in at a fair or contest somewhere. I totally appreciate
all the love and dedication you put into the quilt!
Wow! You should send a picture on over to the Disney marketing team, they would love to see this!
This is glorious! Fantastic job.
Omg my husband loved this too! Do you have a fabric list I would love this to be my first quilt !
Thank you! For my background I used black sateen from Joann Fabrics – make sure you get the 100% cotton one. Death star is a fabric that is not available anymore, although I have seen some other grey ombre fabrics that would work. The greys and blacks in the death star are from grey charm packs and yardage I ordered from Equilter.com and pieces from my stash.
thank you ! I am going to find grey/black charms
if you think of anything else that will help me out that would be great thank you !
are you on Facebook? I shared your project on there 🙂
Hi again I found the shimmer fabric but only in 42 5×5 chip pack, will that be enough? Thank you
That was enough for me.
That is amazing!
I’m working on this same quilt for my son. I already had the copy made at Staples when I found your post but you’ve given me lots of good information to finish it up. I hope mine is as nice as yours!
Have fun! I’d love to see a photo when you finish!
If you want to make it easier to turn the edges of a circle to hand applique it, what I do is lay your circle right side to a scrap piece of fabric that you don’t mind throwing out, sew all the way around the edge of your circle, then trim the edge about 1/4 from seam and clip so it will lay flat. Then pull the scrap back center away from your circle and clip a large enough hole in it to be able to turn right side out. Iron it flat all around the edges, then trim off the backing scrap to about 1/2 inch all around. Then lay your “finished” circle on your quilt top, pin and hand stitch!😊