Welcome to the Calm Lagoon Blog Tour.

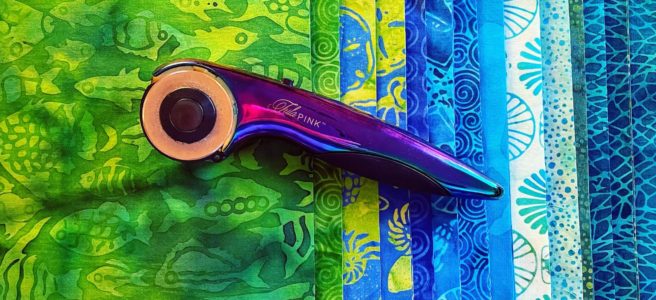
Sherry of Powered by Quilting is at it again! She is releasing another fantastic signature line with Island Batik, and I am one of the lucky makers showing off her collection this week. Calm Lagoon is all soothing blues and greens, and the moment I saw it, I knew I wanted to make a landscape quilt with it. I dithered over technique for a long time, waiting until the absolute last minute to get started on my project, which is why I only have a quilt top to share today. The top was finished the night before my family left on vacation.
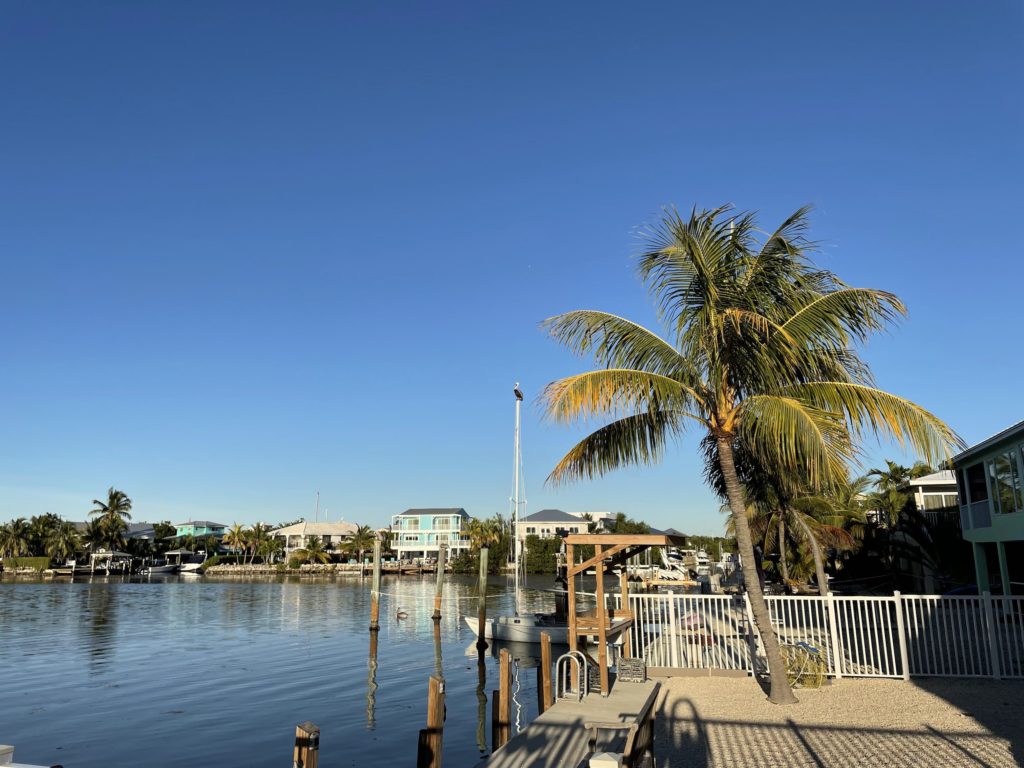
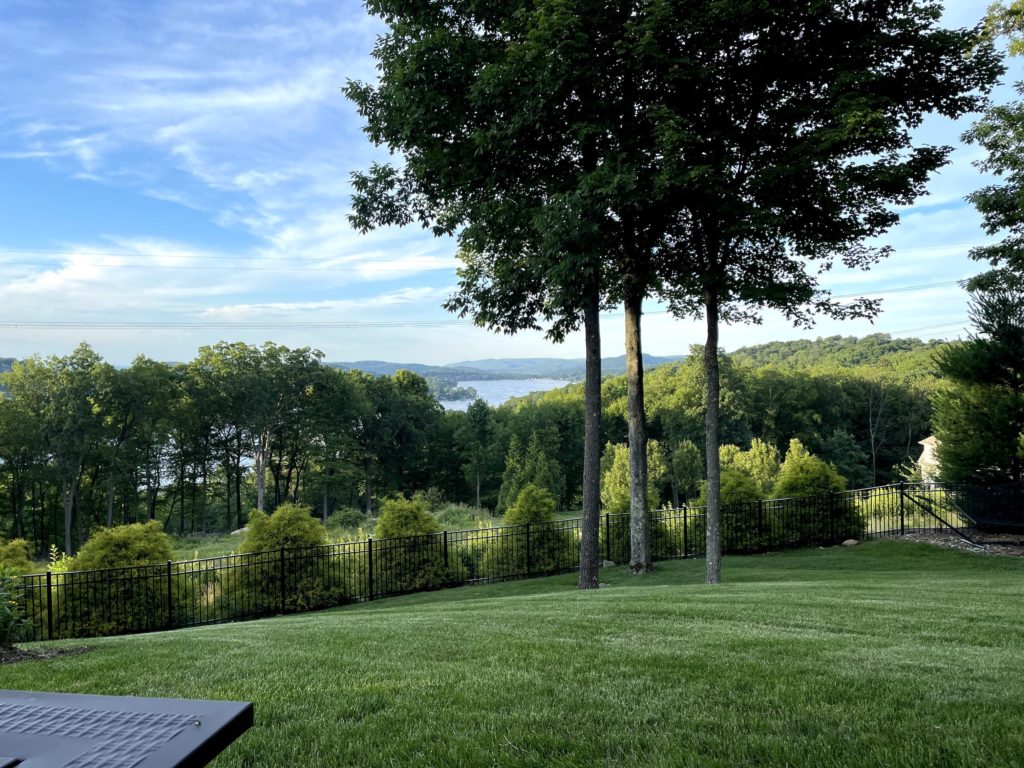
I take lots of landscape photos. From my backyard, from travel, from a moving car – I take them all of the time. There is something I love about the natural gradient of a landscape photo. The way the sky fades from light blue at the horizon to darker above, the overlapping lines of hills and trees, and the reflection lines in water all excite me. Honestly, this view from my backyard is what got me started with painting this year.
I considered several methods to make this quilt top. First, I thought about making a pattern directly from a photograph. Tracing lines, enlarging the image, and having it printed out on a large format printer. I also considered doing a freehand layered appliqué approach. Neither of these ideas felt right, though. In the end, I decided to use improvisational curves and a gradient sort. I’ve been taking an art quilt class with Irene Roderick, and this technique just felt right to me. This top was easy and exciting to make.
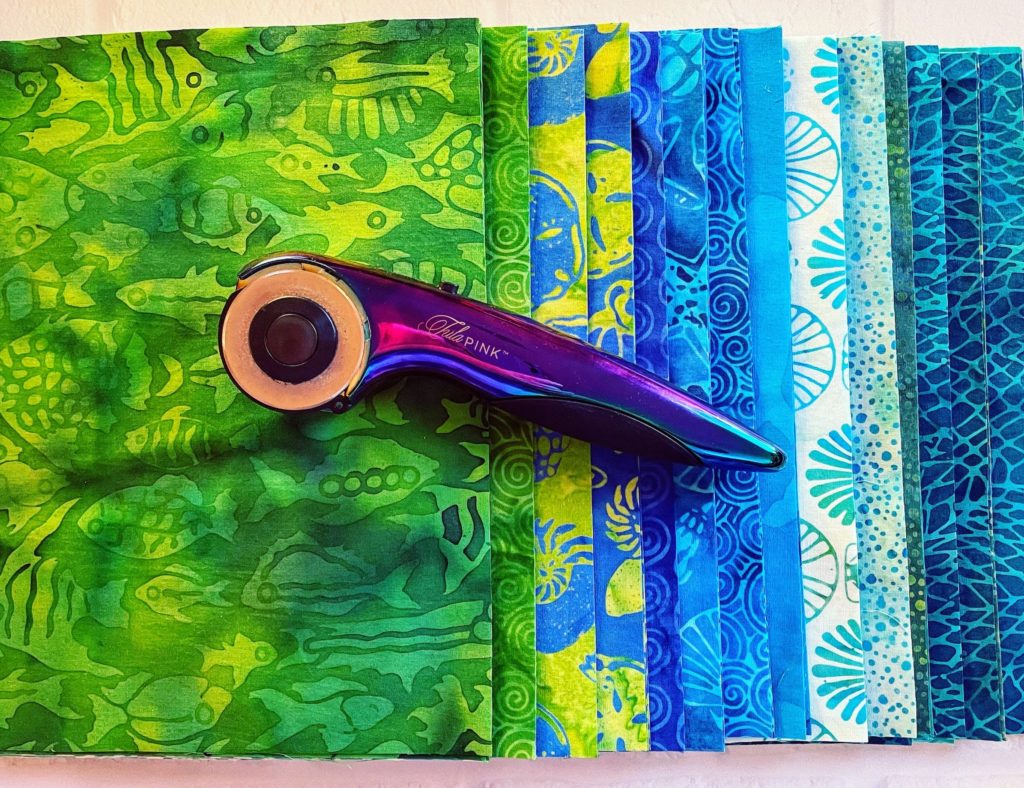
Here are the Calm Lagoon fabrics – all sorted in the color order that felt right to me. I think a few may have been flipped when they went up on the design wall, but that is all part of my process. Things look different once they are allowed space to breathe.
I don’t have a photo tutorial for you for this project, but the technique is very similar to the one I shared in my Ocean Waves block tutorial. I started with blocks that were 9″ x 9 1/2″. Don’t do that to yourself – just cut 9″ squares, or make them 9″ x 10″. Mine were hard to tell if I had them going in the correct direction. Ideally, the fat quarters could be cut into 4 equal rectangles, but there is variation when you are dealing with precuts. Also, I wanted to have some small scraps left to play with.
I layered two fabrics right sides up, cut a gentle curve across the middle of the block, then pieced them together. No effort was made to match up the curves across blocks. I like the way they stagger – it feels more impressionistic to me.
I put them up onto the design wall as I went. Seeing the quilt come together is always so motivating to me.
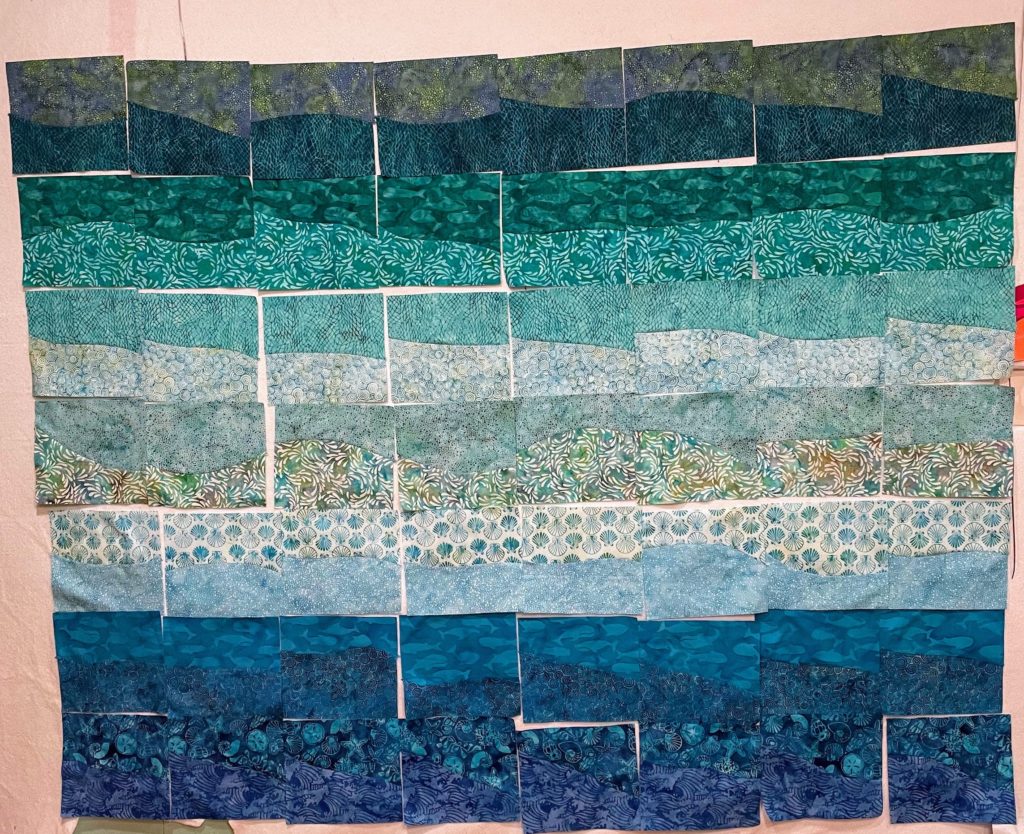
Look at how beautifully this top turned out. The nice, gentle curves worked perfectly. I love how much the top looks like the view from our vacation rental. It finished up at 85″ x 90″. I ordered some more fabric to add some blocks to it to make it large enough for my king sized bed – it has been a long time since I made a quilt to sleep under. I’ll share again once it is all finished.
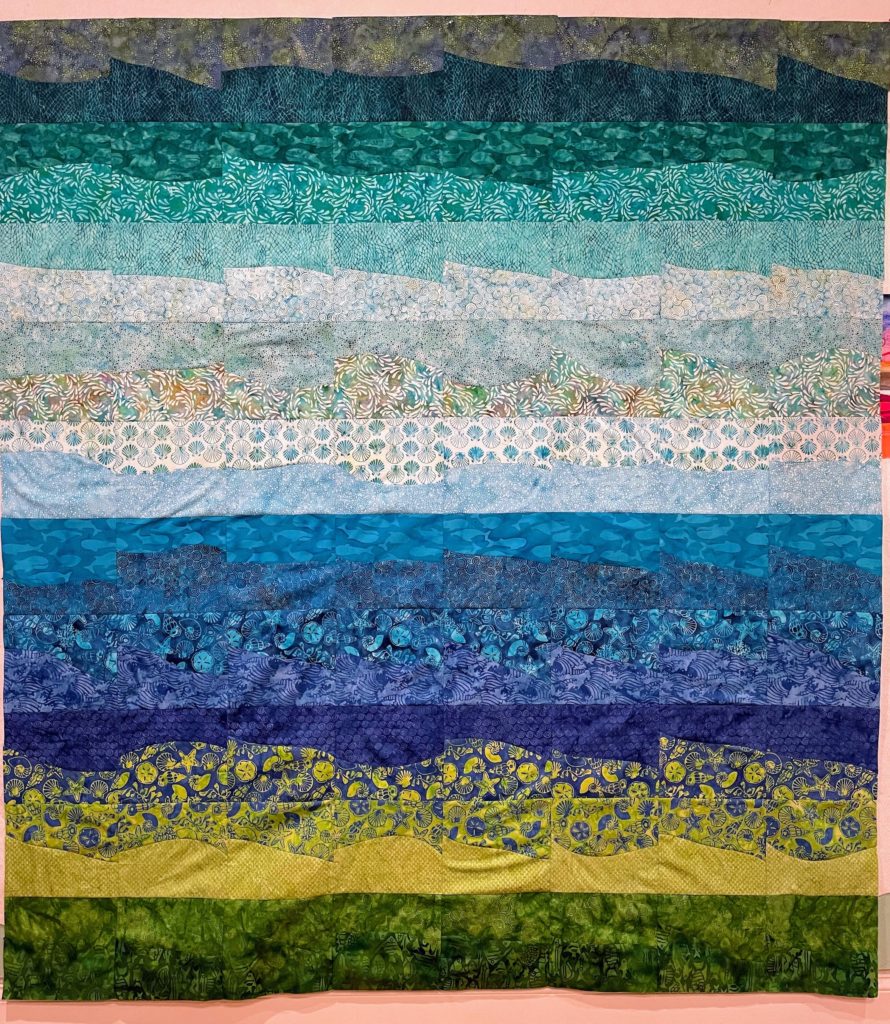
I plan to quilt this beauty up using a variegated thread, but first I need to consult my color cards to make a final decision on which color to use. It is telling me that the Modern Wave quilting pattern will be perfect. I can’t wait to get back home and finish it.
Want to get some Calm Lagoon of your own? I found precuts at Creekside Quilts on Etsy.
Be sure to visit the other makers on the Calm Lagoon Blog Tour. I’m sure everyone will have amazing projects showing off this fabric. Sherry is giving away a package of Calm Lagoon scraps – be sure to enter at Powered by Quilting!
| December 1 | Powered By Quilting |
| December 2 | On Williams Street |
| December 3 | Katie Mae Quilts |
| December 4 | Dizzy Quilter <– You are here! |
| December 5 | Masterpiece Quilting |
| December 6 | Paleofish designs |
| December 7 | Devoted Quilter |
| December 8 | PamelaQuilts |
| December 9 | Studio R Quilts |
| December 10 | Slice of Pi Quilts |
| December 11 | Dragonfly’s Quilting Design Studio |
| December 12 | Linda B Creative |
| December 13 | AnjaQuilts |
| December 14 | Powered By Quilting |

What an awesome quilt for your bed this will be! It will be fun to see it all quilted up!
Thank you, Kathleen! I’m definitely looking forward to a new bed quilt. The one we use now is a little too small.
Oooh, what a beautiful quilt this is going to make for your bed. Once you pieced the curves together, what size did you square up the blocks to?
I hate to confess this to you, but I didn’t square them up. They were all within 1/8″ of each other, so I fudged a little bit here and there. If I were to do it again I’d probably cut squares at 9″ and square up to 8.5″ or 8″, if I could get away with it. Keeping the curves pretty gentle prevented a lot of distortion.
I love this quilt! Such an amazing technique! Worked so well with these fabrics.
When I first saw this, I thought it was a mini quilt. I can only imagine how impressive it is as a bed quilt! Thanks so much for sharing it.
It looked like a mini quilt to me too. Beautiful. I have used this technique to make a quilt.