As a longarm quilter, tension is an ongoing struggle with every single project. Every time you change bobbin, thread, batting, fabric, etc the tension can get out of whack and make your stitching less than perfect. I don’t really think about tension issues when I’m piecing – that feels like a safe place to just create without worry. However, when tension is off on your sewing machine, it can lead to problems with your project.
Today I’m going to go over tension issues in piecing. Last week I worked on a velvet quilt, which knocked my Bernina for a loop. When I went back to my normal quilting cottons, the Bernina let me know she wasn’t happy and I would need to spend some quality time with her. After a thorough cleaning, she was still having problems. Check out this stitching.
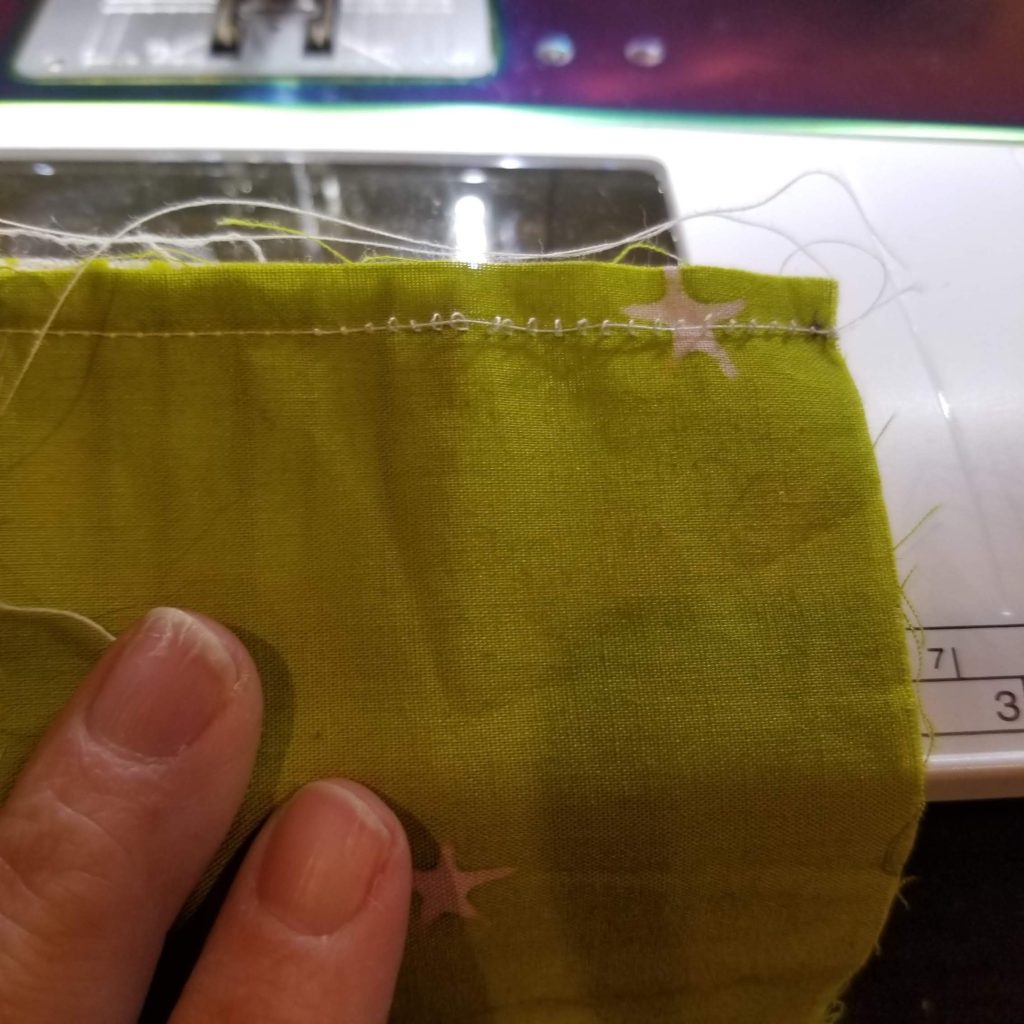
I’m showing you the back of my piecing. There is a rule of thumb that states that if the problem you see with your stitching is on the back of the piece, there is a problem with the top thread. (The converse is also usually true – if the problem shows on the top, it is your bottom thread.)
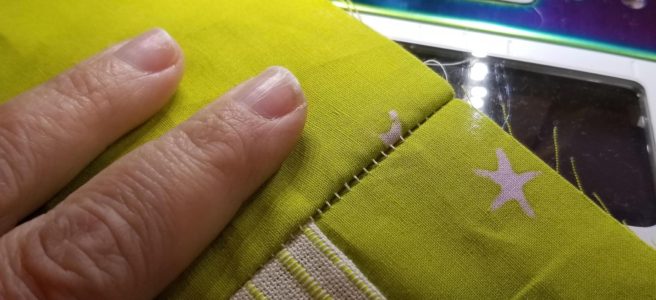
So, why would I care about these stitches? There is thread there, so the pieces won’t fall apart. But, look what happens when I try to press this seam. All of the loose stitches show. It also is a weak seam – over time, these stitches will wear and my quilt will start to fall apart. The best way to deal with this is to pull the loose stitches out and re-sew the seam.
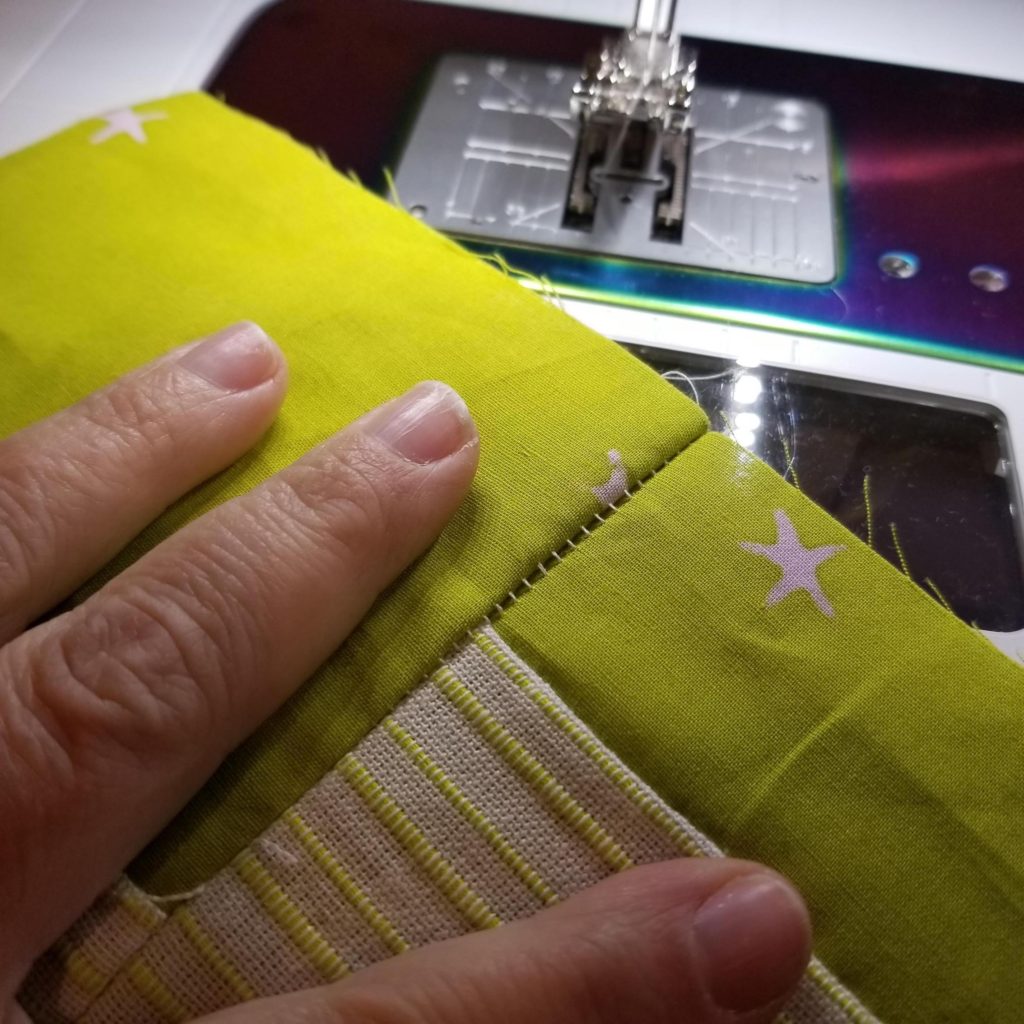
Luckily, these stitches are super easy to pull out. Just pull the bobbin thread out, and the top threads come off easily.
This was a quick fix for me – I looked at the settings, and noted that my top tension was set to zero. I probably hit the screen when I was tipping the machine back to clean it. Easily fixed. I set my tension to 3, and all of my stitches were better.
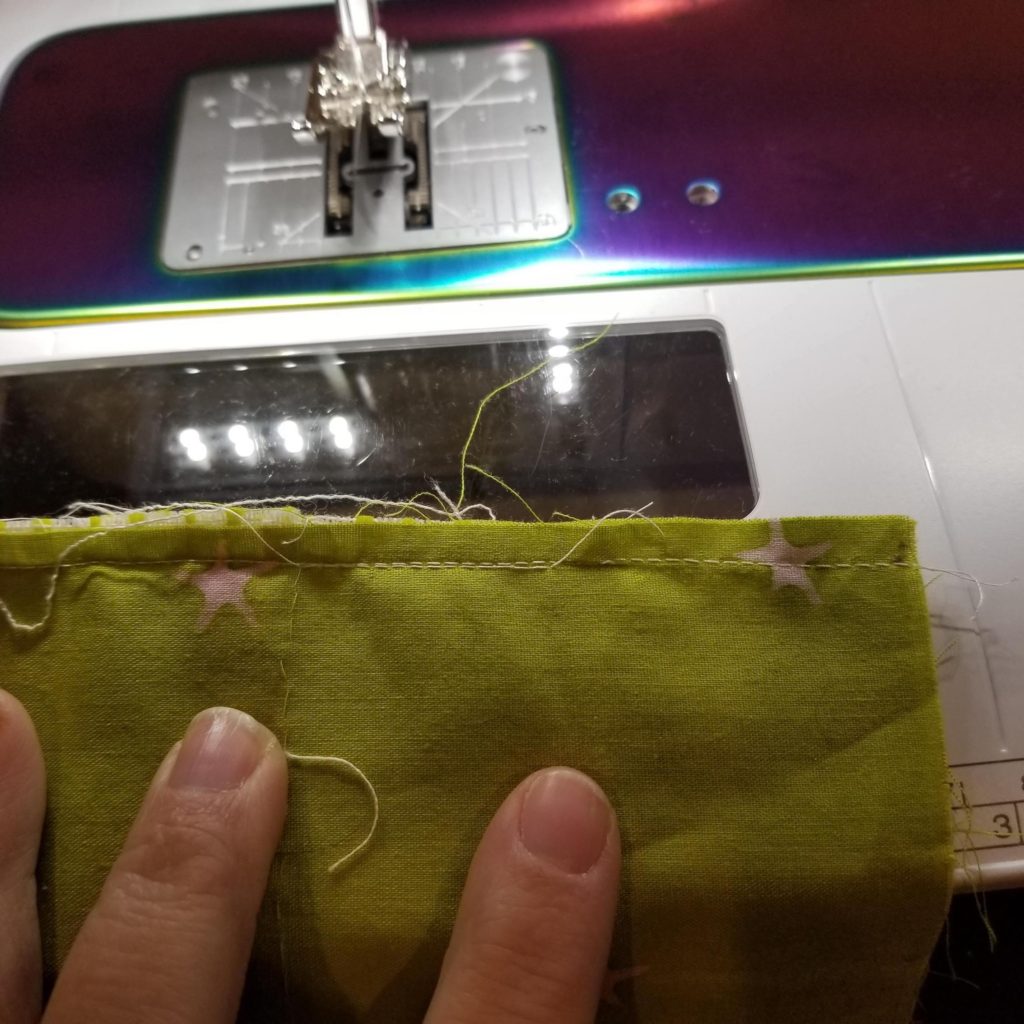
I re-stitched the wonky portion of the seam, and look at it now. Much better.
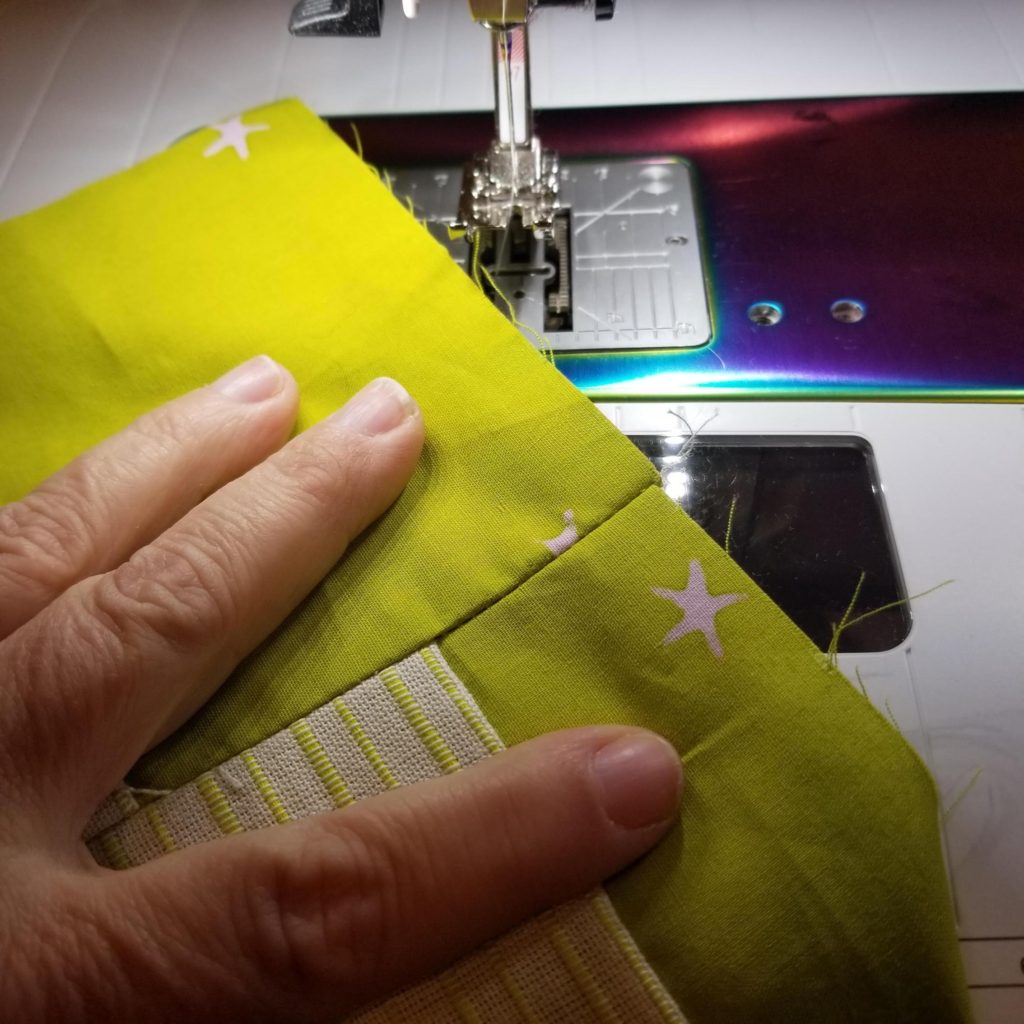
Little things like this can make a big difference in the appearance of your finished quilt. Loose seams will ruin all your careful cutting and accurate piecing work. Those little bits will lead to blocks that don’t fit together correctly. Always check to make sure your machine is working properly when you sew.
The block I’m working on is part of the 2020 Collection Quilt Block of the Month, being run by Gotham Quilts. This will make the third version I have worked on. I’m also leading the monthly demos, so it is a big project for me. My seams better all be perfect!
Want to read more about tension? Check out this post on the Superior Threads website. They have some great diagrams.

Hi Jen! Great post and great reminder. I was just looking at my tension yesterday for piecing. I hate to move it, EVER, but it was just a smidgen off. So I turned the dial and then returned it back to the same setting and that did the trick. I suspect I accidentally hit it. You should share this on Kathleen’s link up tomorrow for tips and tutorials. Thanks for sharing. ~smile~ Roseanne
Thanks, Roseanne! I’ll check it out. I’m terrible at remembering link ups.
Love this tip…tension is always a nerve wracking adventure when it doesn’t go right. I hate when it something simple like a setting, but then I am grateful. Whatever it is I like it when it takes less than 15 minutes to get it humming along again. My Bernina rarely burps, but when it does it is usually my fault!
Thanks for this useful post. I have always been confused between the top and the bottom and where the fault lies when the tension goes wonky. Now I know.
It can also be caused by your top thread not being set correctly. My Singer has a section that you pass the thread through that has a tensioner on it. If you don’t get the thread set correctly in that section, it will throw off the tension. Be sure to properly thread the top thread through the hooks and loops as many machines have tensioners in the path somewhere.
Thanks, Vernon. Yes, that can certainly cause issues. The worst part is that the machine looks like it is threaded correctly, even though it isn’t.