I have a confession: I hate practical sewing. Like, I hate it with a passion. Repair projects, no matter how simple, get ignored for months.
We have a pair of outdoor recliners that we have enjoyed for years. They were purchased sometime around 2007. They have served us well, but the cushion covers were deteriorating. They just wore away at the fronts.
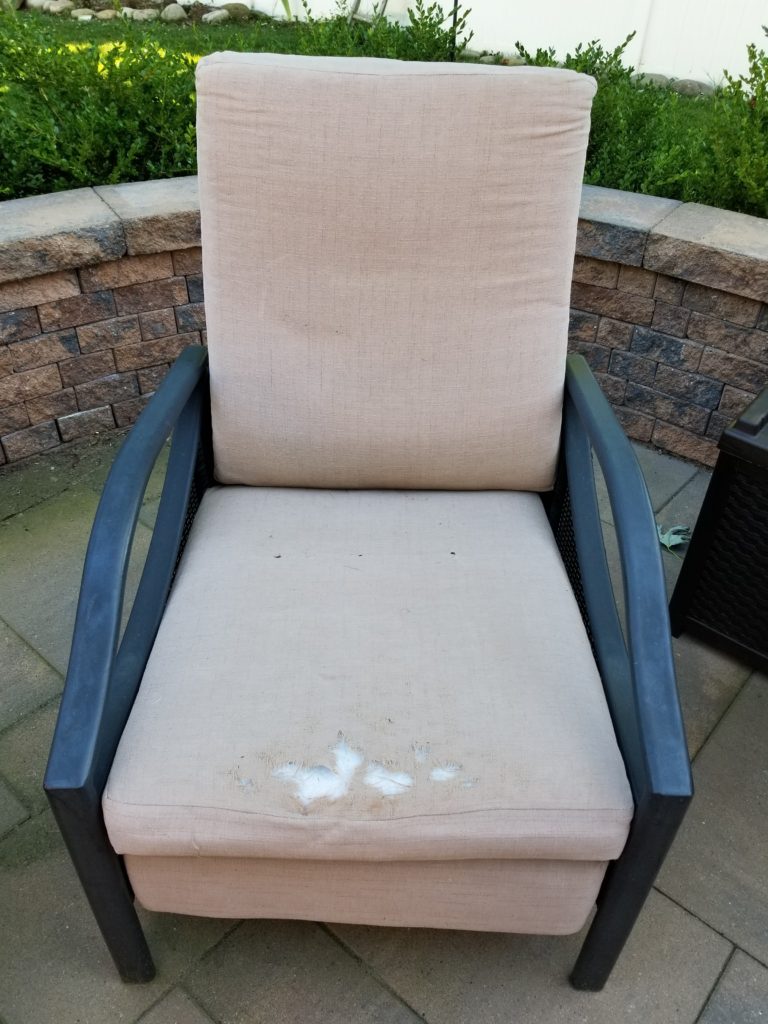 Jeremy pulled them off the chairs and turned them over to me for a repair job back in November, when we finally closed up the patio for the winter. The cushions took up studio space all winter, ignored and annoying. I didn’t know how to make the cushions, so I thought about it for a loooong time.
I finally got myself over to Joann Fabrics for some outdoor fabric in March. I don’t usually shop for fabric there, but let’s face it, I don’t want to spend a fortune on designer fabric to put in the back yard. The first two fabrics I chose were about $70 per yard. I had no idea how much I needed, but I knew it was more than a yard, and that was WAAAAY more than I wanted to spend. I wandered back to the clearance section and found this yellow and gray ikat style fabric. It was $70 for something like 15 yards. Ding, ding, we have a winner! Of course, I used a coupon.
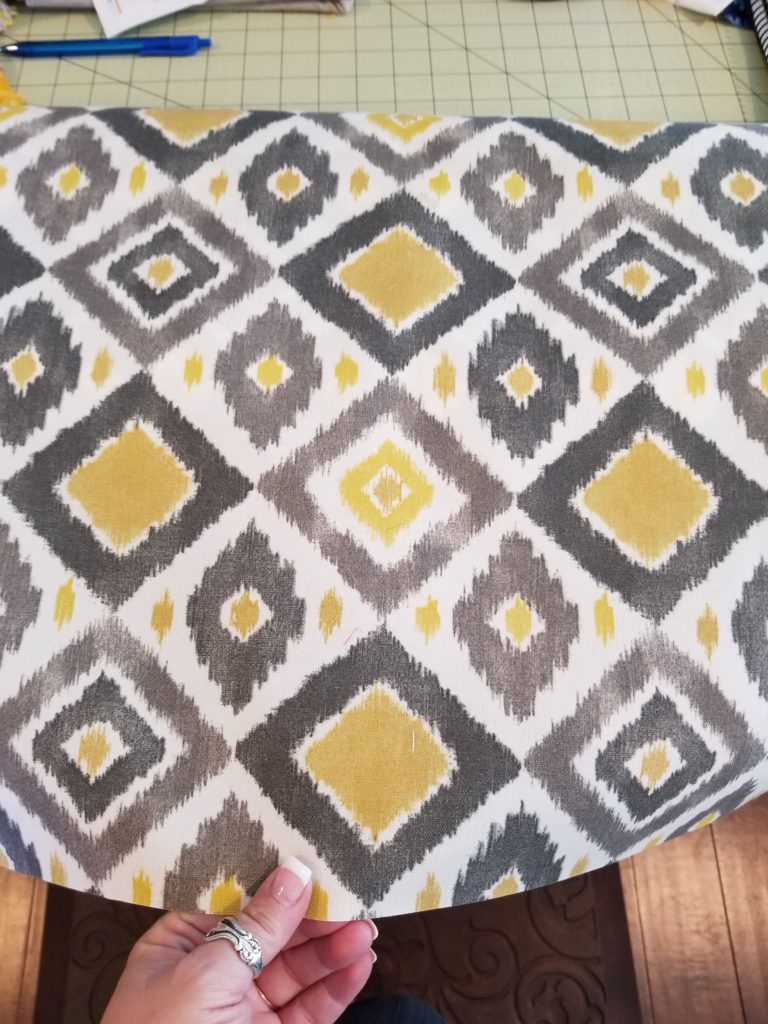
I dragged the bolt home, and it took up space until earlier this month. Jeremy expressed sadness at the chairs still not being fixed, and summer being halfway over. At about the same time, I came across this post from Rachel Rossi, explaining how to make a custom cushion. I had been puzzling over how to construct them, and Rachel’s directions were great. They aren’t put together exactly how the originals were, but they are finished.
I’m lucky my Mom came for a visit and egged me on to finish these. She also helped with hand stitching the backs closed. Jeremy helped with taking the foot rests apart and re-attaching them once they were covered.
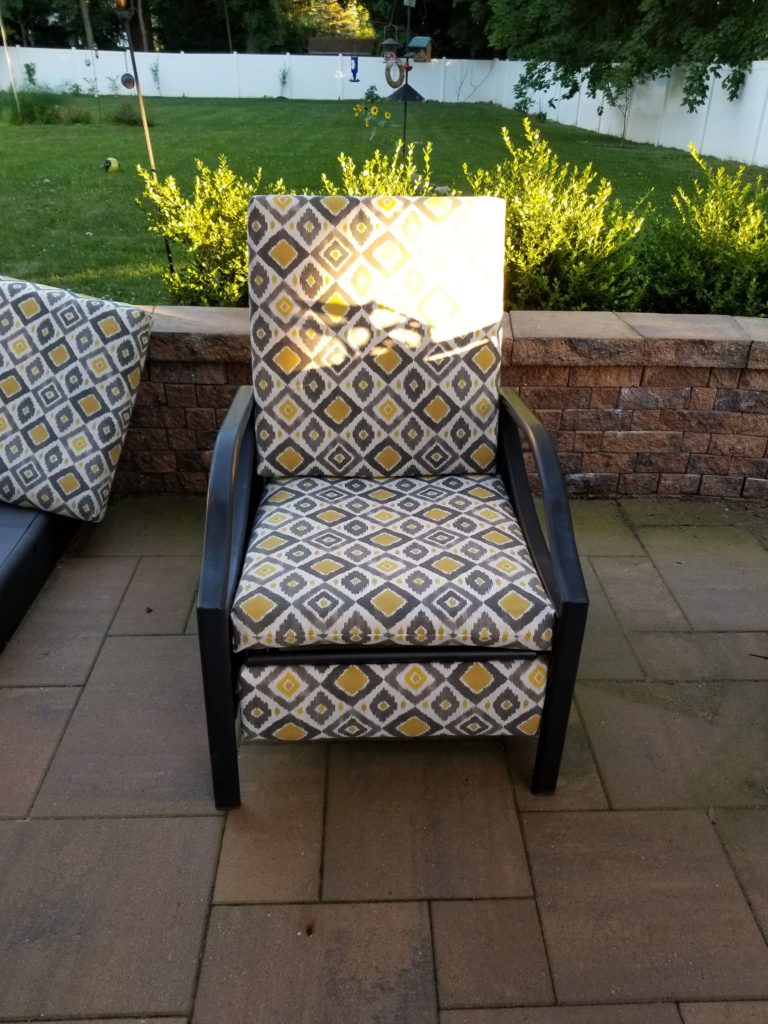
Rather than cut tops, bottoms, and sides, Rachel has you cut one piece and box the corners. It was very easy, and worked right the first time. The foot rests were a bit more of a puzzle, as they had to be un-bolted from the chairs, covered in new fabric, and re-attached.
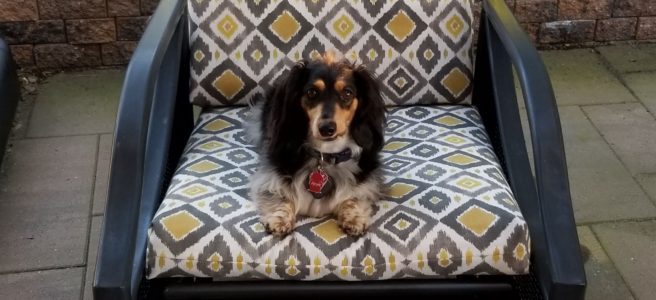
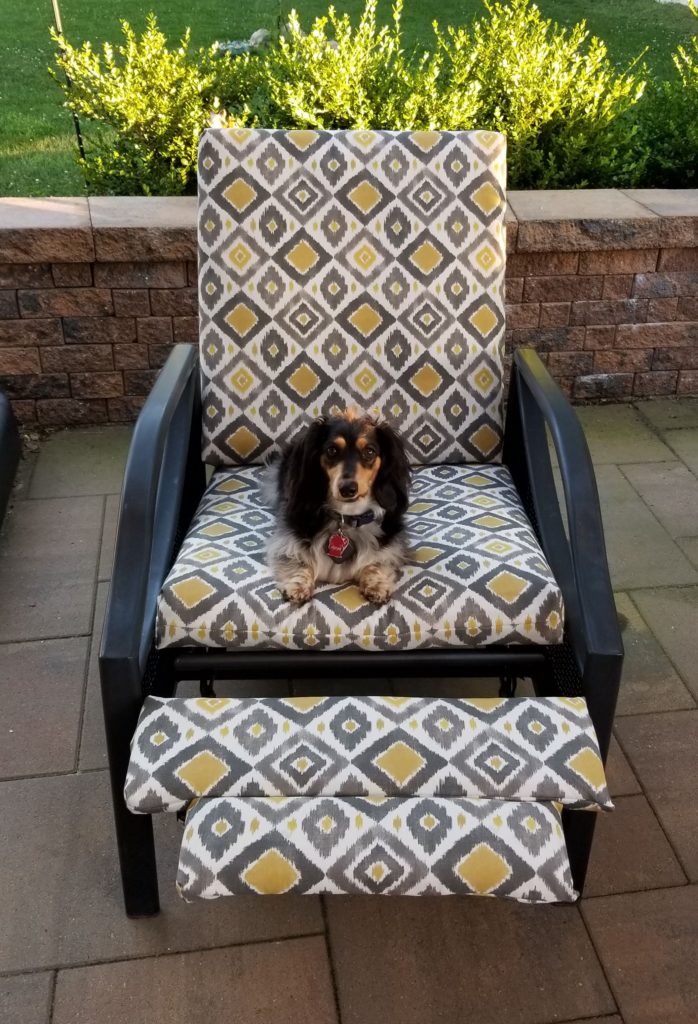 Oscar approves!
I have a ton of leftover fabric. Jeremy has suggested throw pillows, and perhaps seat cushions for our dining chairs. Let’s see how long that takes me to get around to!

JEN! JEN! You did a fabulous job. Seriously, that is something I never would have tackled no matter how helpful DH was, taking off the original covering. And great buy on the fabric, too! I have two rockers that need to be redone. Can I hand them off?! Please?! Happy Wednesday! ~smile~ Roseanne
P.S. Oscar is adorable.
Thanks, and, sure, you can send me your rockers. I might be willing to do it again in 5 years.
HAHAHAHAHA!
Jen, the seat covers look marvelous! I love your fabric choice. I confess that I never made a cushion for the window seat of our house that we lived in for 12 years. I went so far as buying all the materials and beginning the cutting. Then I chickened out.
I totally get that!
Wow! You did a good job. I am sure you can whip up those cushions in no time! Thanks for sharing.
Thanks!
I had to chuckle at your comment about the cushions taking up studio space — I can so totally relate! I have projects that I ignore that sit and yell at me too. You did a great job on the cushions, and the fabric is fantastic! I have four footstools in my living room, cheapies from Target, that I need to recover. I’m ignoring them for now. 🙂
It feels so good to get them done!
Jennifer, they are adorable! Add is your pup!!
Great job, Jennifer. That fabric is gorgeous and totally the right approach. I do little things like this once in awhile and find it so satisfying. Also fun to have the memory of all involved in the project! You will enjoy it for years.
I think recliner seat cover is important for quality measurement.