Ahhh. The soothing shades of green. This is the perfect month for green – we are just starting to cautiously peek our heads out and discover springtime. The trees are all shades of chartreuse, kelly, and emerald.
Welcome back to the 2018 Monthly Color Challenge! Business first:
The 2018 Monthly Color Challenged is hosted by Jen, of Patterns by Jen. Go to her blog to see her block design for the month. Later this month, you can join the linkup and enter the prize drawing. This month the prize has been donated by Island Batik (yay!) They are giving away a bundle of this gorgeous Mountains Majesty fabric. I have a strip set of this stuff that I received as an ambassador for their program, and I can tell you, it is amazing. I love working with it every month.
Be sure to check out my fellow bloggers, too. Some are offering their own monthly patterns, and everyone has eye candy for you.
Jen at Patterns by Jen
Sherry at Powered by Quilting
Dione at Clever Chameleon
Jen at A Dream and a Stitch
Joanne at Quilts by Joanne
Nancy at Masterpiece Quilting
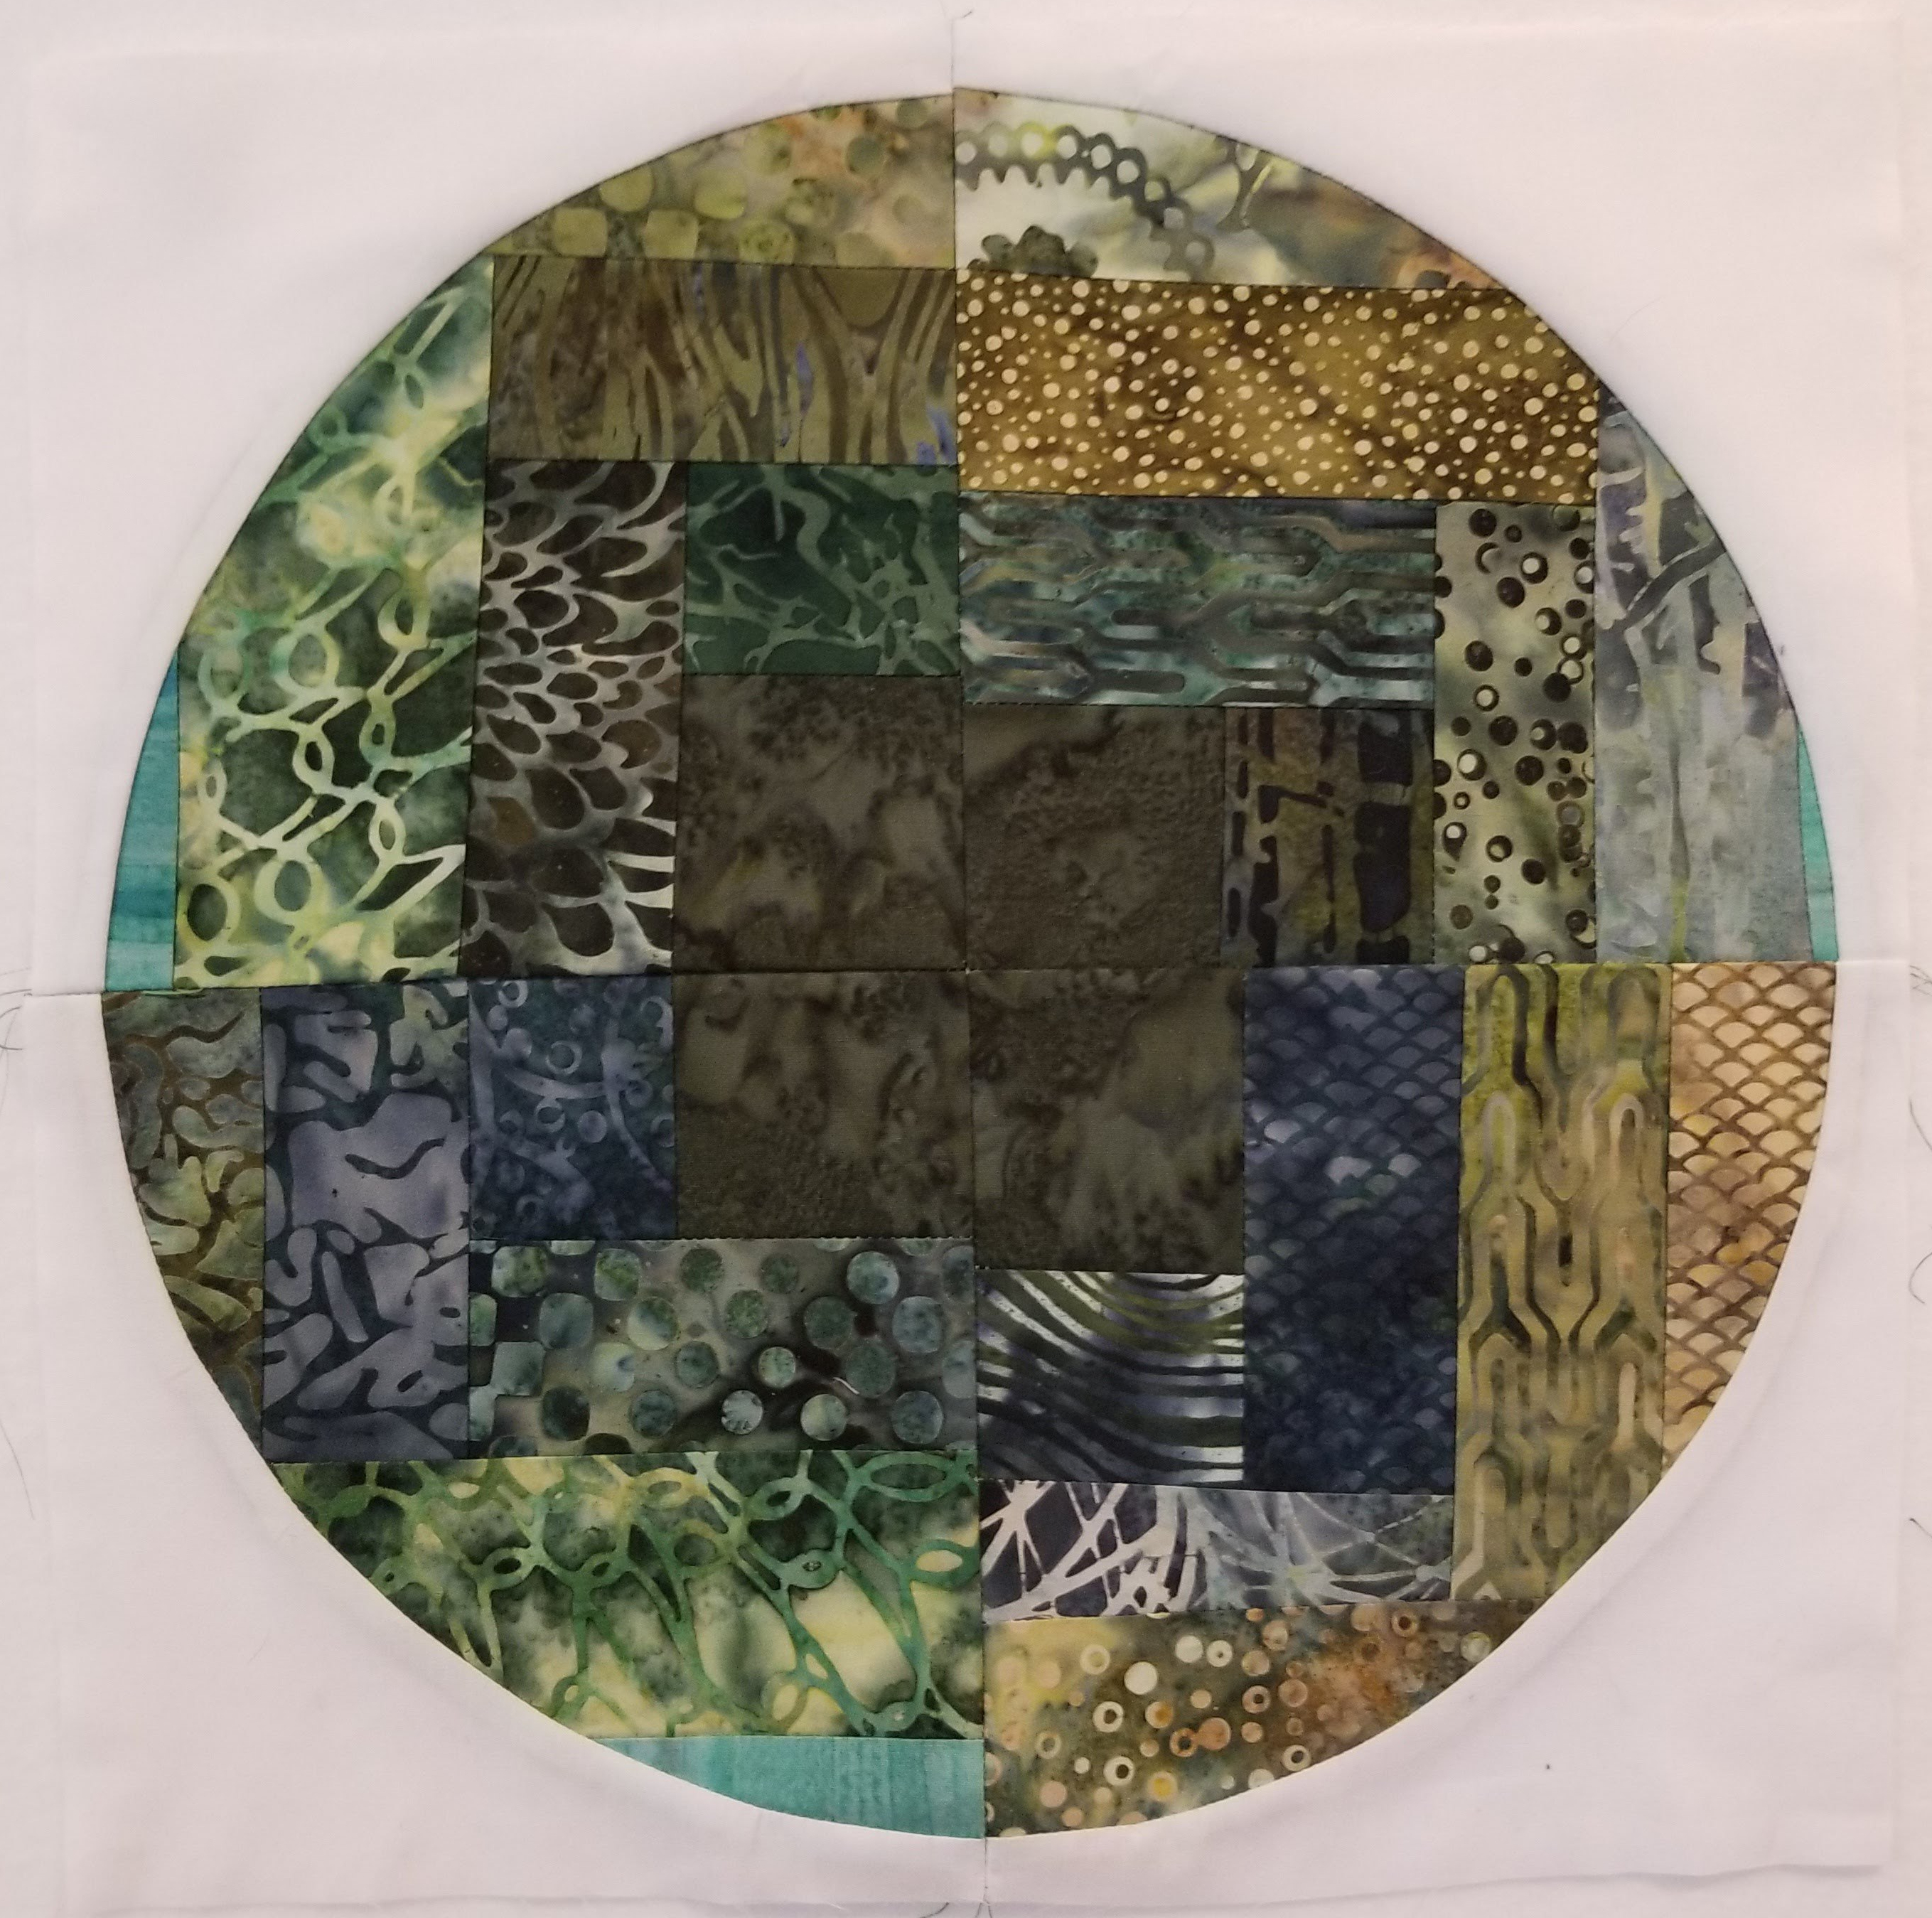
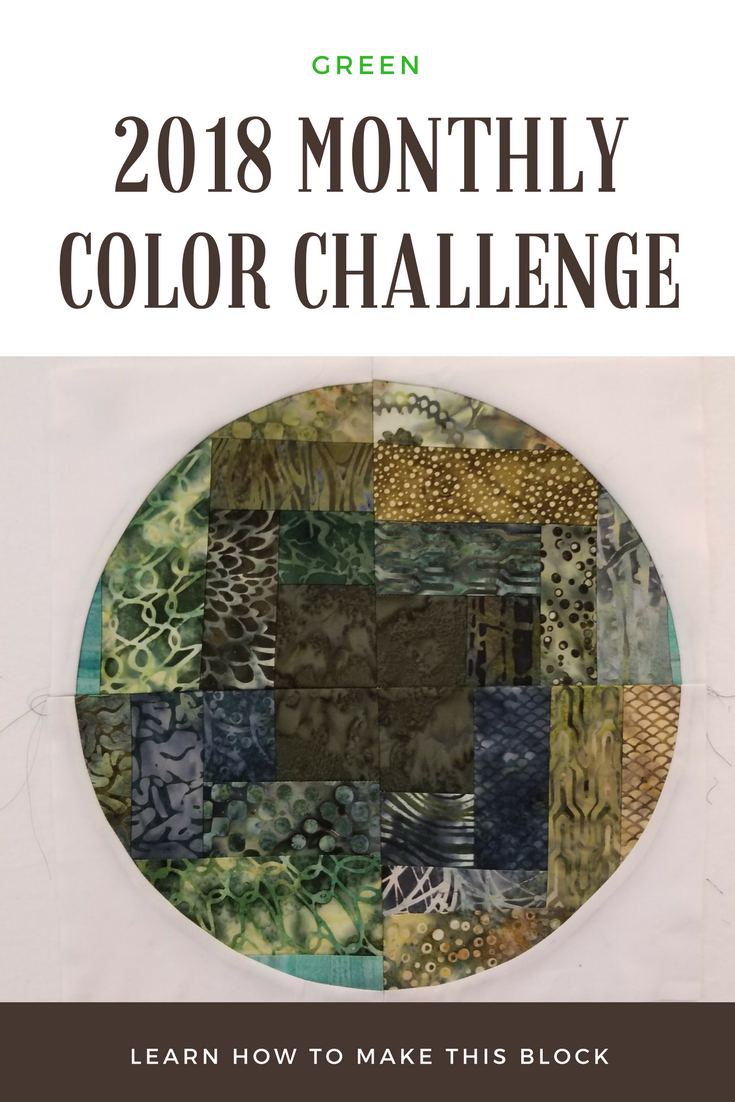
For this month’s color challenge, I decided to go with more straight lines, but I mixed it up a bit with a wonky log cabin style block. Now, you know I can’t get too wonky, so I used paper as a foundation again, but in a more laid back style. I would call this lazy improv, rather than a pure improv technique.
 Supplies:
Scrap paper
6 1/2″ Quarter Circle Template (I am using this one, from Betty Crocker Ass).
Green fabric scraps
Quilting supplies – rotary cutter, mat, sewing machine, thread, iron
I started by cutting out 4 arcs, using my Pattern A piece.
Fold them in half, from the point to the center of the arc, giving yourself a guideline for lining up your strips.
I was fortunate to discover a stack of strips already cut in my bin. Hooray – for once Yesterday Jen did me a favor. Usually she screws me, big time. If your yesterday quilter wasn’t considerate enough to cut a bunch of strips and leave them in your scrap bin, you are going to need 24 strips of fabric, about 2″ wide, and about 6 1/2″ long. They don’t all need to be that long. Any narrower and you will need more strips. I used one square of fabric that was just shy of 5″, and I cut it into almost quarters. I kept them uneven, so that they wouldn’t line up. Minimal pinning required!
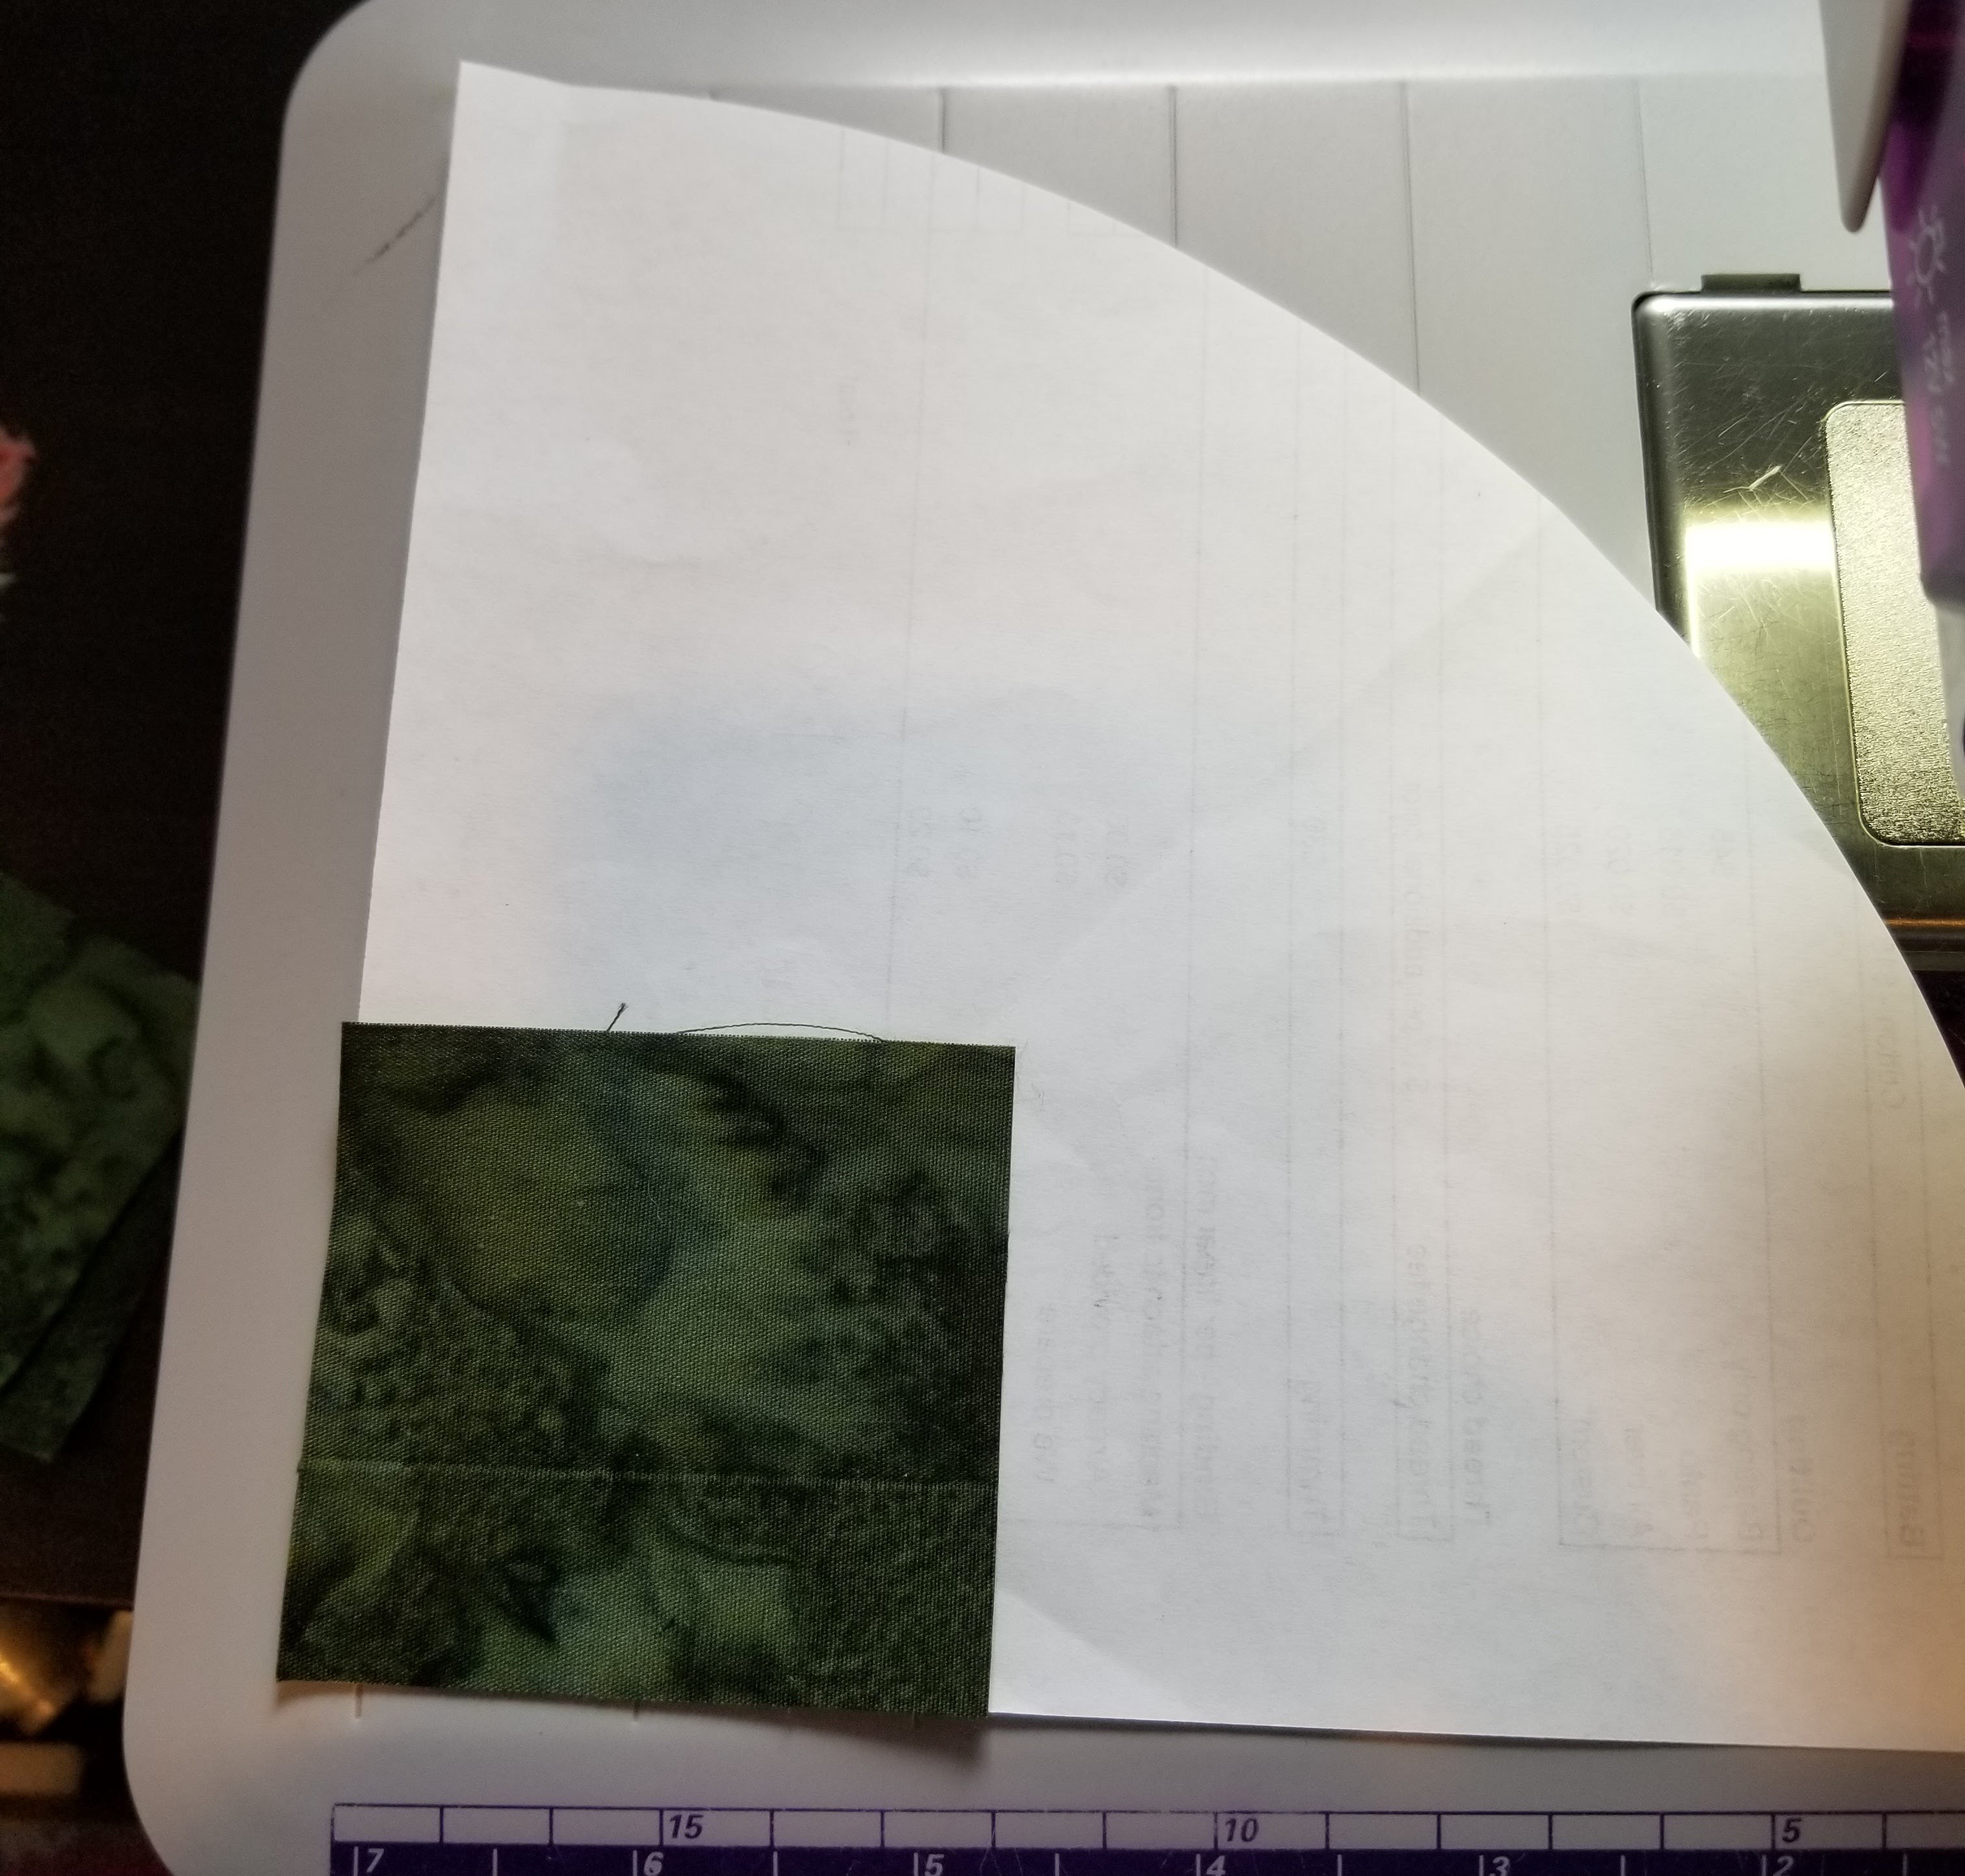 I start with my paper foundation laying on the side of my sewing machine. I place my center square lined up with the corner of the arc, right side up.
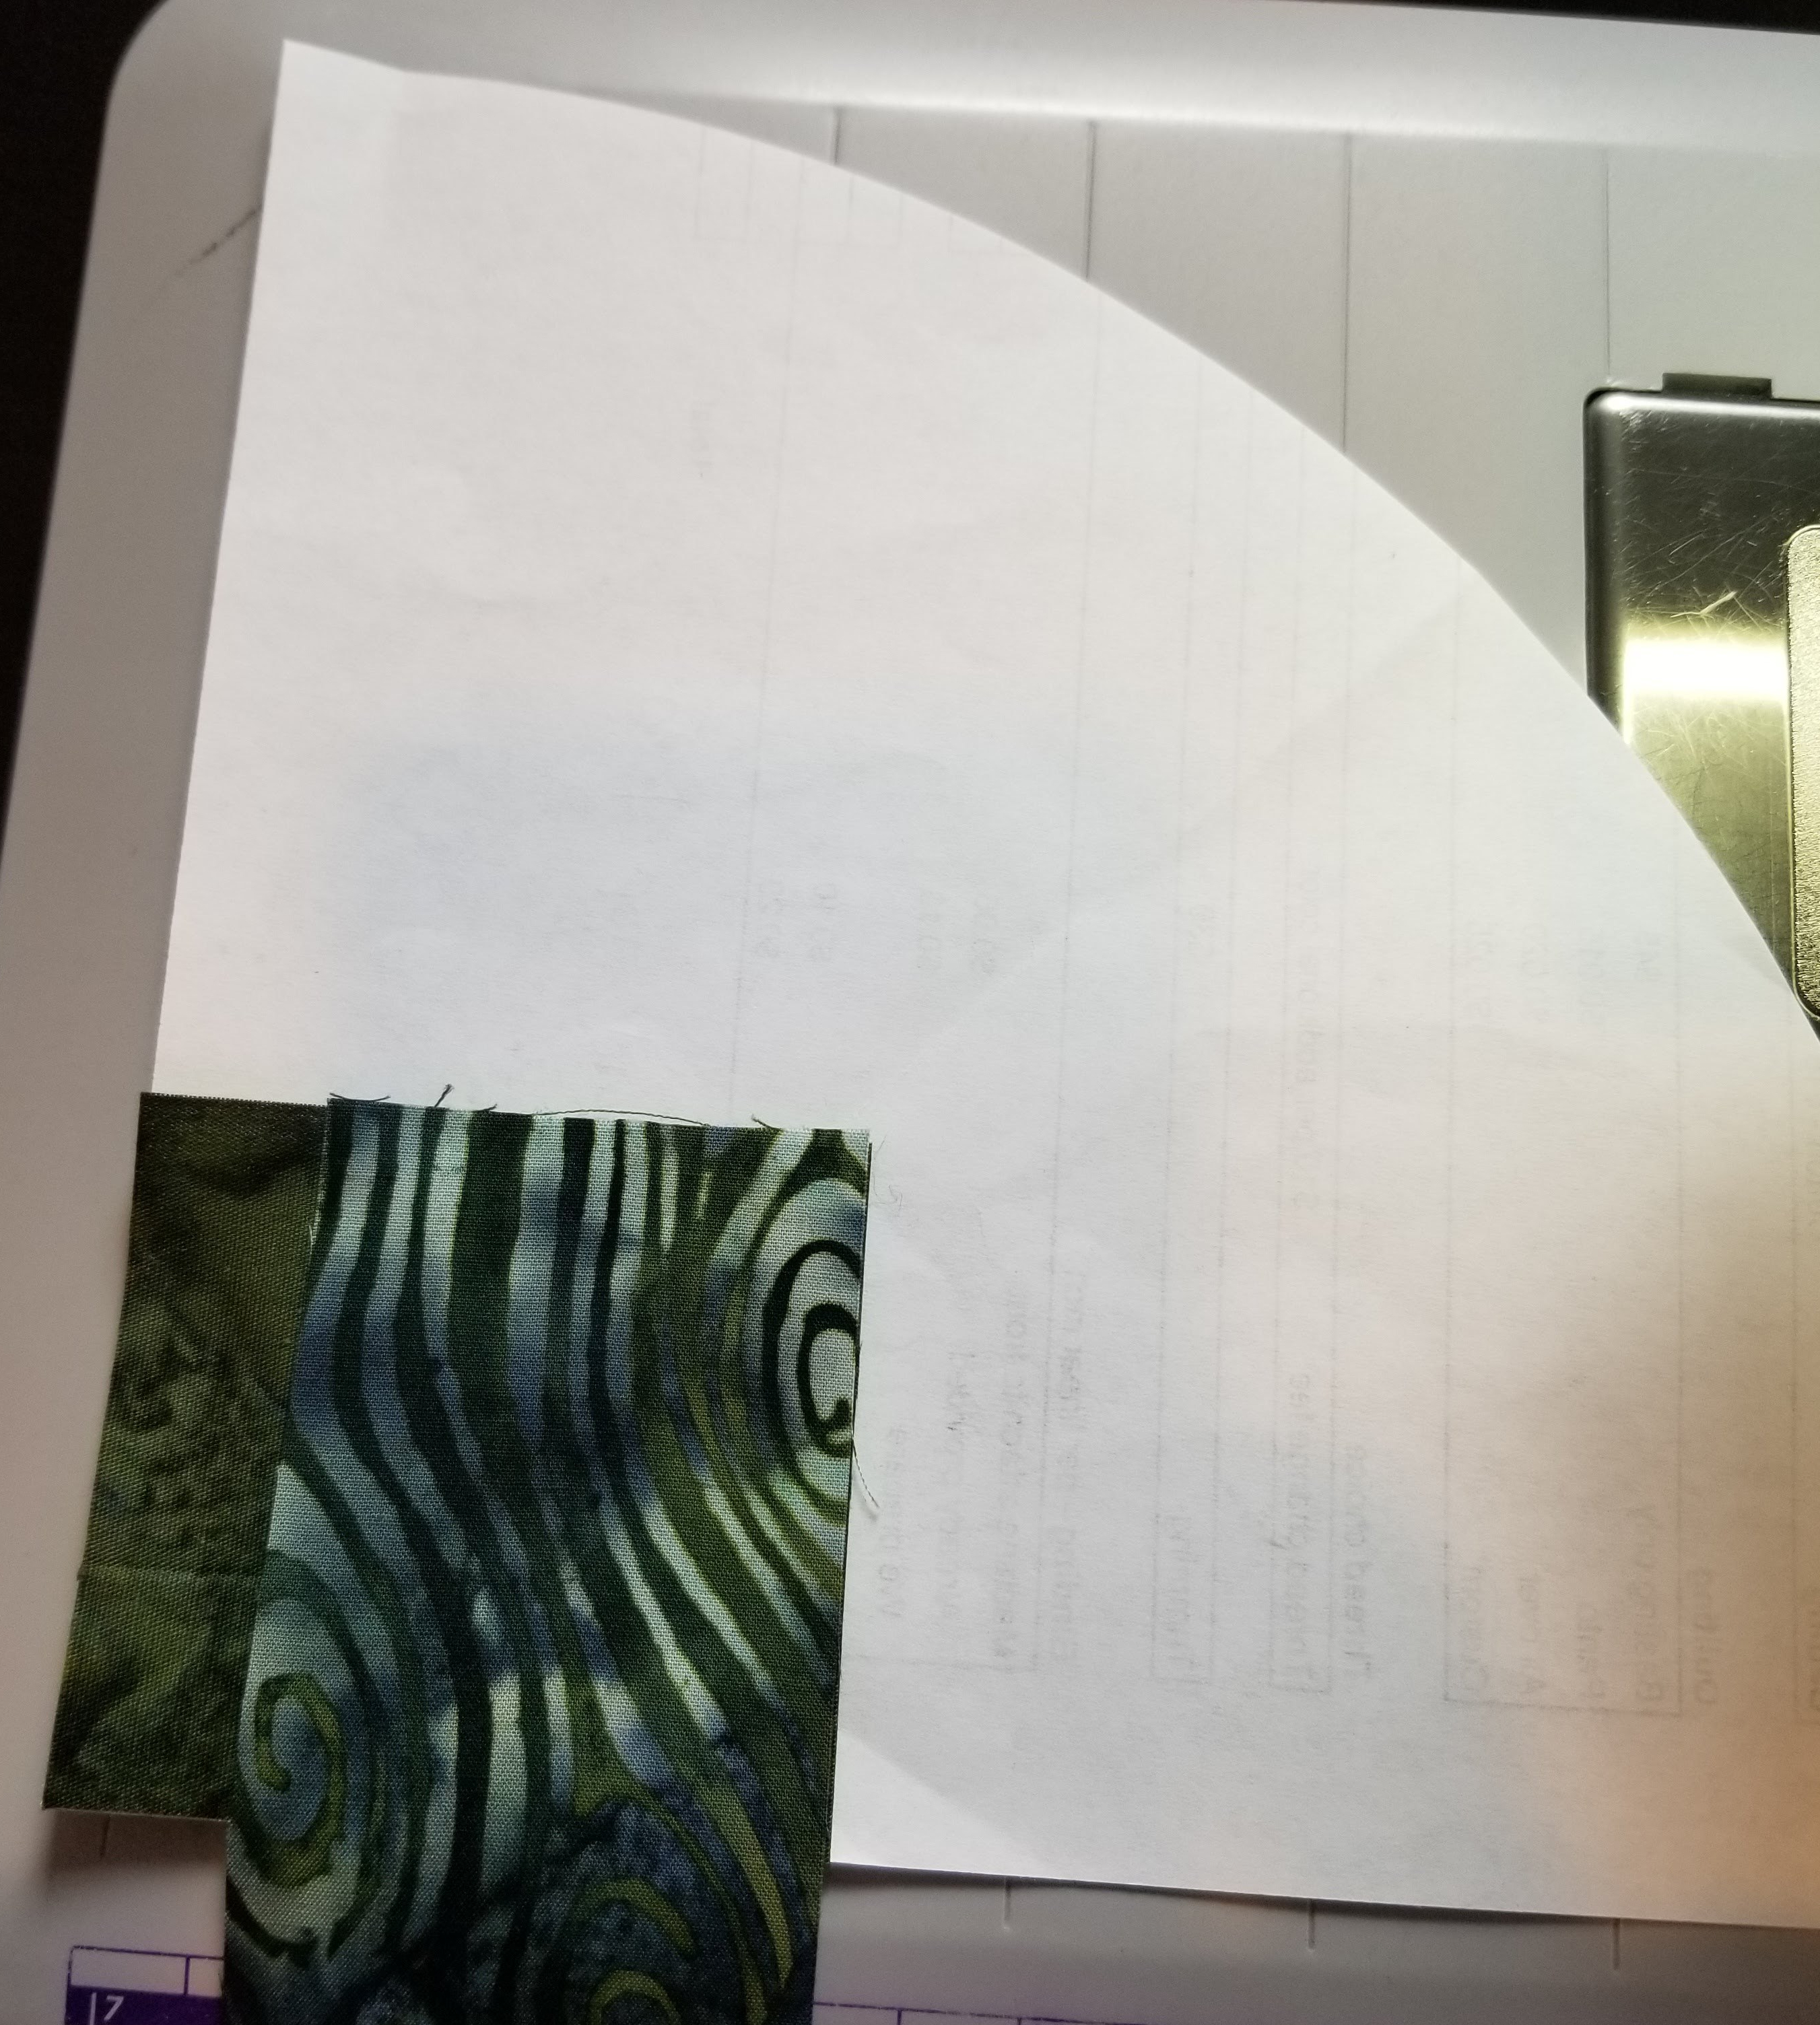
Next I place a strip of fabric on top, right side down.
 Stitch, using a 1/4″ seam allowance.
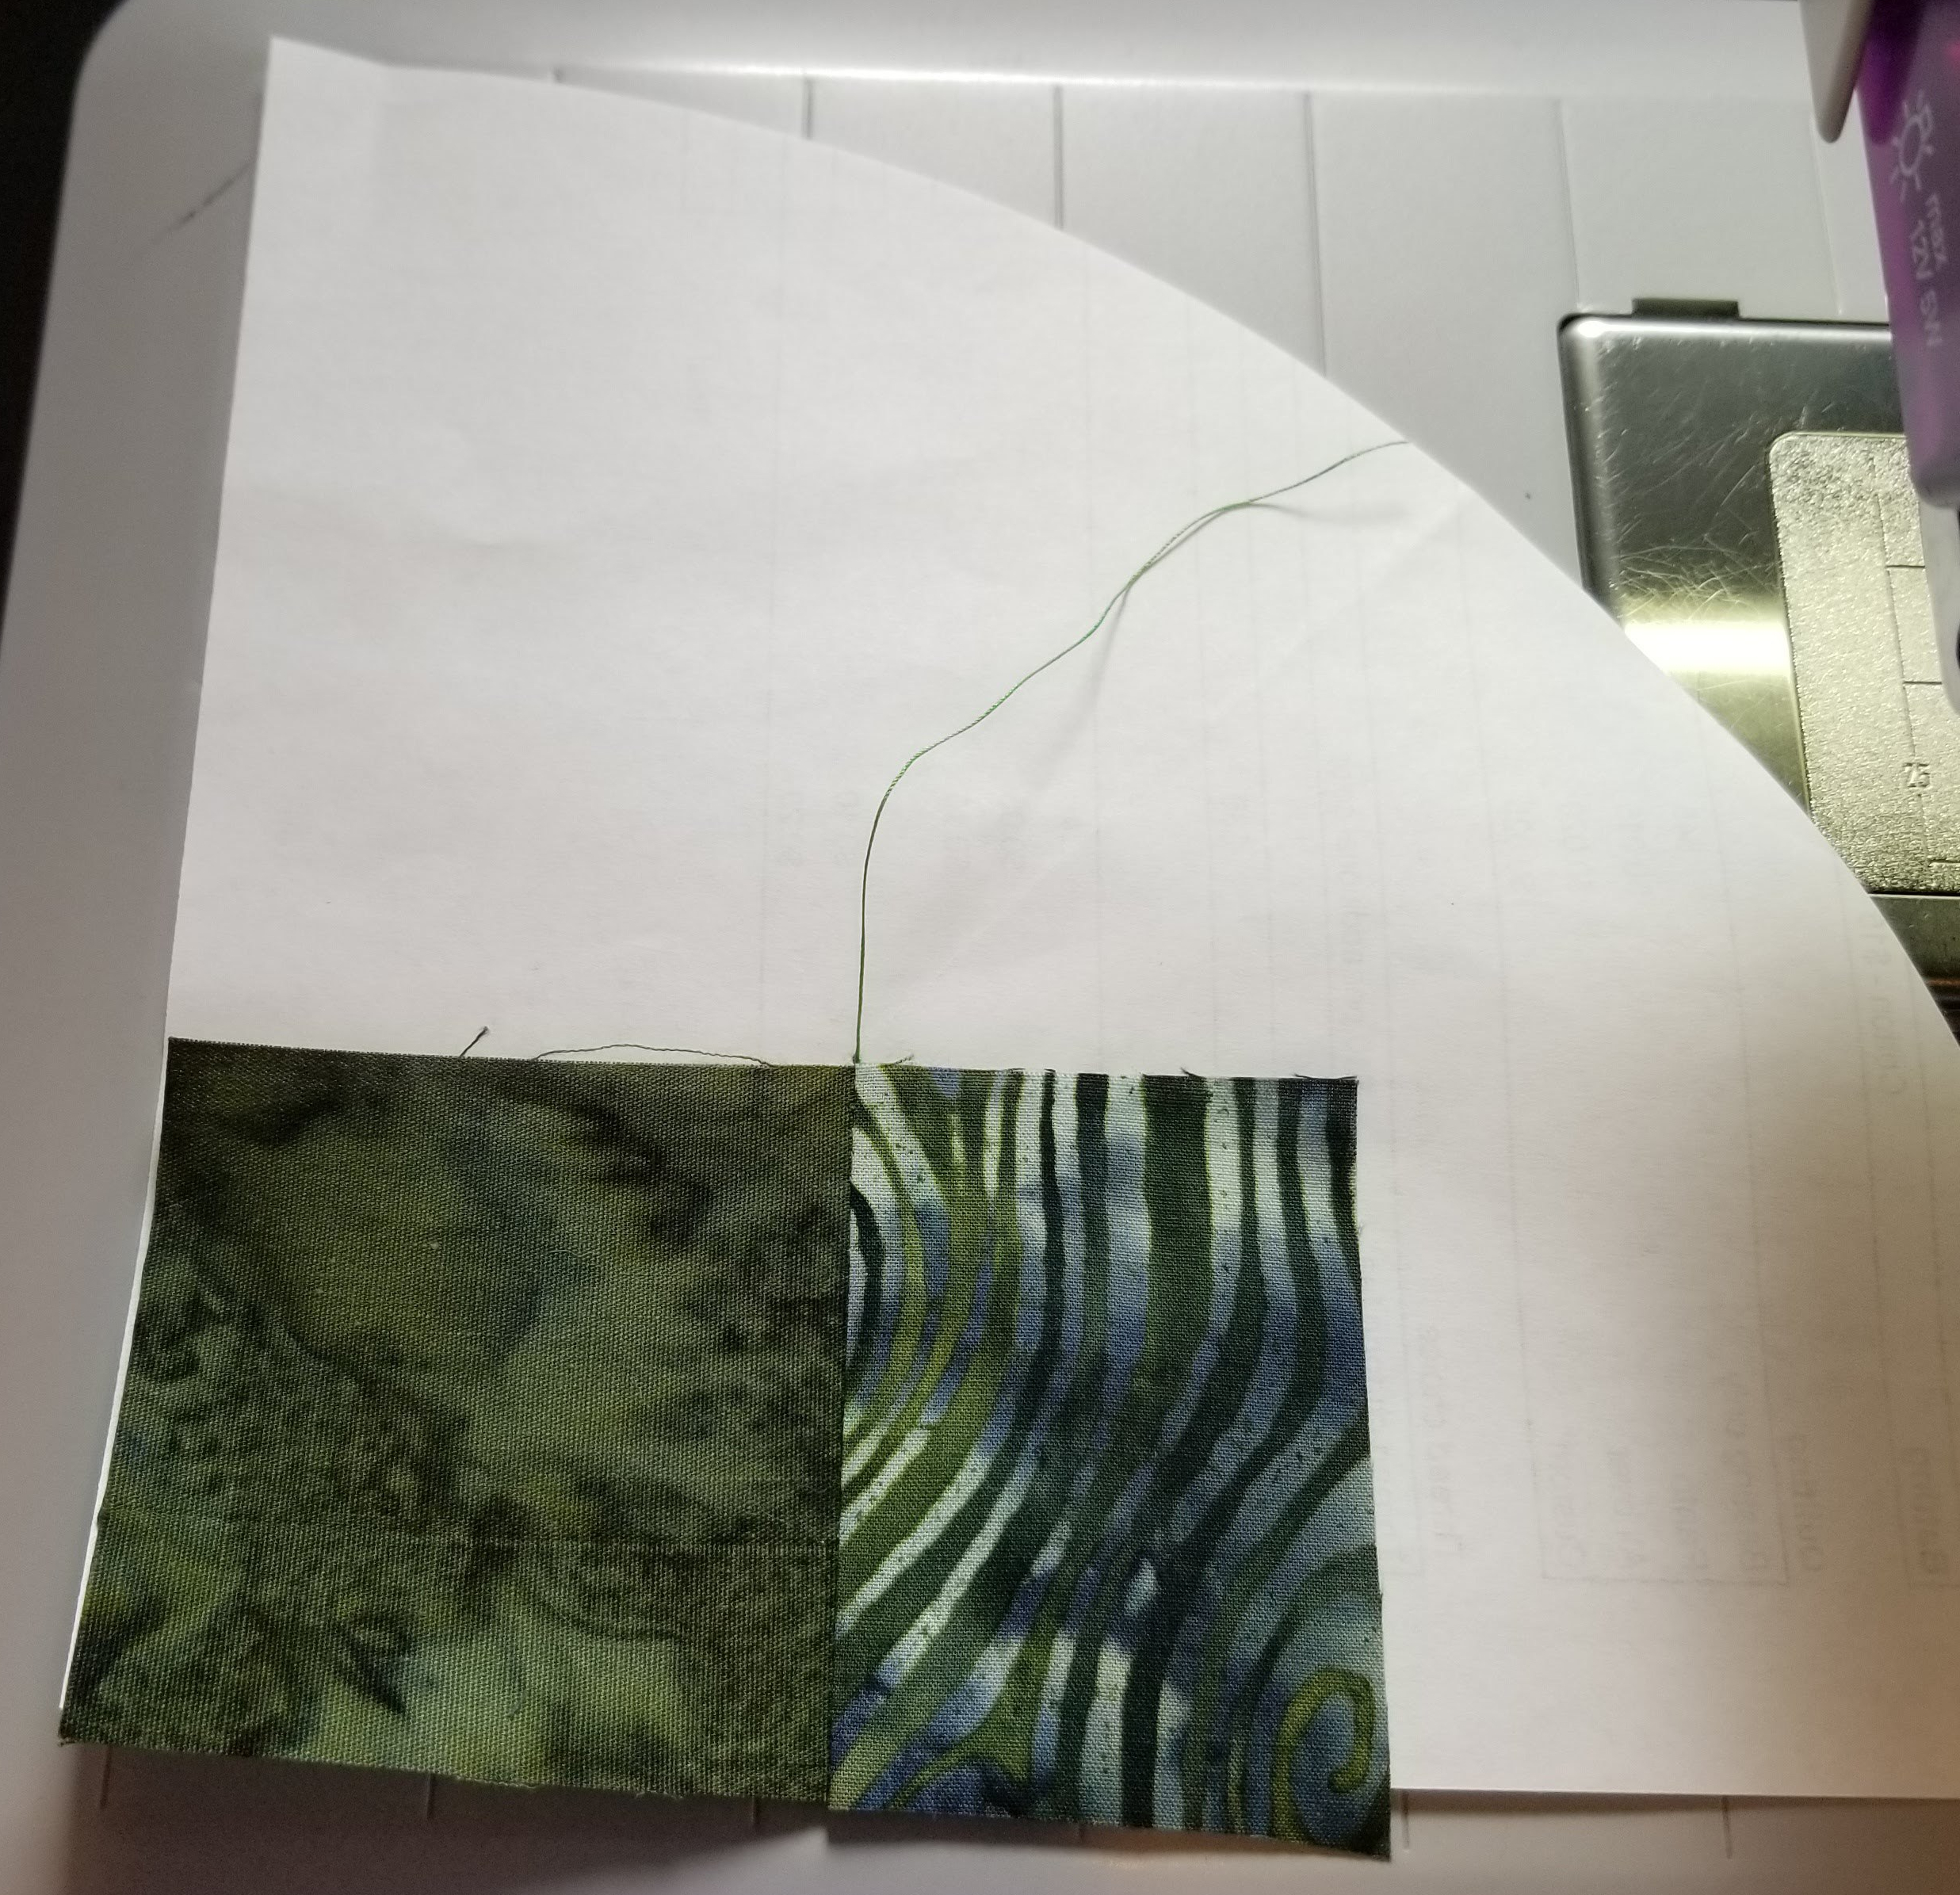
Press open. I trimmed the excess on this one. That is an optional step.
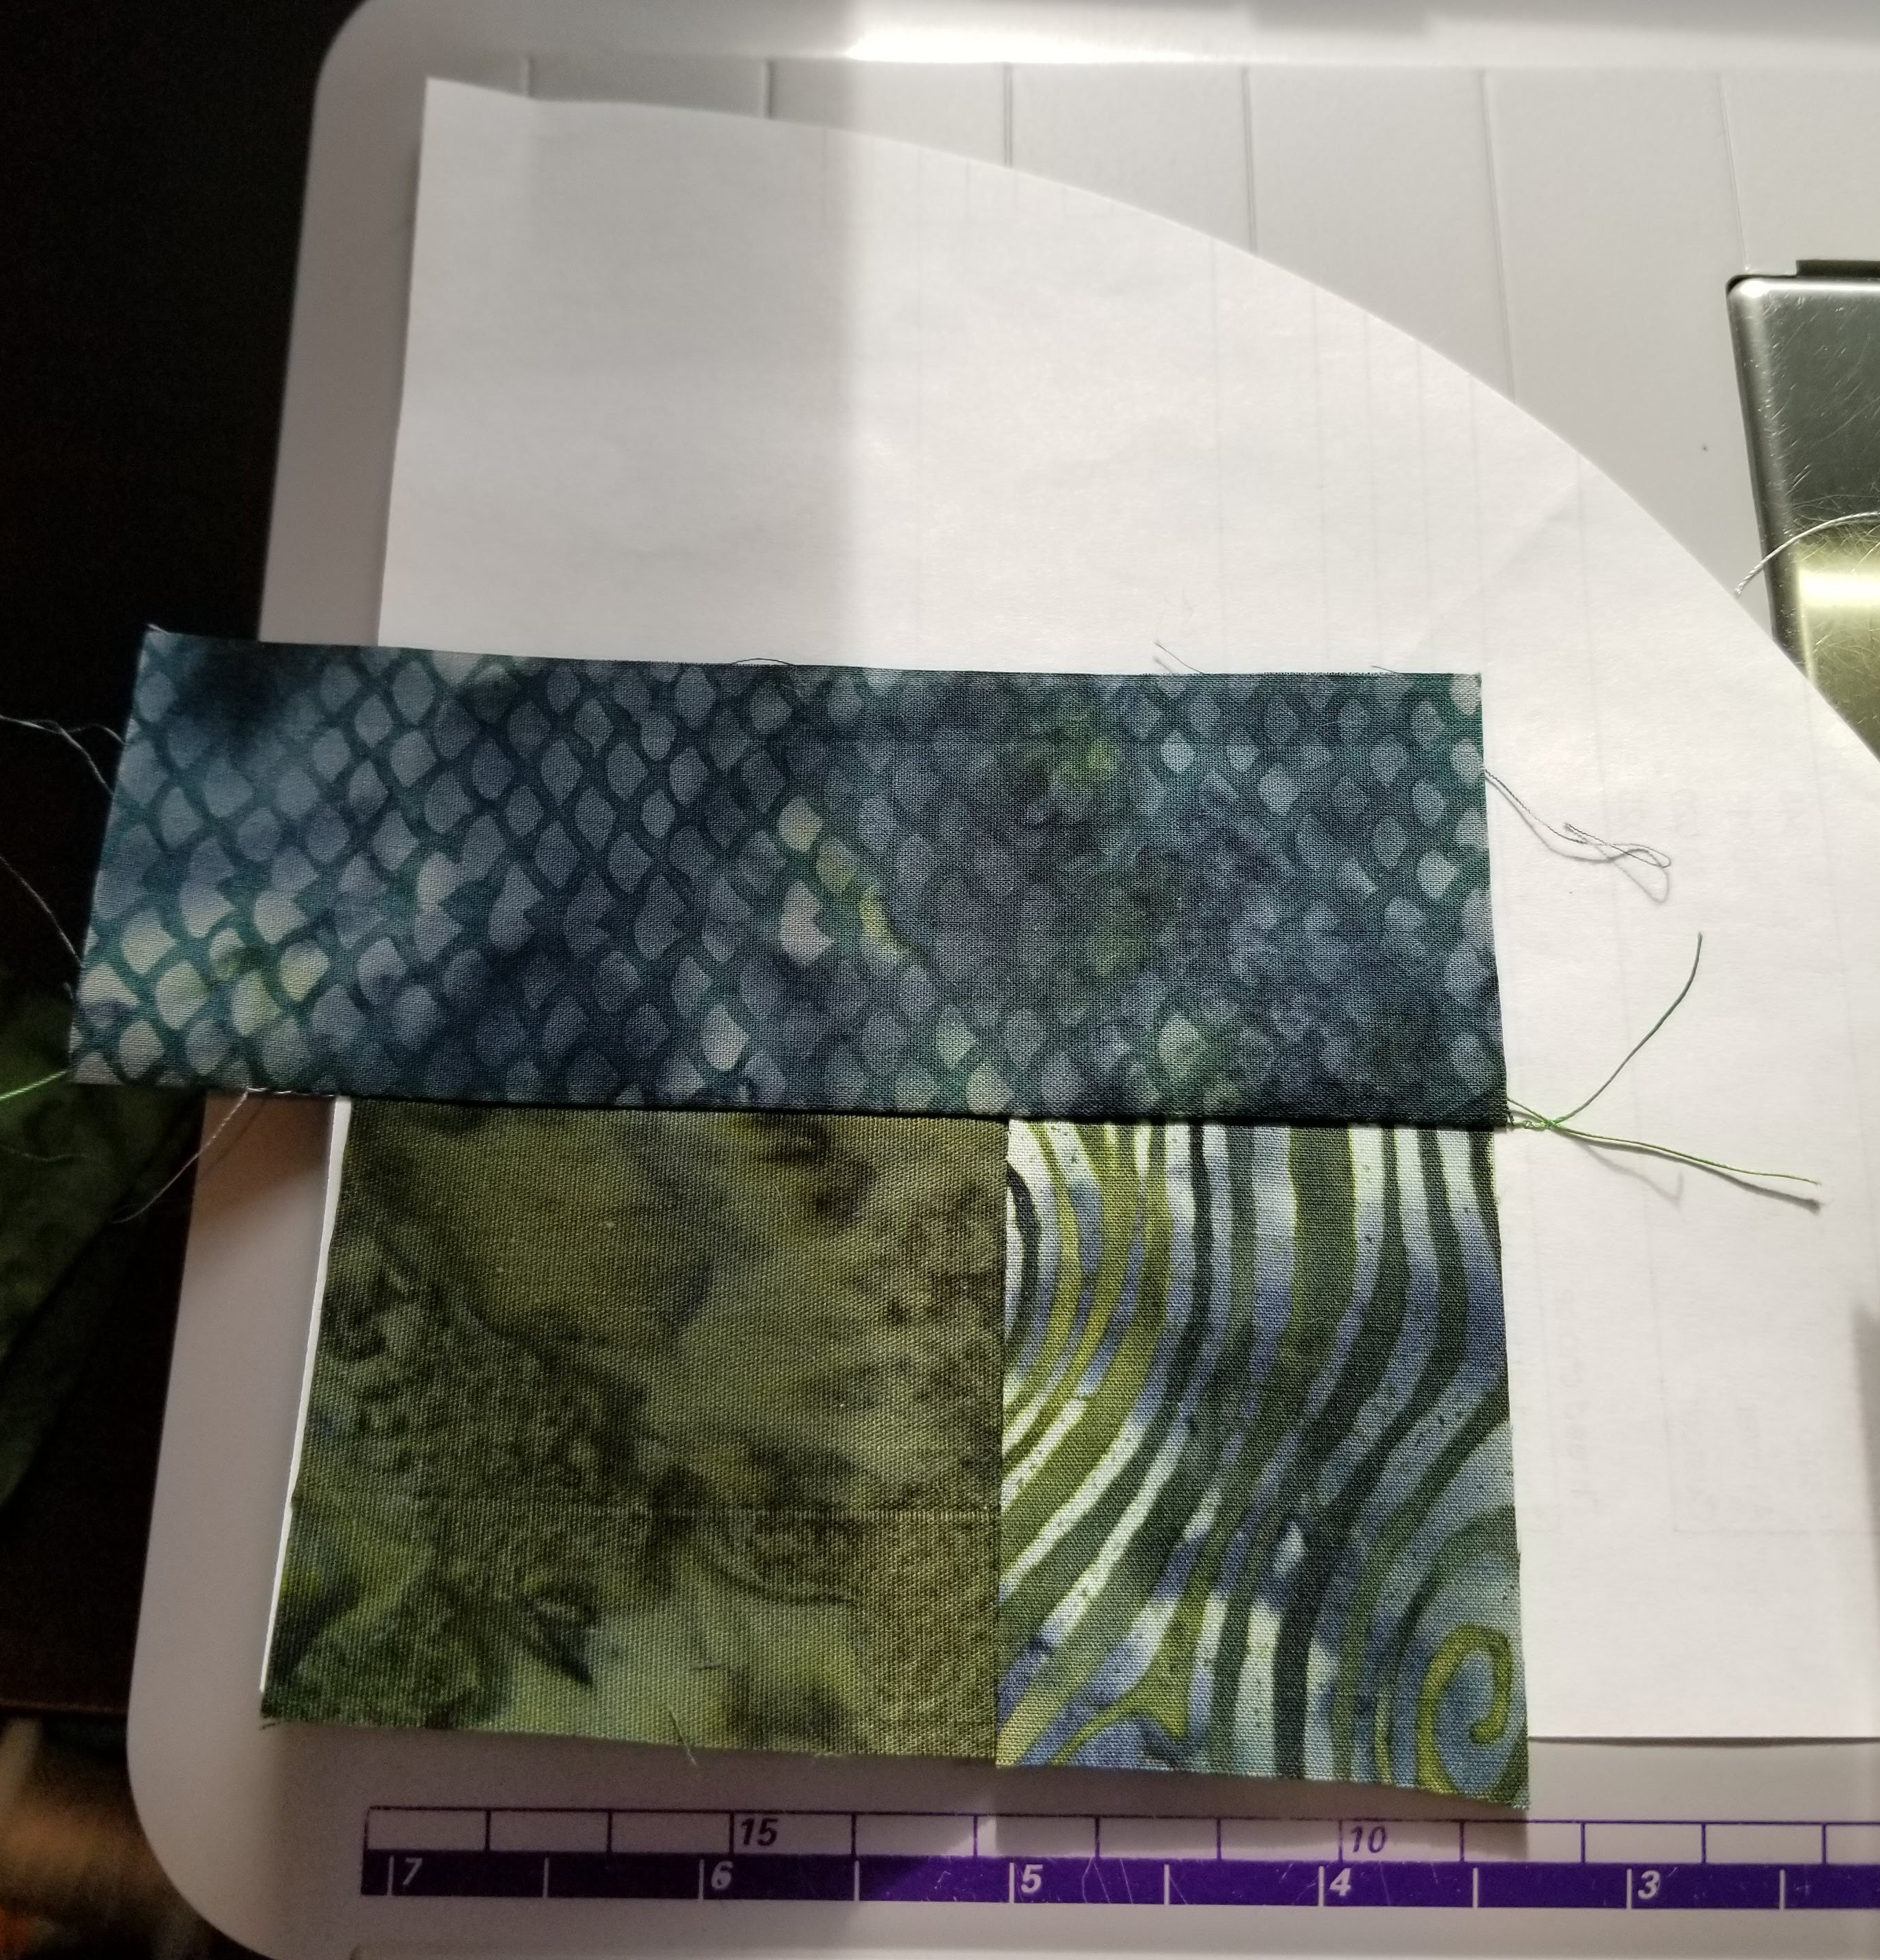
I missed a few photos – I was getting excited. I lay down the next strip face down, lining it up to cross the seam line I just sewed. Then I press it open.
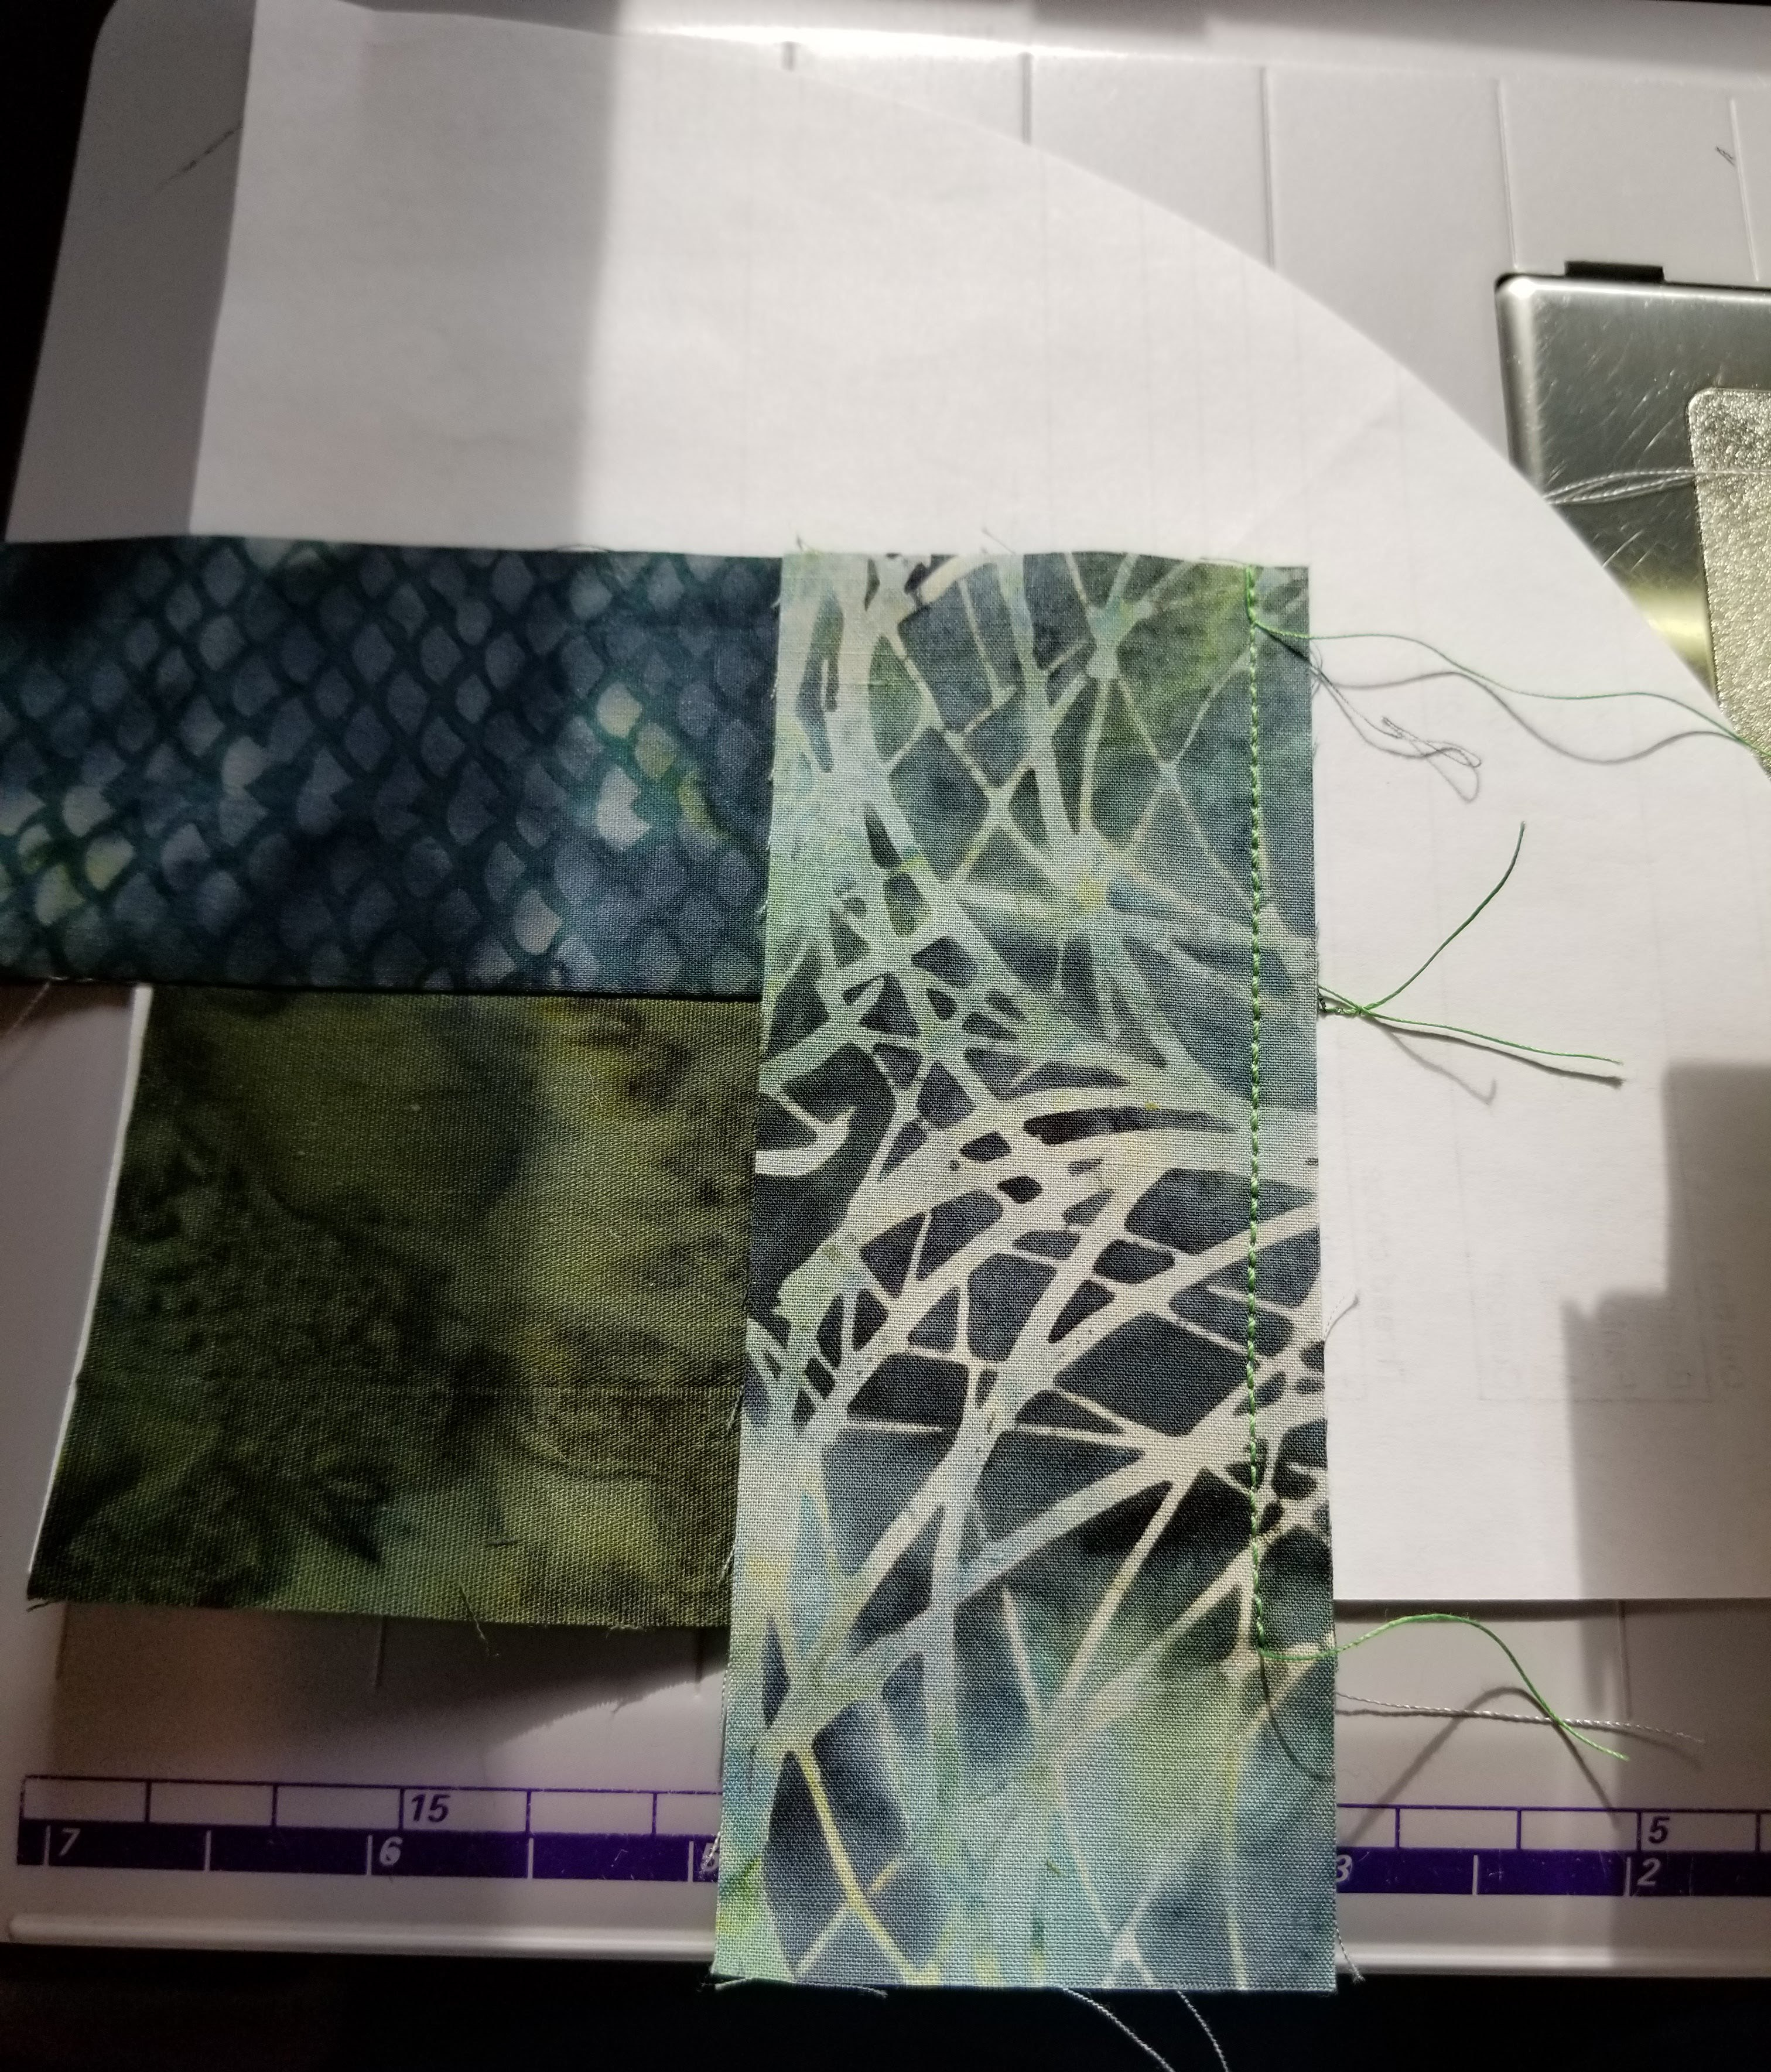
Keep going around the block, adding strips until you cover the whole paper, stitching on strips and pressing them open.
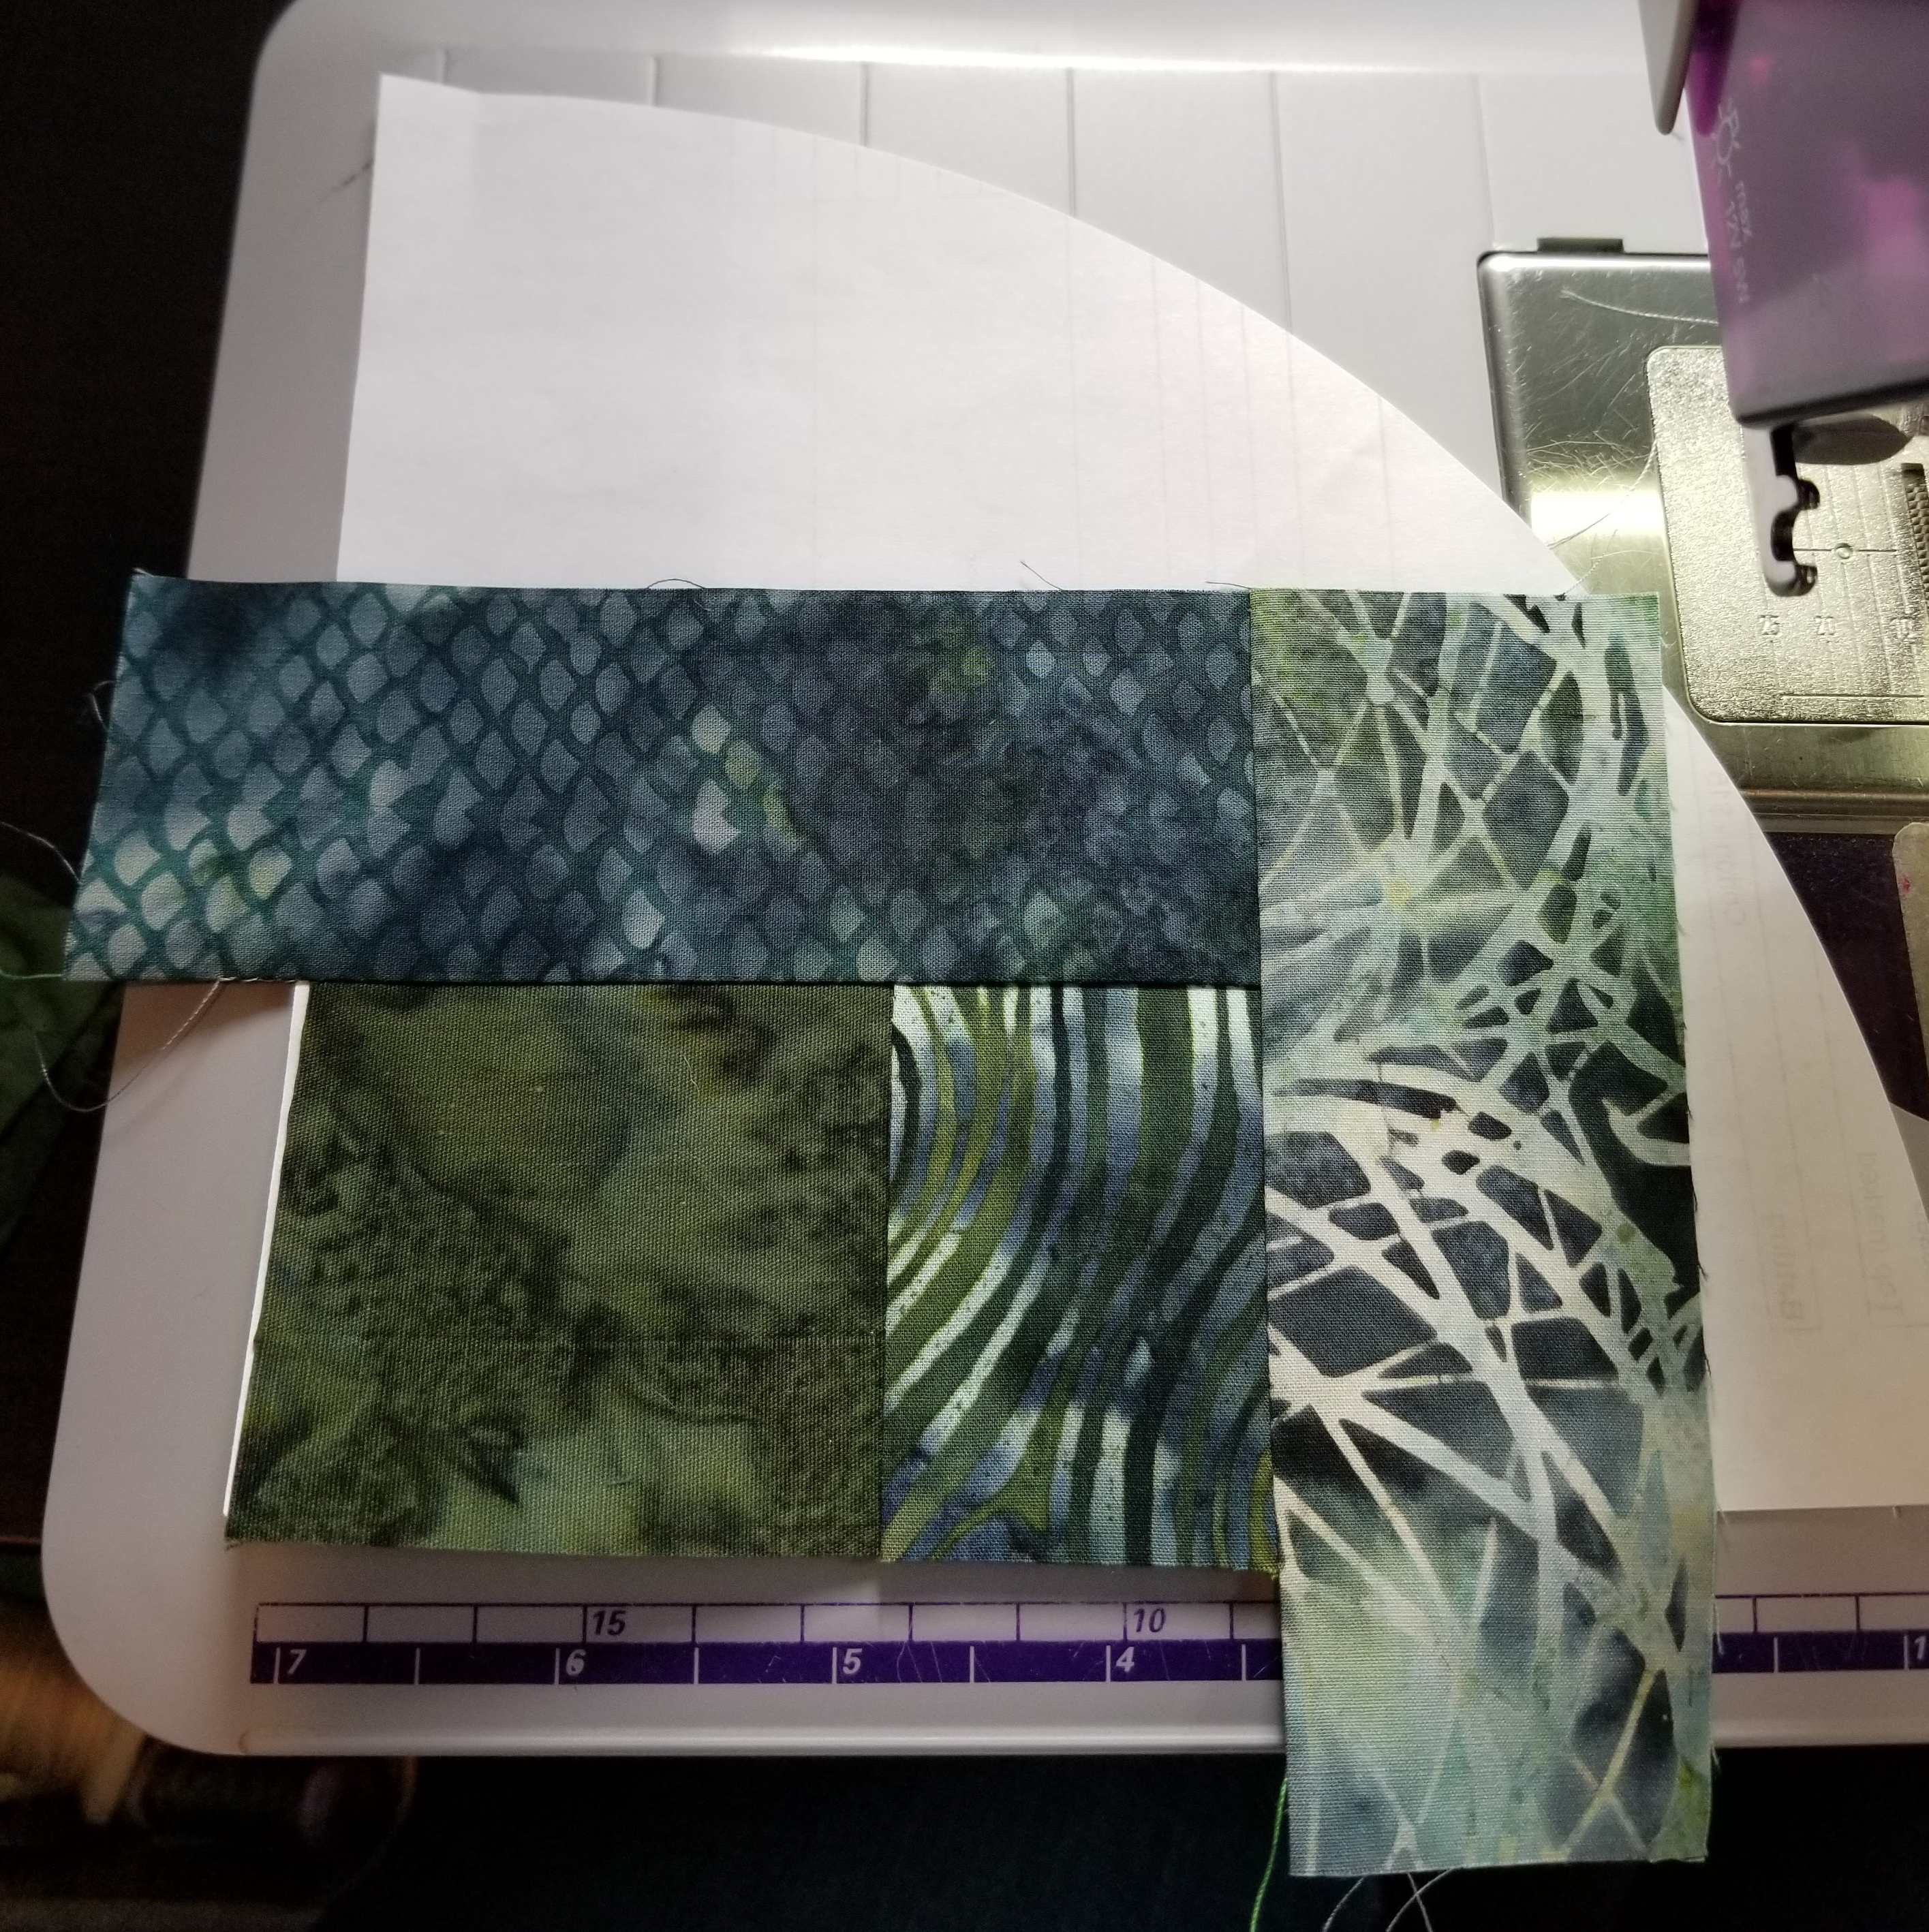
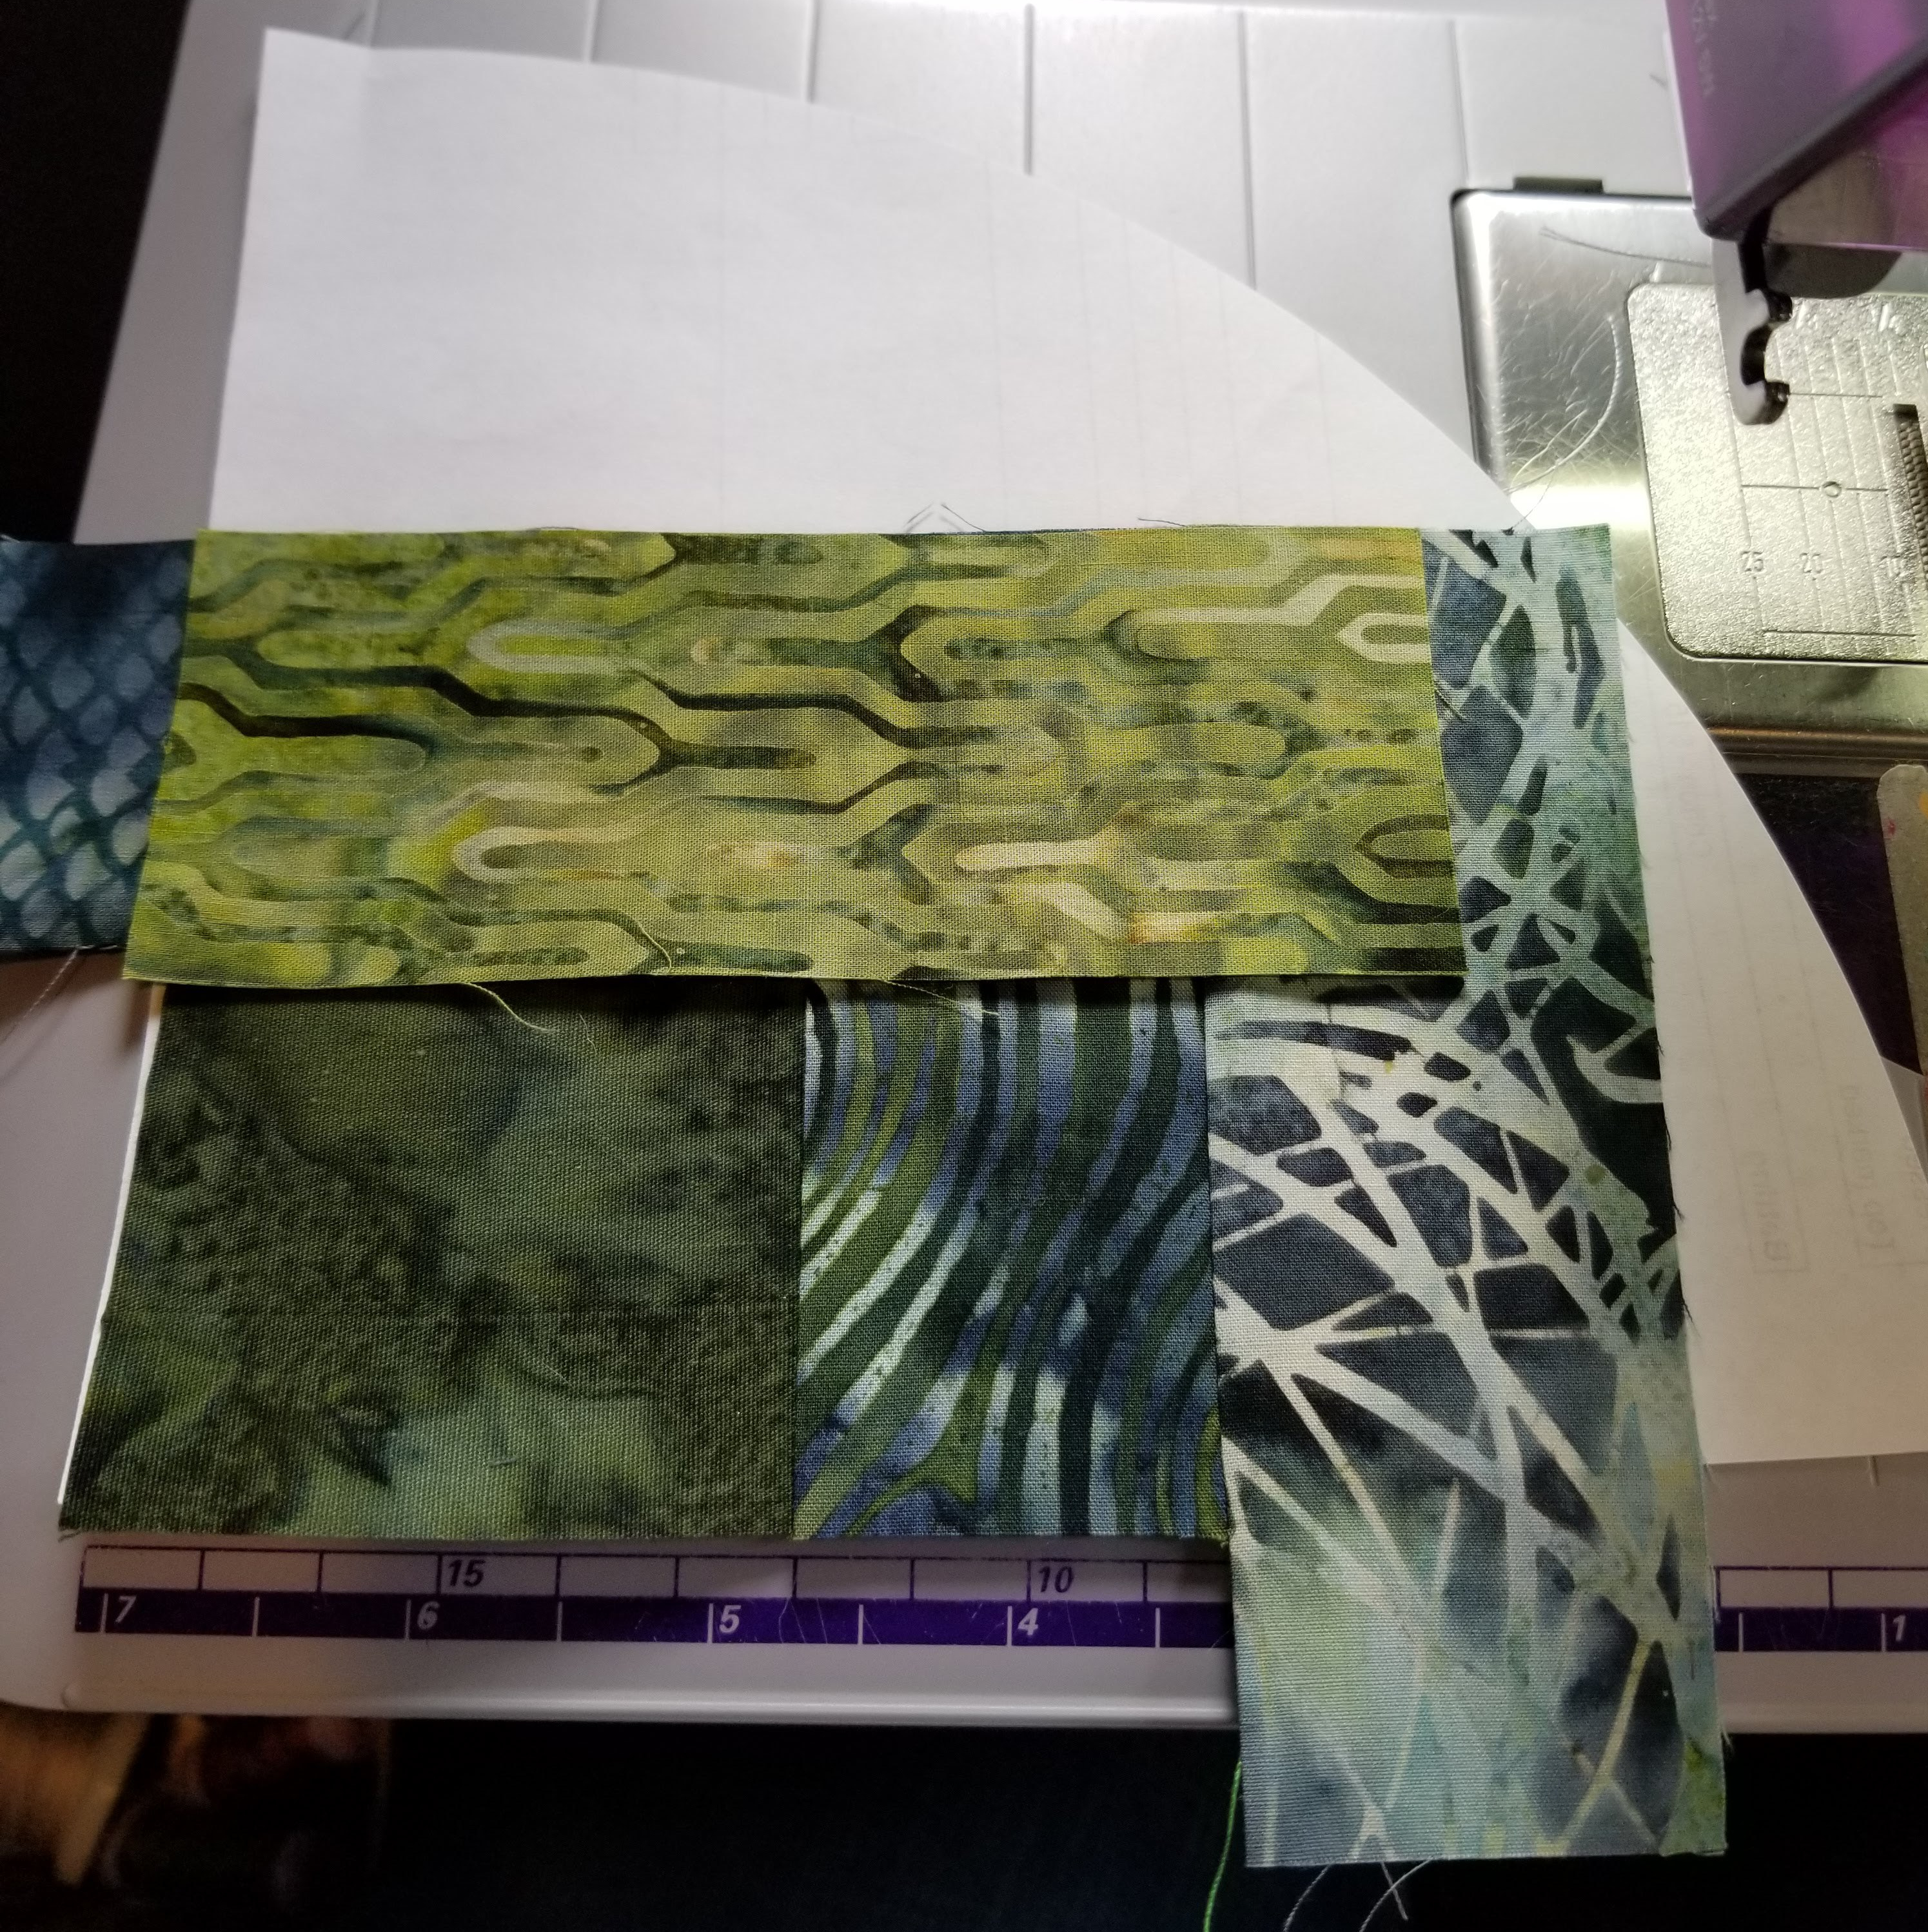
If you have any short strips like this (perhaps you have discovered that some of your strips are not the 6 1/2″ I suggested), it is not a problem. This is meant to be a wonky block, so just improvise.
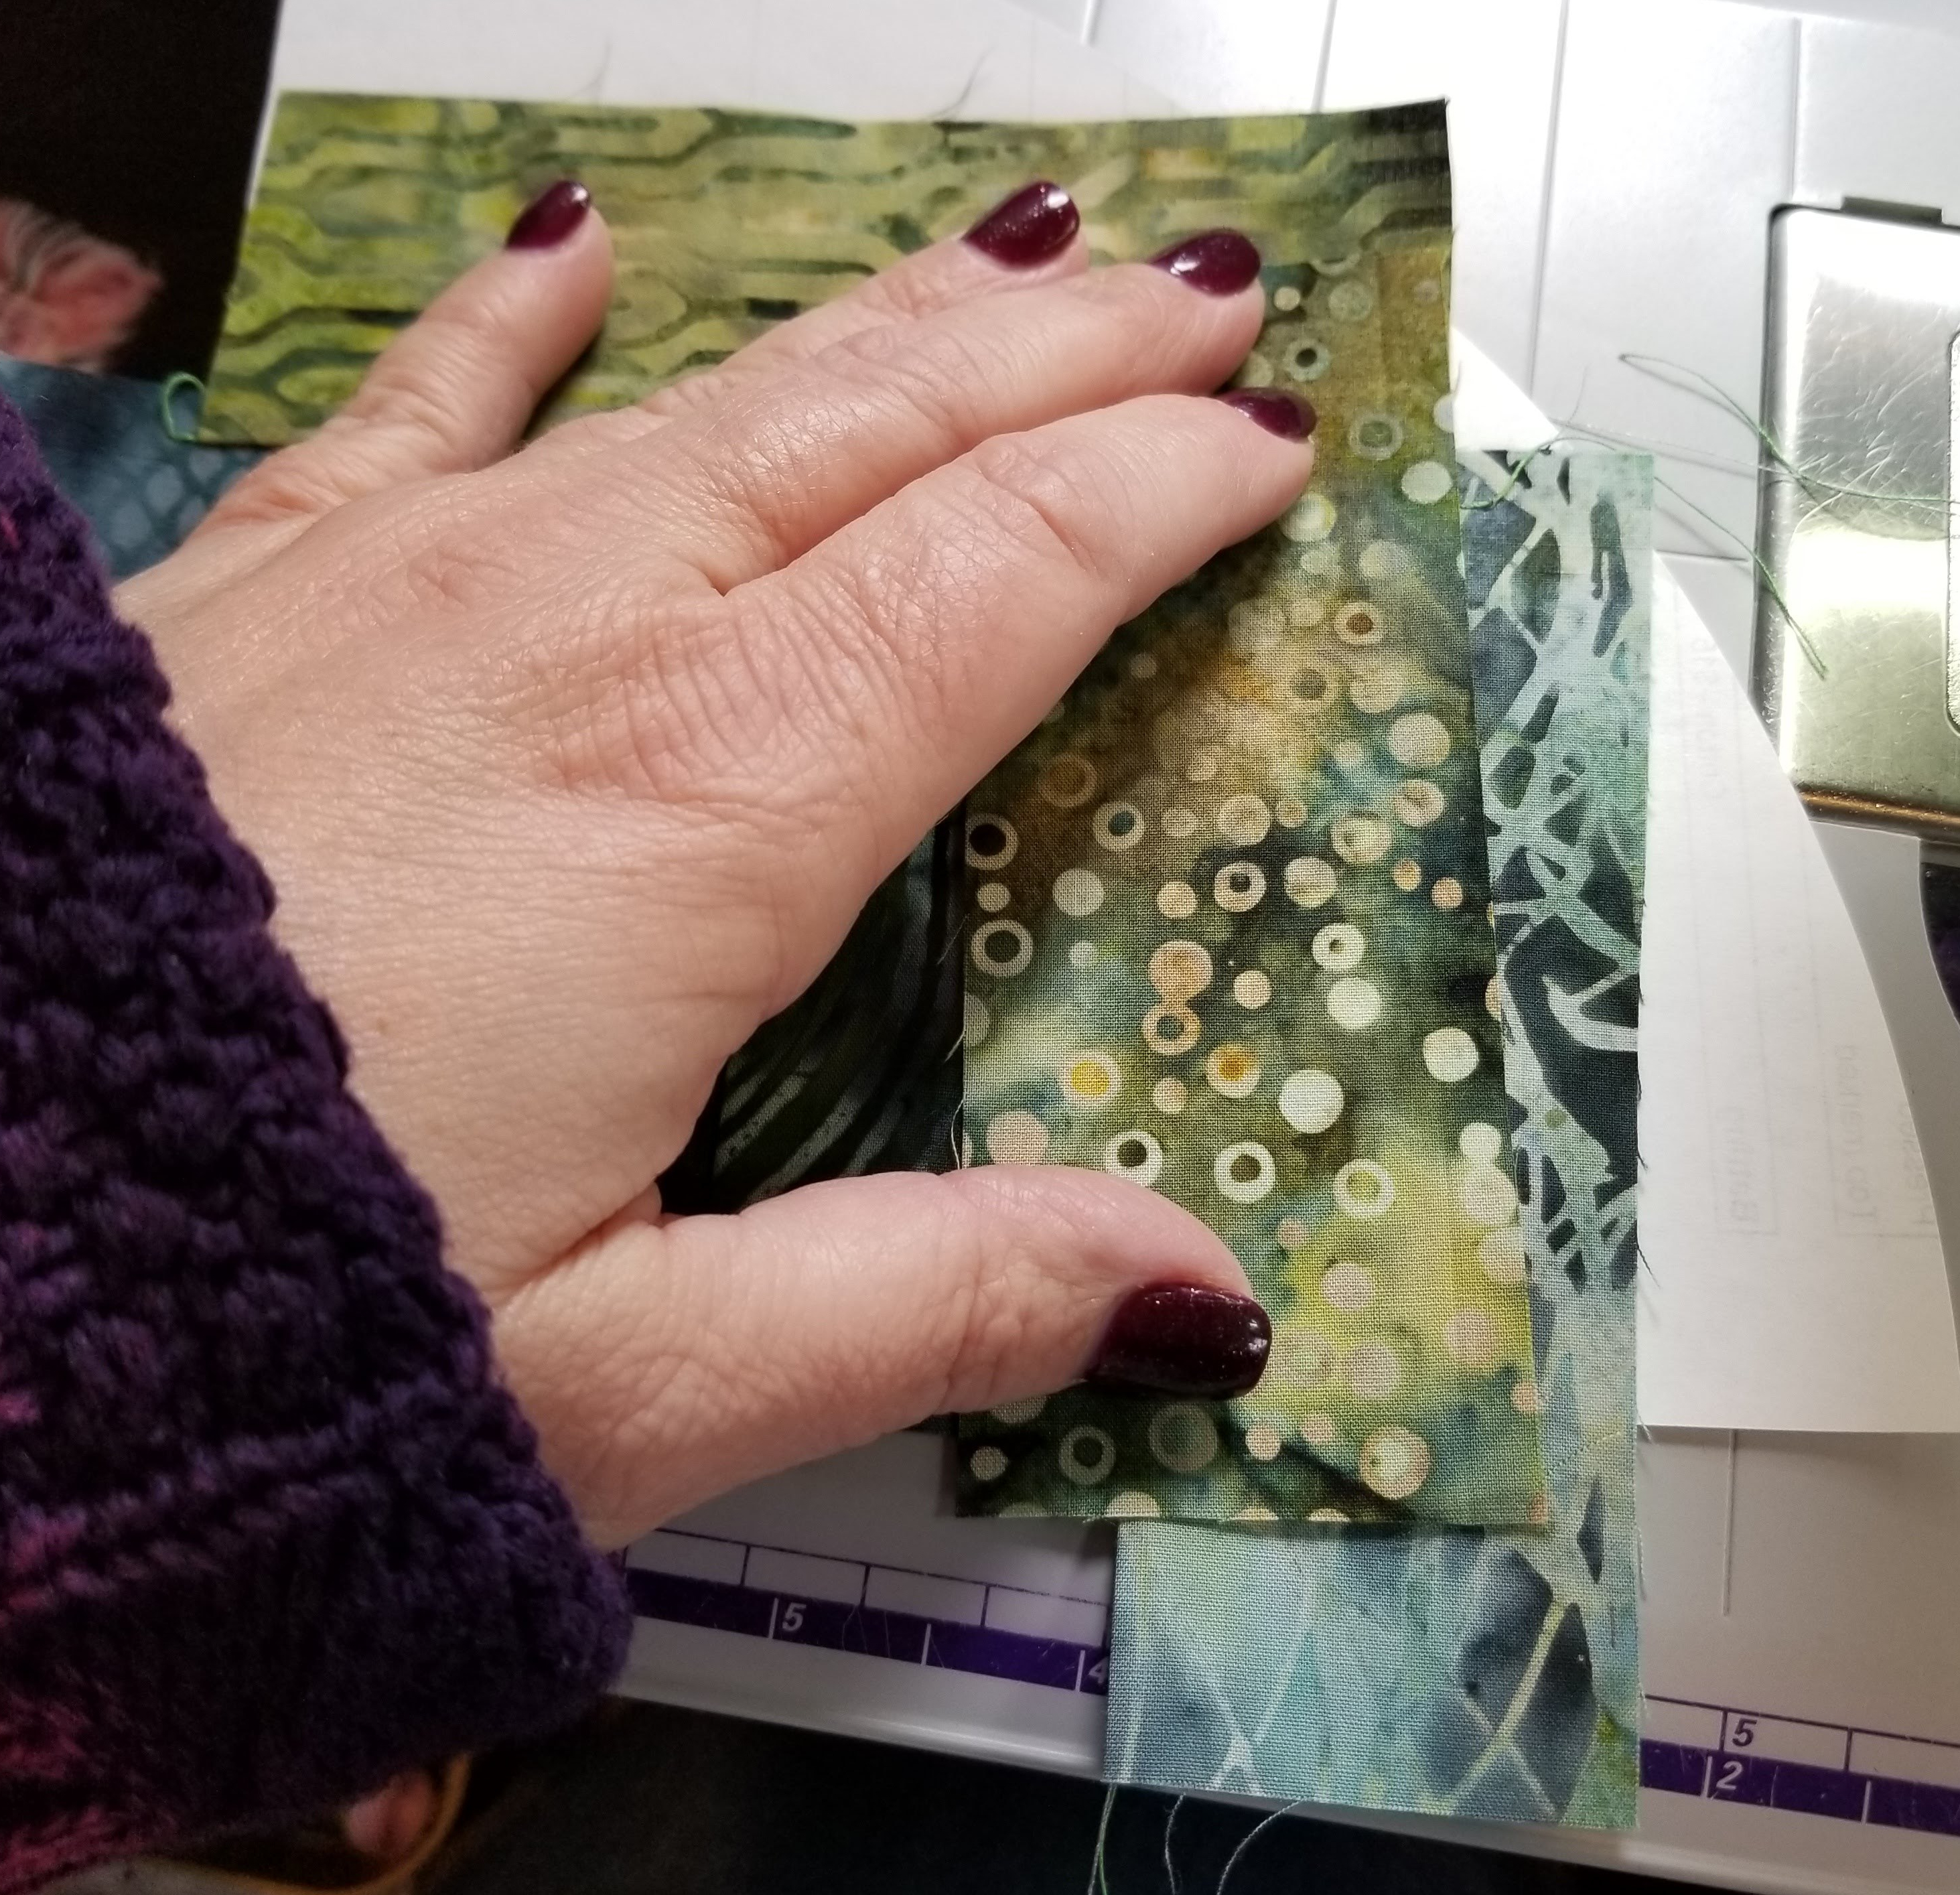
I lined it up with the highest point on the too short strip, covering as much of the other one as possible. I angled it a bit, so it would cover the foundation.
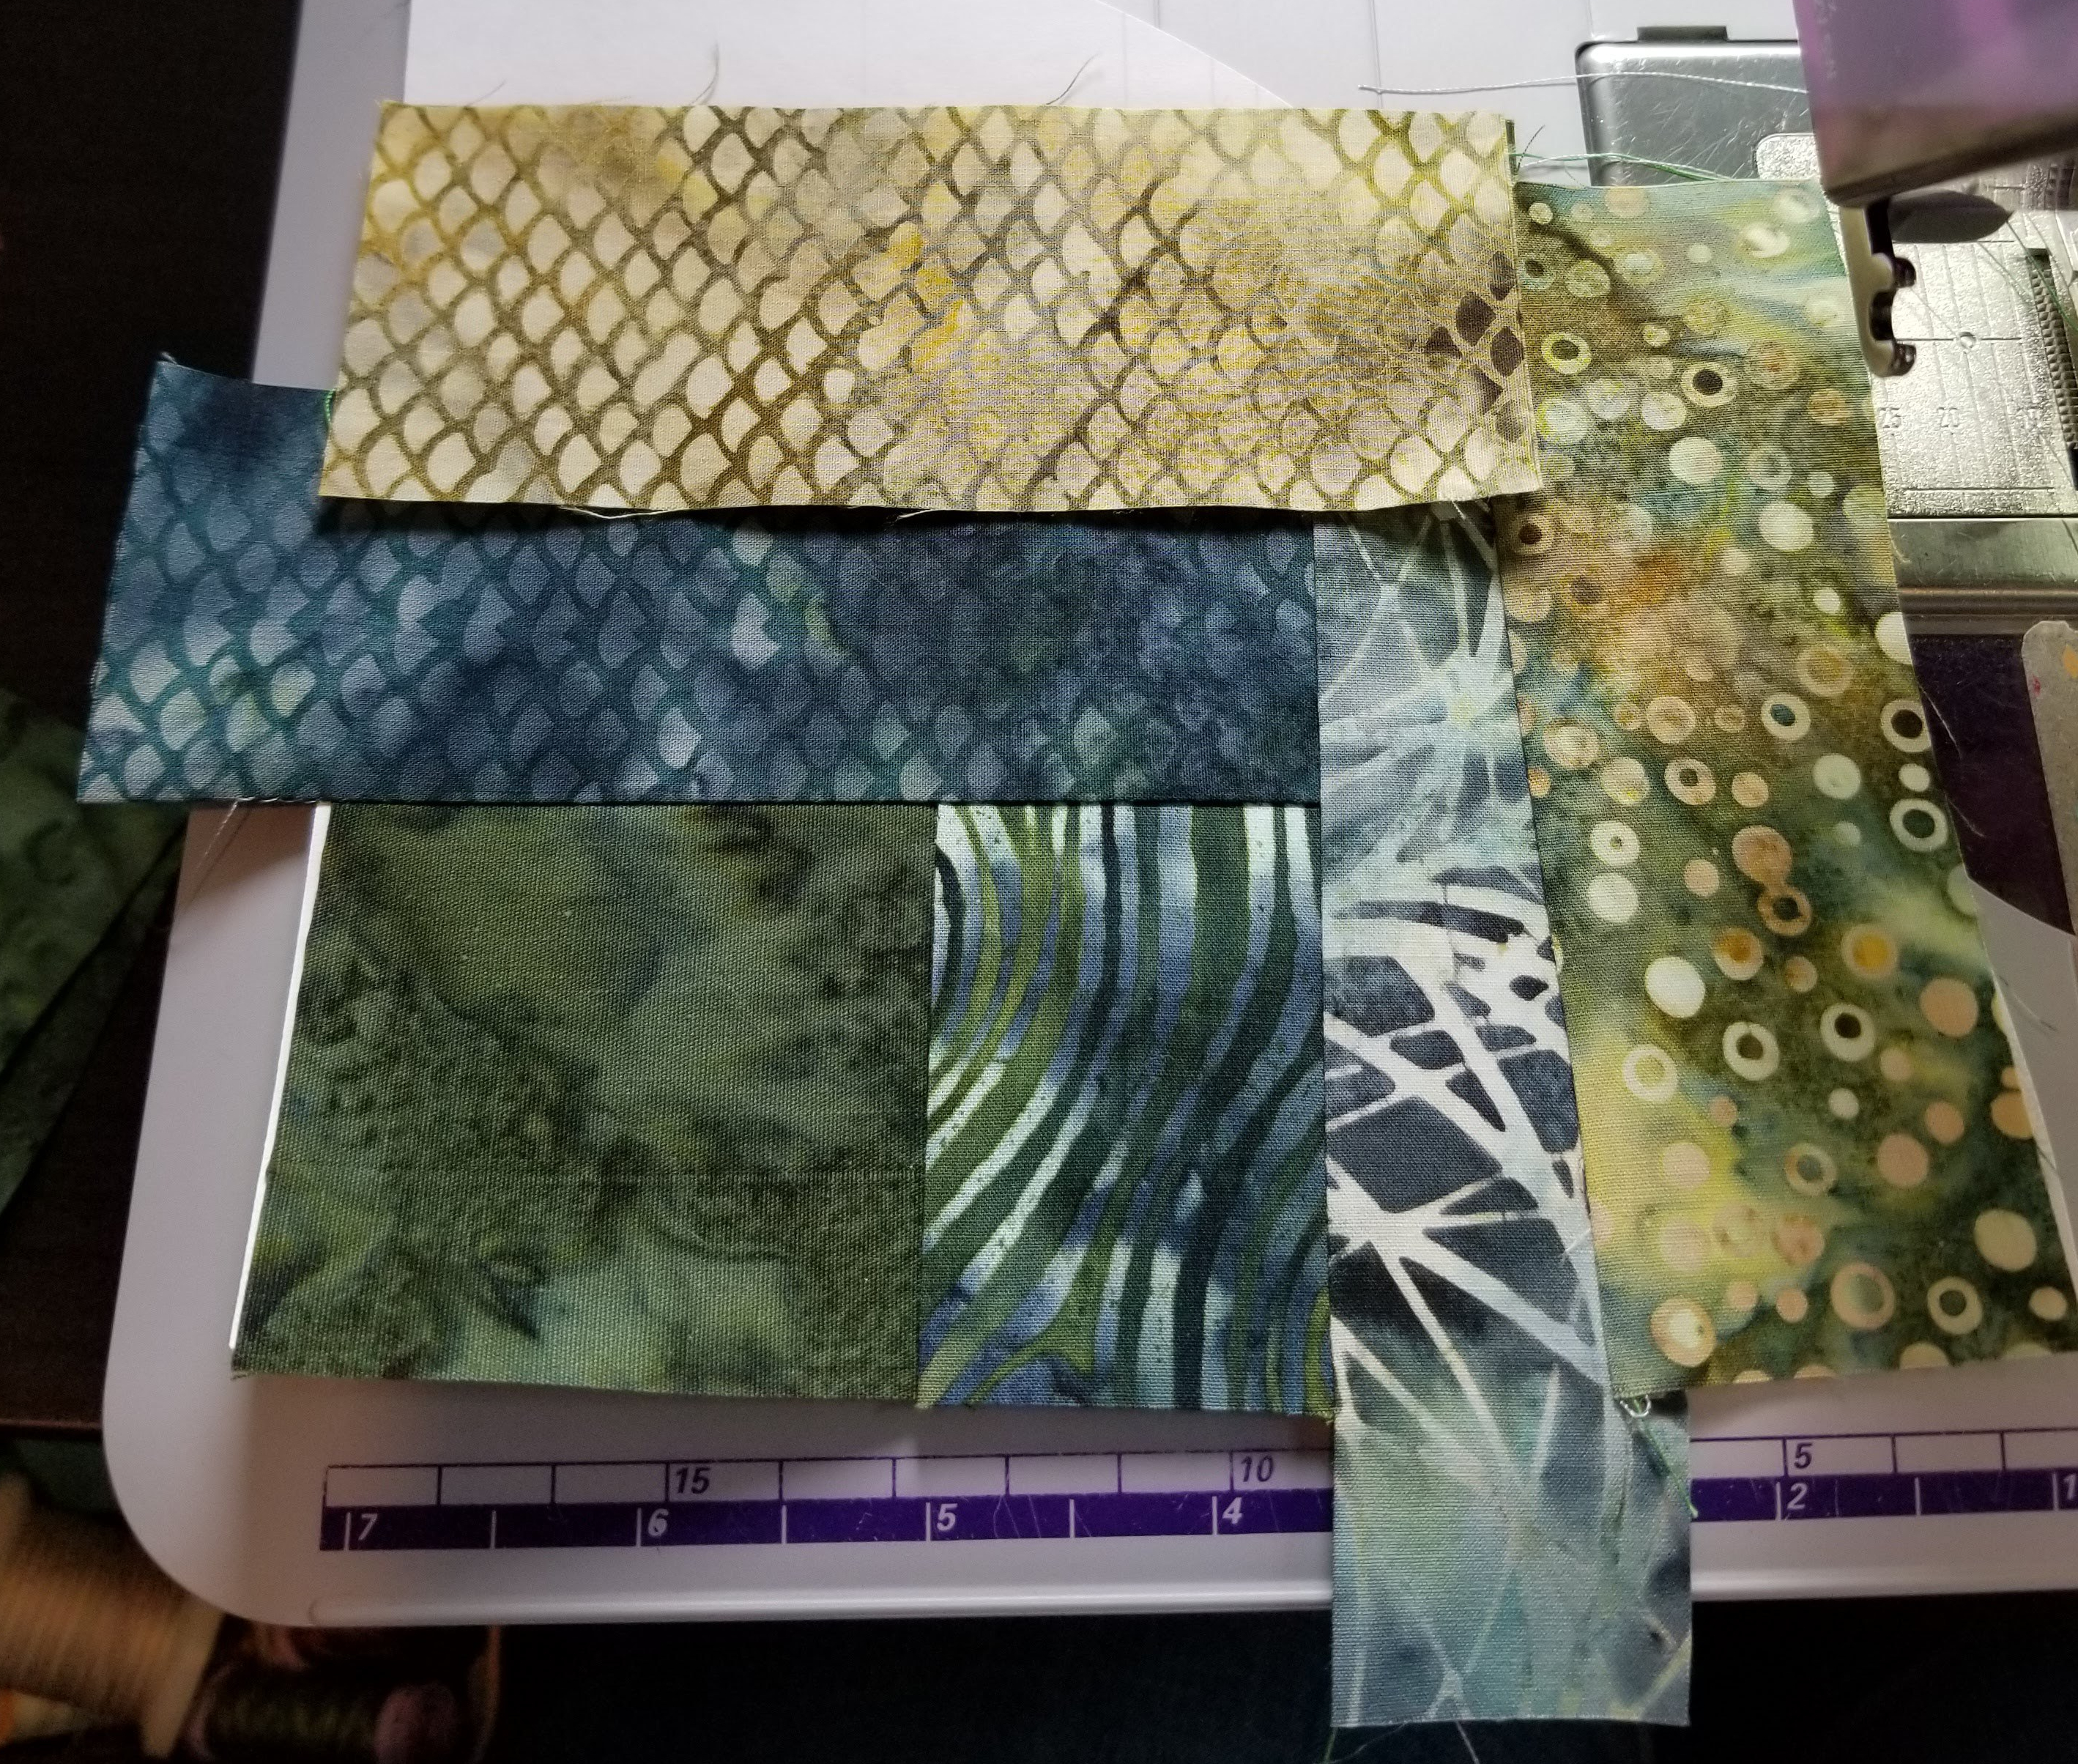
Can you see how the strip with the grassy pattern is narrower? Let’s just pretend I meant it to be that way.
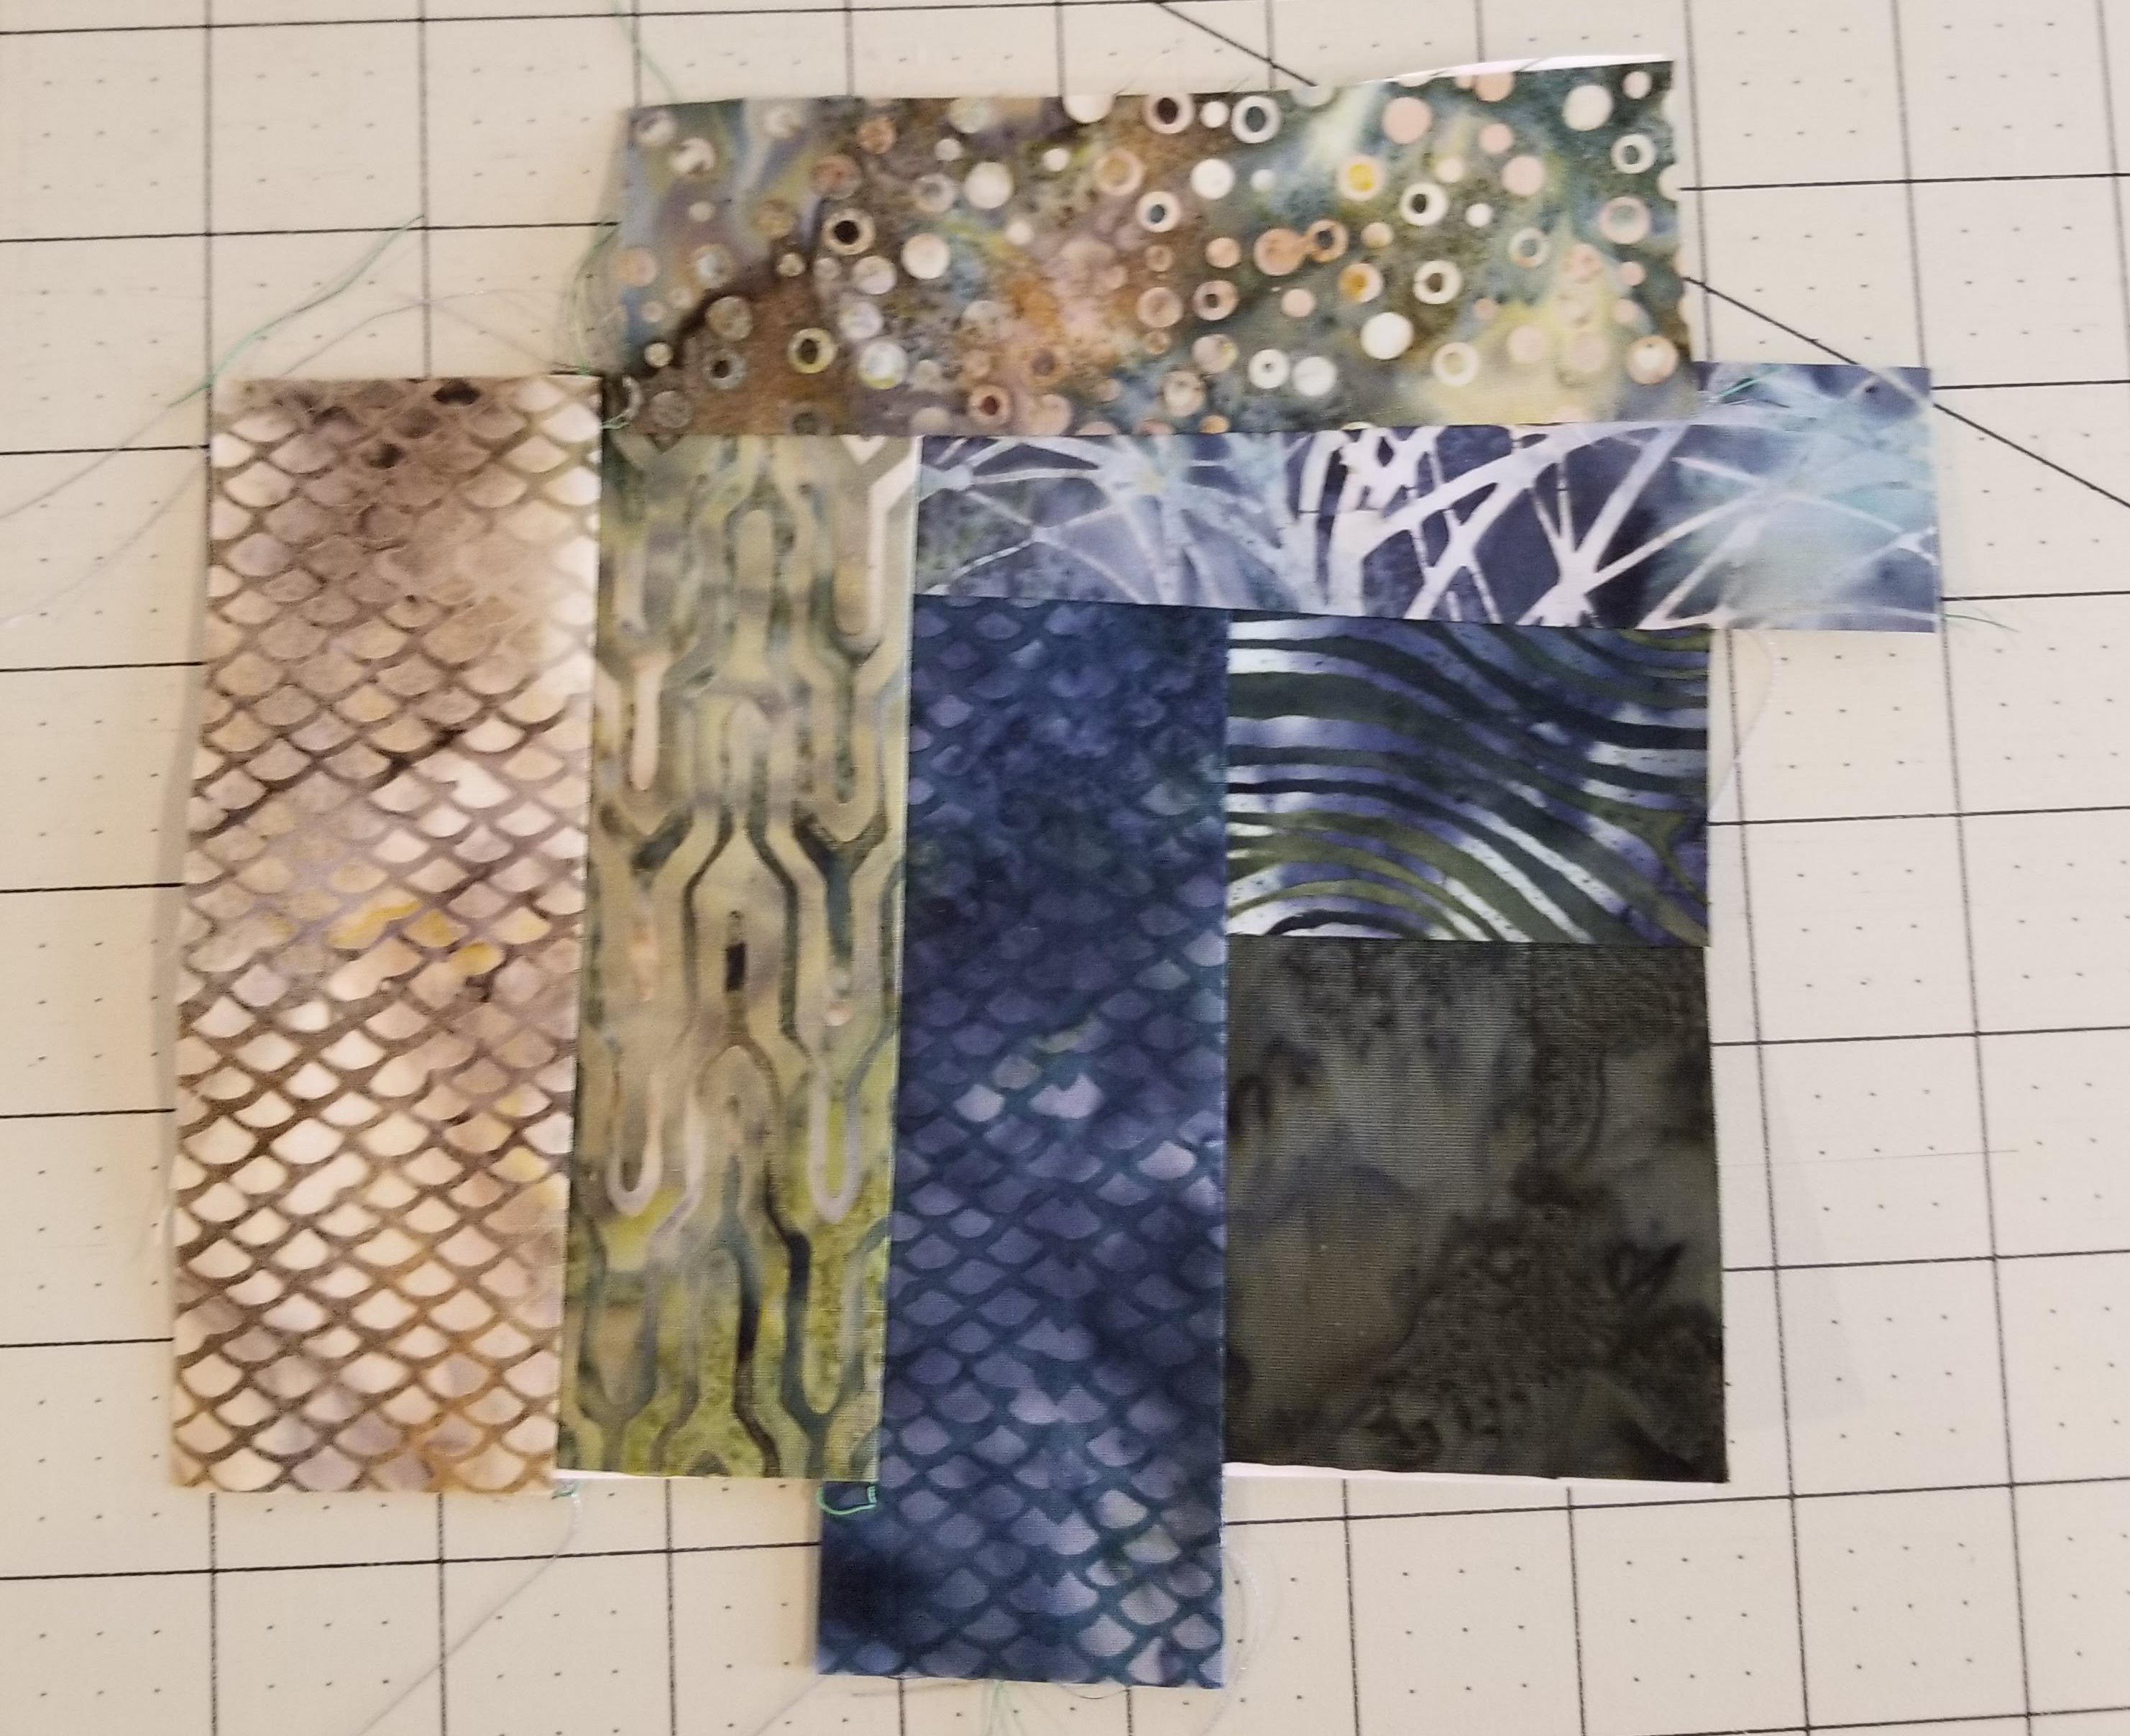
I can tell I’ve sewn on enough strips, because I can no longer see my foundation. Except for that little sliver on the upper right, and that is just fine.
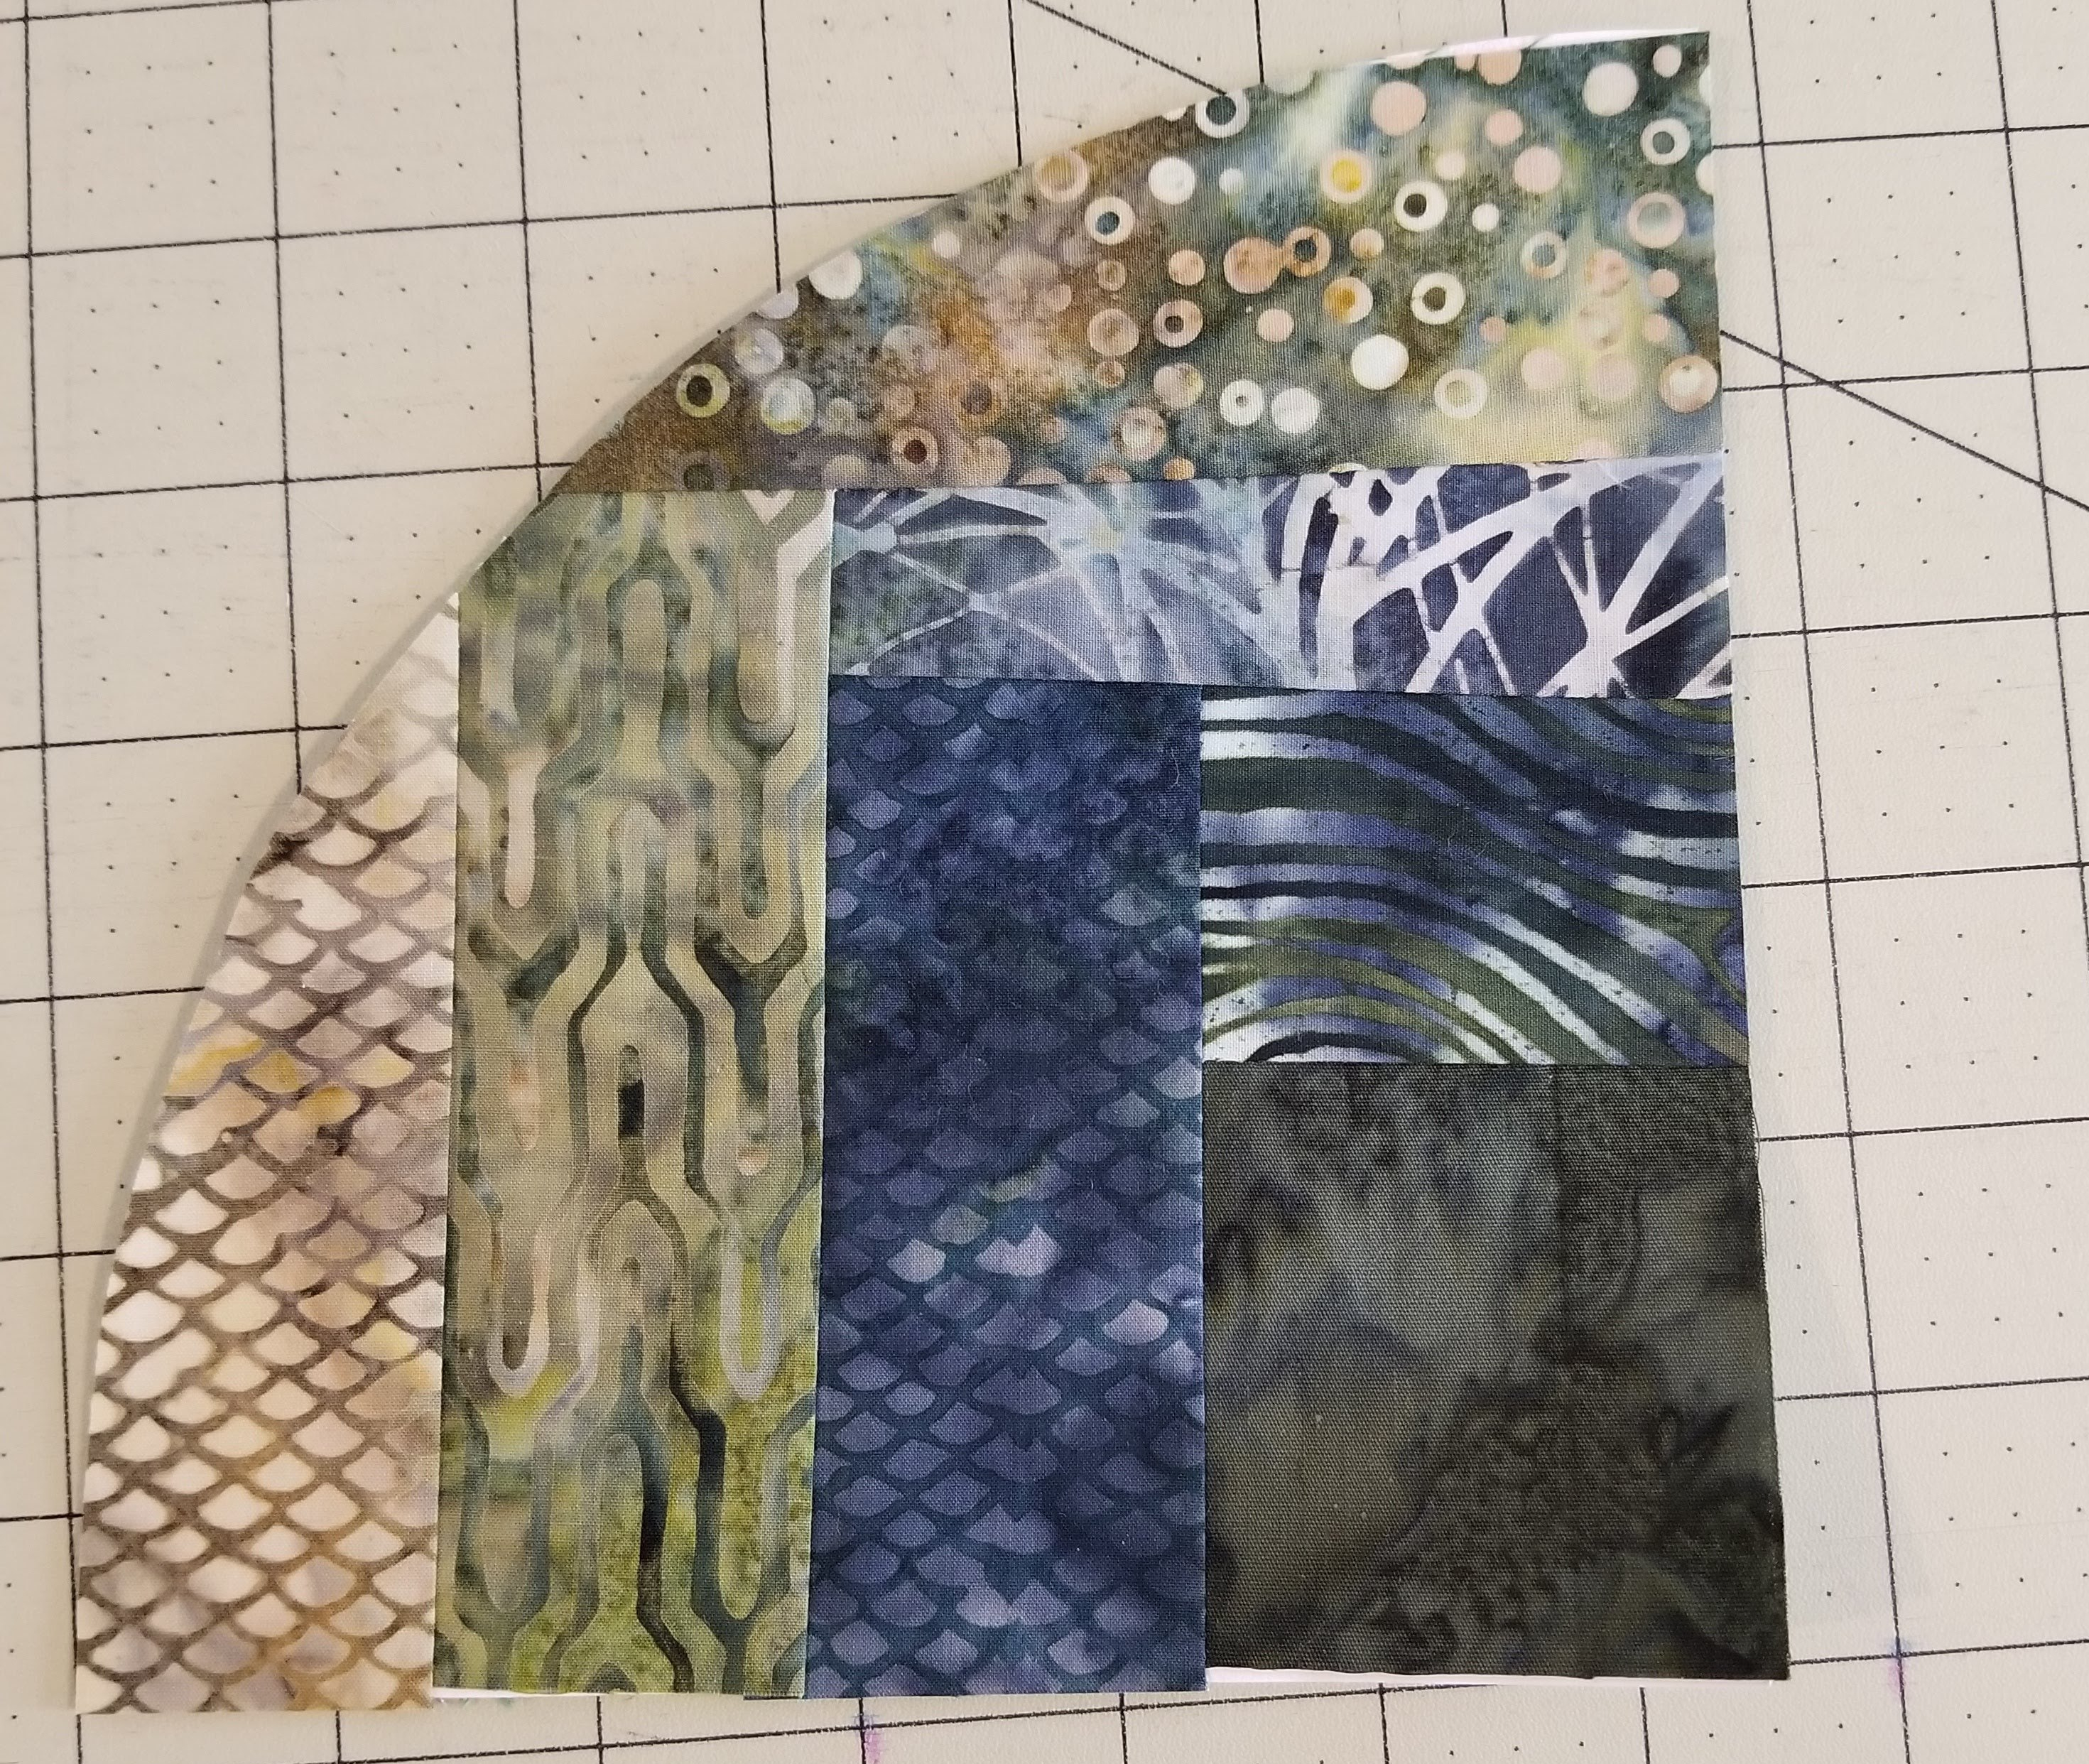
I used my Pattern A template to trim up the arc. Remove the papers, tearing carefully.
Repeat 3 more times.
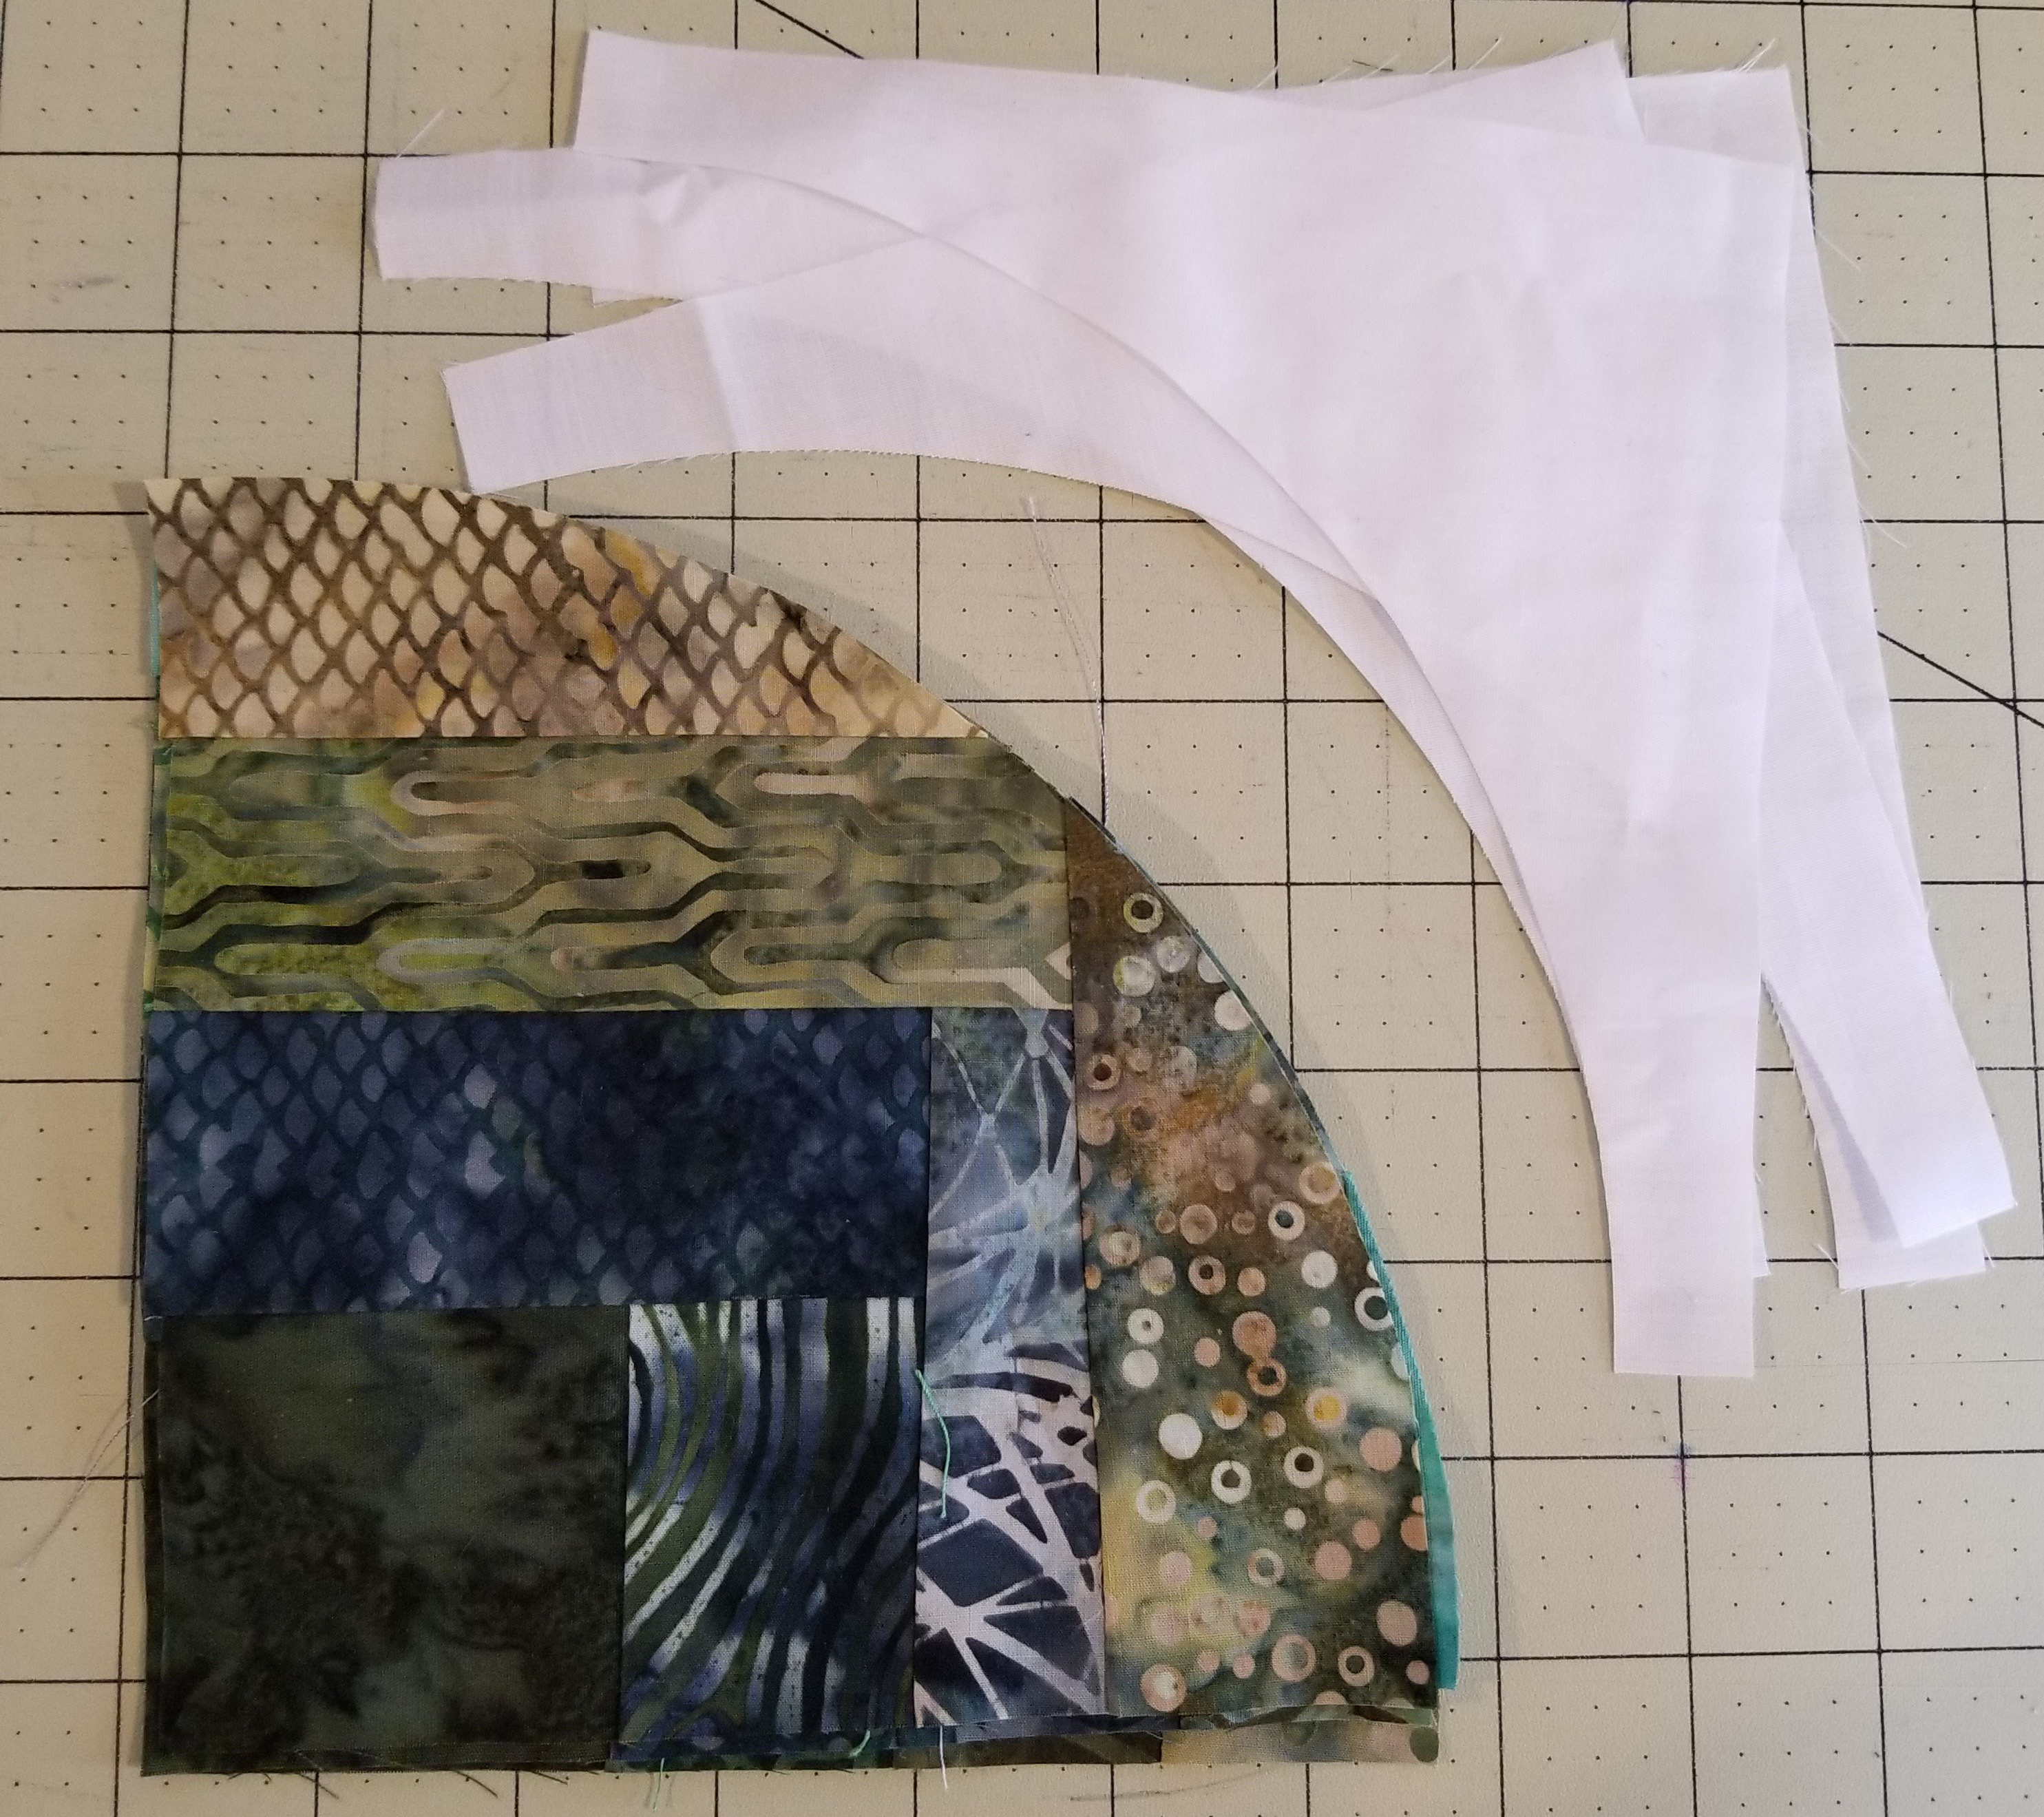
Cut 4 background pieces, using the Pattern B template.
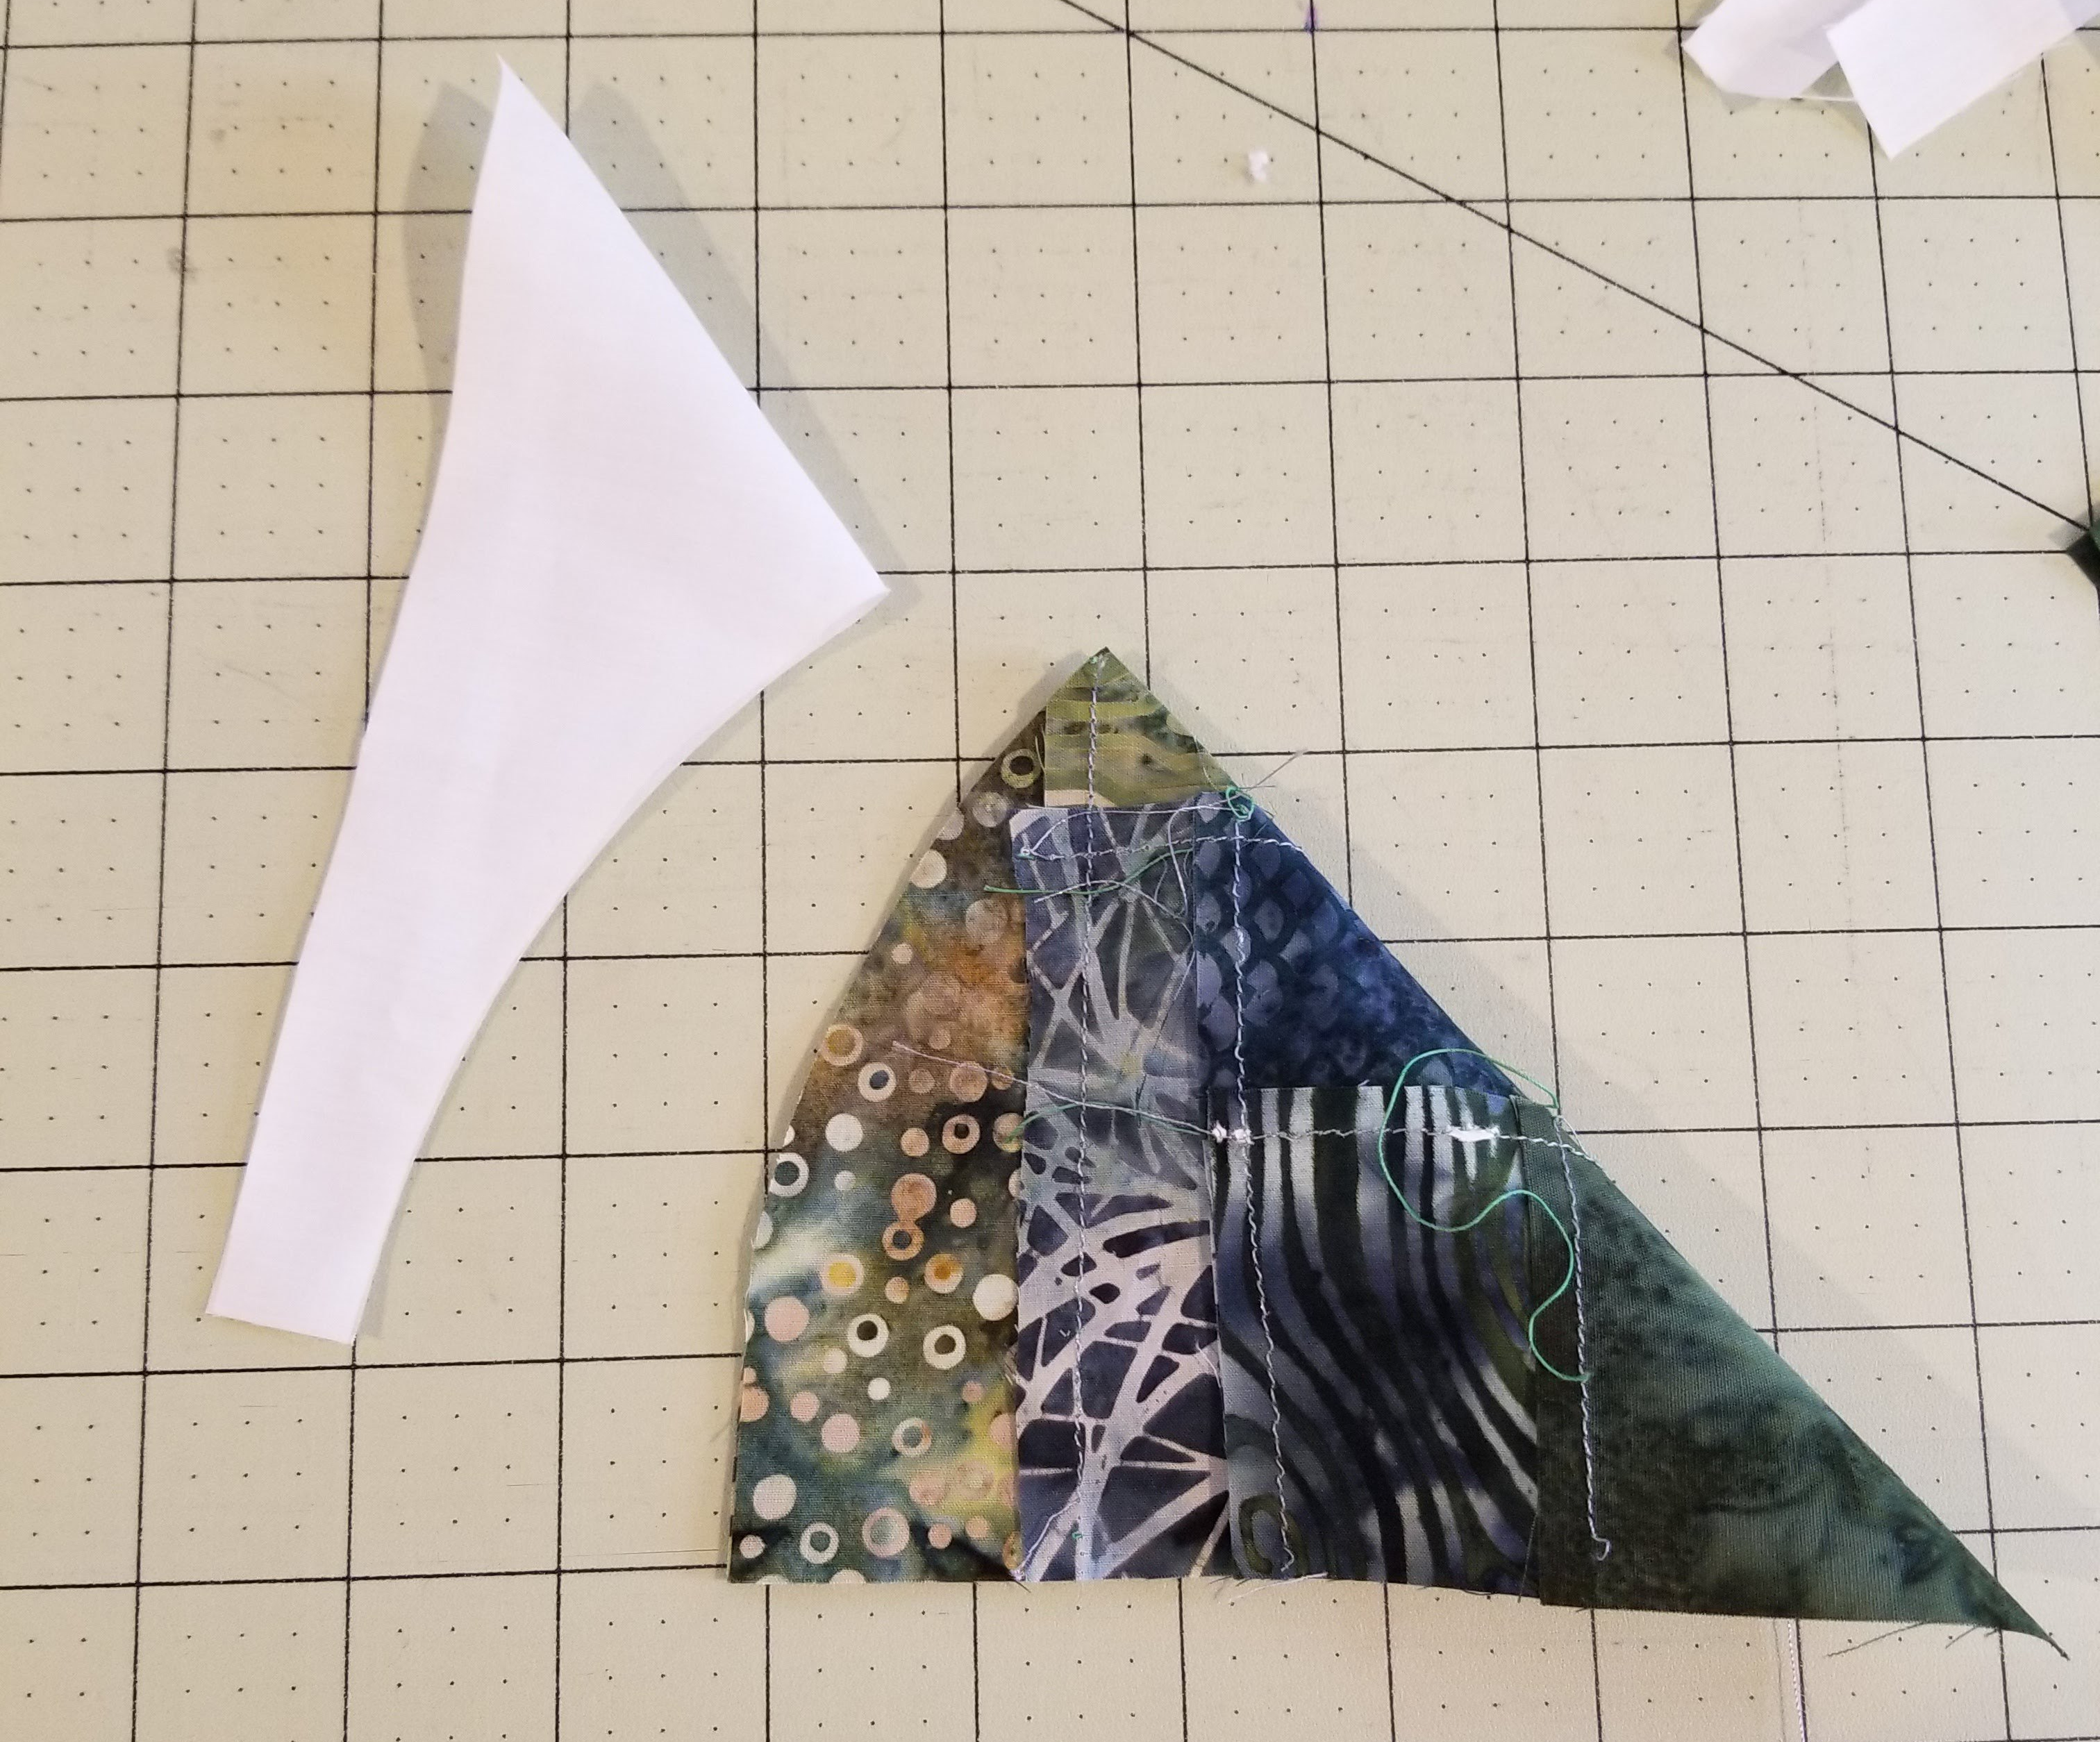
Fold your arc and your background piece in half. Pin, using the pinchy marks as reference points. I like to pin in the middle, on either end, and then another pin or two in the middle sections.
Press carefully, with your seams towards the background.
Pin pairs of arcs together, matching the point where the arc meets the background carefully. Stitch and press to one side. Pin the two half circle segments together. Stitch and press.

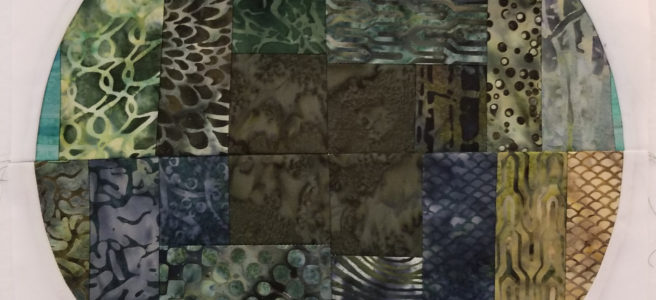
I’m really pleased with how this one came out. All of these green batiks were purchased by my mother, for a couple of different projects. Thanks, Mom! Also, it is not safe to leave fabric at my house.
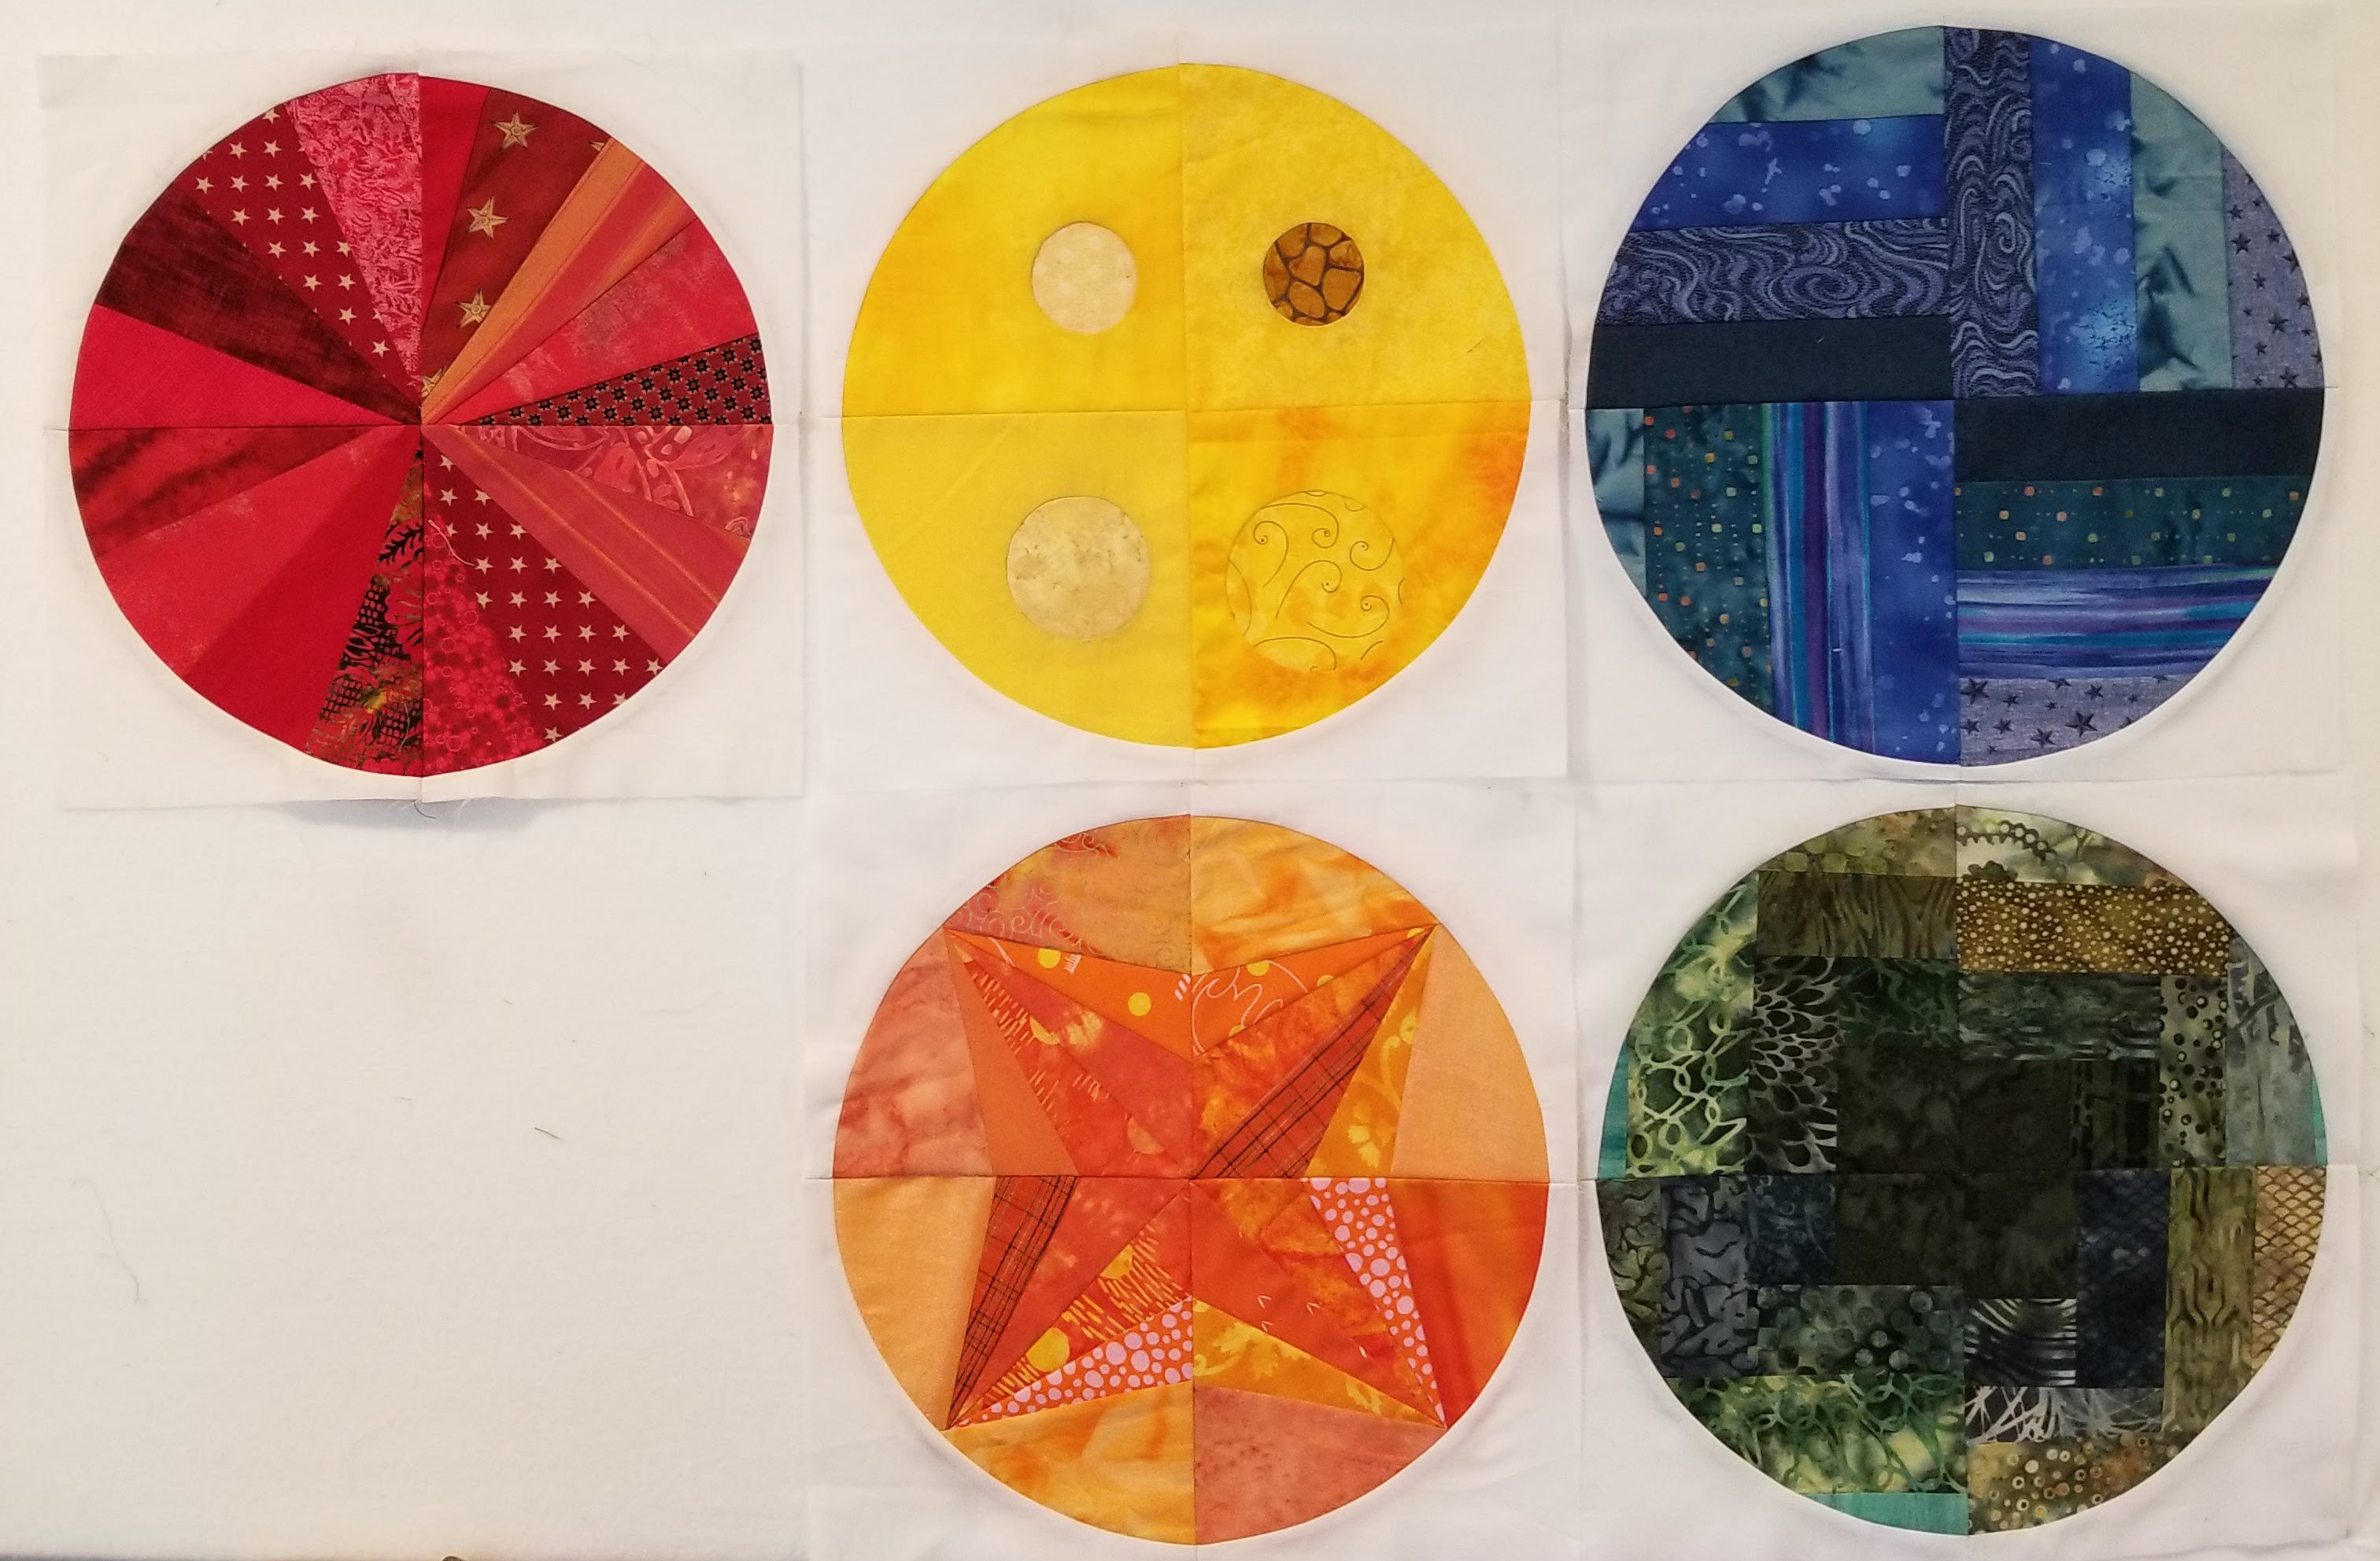
This is the point each month where I toy with the idea of skipping work for the week and just burning through the rest of the blocks.
Sign up to follow my blog, and you will get a reminder when the color challenge linkup is open, and also keep up with all of my quilting projects.
Previous Color Challenge Blocks:
January Color Challenge
February Color Challenge
March Color Challenge – Yellow
April Color Challenge


LOVE seeing your circles at the end, yum! Totally can see why you’d feel like skipping work. Also gotta say I love seeing those burgundy nails against the rich greens… 🙂
I can’t stand how awesome these circles are. I get frustrated with block of the month projects. I’m all about speed – I want them done and quilted.
LOL about my nails. I usually go with the french manicure, but I was in a rush this month. They are supposed to be magenta.
couldn’t find a pdf for this block where would I look for it ?
Hey, Pat – since this block is an inprov technique, I didn’t prepare a PDF file for it. If you read the tutorial you can see how I made it.
While I am not a fan of green, those batik tones are simply wonderful.
Just read your comment above, about BOMs. I have never done one, well, other than this one which is about color rather than duplication.
I think this is my favorite one so far. I love log cabins and I love green, so it just hits the spot!
That’s great! I’m so pleased with how they are coming along.
I love your improve circles. I enjoy improv piecing.
Thank you! I’m learning to like it myself.
I may have to leave some fabric at your house just to see what you’ll do with it. These circles are SO cool.
Haha. Everything is in danger of becoming a jelly roll rug right now.