This past weekend I was able to attend a class taught by my local quilt guild. Rebecca’s Reel Quilters offers regular programs, and they are a lot of fun. I get to spend an entire Saturday with my quilting buddies, and we learn a new technique. It is always so much fun to see the different spin we put on the same pattern. Note to self – take pictures of everyone’s projects!
Lynn led us through creating a One Block Wonder quilt. If you are unfamiliar with this technique, it is a method of stacking fabric so that the repeats match up and allow you to create a kaleidoscope effect. We used an equilateral triangle as our shape for this class.
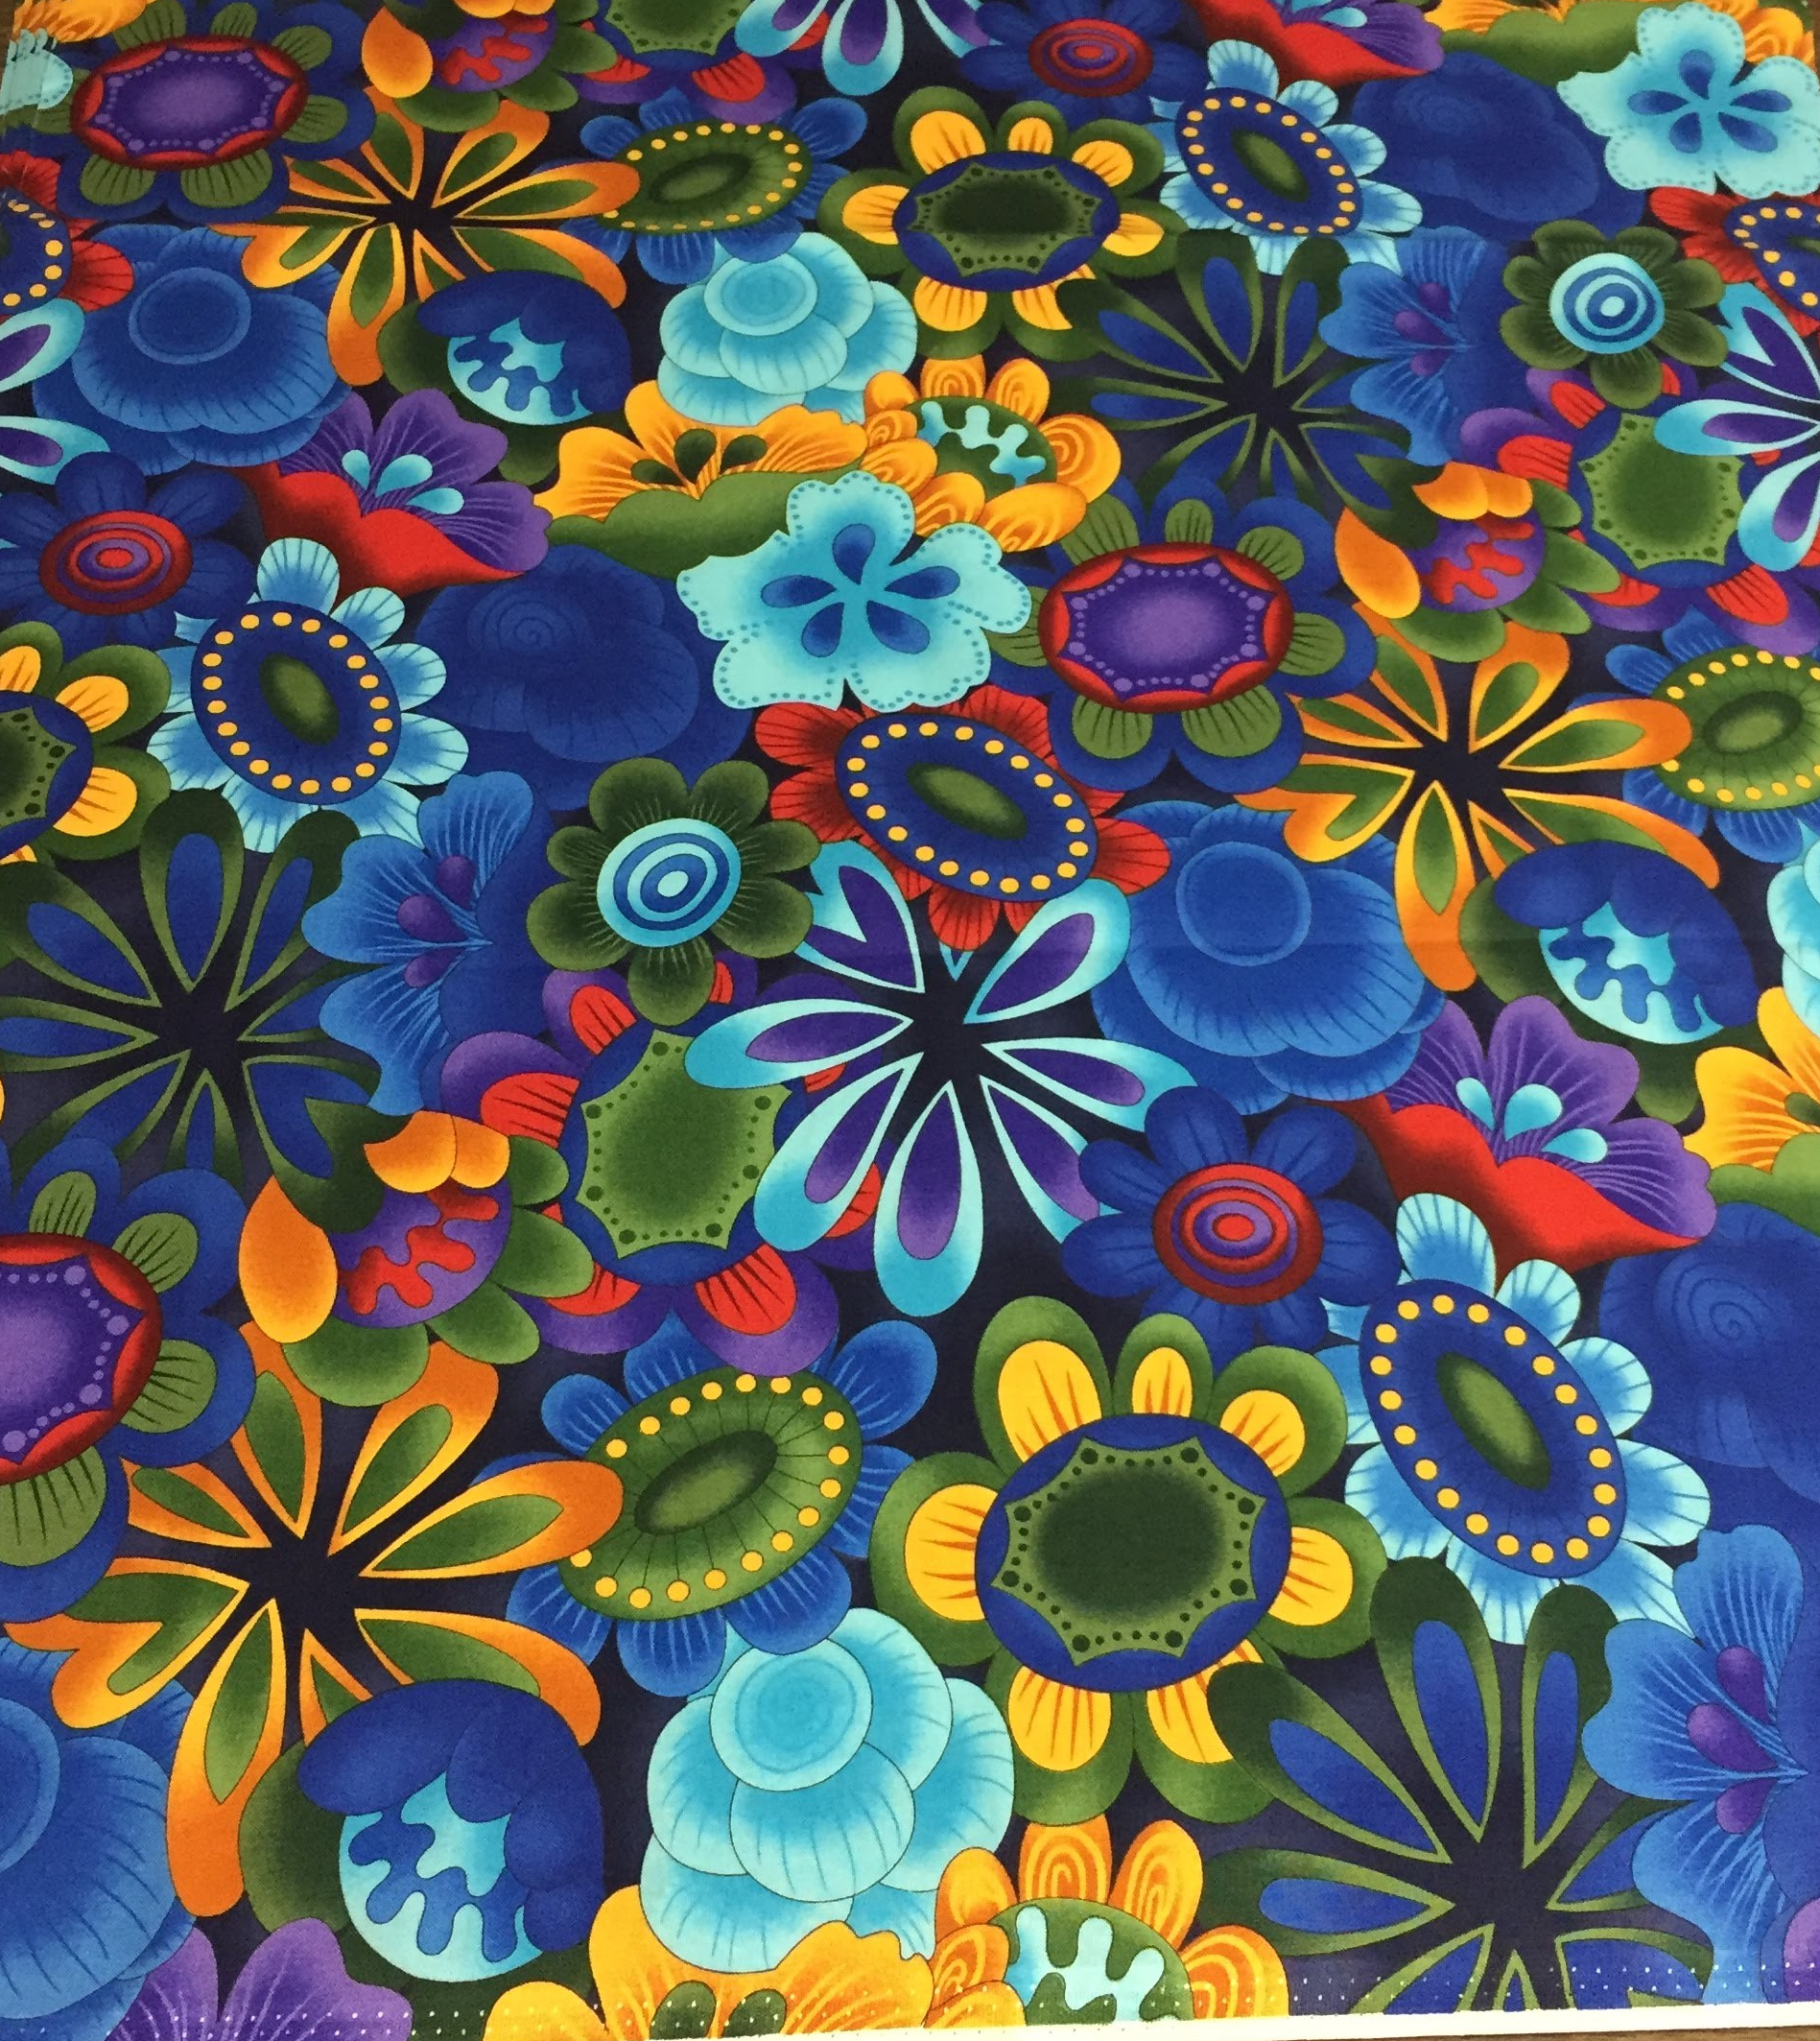 I began with this fabric, from Blank Fabrics. I purchased it in 2013, with a One Block Wonder in mind. I also picked up the book, by Maxine Rosenthal.* I read the instructions, was a bit overwhelmed, and put the book and the fabric into the closet.
[This post includes affiliate links, marked with an *. If you make a purchase using this link, I will earn a small commission. Thank you!]
I was thrilled when I saw the listing for the One Block Wonder class at the guild. Finally, I will move this project from the PIG (Project In Grocery Sack) list to the WIP (Work In Progress) list, and eventually to the UFO (UnFinished Object) list.
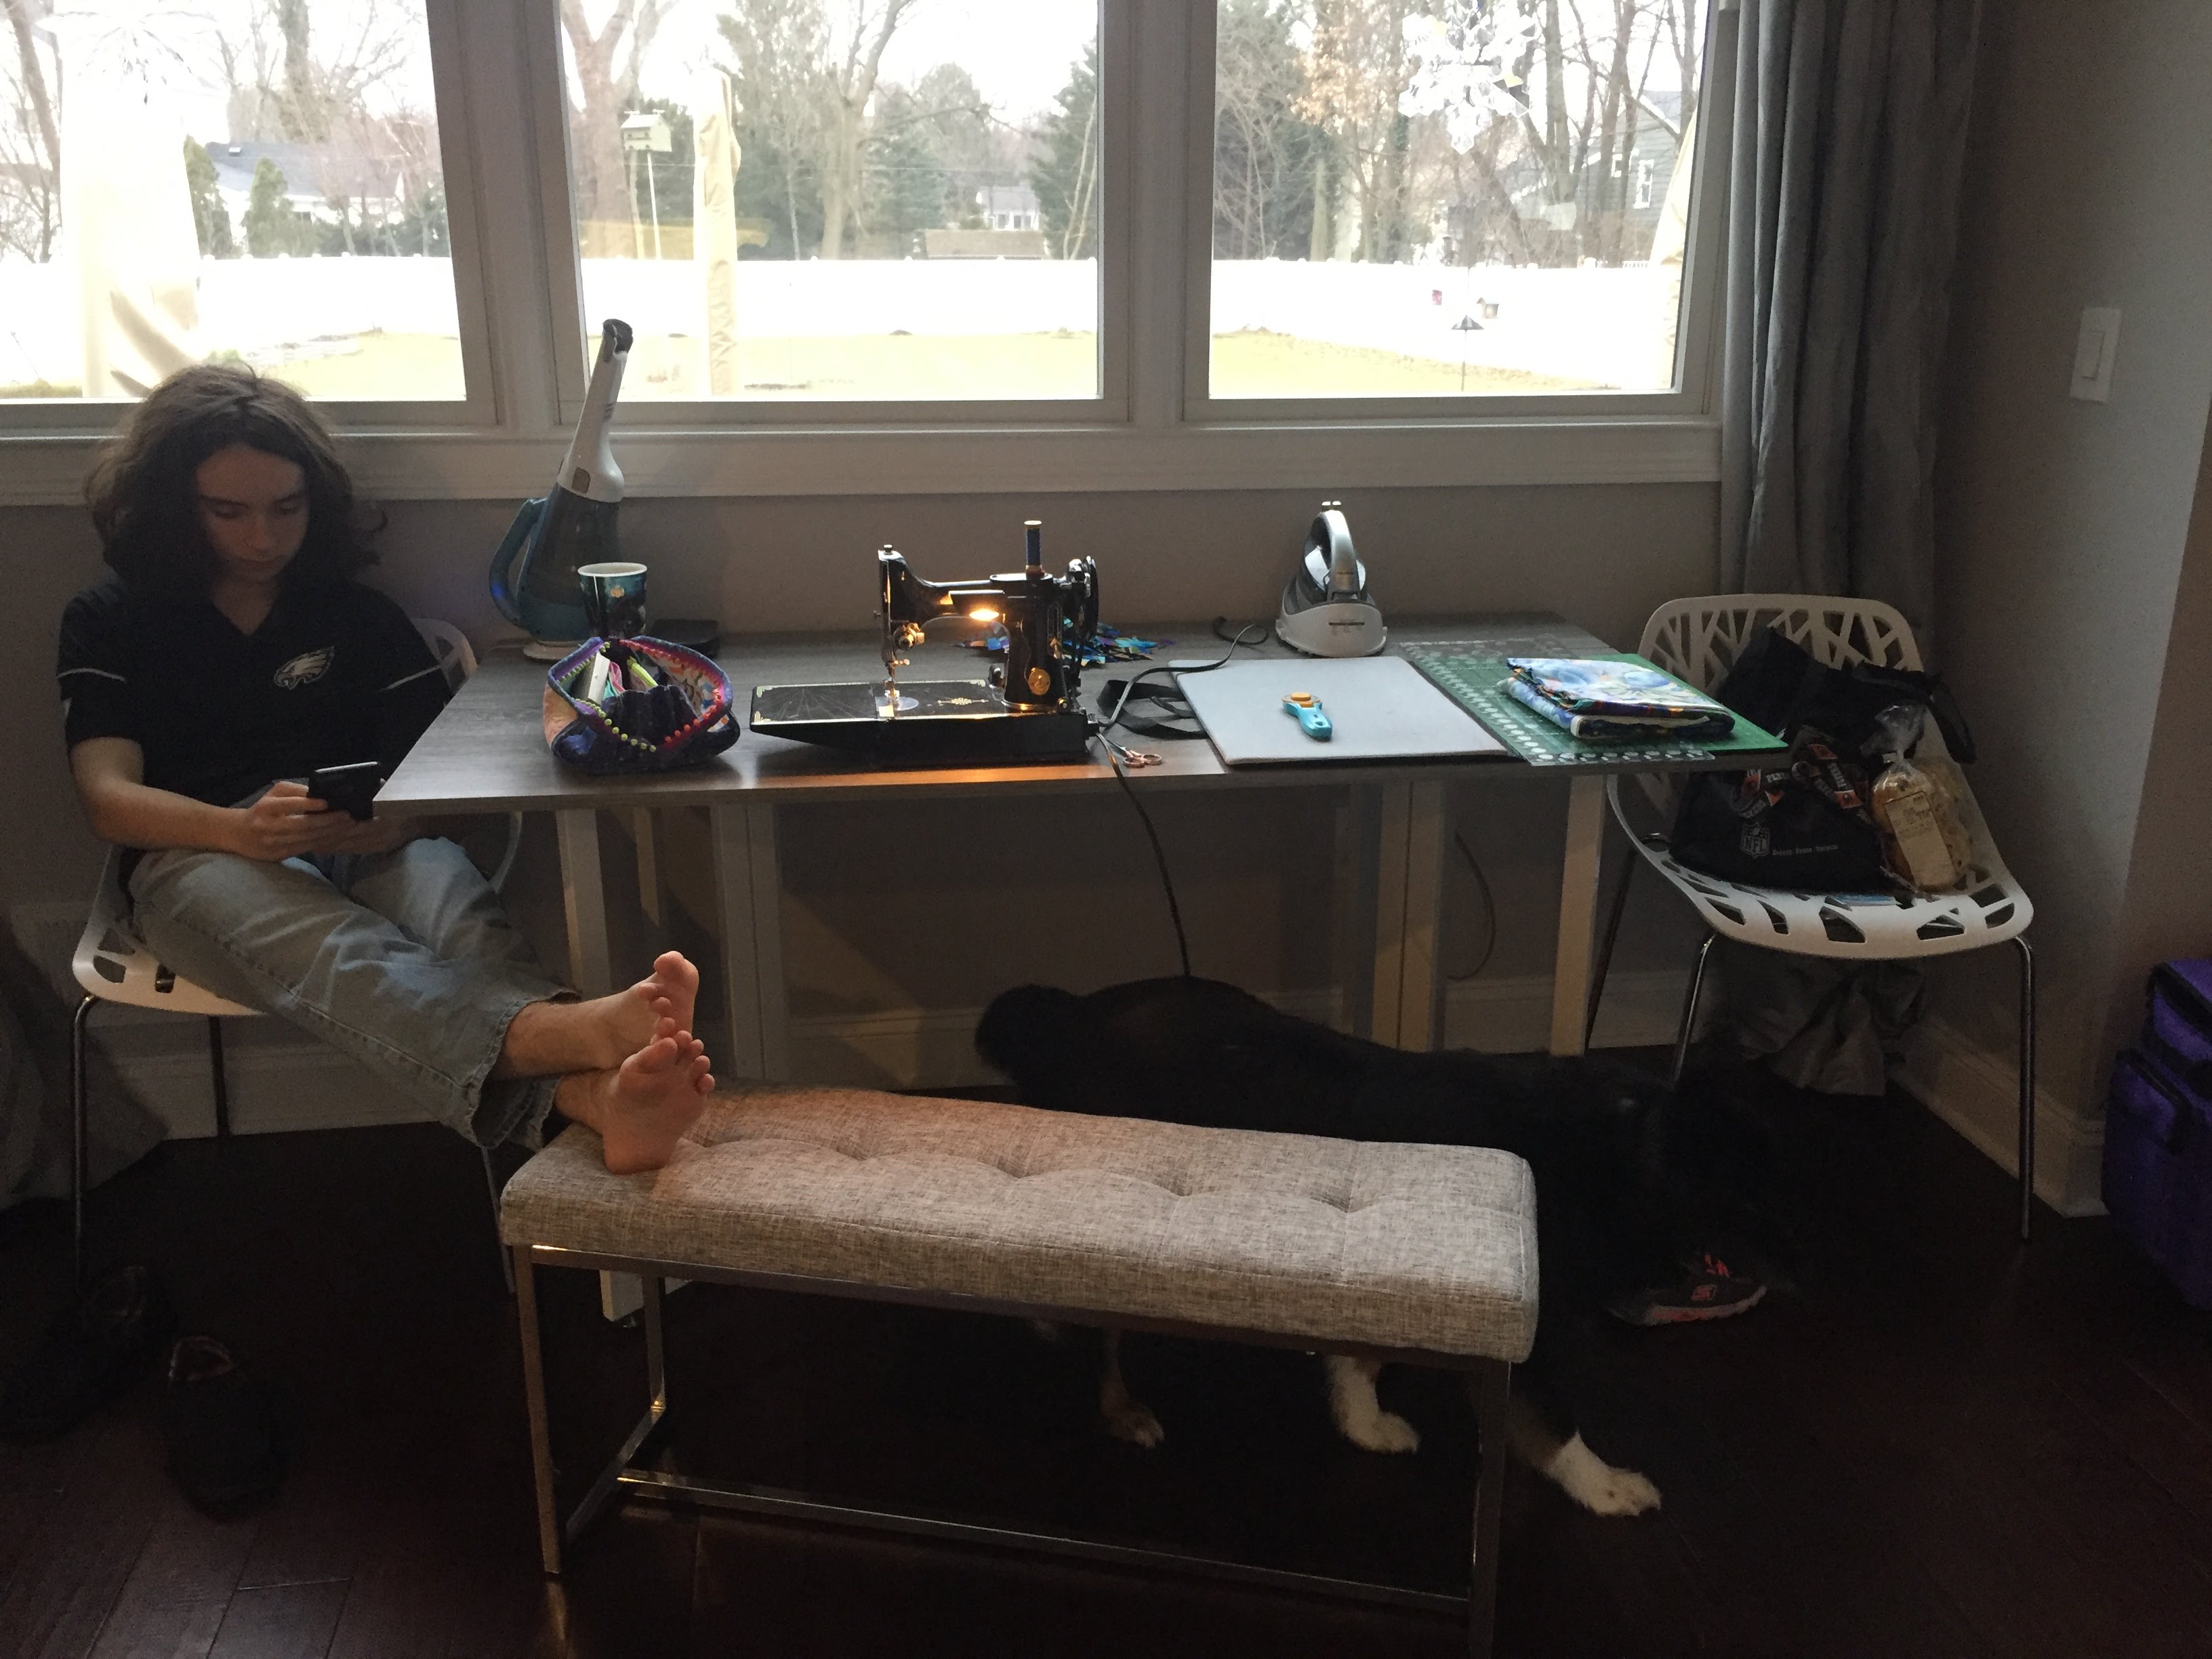
I loaded up my trusty Featherweight, and a small studio’s worth of tools and off I went. (This is a photo of my class setup at home. I don’t bring the dustbuster, dog, or long haired teen to classes with me.) I bring my grandmother’s Featherweight, a cut & press mat*, my iron*, and my Sew Together Bag*, which has all of my favorite tools inside.
We started by carefully cutting our fabric along the repeats. My fabric has a 22″ repeat. Hooray! I’ll have a big quilt. Or a lot of leftover fabric.
Next we stacked the fabric, using points in the print and pins to line it all up evenly.
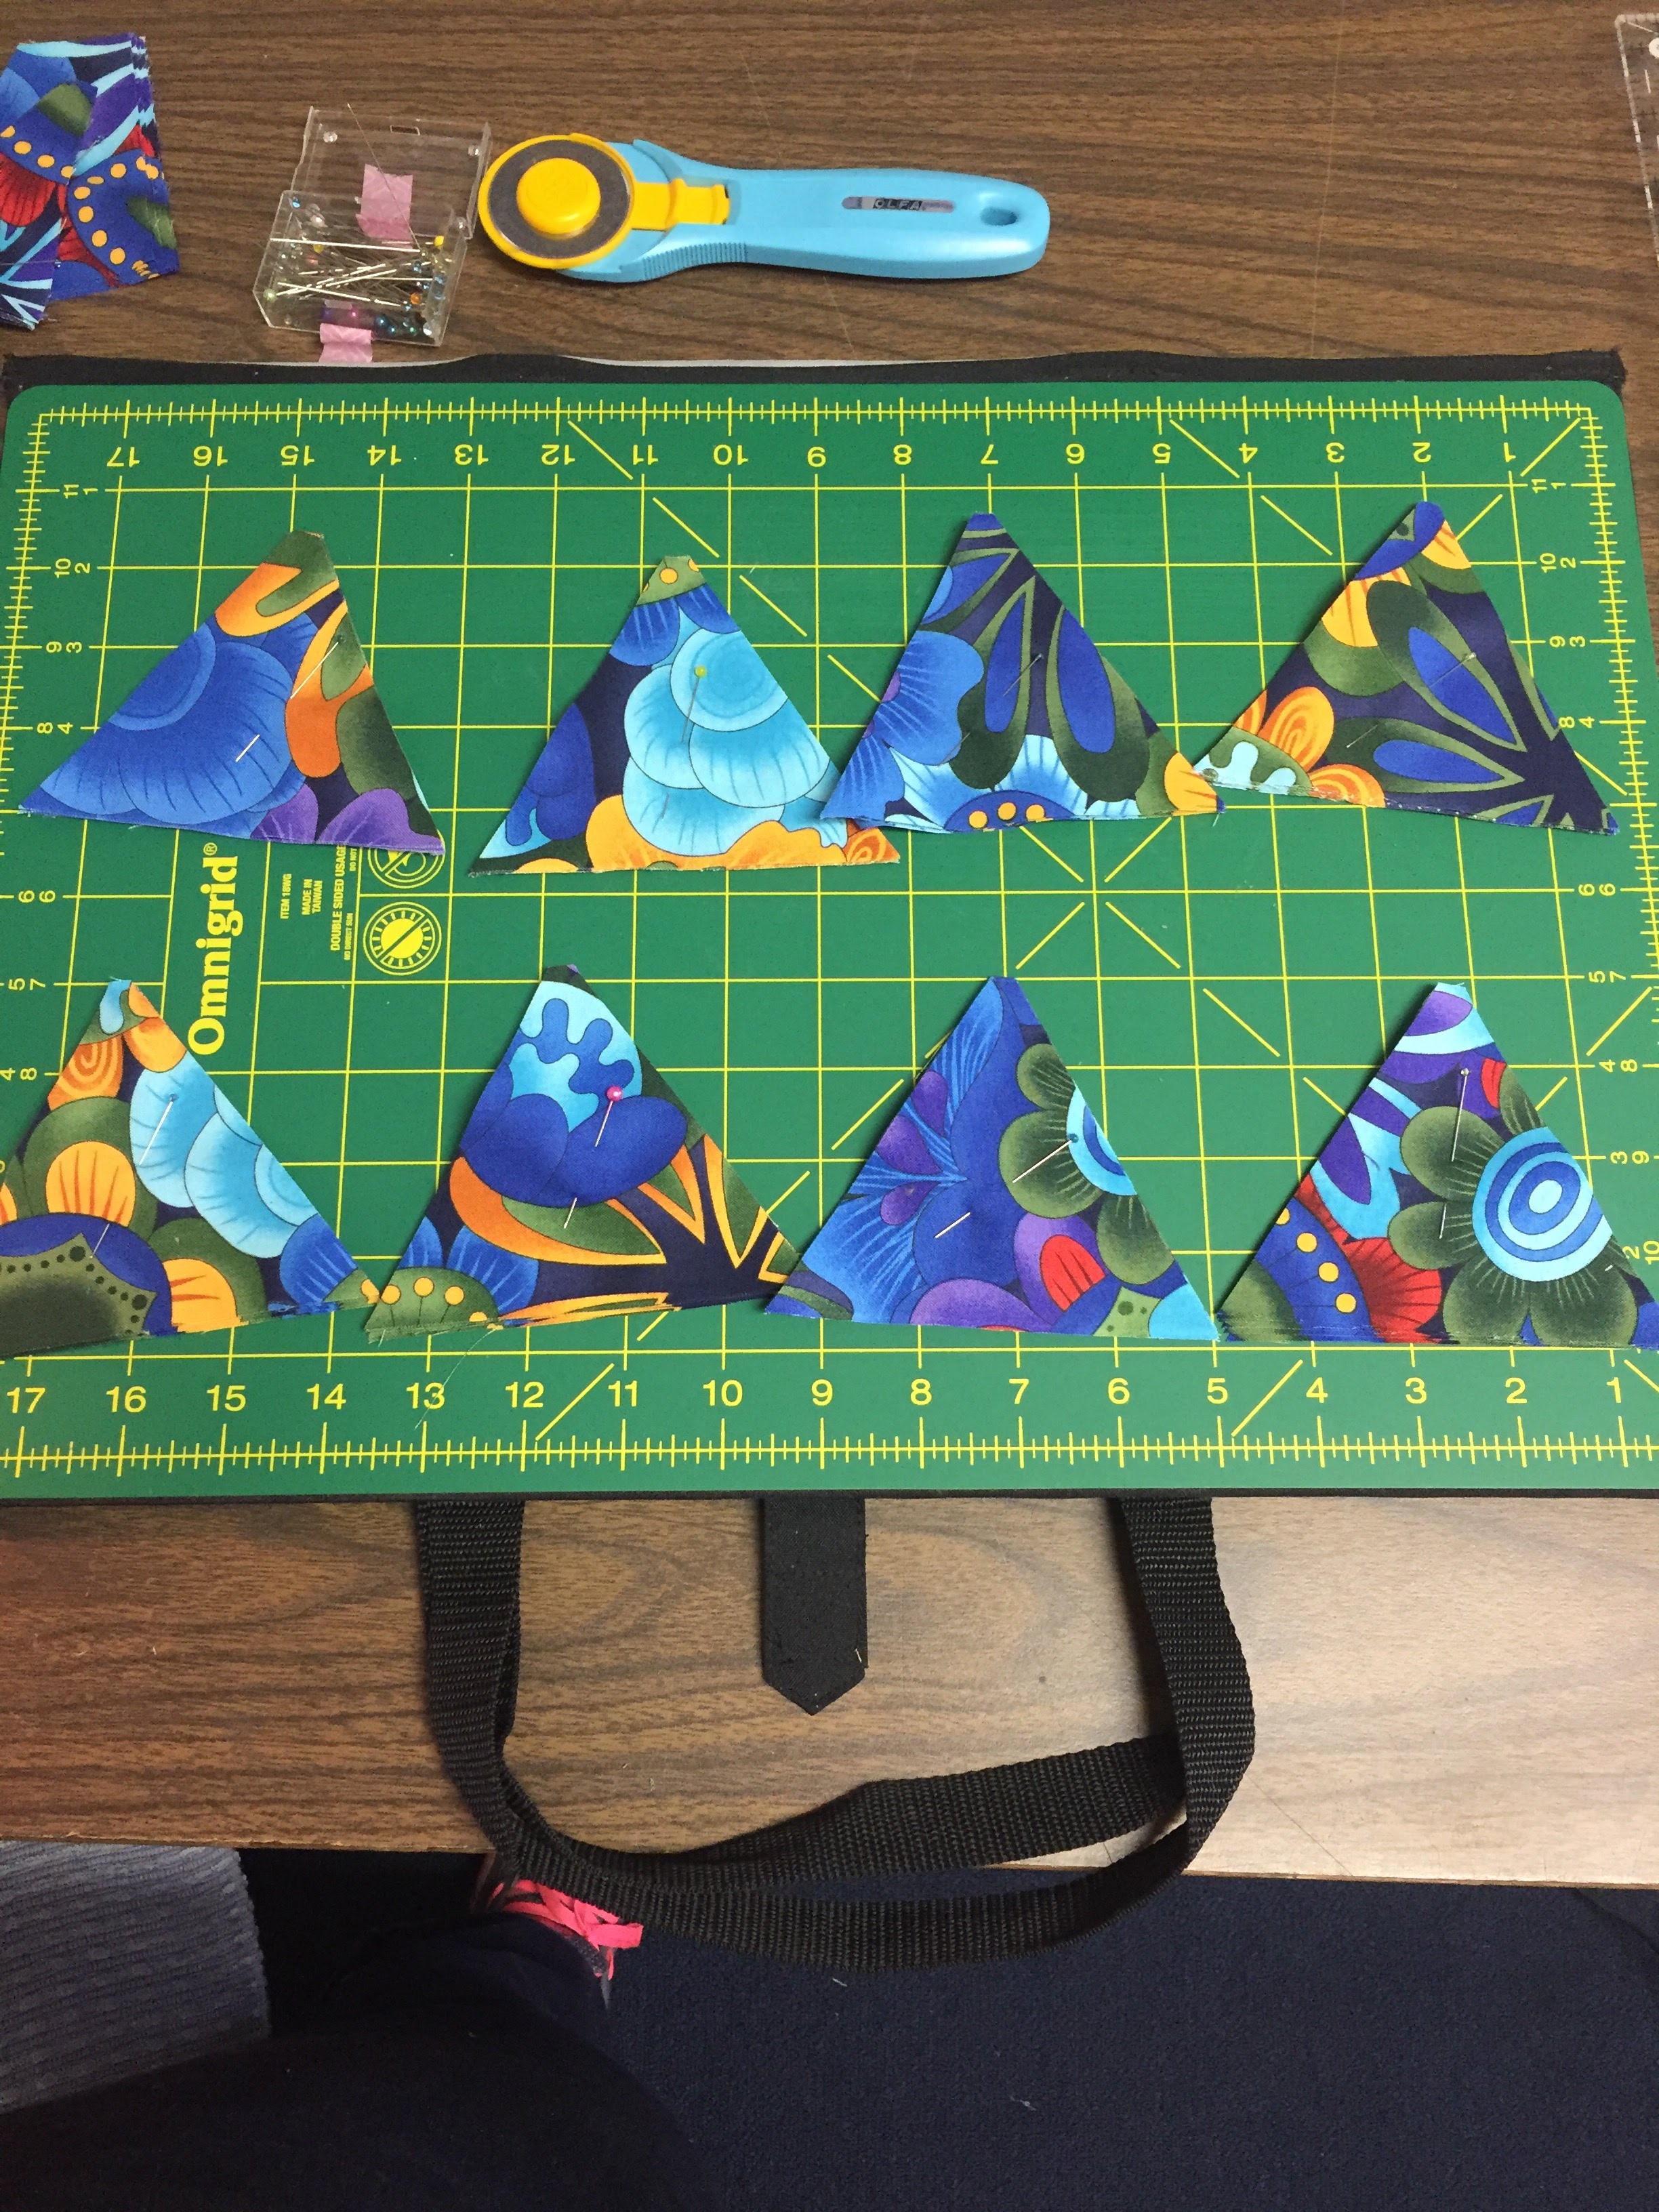 Then we cut strips, which we cut into triangles using a 60 degree triangle ruler.
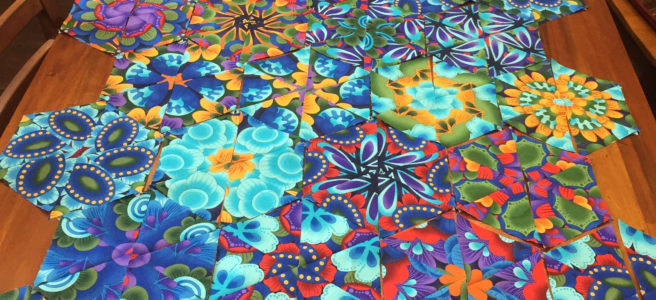
Each set of 6 triangles was stitched together into 2 sets of 3 hexagons. I played with my first few sets, moving them around, seeing what different looks could be achieved depending on which point to the triangle I put in the center. It was fun, but since I will have so many hexagons, I decided to just stitch them all with the blunt points at the center.
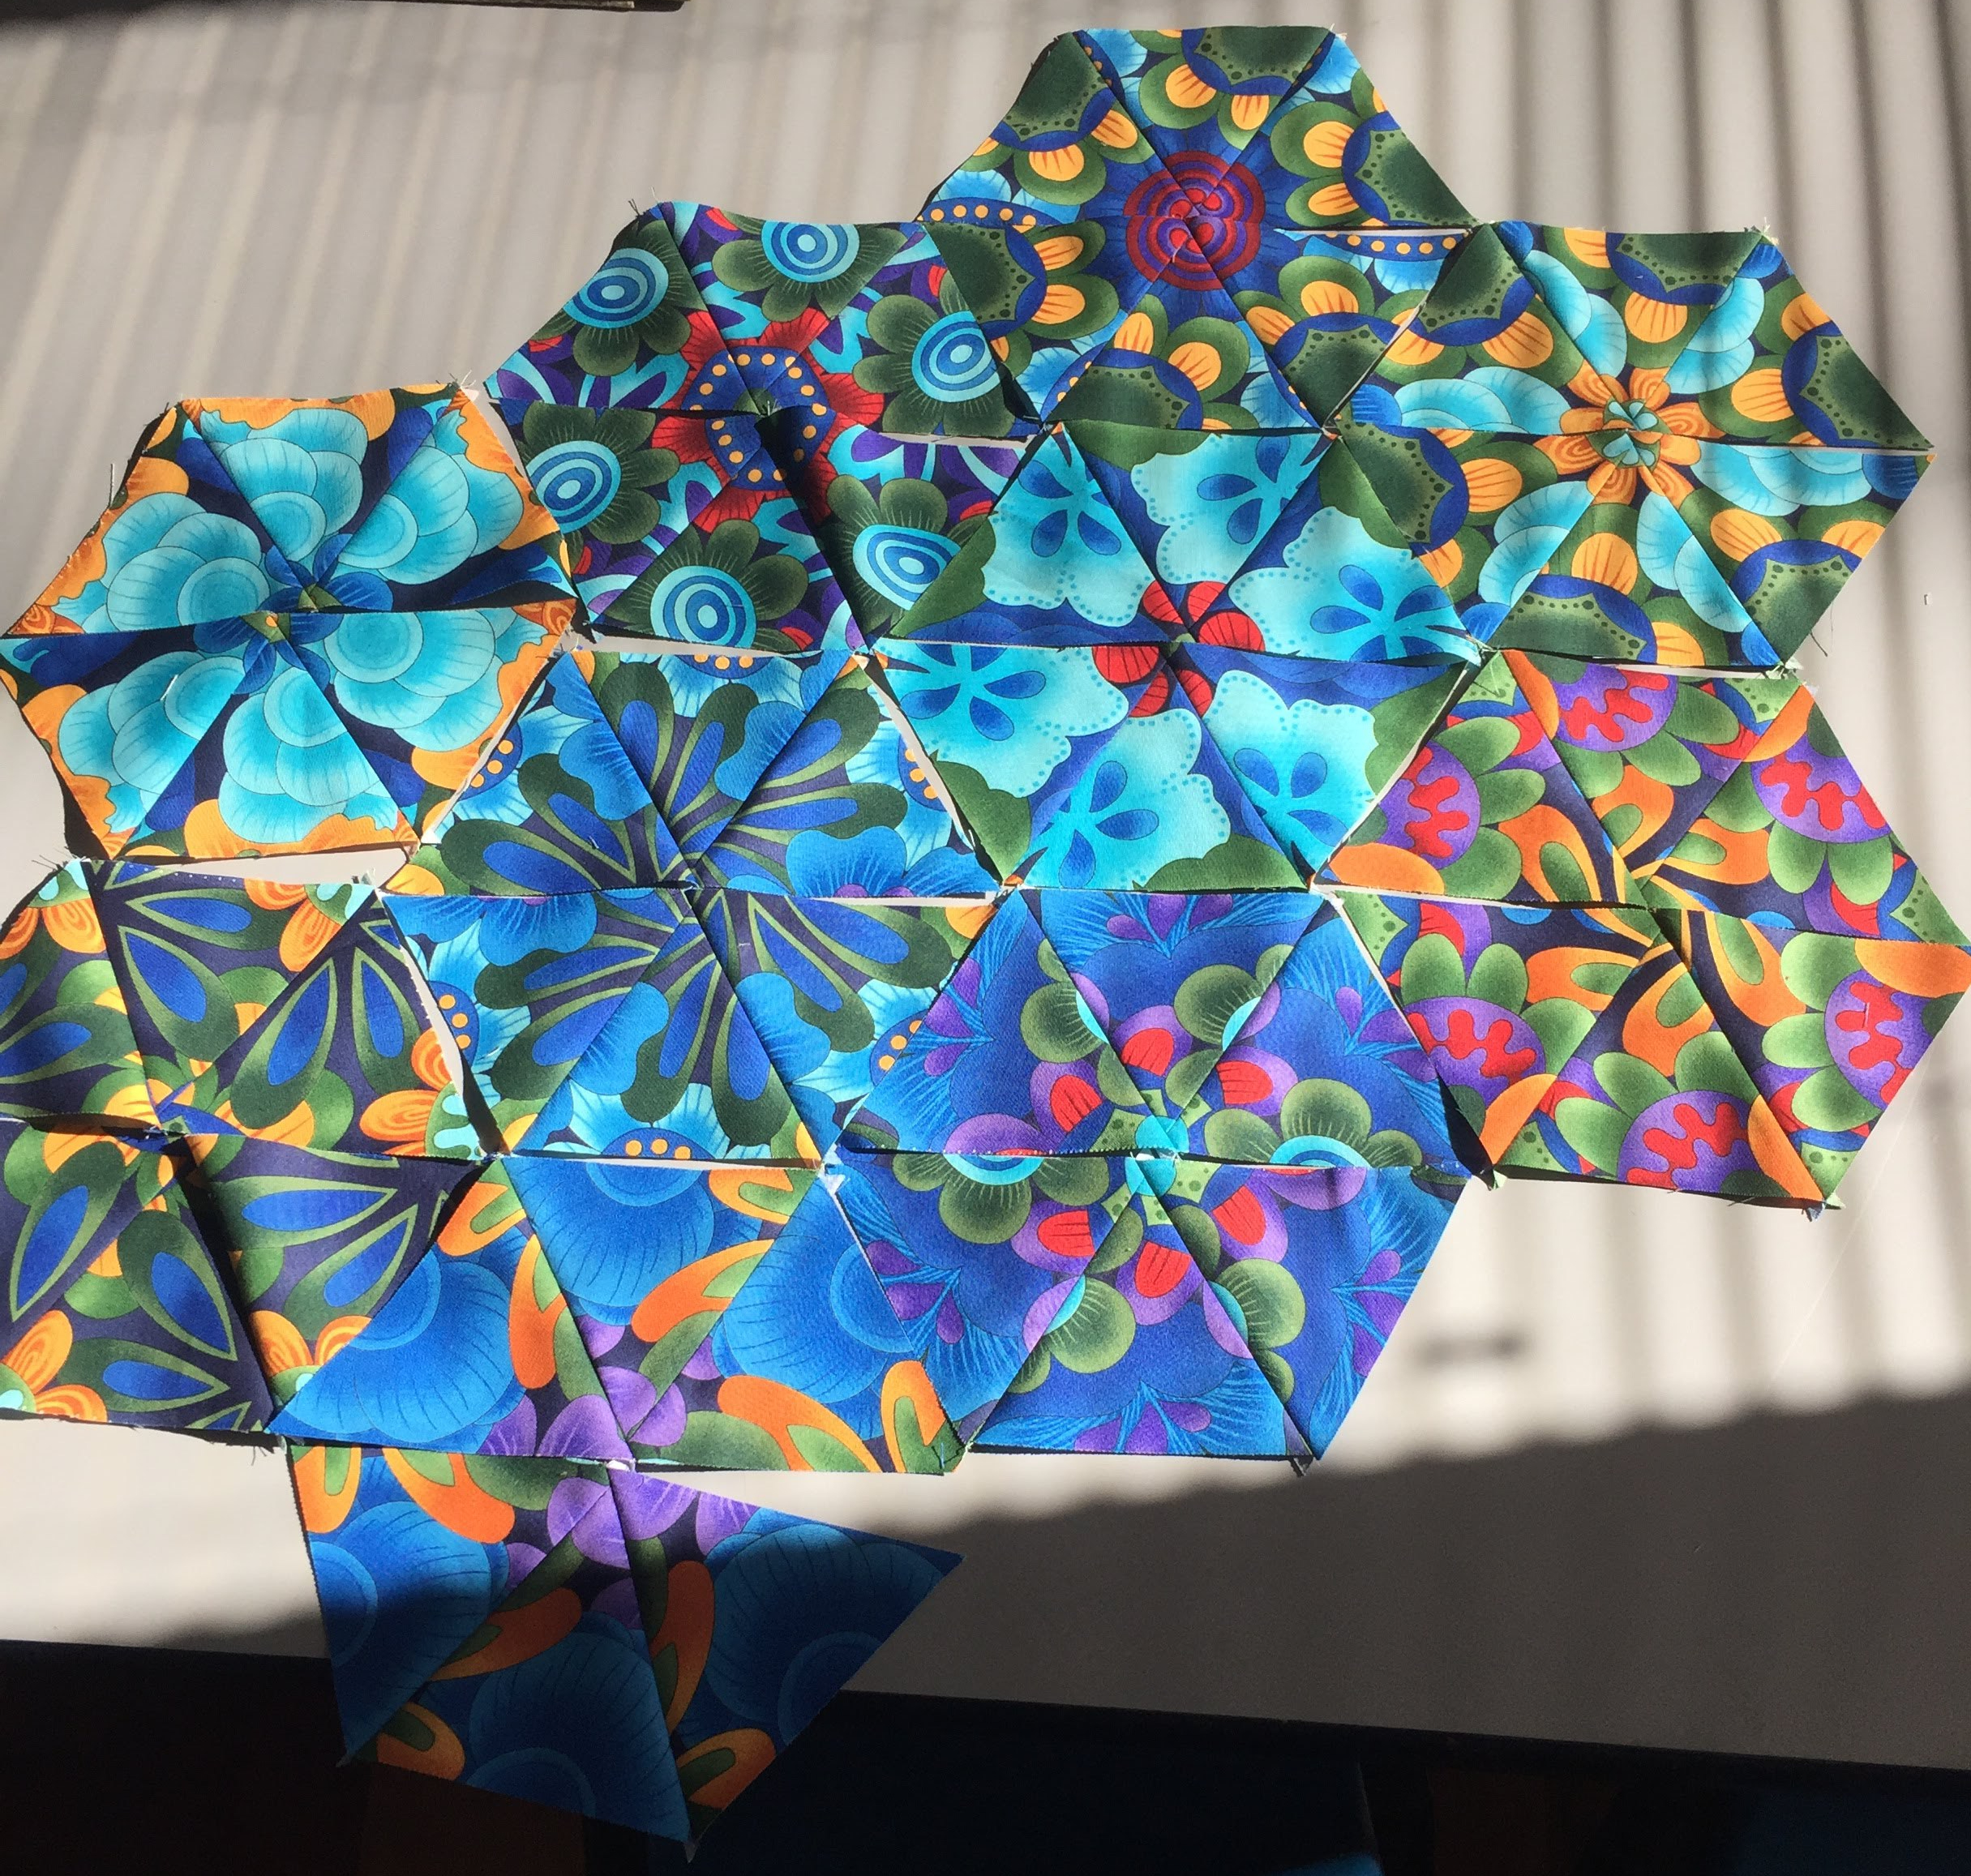 Then it was time to play. We played with laying out our blocks, seeing how they interacted with each other. I didn’t manage too many during class, so I only spent a few minutes moving pieces around. I spent the rest of class time putting together more triangle units.
Superbowl Sunday was the next day, and we had family over to watch the Eagles defeat the Patriots. This was a tear jerker for many of my family members. They didn’t seem to mind or notice that I spent the whole day sewing (see photo above.)

I managed to put together a lot more units, but I still have more to make. I’m eager to get this one up on my design wall so I can play with it more. I really love the way the colors play together.
Hopefully I’ll be able to work on this again soon. My quilting business is really taking off and sucking up all of my time. Life is good.
One Block Wonder – Guild Class
I have definitely been overwhelmed to learn a new technique on my own and found that a class is the perfect way to motivate and learn. Your blocks are looking great and it will be fun to see where this takes you!
I agree. Classes are great. I’ve really been enjoying taking so many.
So pretty!
Thanks!
Interesting how different the fabric looks when it’s cut up and put back together like that! I had (or still have?) some of that same fabric, but in purple, and only a FQ I think. Fun to see you working with it!
In purple?!! Now I have regrets.
Aw. I’ll have to see if I have any left. I recall it was more purple than blue.
No need, but thank you. Unless you have 6 yards. 😉
Nope, probably a small piece. But now I’m curious about the color. 😂
Just posted a pic on Insta
These quilts fascinate me! I’m going to try the technique soon for a baby quilt. This fabric made some really pretty kaleidoscopes.
Definitely try it. It is so much fun.
That fabric was definitely a good choice for this! Your quilt will definitely be wonder-ful.
When the Stack ‘n Whack first came out, I seemed to find great fabrics everywhere, and probably bought 5 or 6 big pieces for them. I made one … which I didn’t finish! LOL But it was fun, and they would work for these, too. I might have given them away, though.
Lol. This is a great excuse to stash large cuts!
Wow! How wonderful and complicated looking. I’d like to see how you sew those together.
Soon…
Hi Jennifer,
Your long-haired teen doesn’t go with you to classes? What?!! That made me giggle. What a fabulously interesting technique! I have heard about it and was captivated reading your post. I can hardly wait to see where you go from here! All you needed at the end of your post is a “stay tuned”. ~smile~ Roseanne
Lol. I should put that on most of my posts.
This is fun. I love those blue blocks at the front of the picture that look like Chinese Chrysanthemums
Your fabric choice was terrific and this will be one gorgeous quilt! So glad that your quilting business is taking off! The nice thing is you can just start sewing them together when you get 5 minutes as they are all ready …. then one day when you are ready you can play. Have fun.
I love your fabric!!!!! I’m just starting my first One Block Wonder and am scared of doing everything wrong. (I have perfectionistic tendencies…) . I’m just going to have to go for it! This post inspires me. Thanks.
Have fun! I need to get back to this project.
I love your fabric!!!!! I’m just starting my first One Block Wonder and am scared of doing everything wrong. (I have perfectionistic tendencies…) . I’m just going to have to go for it! This post inspires me. Thanks.
Fabulous blocks. Just found you on pinterest. Does anyone know what yhe fabric is called please
This fabric is from like 2015 or something. It would be almost impossible to find it in stock in a quilt shop.
What do you mean by “blunt points”?
Hey, Lessa – the ruler I used has one point that trims off the tip of the triangle. If you look at the photo of my cut triangles, you can see it.