Here is the progress I have made so far this month.
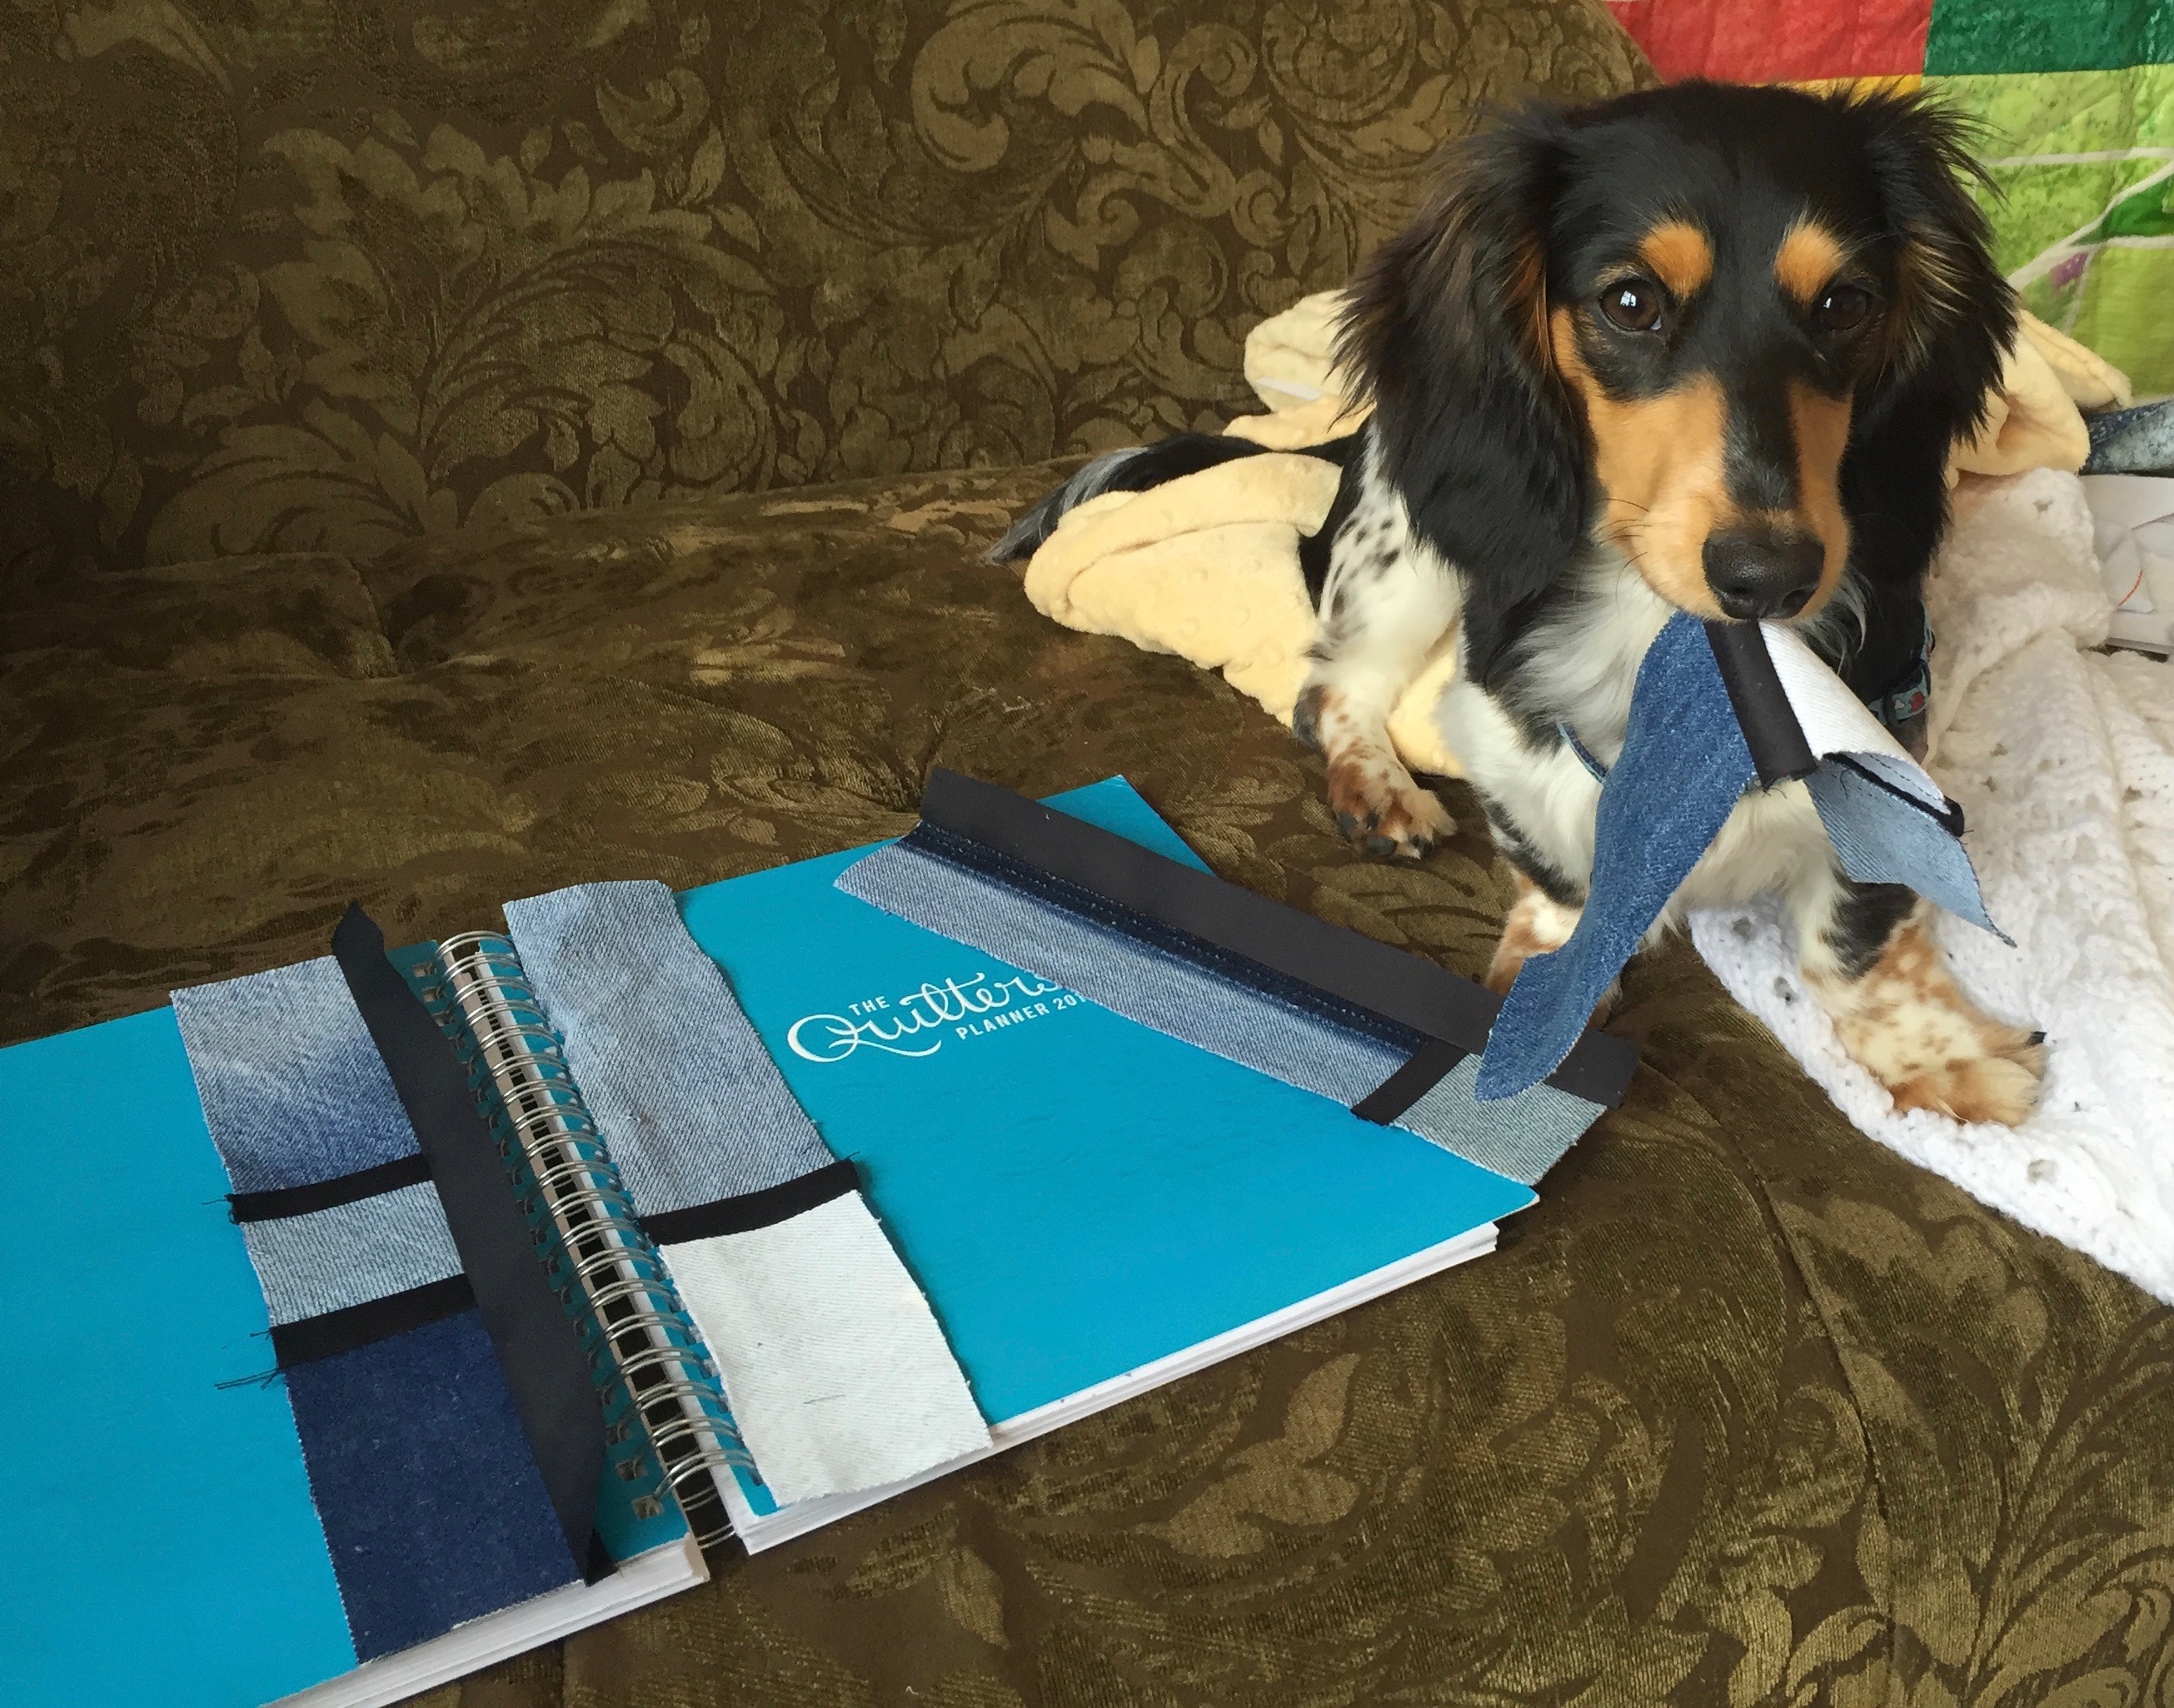
I’ve managed to cut back my denim stash to fill only two tote bins. It was overflowing the two bins. By the end of the year it should be down to less than one bin. I have a Quilter’s Planner Cover, one quilt top, two dog toys, and a bunch of cut out pieces to show for it. My stash reduction seems overly small for the amount I have pulled out. This mysterious business of the tightly packed fabric fluffing up to fill the space previously filled by more fabric is disheartening.
 I had my son put together a second shelf unit (Hooray for college boys home on spring break), and started sorting my stash by color.
The top row of shelves holds cuts that are at least 1/2 of a yard, folded around comic book backer boards. Last year I saw someone’s suggestion to sort their fabric like a quilt shop. I have to say, it is well worth the effort. I will continue to refine my display, sorting each color by value, but for now I am pleased with the look.
The second row holds plastic bins full of scraps of colors that correspond to the larger cuts. I’m a scrappy quilter, so for me, this is the best part. My next scrappy rainbow quilting project will be much more fun than the last one, where I had to spend three days digging and sorting for each color block.
The bottom row has some bins with UFOs and future projects. I also have backing options, wrapped around boards for tidiness. I’m not completely organized yet, but I am getting there.
The last remaining fabric issue is fat quarter storage. I want all of my fabric to be on these shelves, so I’m considering some device to divide the shelves in half, horizontally. Hopefully I will discover something, rather than have to make it.
My Mom had the brilliant idea to pull the legs off of my ironing board (Thanks, Mom!) My idea was to make my own custom ironing board to fit up there. I’m so pleased my Mom was visiting when I was working on this. Not only did she finish off the shelf construction for me, but she saved me time and money by making something I already had work, rather than spend days and dollars trying to make something new. My nasty ironing board cover is also history. Again, I didn’t make a new one – Target sells them for $12. Cheaper than quilting fabric, and waaaay faster.
The wall above my shelves is one of my design walls. I take a piece of foam insulation board from the hardware store and cover it with polar fleece. I attach it to the wall with screws in each corner. This one is not my straightest attempt, but I was alone, and I’m short. By the time it bothers me enough to draft my husband to help me fix it, we will be getting ready to move again. I can no longer work without a design wall. It allows me to step away from the pieces for a better view of the overall project. It also prevents my assistant from running away with pieces and eating them or hiding them under my bed.
I used to think that my crazy disorganized sewing room was a symptom of my creativity. As I get older, I realize that being organized actually helps me to be creative. Being able to put my hands on my tools immediately, rather than searching and digging makes a huge difference for me. My frustration over a lost piece of fabric or specialty tool can kill a project very quickly. Disciplining myself to finish a project rather than just hop from one to another helps me get to that rush of seeing something being used and enjoyed, which is why I make things in the fist place.
*I try to refer to my sewing room as a studio, at least in my head. I feel a bit like a pretentious jackass, but to me a studio is where an artist works. I don’t think I am an artist yet, but maybe someday I will be.



I would love to work on getting organized like you. One question: where are your shelves from? I’ve looked for something similar, but generally find only the 4 cube and 9 cube versions. Like the 16 cube a lot. I’ve made the same kind of design wall, only I used flannel and thicker insulation board. I have two of them side by side along an 8 foot wall and I love them. The only problem is that I forgot to allow for carpet, so they are not attached, but must lean slightly as they are a bit too tall. Actually that works out quite well for throwing pieces up and having them stick so, like you, I probably won’t fix it until I have to move it!
These are 12 cube units – they are from Target’s Room Essentials Cubeicals line. Setting them up so that they are about 34″ high makes them a perfect height for my ironing board. Probably low for most people, but I’m five feet tall, so I like stuff low.
You are definitely an artist! And there is some principle about packed stuff taking up more space when “fluffed”. If an excevator digs up a cubic yard of packed soil, it takes up more space dug up than it did when in the ground. Don’t remember the equation, but you experienced it! Thanks for the good ideas!
Thanks! I guess I should try to use my stuff up, rather than cram it into the bins.