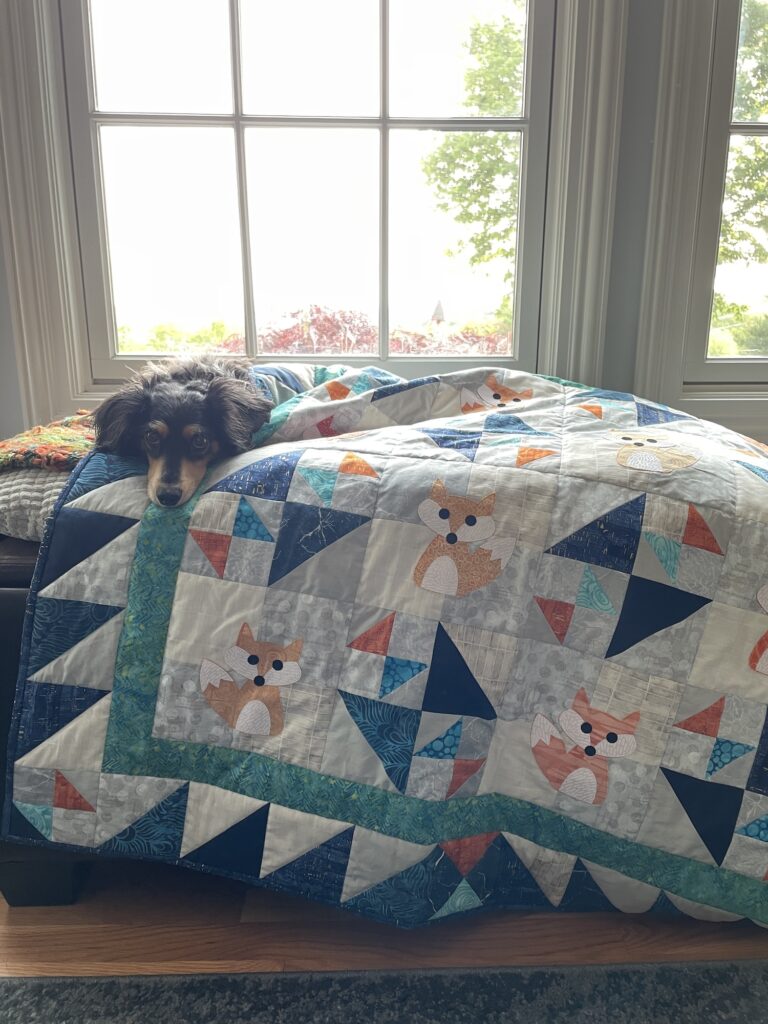
I have been working on releasing this pattern for more than a year. I designed it when I was working with AccuQuilt to release their Fox appliqué die. Things come up, though, and pattern writing always takes a back burner to anything even remotely more fun. I’m so excited that I finally spent the time to put Fox Chase together for you!
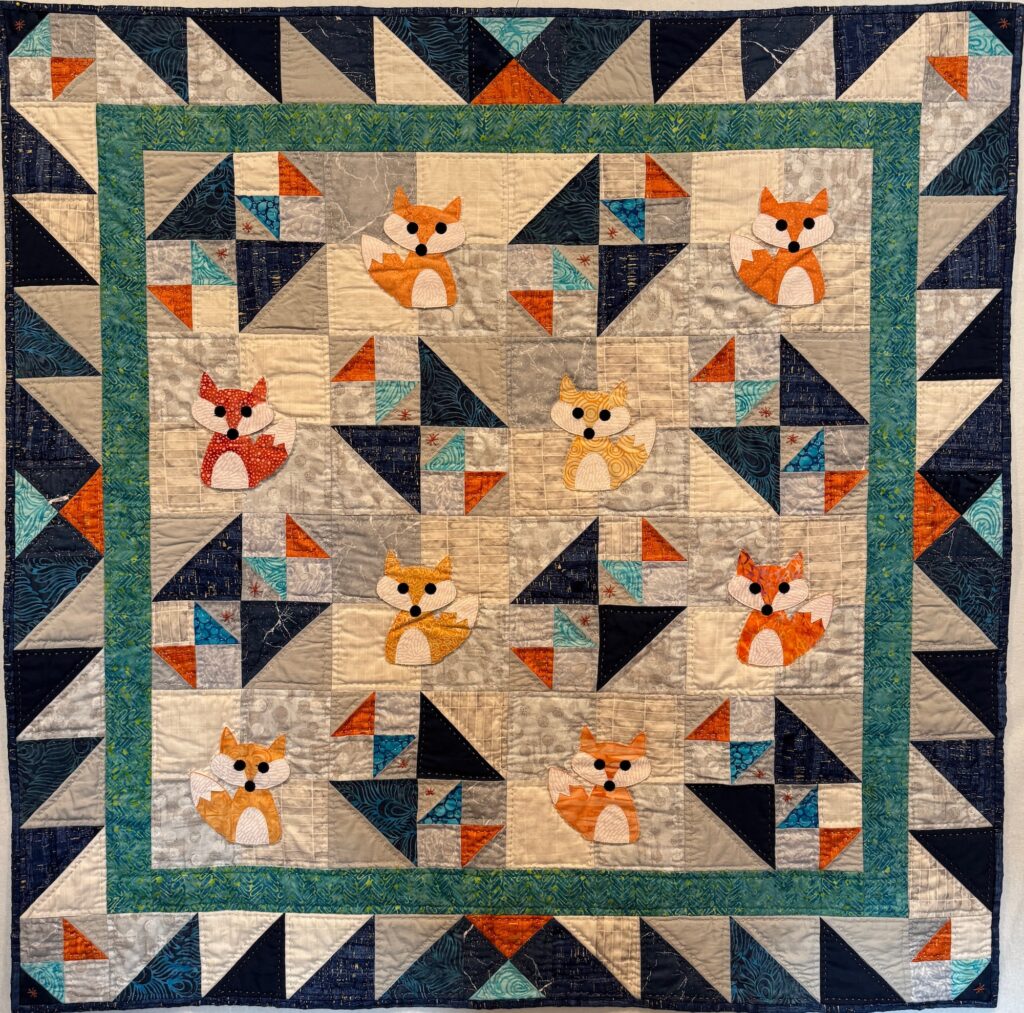
The pattern is designed to use the Go! Fox die and the 8″ Qube. I love to design with the 8″ Qube, because it is included with so many of the AccuQuilt systems. I really like to show off how versatile the basic components are, more than pushing you to buy new dies. Of course, new ones are fun, too, but the Qubes are just so nice to work with.
Don’t have an AccuQuilt system? The pattern includes templates you can trace onto your fusible.
My first concept was foxes on solid 8″ squares, alternating with pieced blocks. Much of my scrap stash was smaller pieces, though, so I improvised, and pieced my background squares. I love working that way – I’m flexible and I’m able to fantasize that I might someday use up all of my scraps. Once you learn that you can just add another fabric that is close enough, you can let go of that urge to always match, and avoid the panic when you run out of something.
A side note about the AccuQuilt Qube system. It can be frustrating at first (and even when you are more experienced!) The Qubes make units that combine into a 4-patch that makes the Qube size. So, for the 8″ Qube, the largest square cuts at 4.5″, finishes at 4″. This makes a unit that finishes at 8″. All of the dies combine the same way. They make pieces that add up to 4″ units. I and my fellow designers make mistakes on these sometimes, so if you find it confusing, you are not alone.
Ok. Back to the foxes. They are so fun. So cute! Much like the penguin die, every time I work on them I find myself smiling. Even when I’m doing the blanket stitch on my sewing machine, which I find to be booooring. I often struggle with paper backed fusible, so on this project I just cut the fabric, then used a glue stick to position the pieces. Then I stitched around the edges. I like to position the body and head, then stitch around them. Then I position the white bits, change thread color, and stitch around them. Then I add the eyes and nose, change color again, and stitch them. It can be a little tedious, but it is worth it. Oh, and I attach the foxes to the 4-patch blocks before assembling the top.
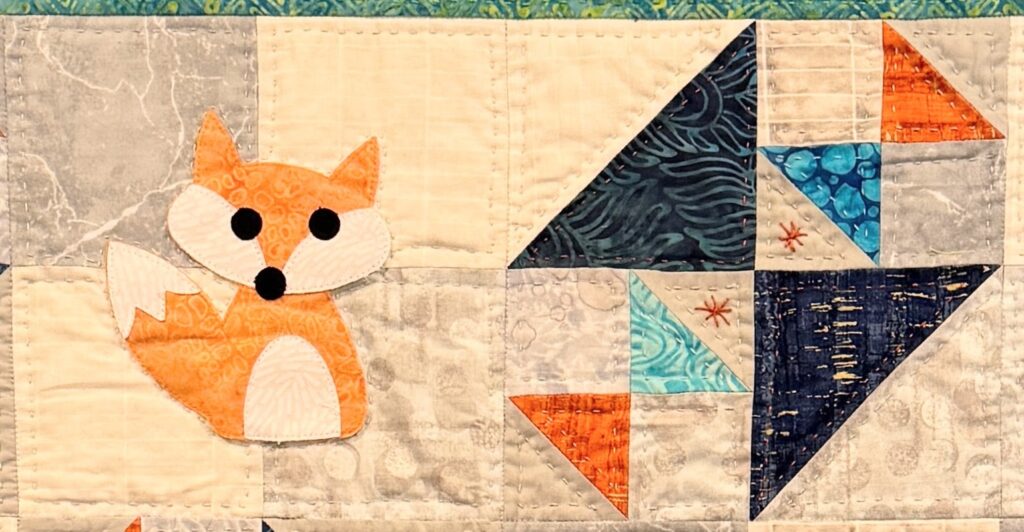
I enhanced my quilt with big stitch quilting, and some embroidery stitches. I also did a big stitch binding. This project was all about playing.
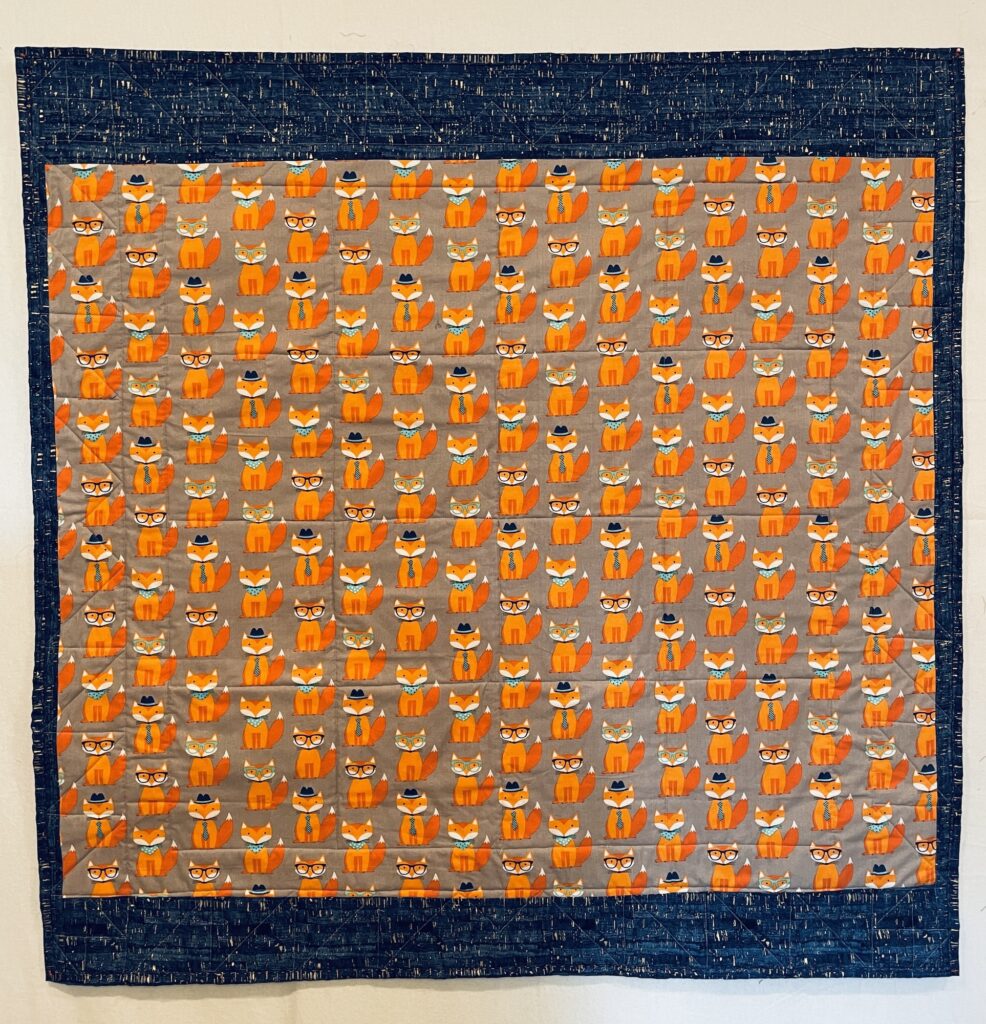
Oh, and look at this backing! It’s a fox print that has been waiting in my stash for years.
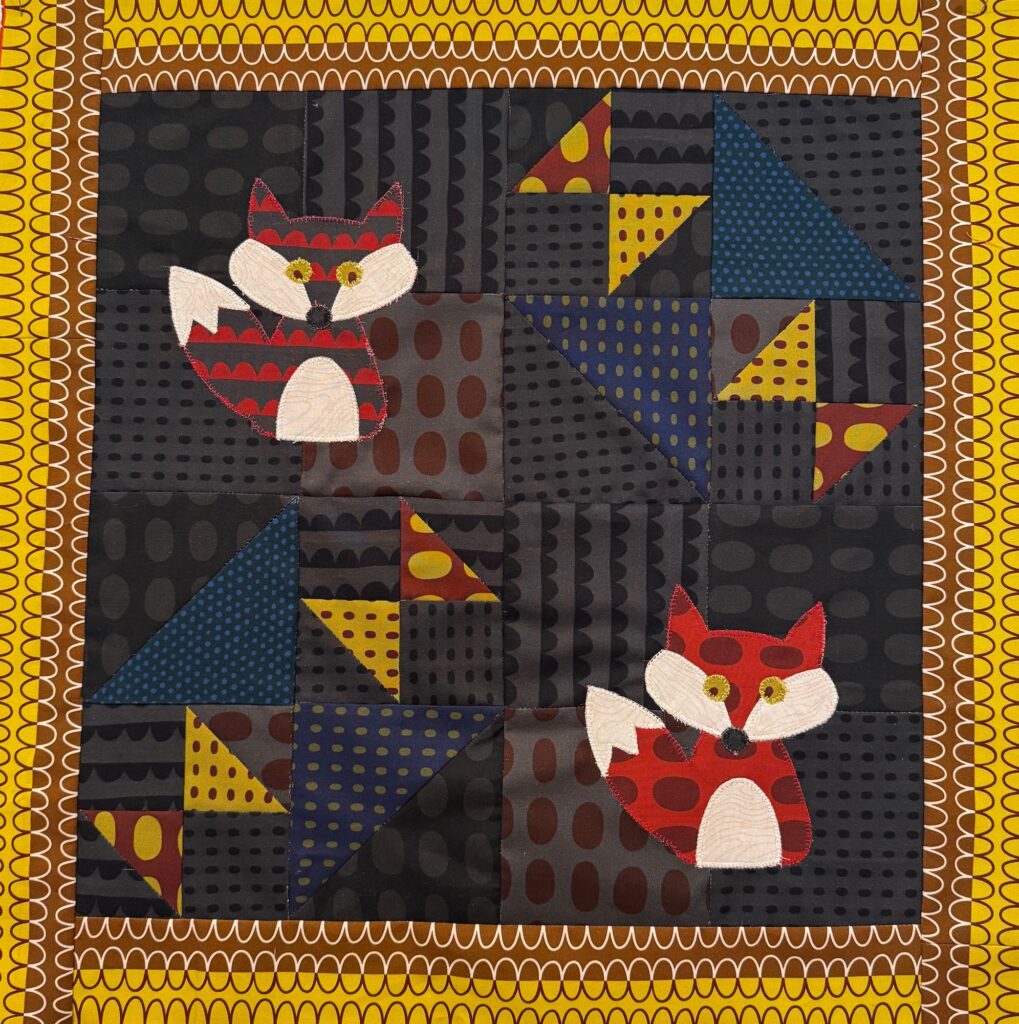
I broke out my Night Rainbow fabric from Fish Museum & Circus to make a pillow. It was so fun! I had this idea as soon as I saw Deborah’s collection, and I’m so glad I finally got around to it. I was even able to fussy cut the eyes out of one of the dotted fabrics. Super fussy, but again, worth it.
If you would like to purchase a copy of the pattern for Fox Chase, you can find it in my Etsy shop. I have it available both as a pdf and a print version. If you decide you need the die from AccuQuilt, you can find it here. *This is an affiliate link, and I will make a small commission from your purchase. Thank you!

The foxes are so cute. Great quilt.
Thanks, Margaret!