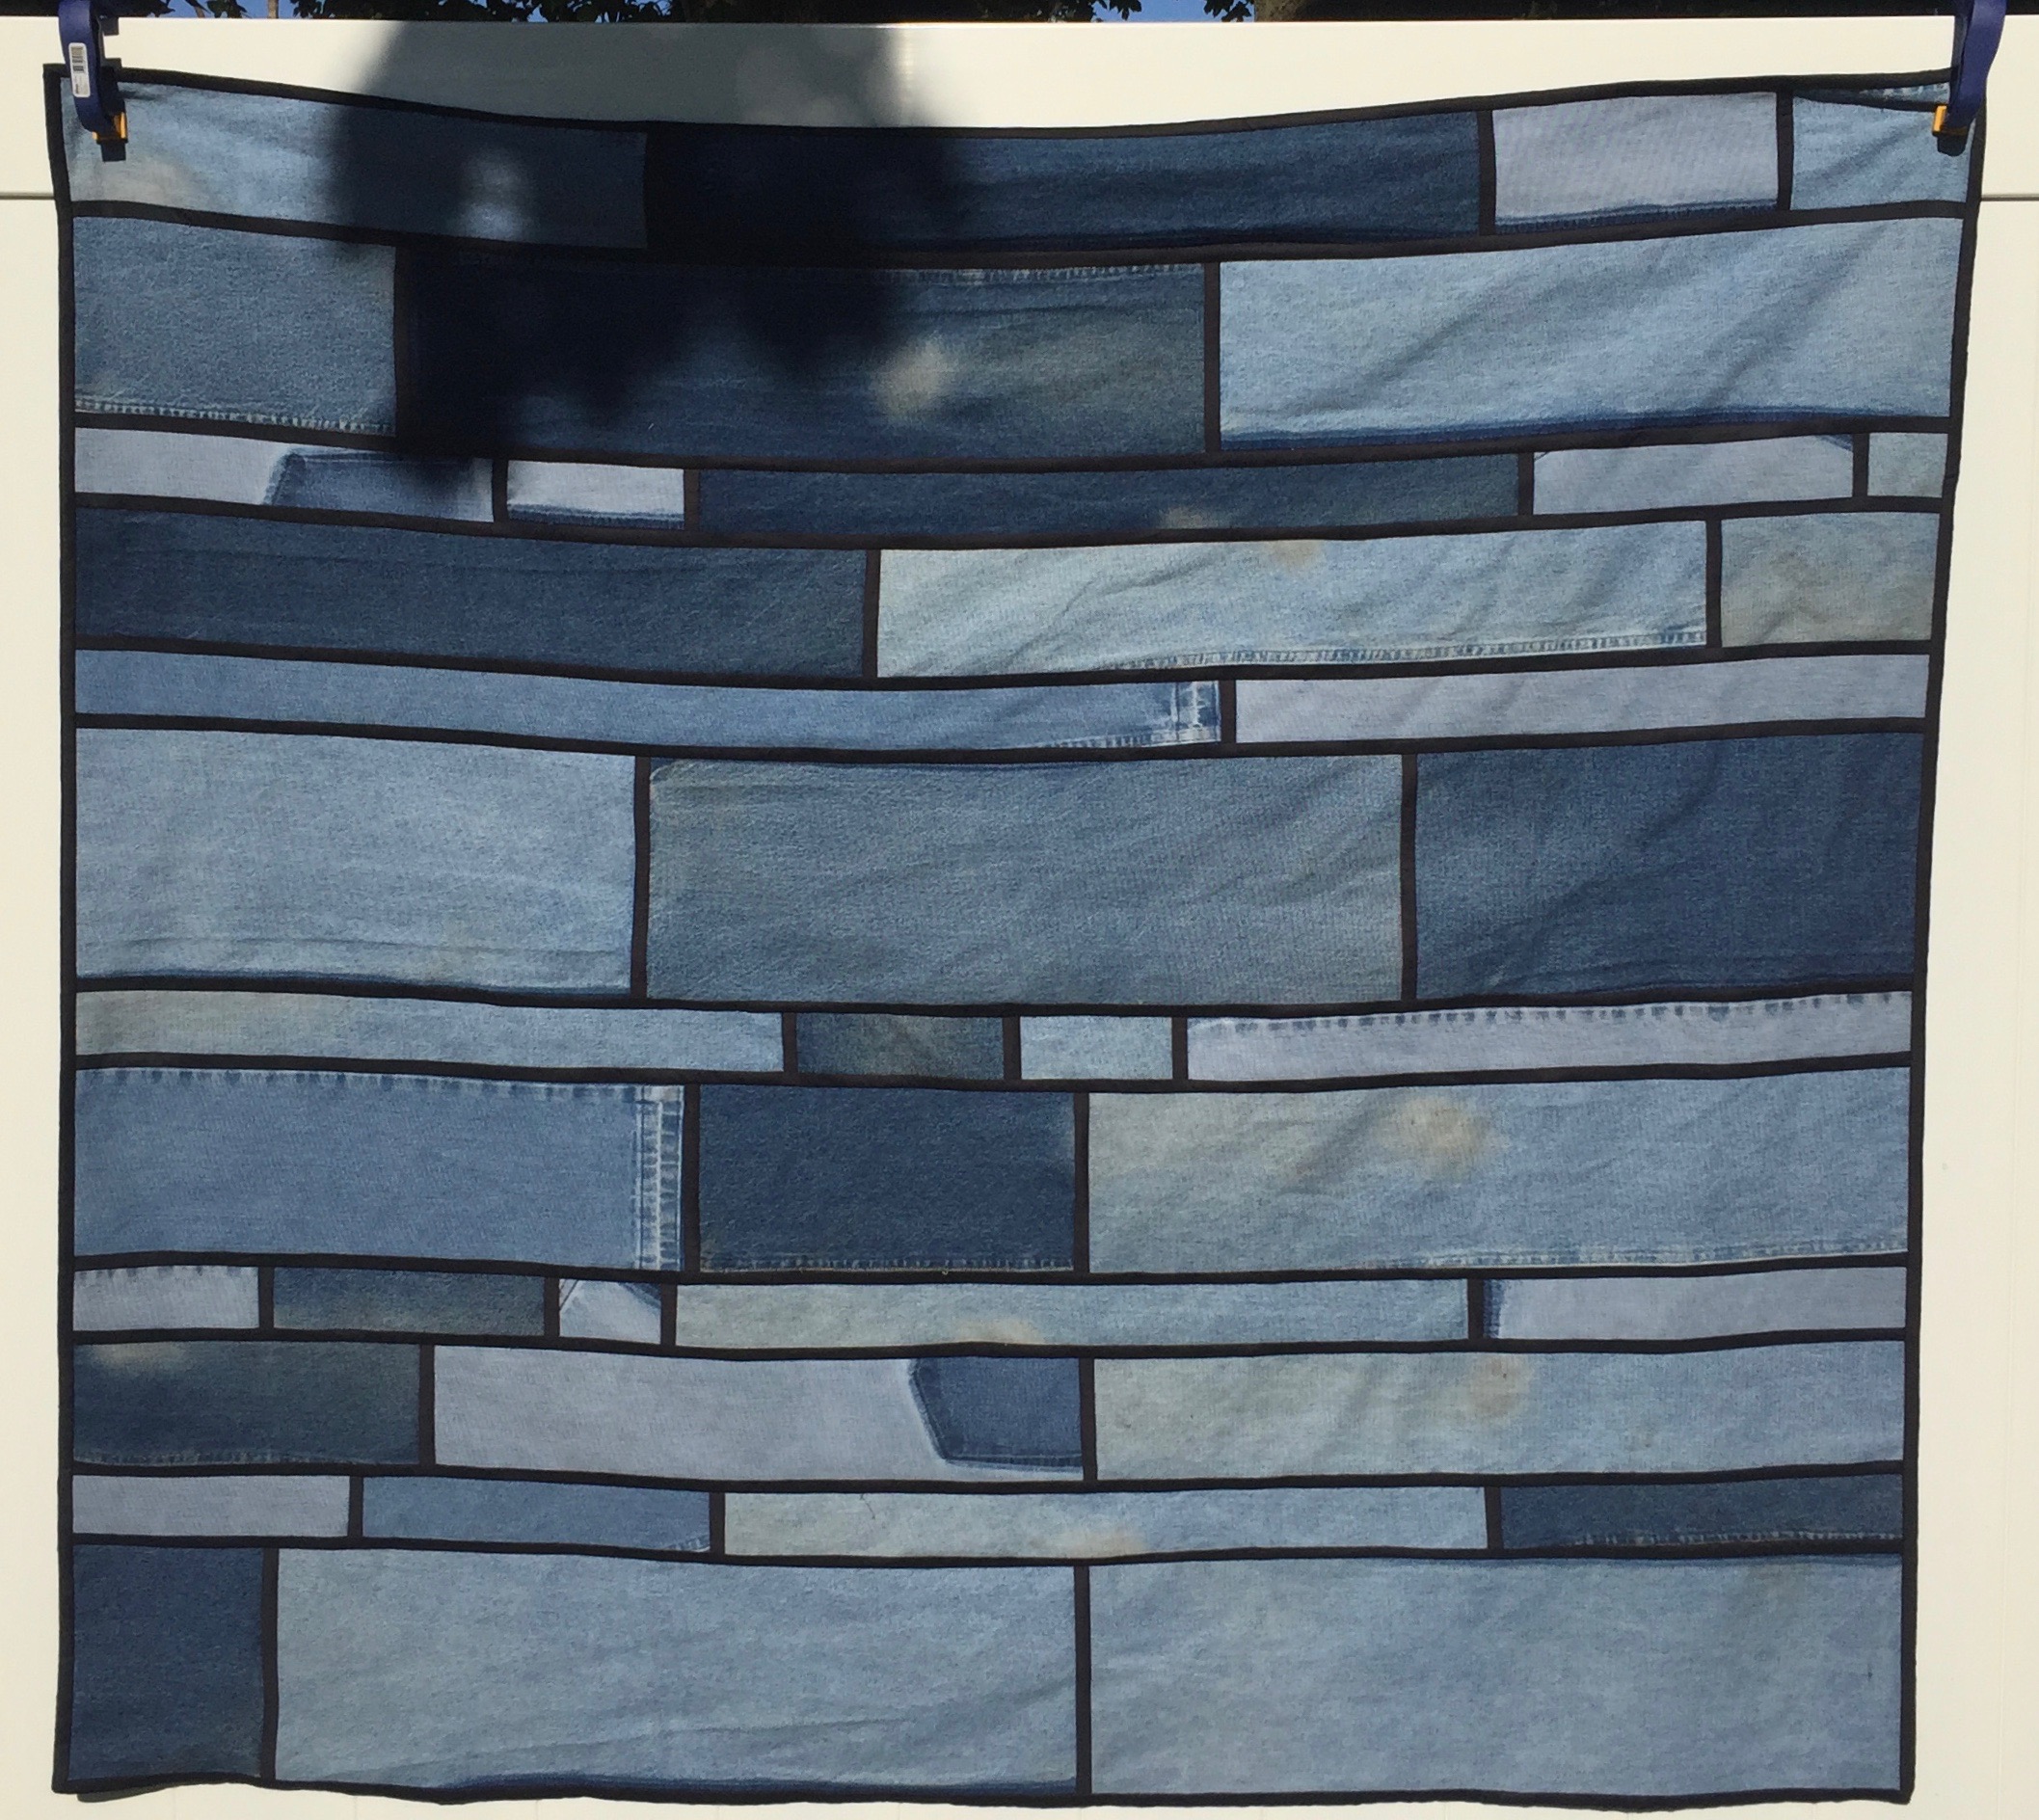
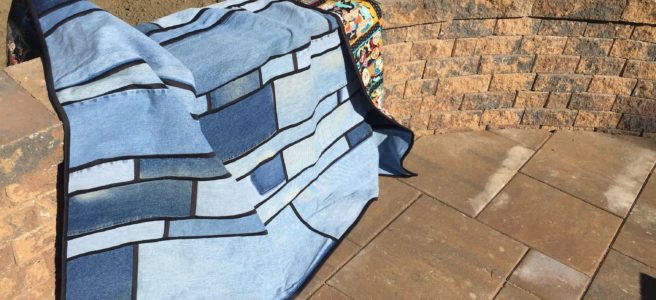
Earlier this year I completed my Denim Mondrian quilt. While I enjoyed the pattern very much, I was a little frustrated with the amount of prep work required, and also some incomplete information in the pattern. I still have plenty of denim left, so I developed an idea for my own denim quilt. I used a similar technique, but not as much planning. Mine is more improvisational, and can be altered to use up whatever denim you might have on hand.
 I started with 5 pairs of denim jeans. These are mostly my husband’s jeans, which are nice and long. I wouldn’t suggest trying to use kid’s jeans unless you are crazier than I am. I donate little jeans – they are too much work to take apart, and are rarely destroyed to the point that they can’t be used on another child. Jeans that aren’t adult sizes go into the donation pile in my house, unless they are really torn up or worn out.
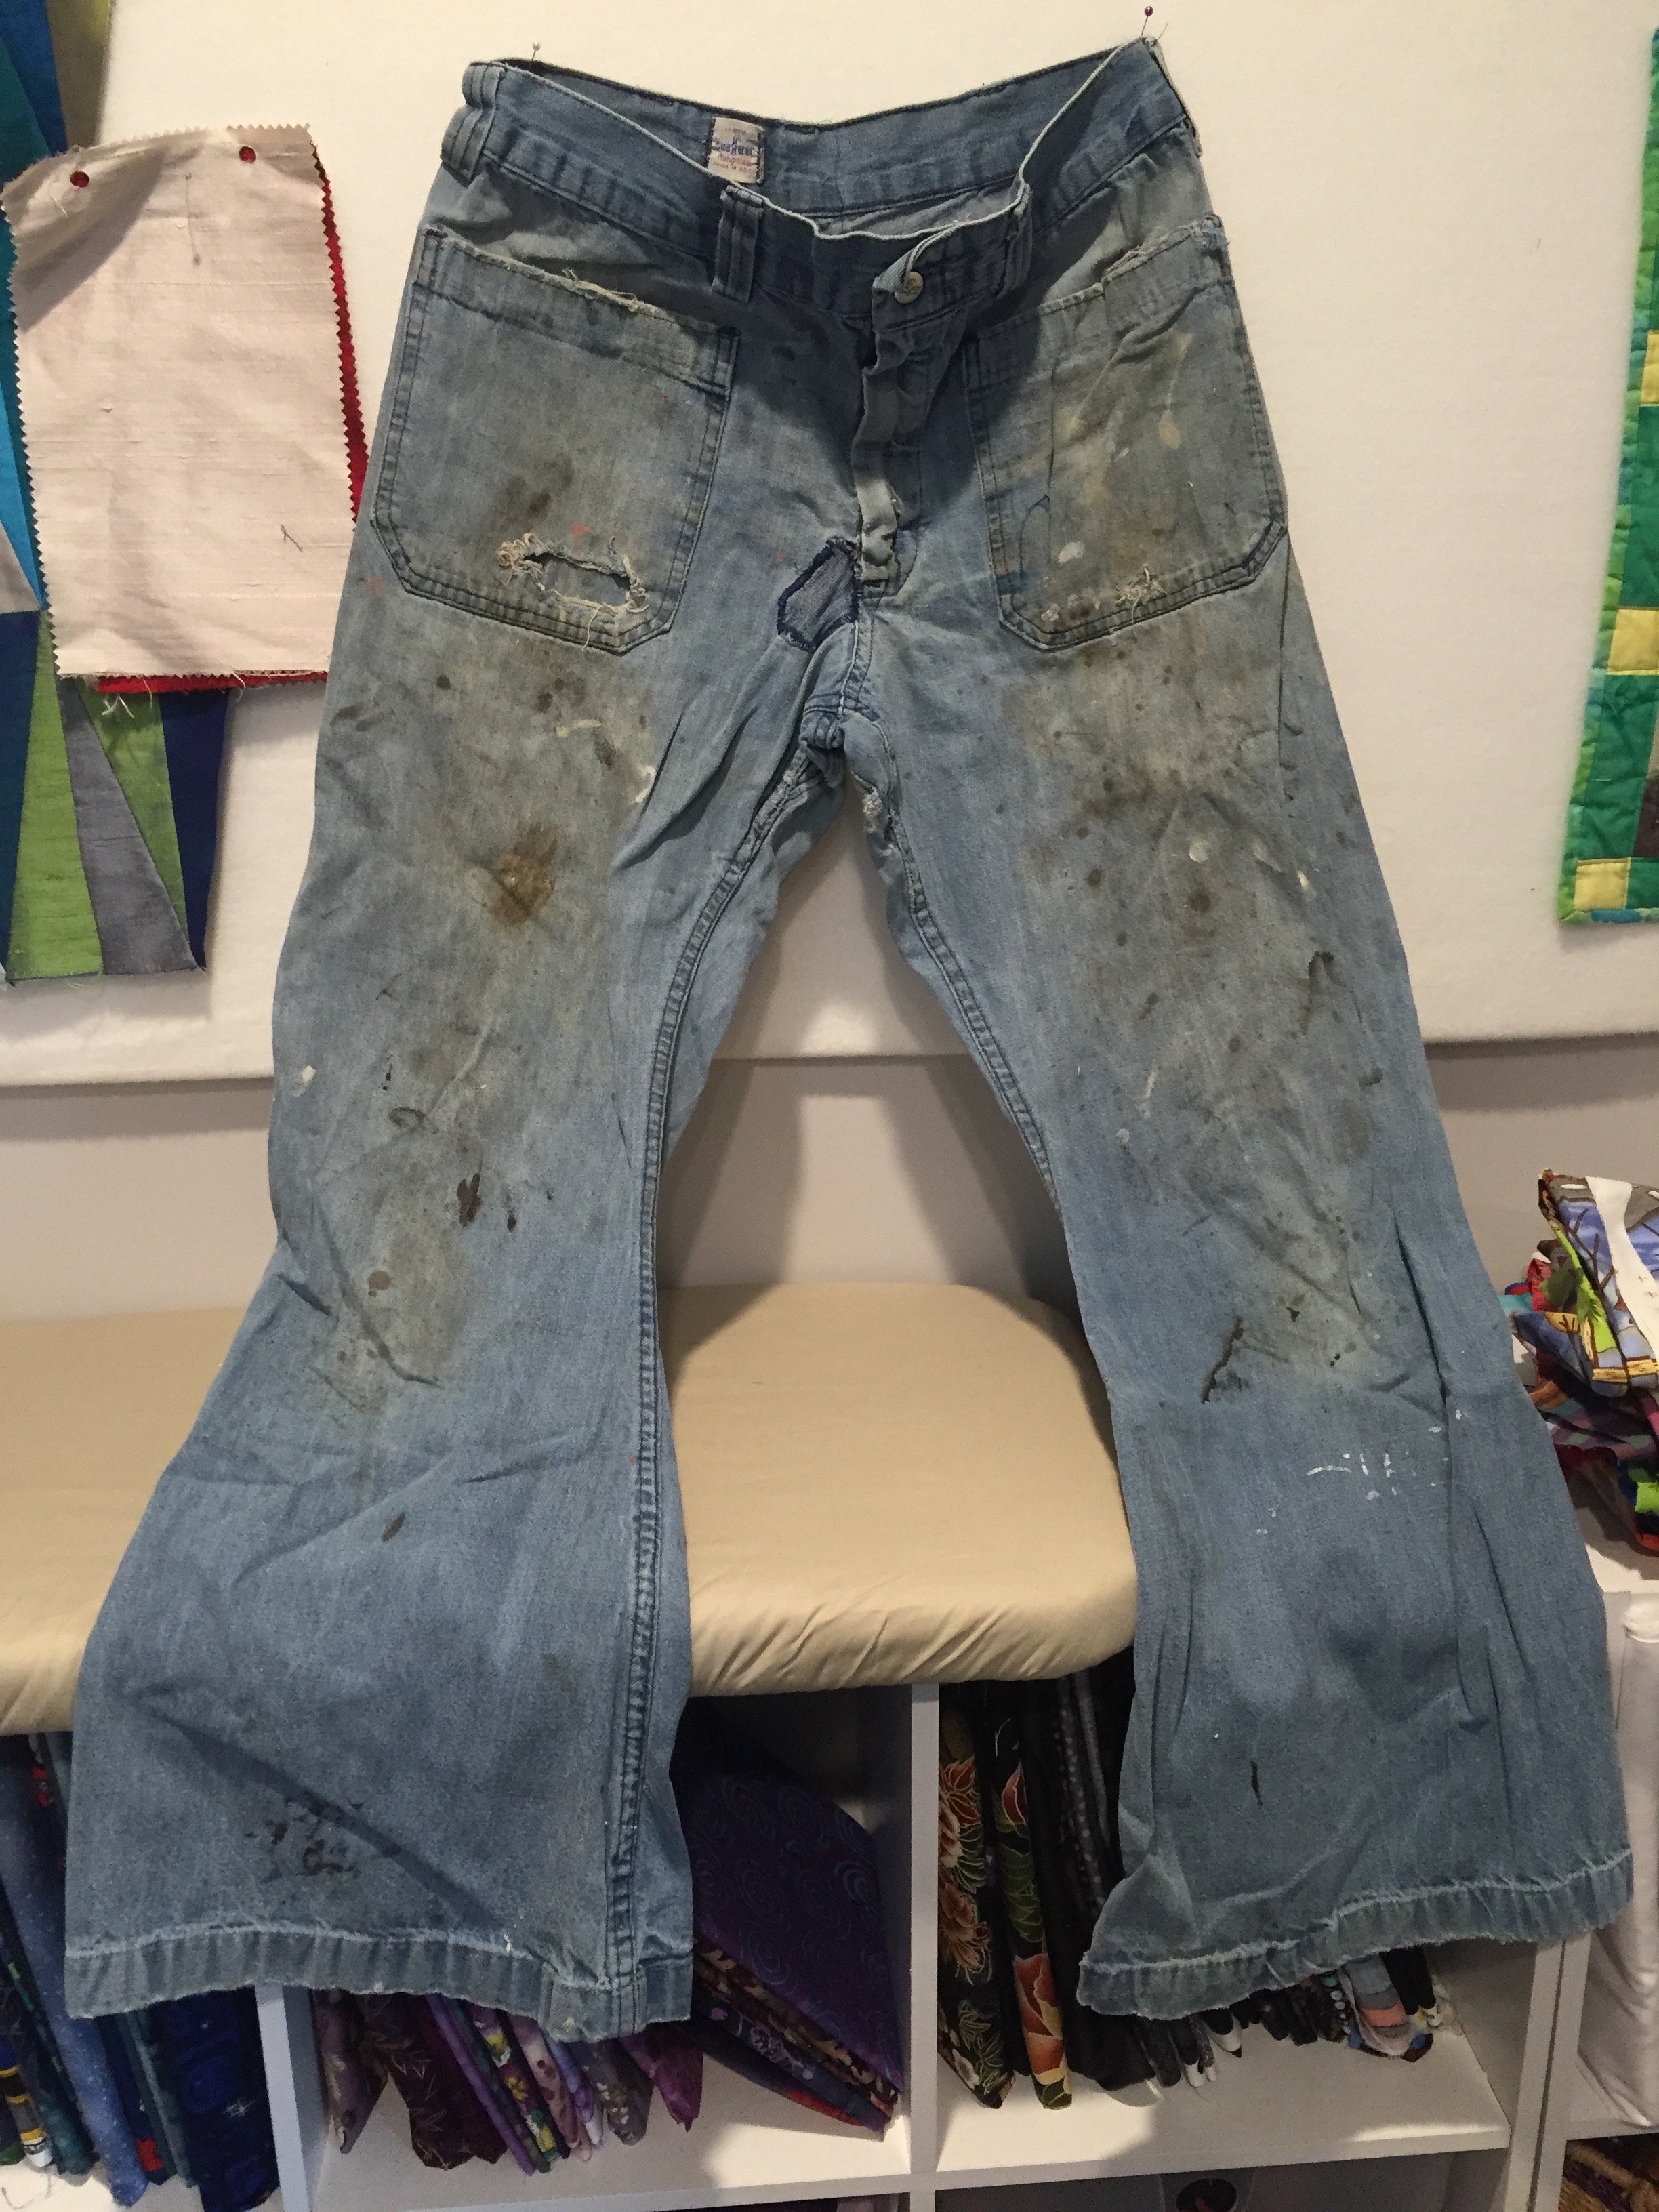 One thing to keep in mind when gathering denim. Sometimes it really is better to just throw it away. This is a pair of my Dad’s jeans that have done some hard time, baby. Even members of my family would be grossed out by some of this. It is still in my denim bin, because I’m nostalgic to a fault, but no one wants to snuggle under such excessive grease, paint, and probably blood stains. Yes, that is also a patch in a vulnerable location. I’m sure Dad had a fabulous explanation as to why he needed a patch there.
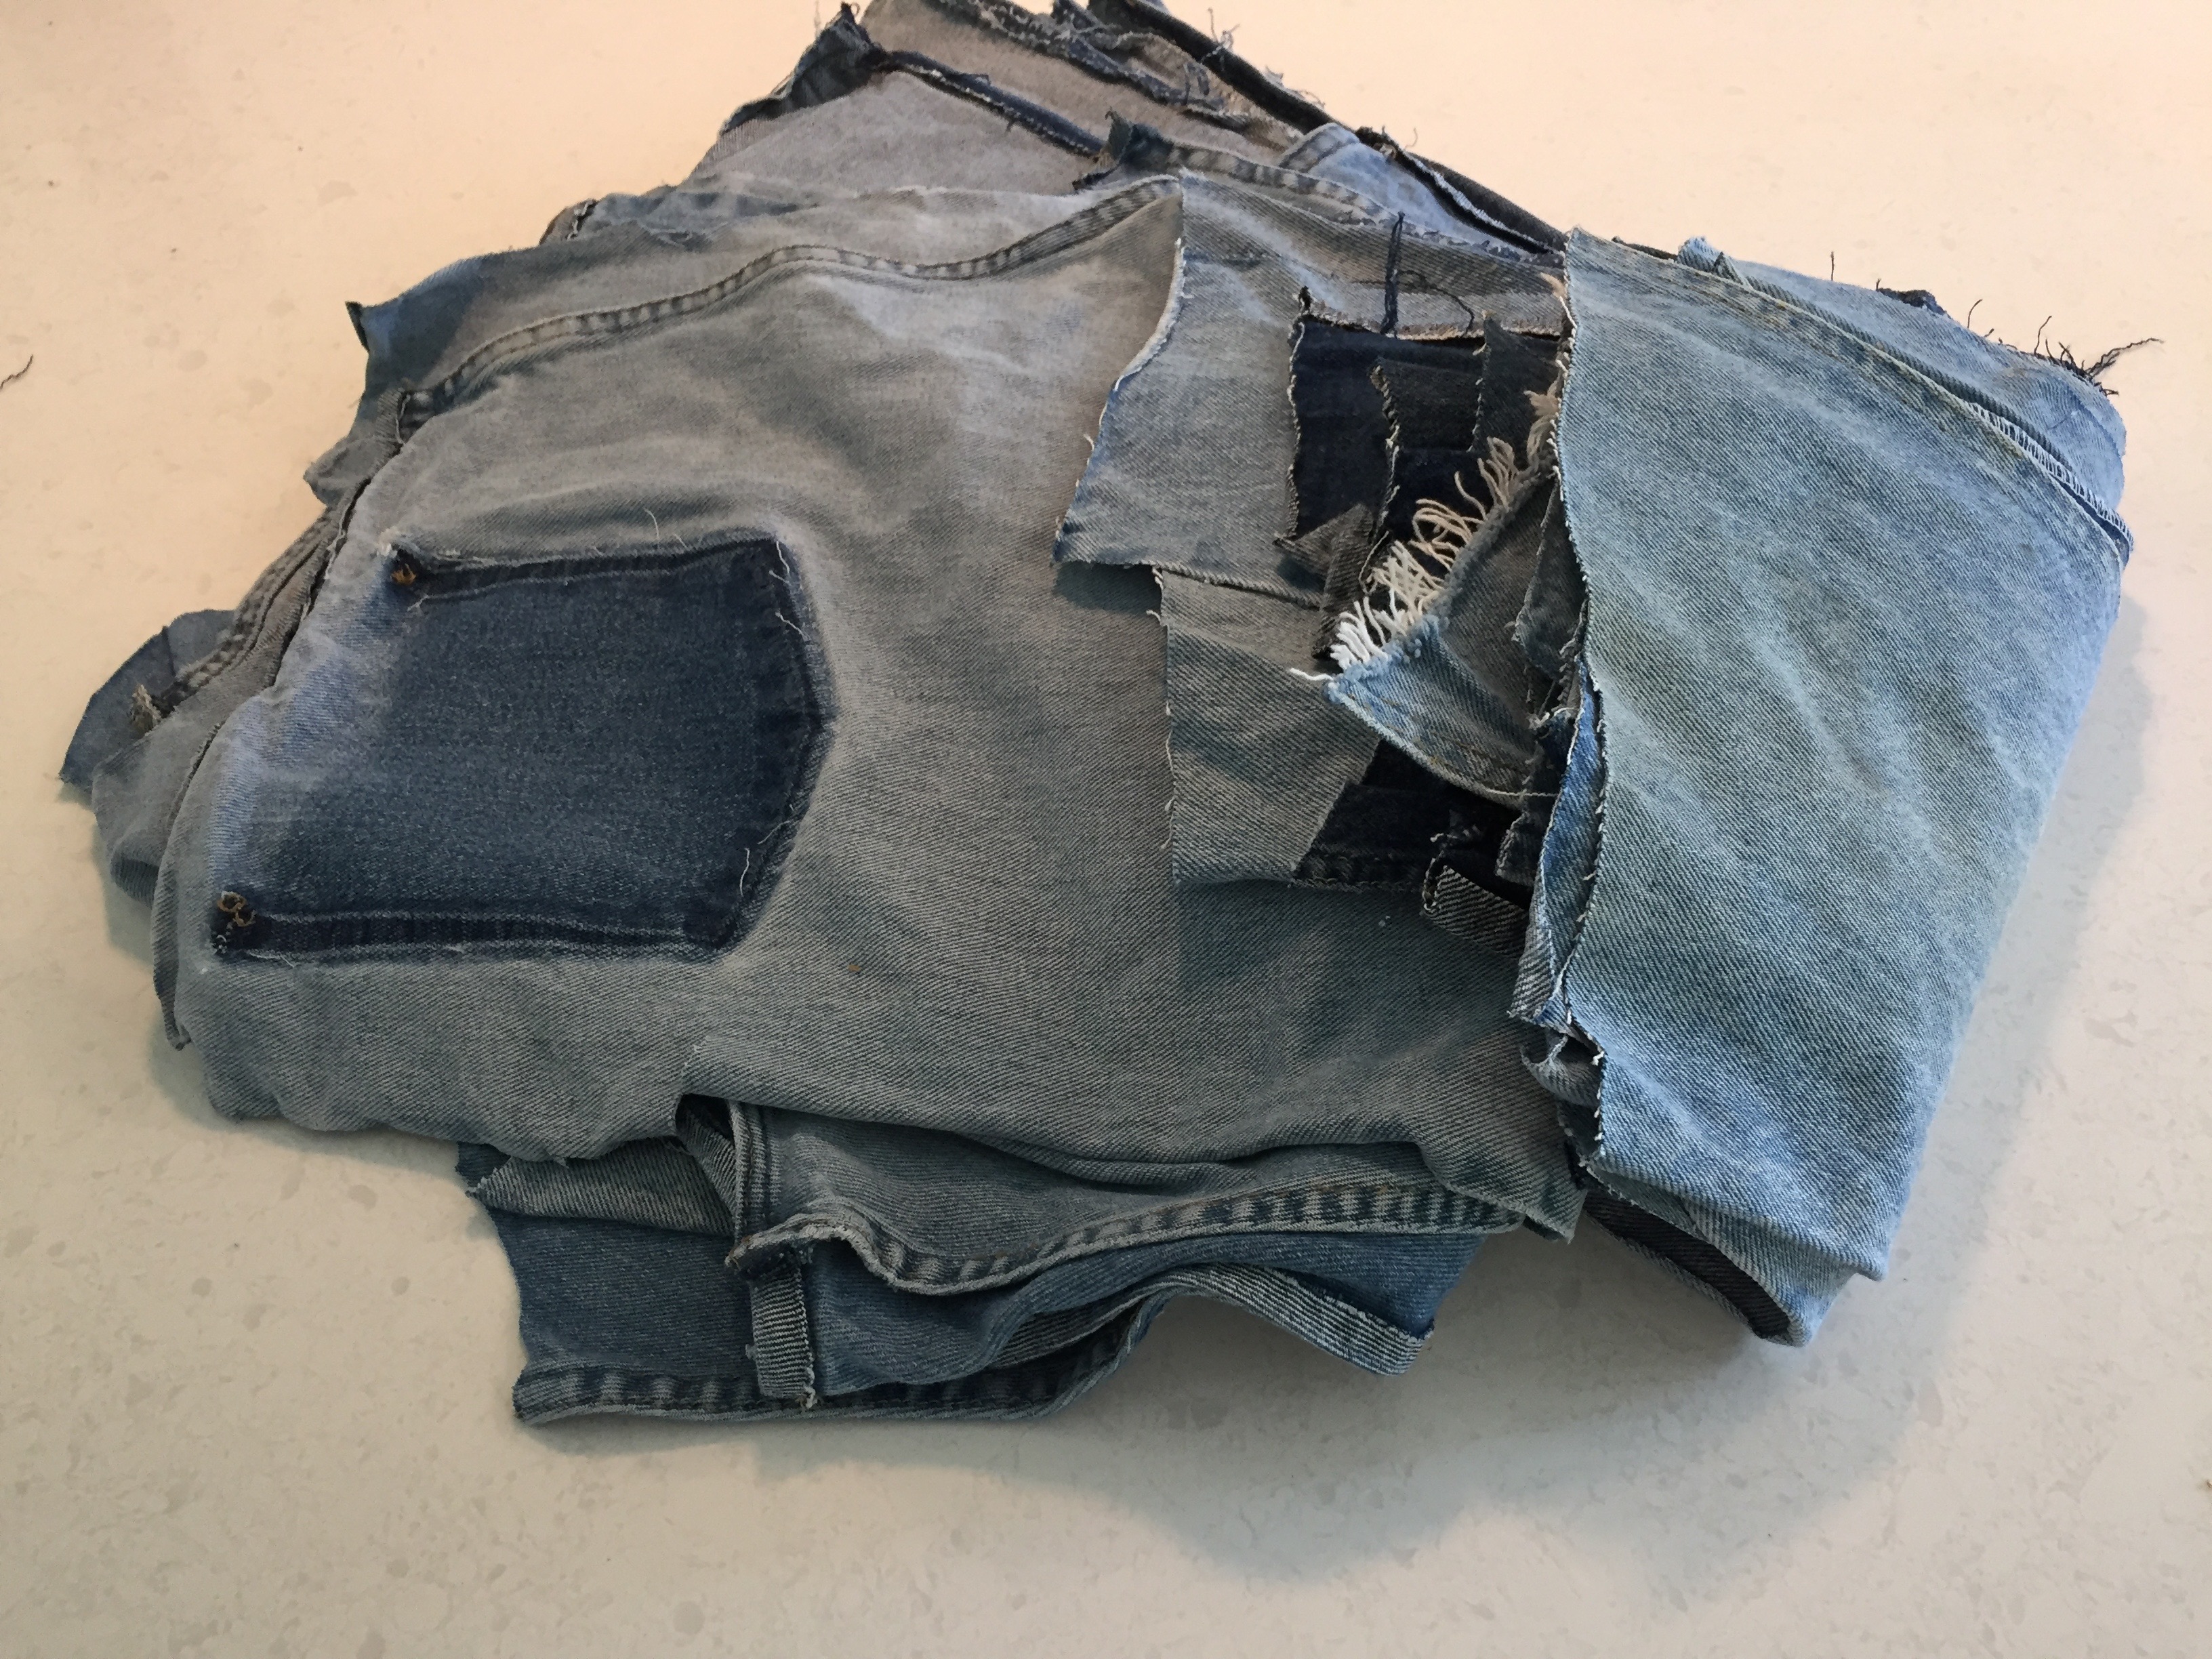 I gathered my jeans up, and set to work taking them apart. I spent some time sitting on the sofa with my seam ripper on these. The darker blues in the seams and under the pockets make me smile when I see them on the quilt. A seamstress friend of mine taught me a seam ripping trick that works really well on jeans. Once you get a few stitches pulled at the beginning of the seam line, stick the part of the seam ripper with the red ball into the seam. If you hold it right, you can just zip right up the seam in one motion. It is very exciting, and super fast.
Once the jeans are taken apart, I pressed them to keep the seams open. The seams are pretty stubborn, after being sewn so tightly, and then worn and washed for ten years or more. I just do my best.
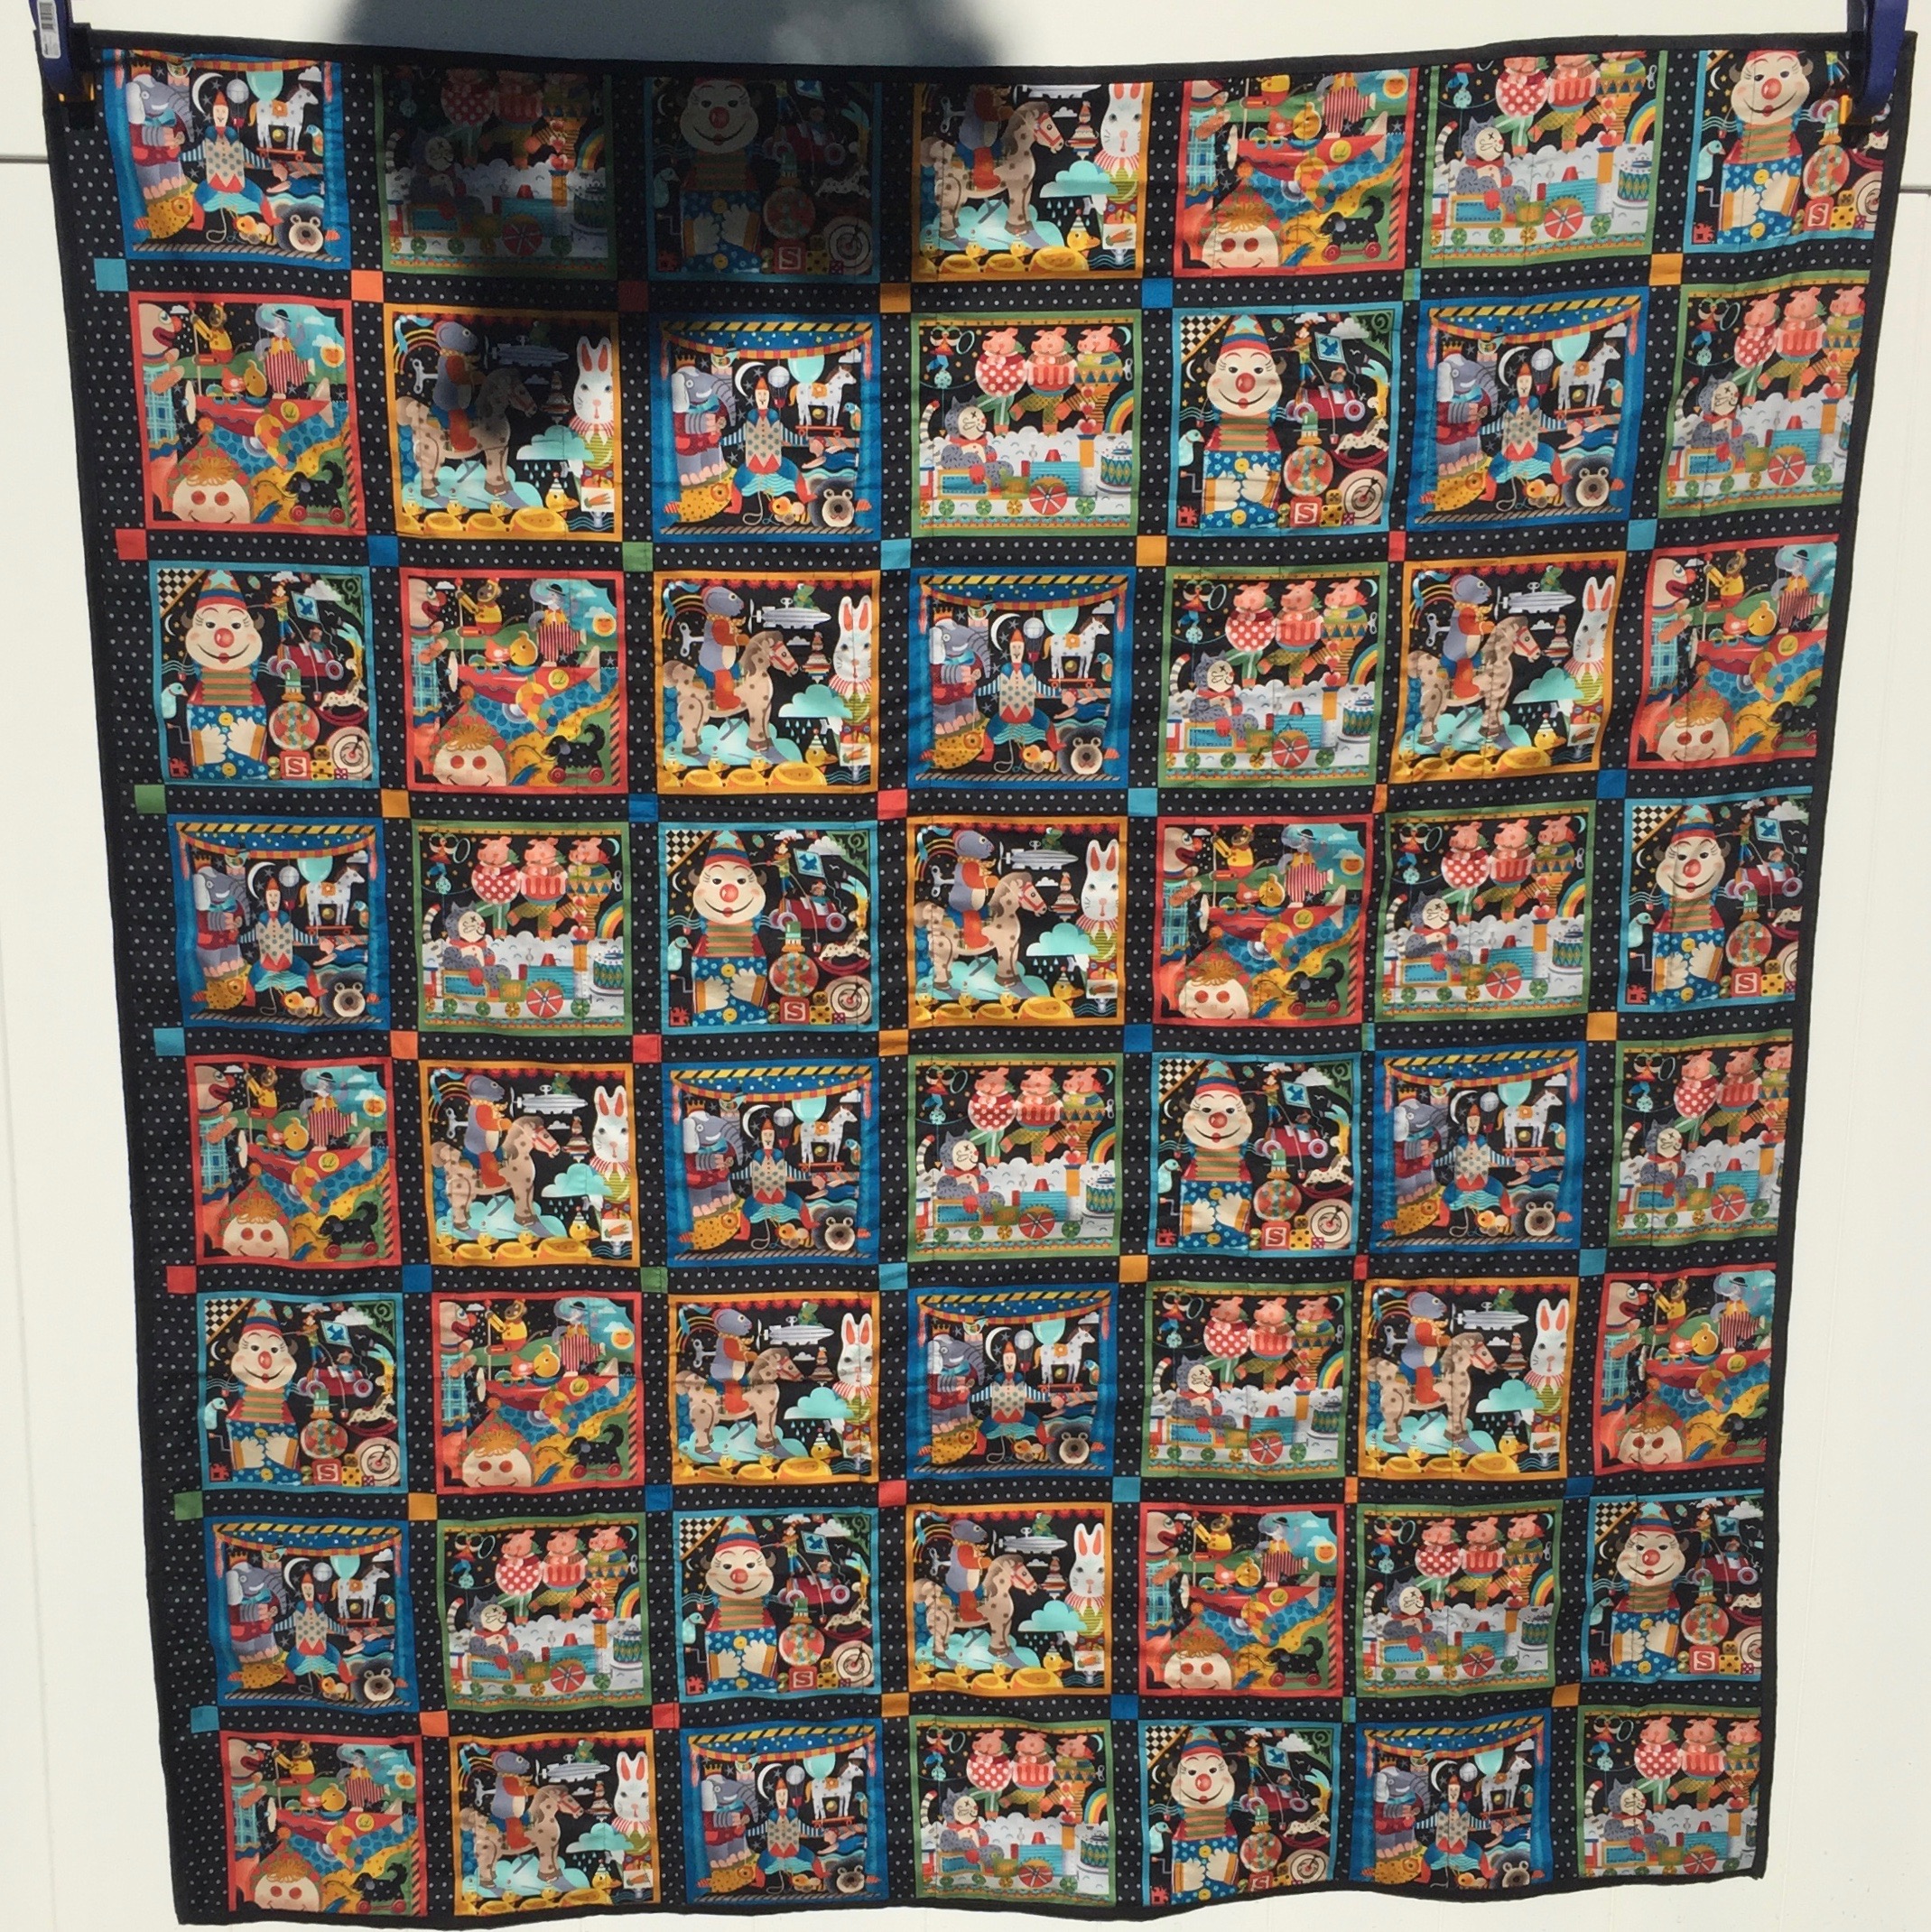 I prepped a backing fabric. For this quilt I used this crazy kid print. I must have picked it up on clearance somewhere. It is nice and soft, but there are clowns on it. Everyone in the house thinks it is creepy.
Next I mapped out my desired quilt size on my design wall with tape. I decided the quilt should be about 50″ x 60″.
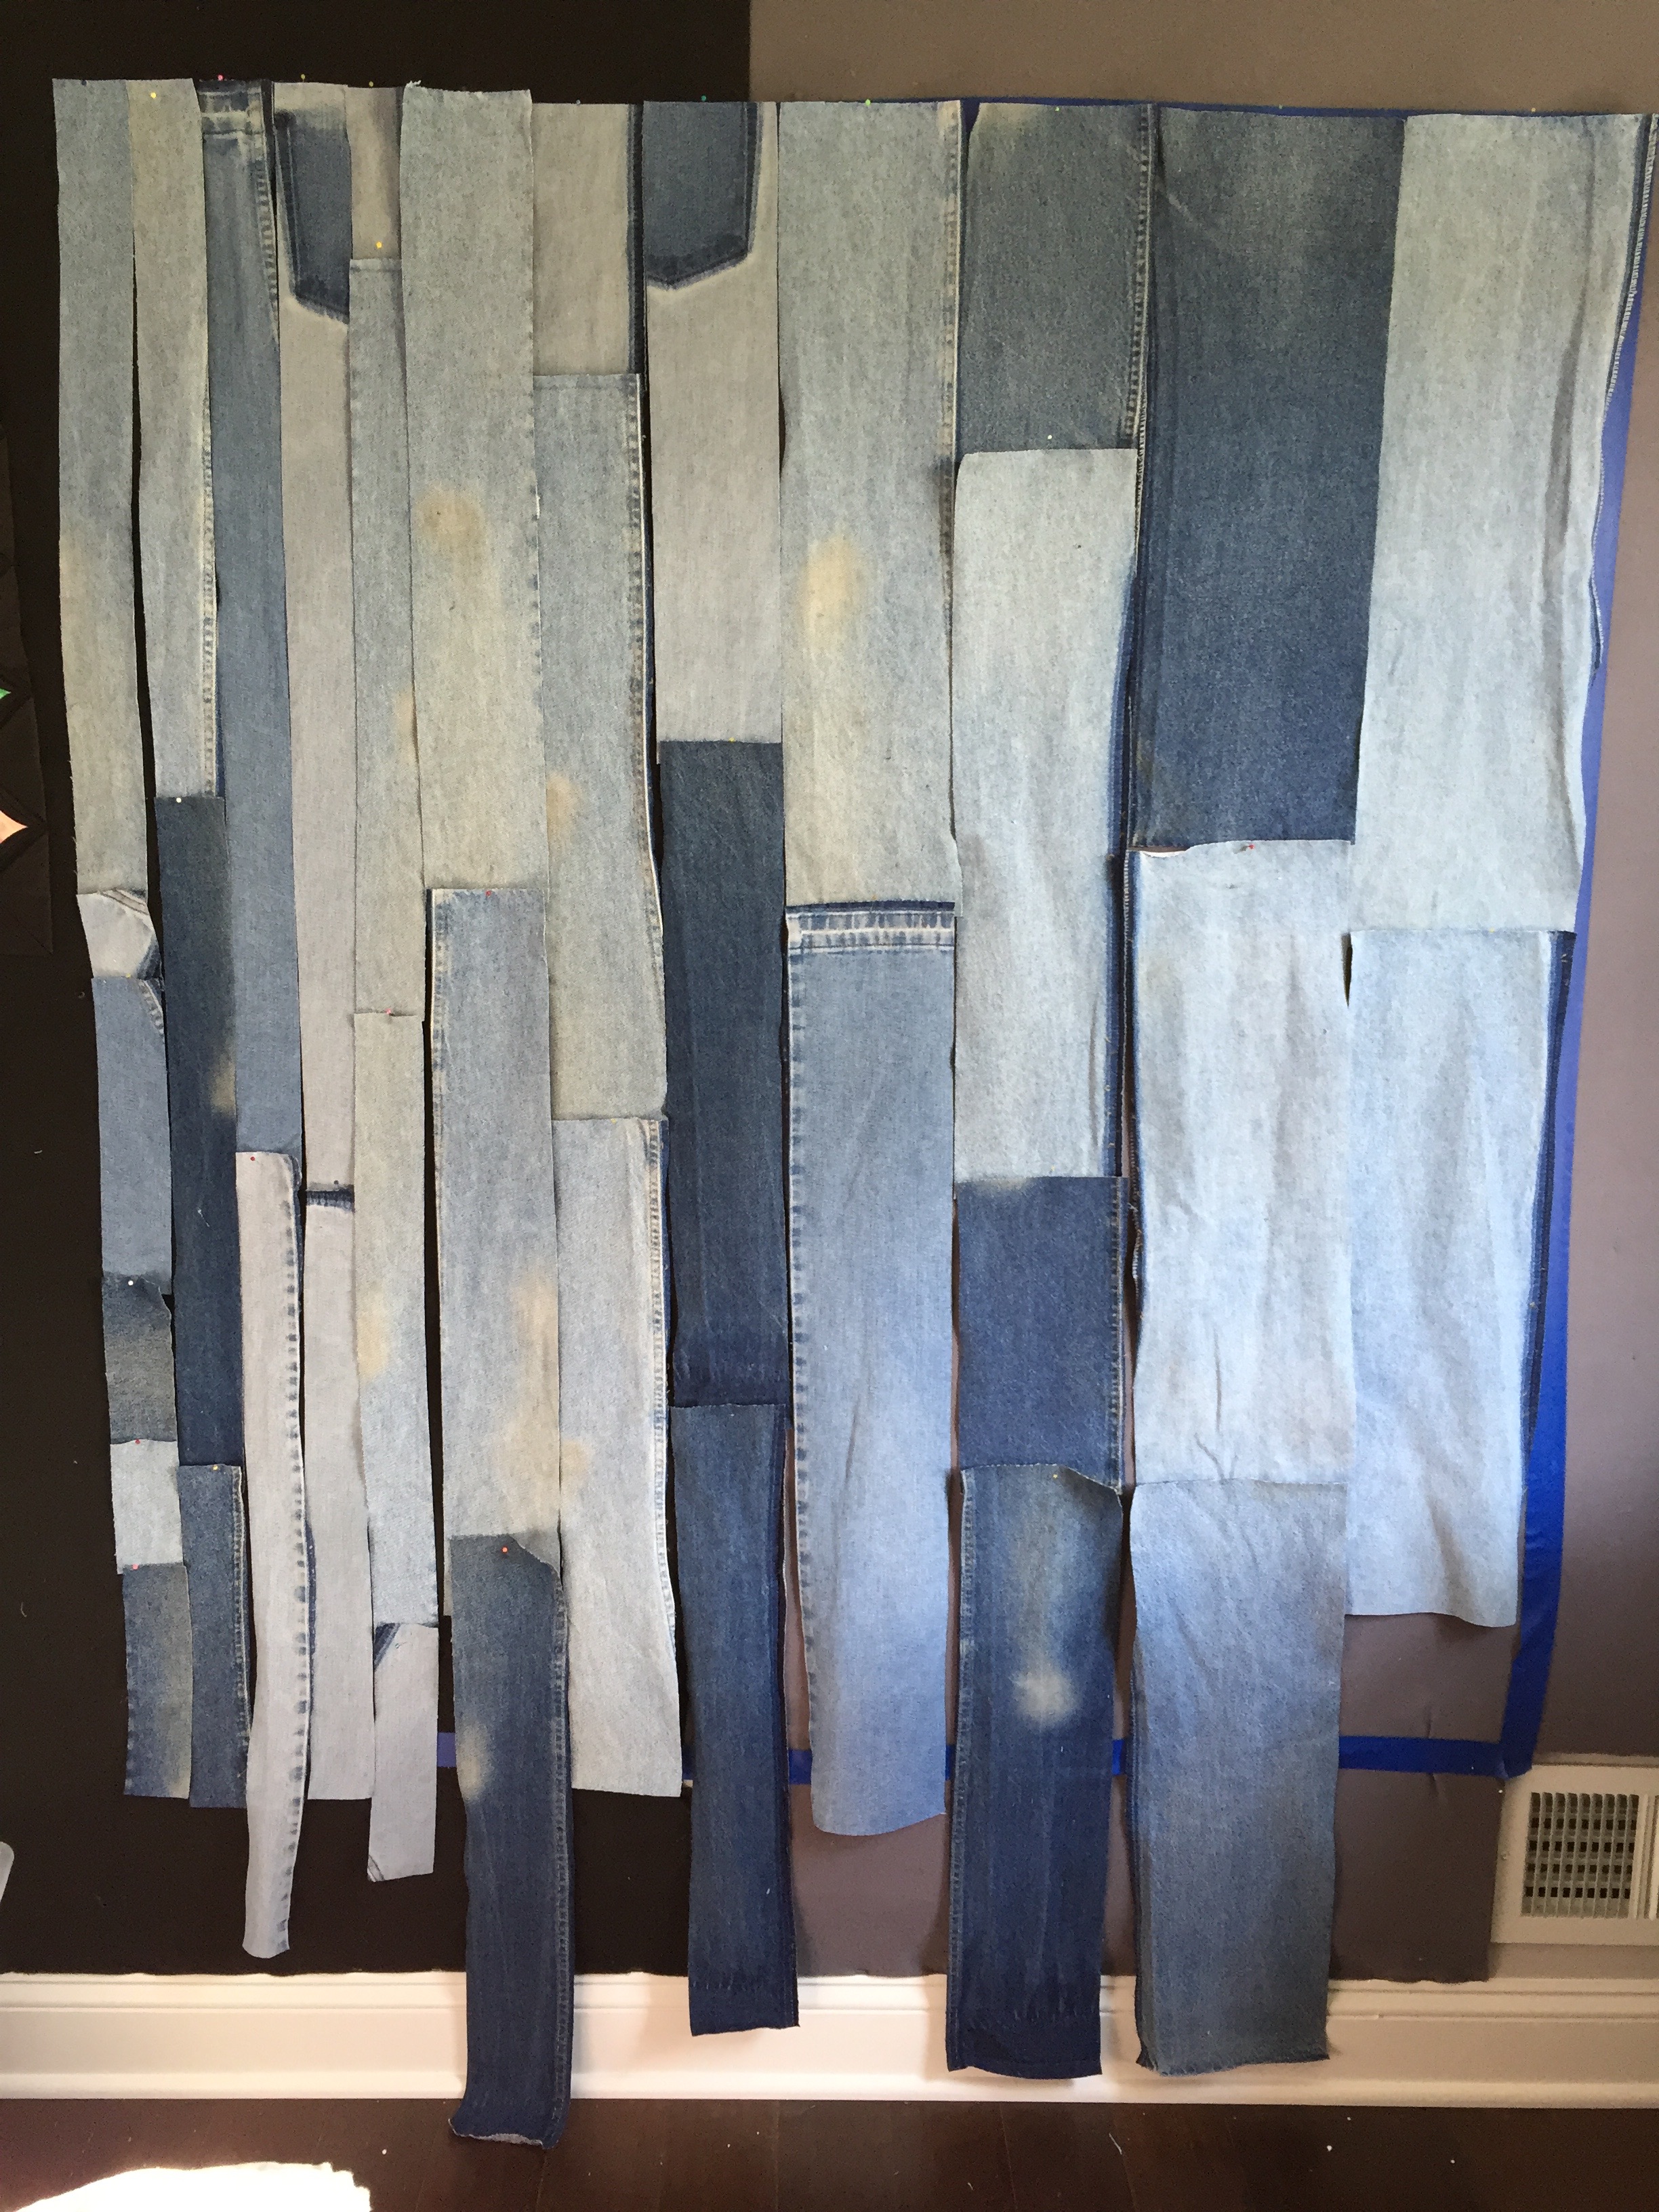 I cut strips at 8.5″, 6.5″, 4.5″, and 2.5″. I pinned the strips to my wall as I cut them, to make sure I had cut enough to cover the area completely. I then cut a pile of 1″ black strips.
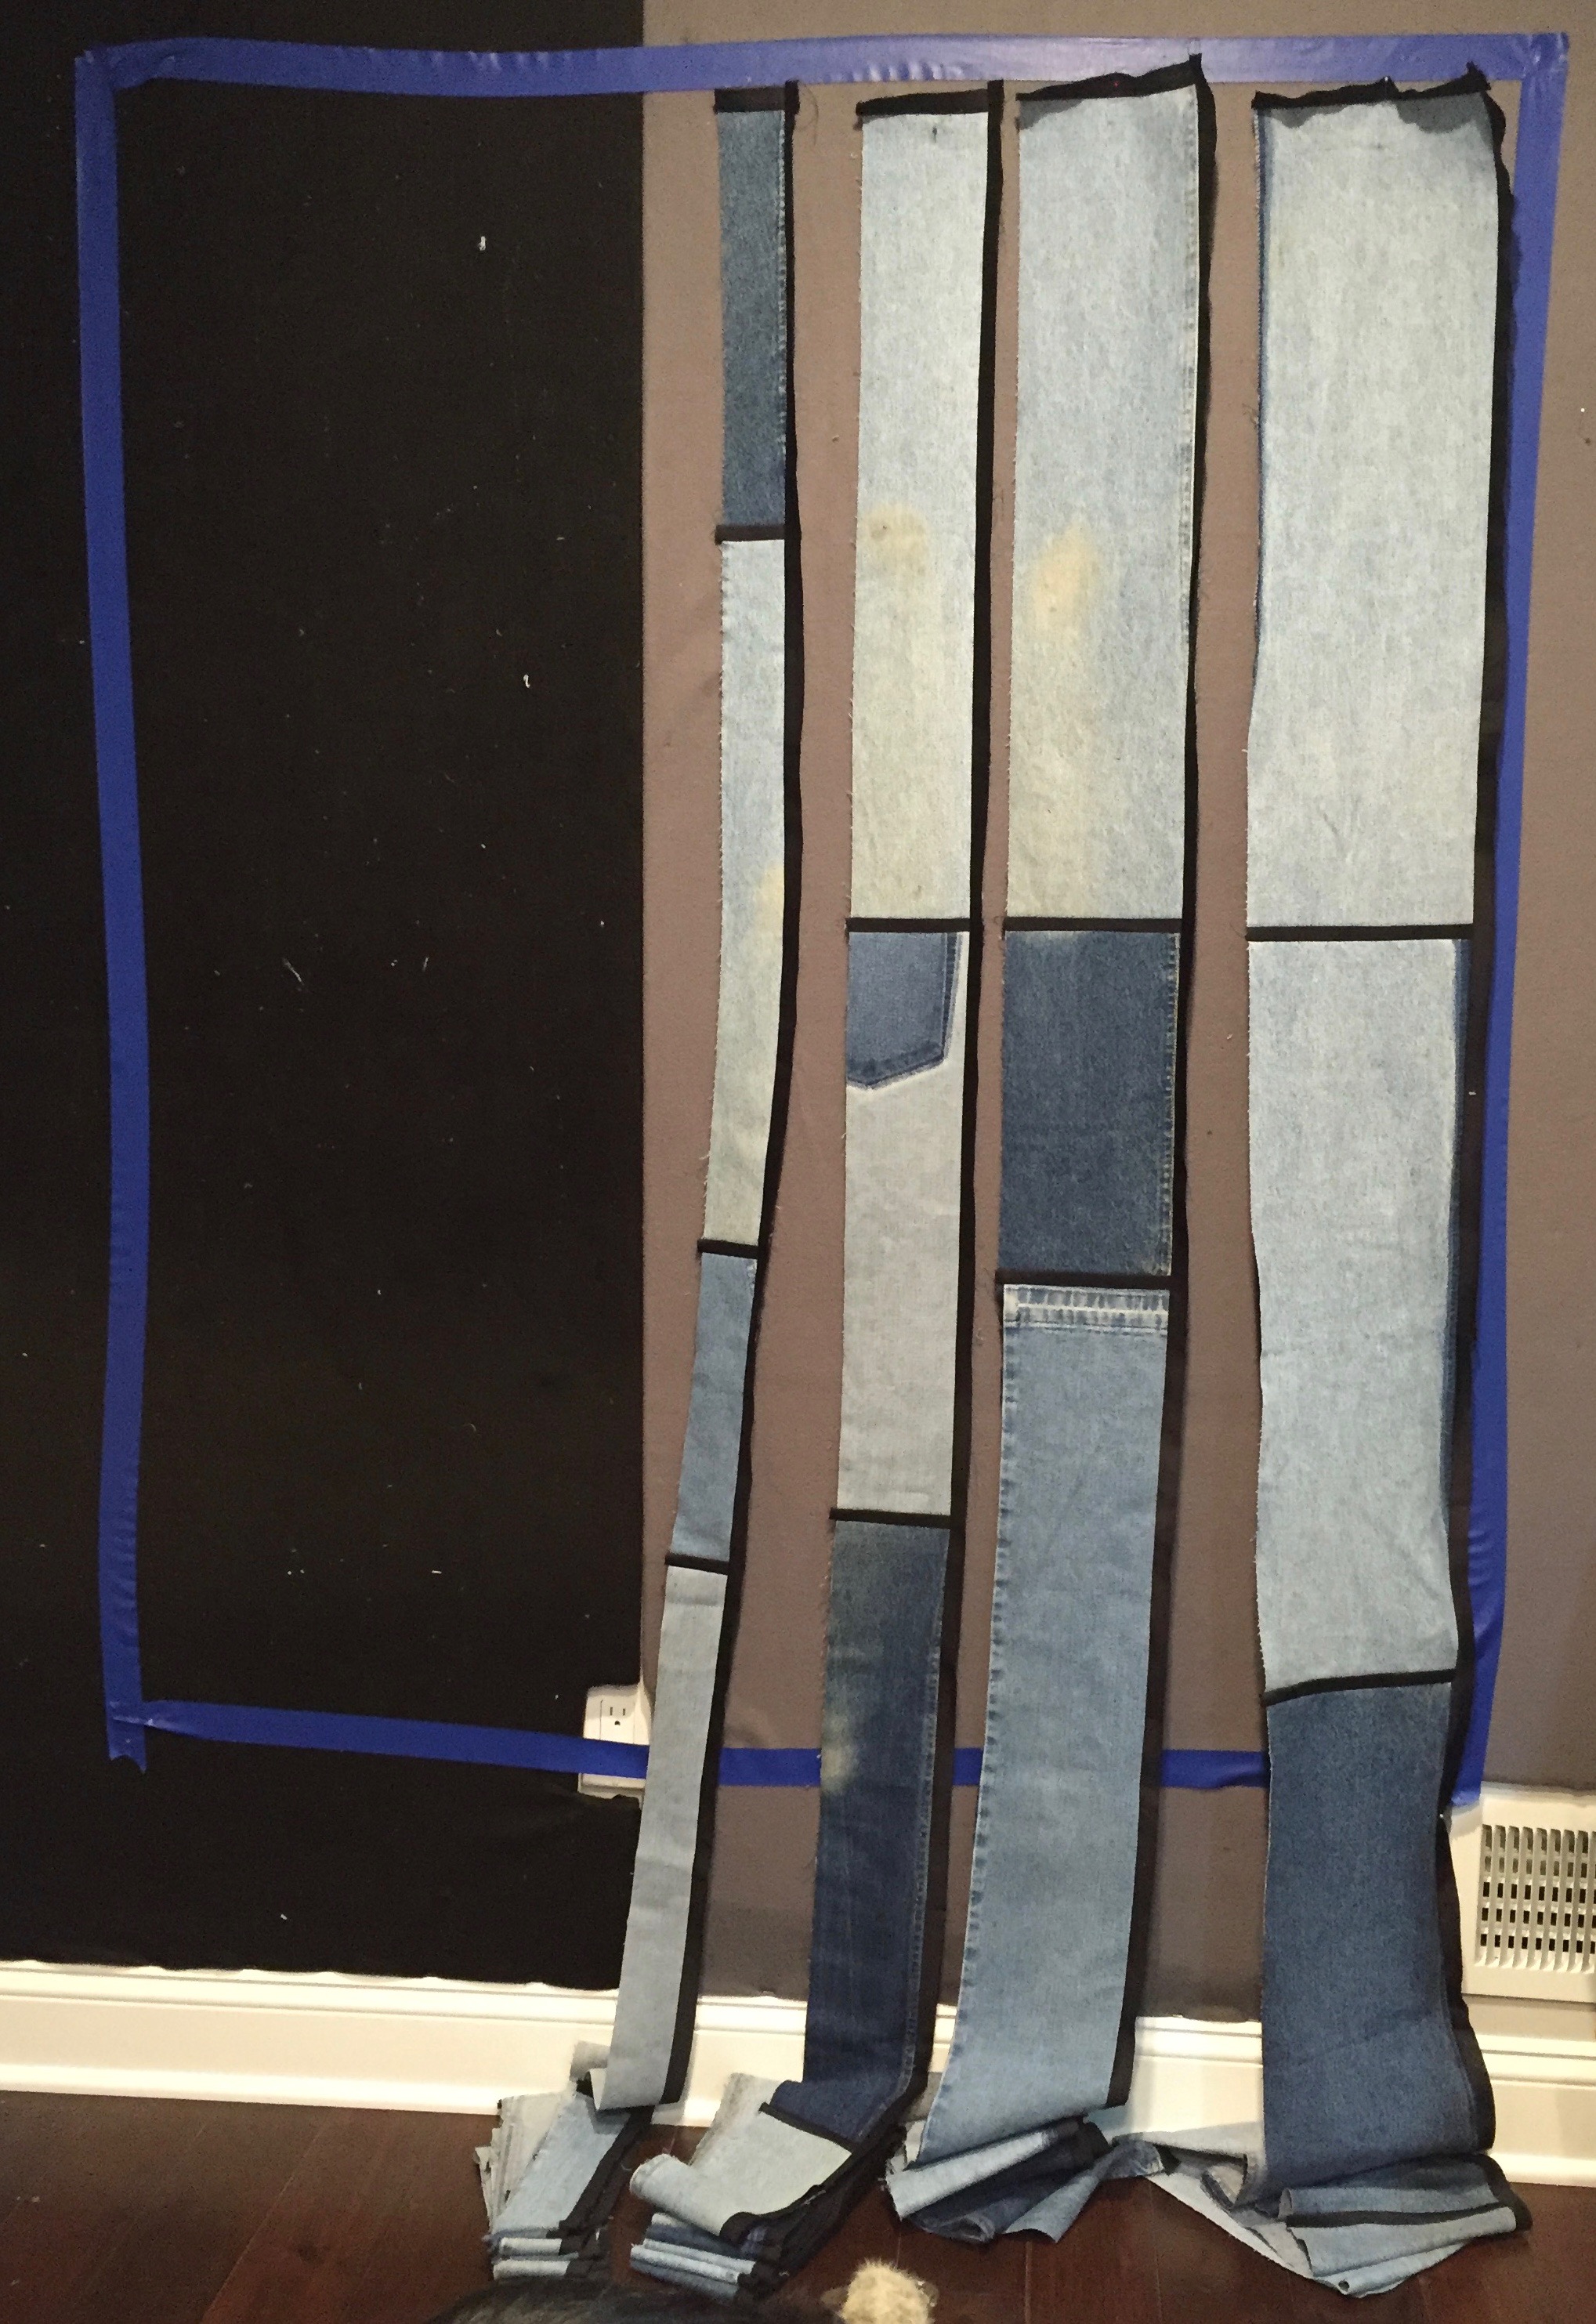 I stitched black strips in between the 8.5″ strips to make one really long piece of fabric. I did the same thing with each size group. I then combined 1″ strips until they were long enough to stitch along the side of each long strip. Each group had black added along one side.
I decided to use a “stitch and flip” method of construction on this one. Since I don’t use batting with denim quilts, this allows me to skip the basting and quilting step. I started at one side with the backing right side down, denim right side up, aligned along one edge. I then added another denim piece, right side down, and stitched them together. Once the seam was sewn, I flip it open, press, then add another strip. (I forgot to take a photo of this step.)
I went all the way along, pressing, flipping, and adding a new row, until I had covered the entire backing. It is a little tricky keeping the back nice and flat, and keeping the top from becoming crooked. This can probably be solved with more pinning.
Once the top was all complete, I squared the edges and aded a binding. I used a 3″ binding, to be sure that the binding that showed on the front was the same dimension as the sashing. I even attached the binding to the back by hand, which I rarely do. I am very happy with how it has turned out, and I will be modifying some of my techniques for my next attempt.
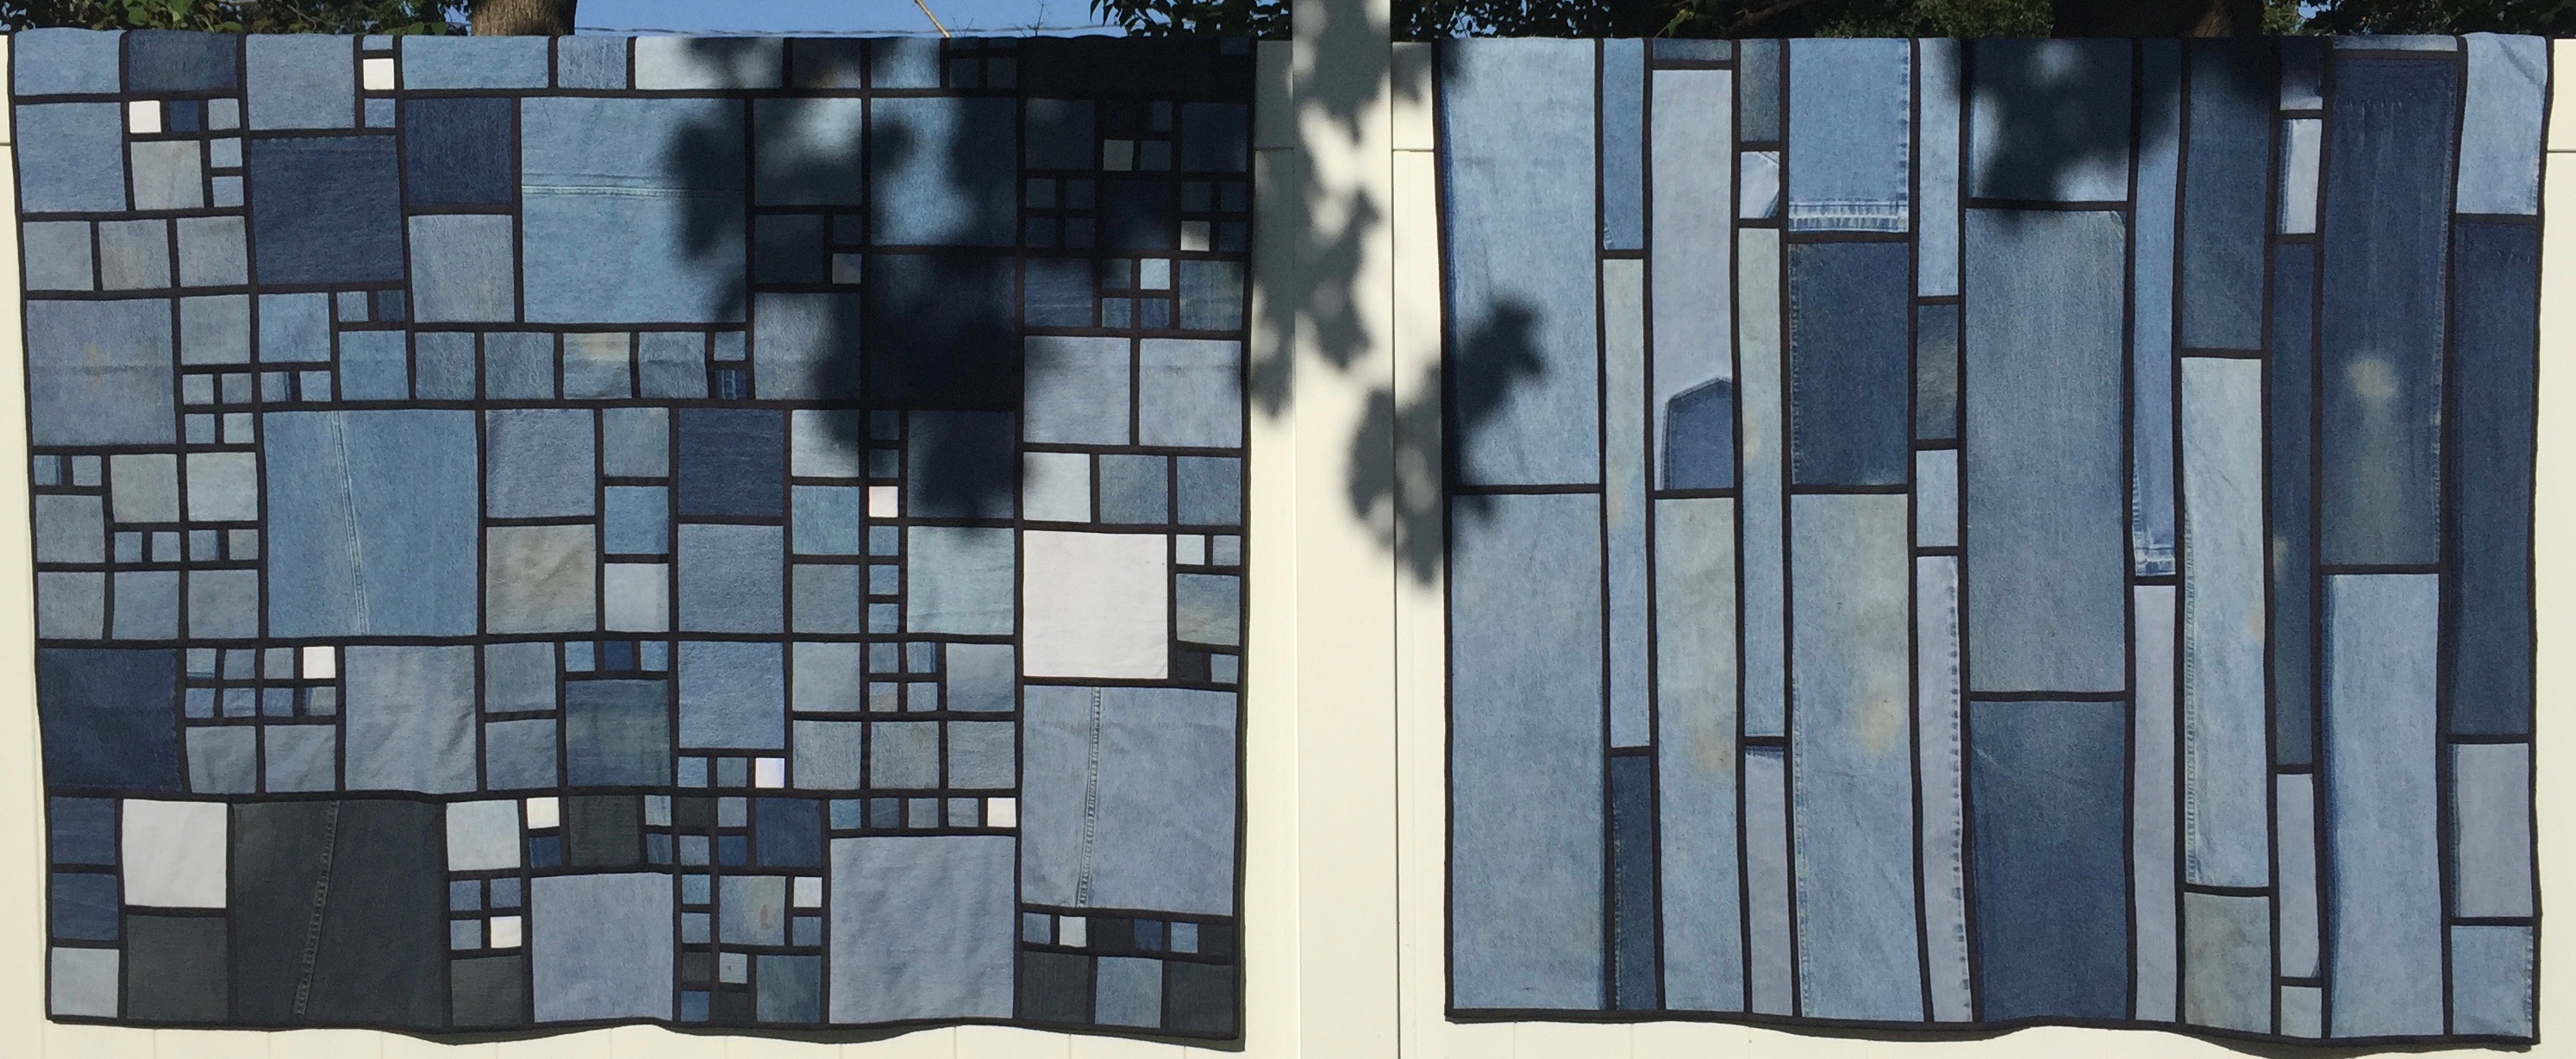 Here are the two quilts side by side. I like the original better, but this new version was super quick and easy.
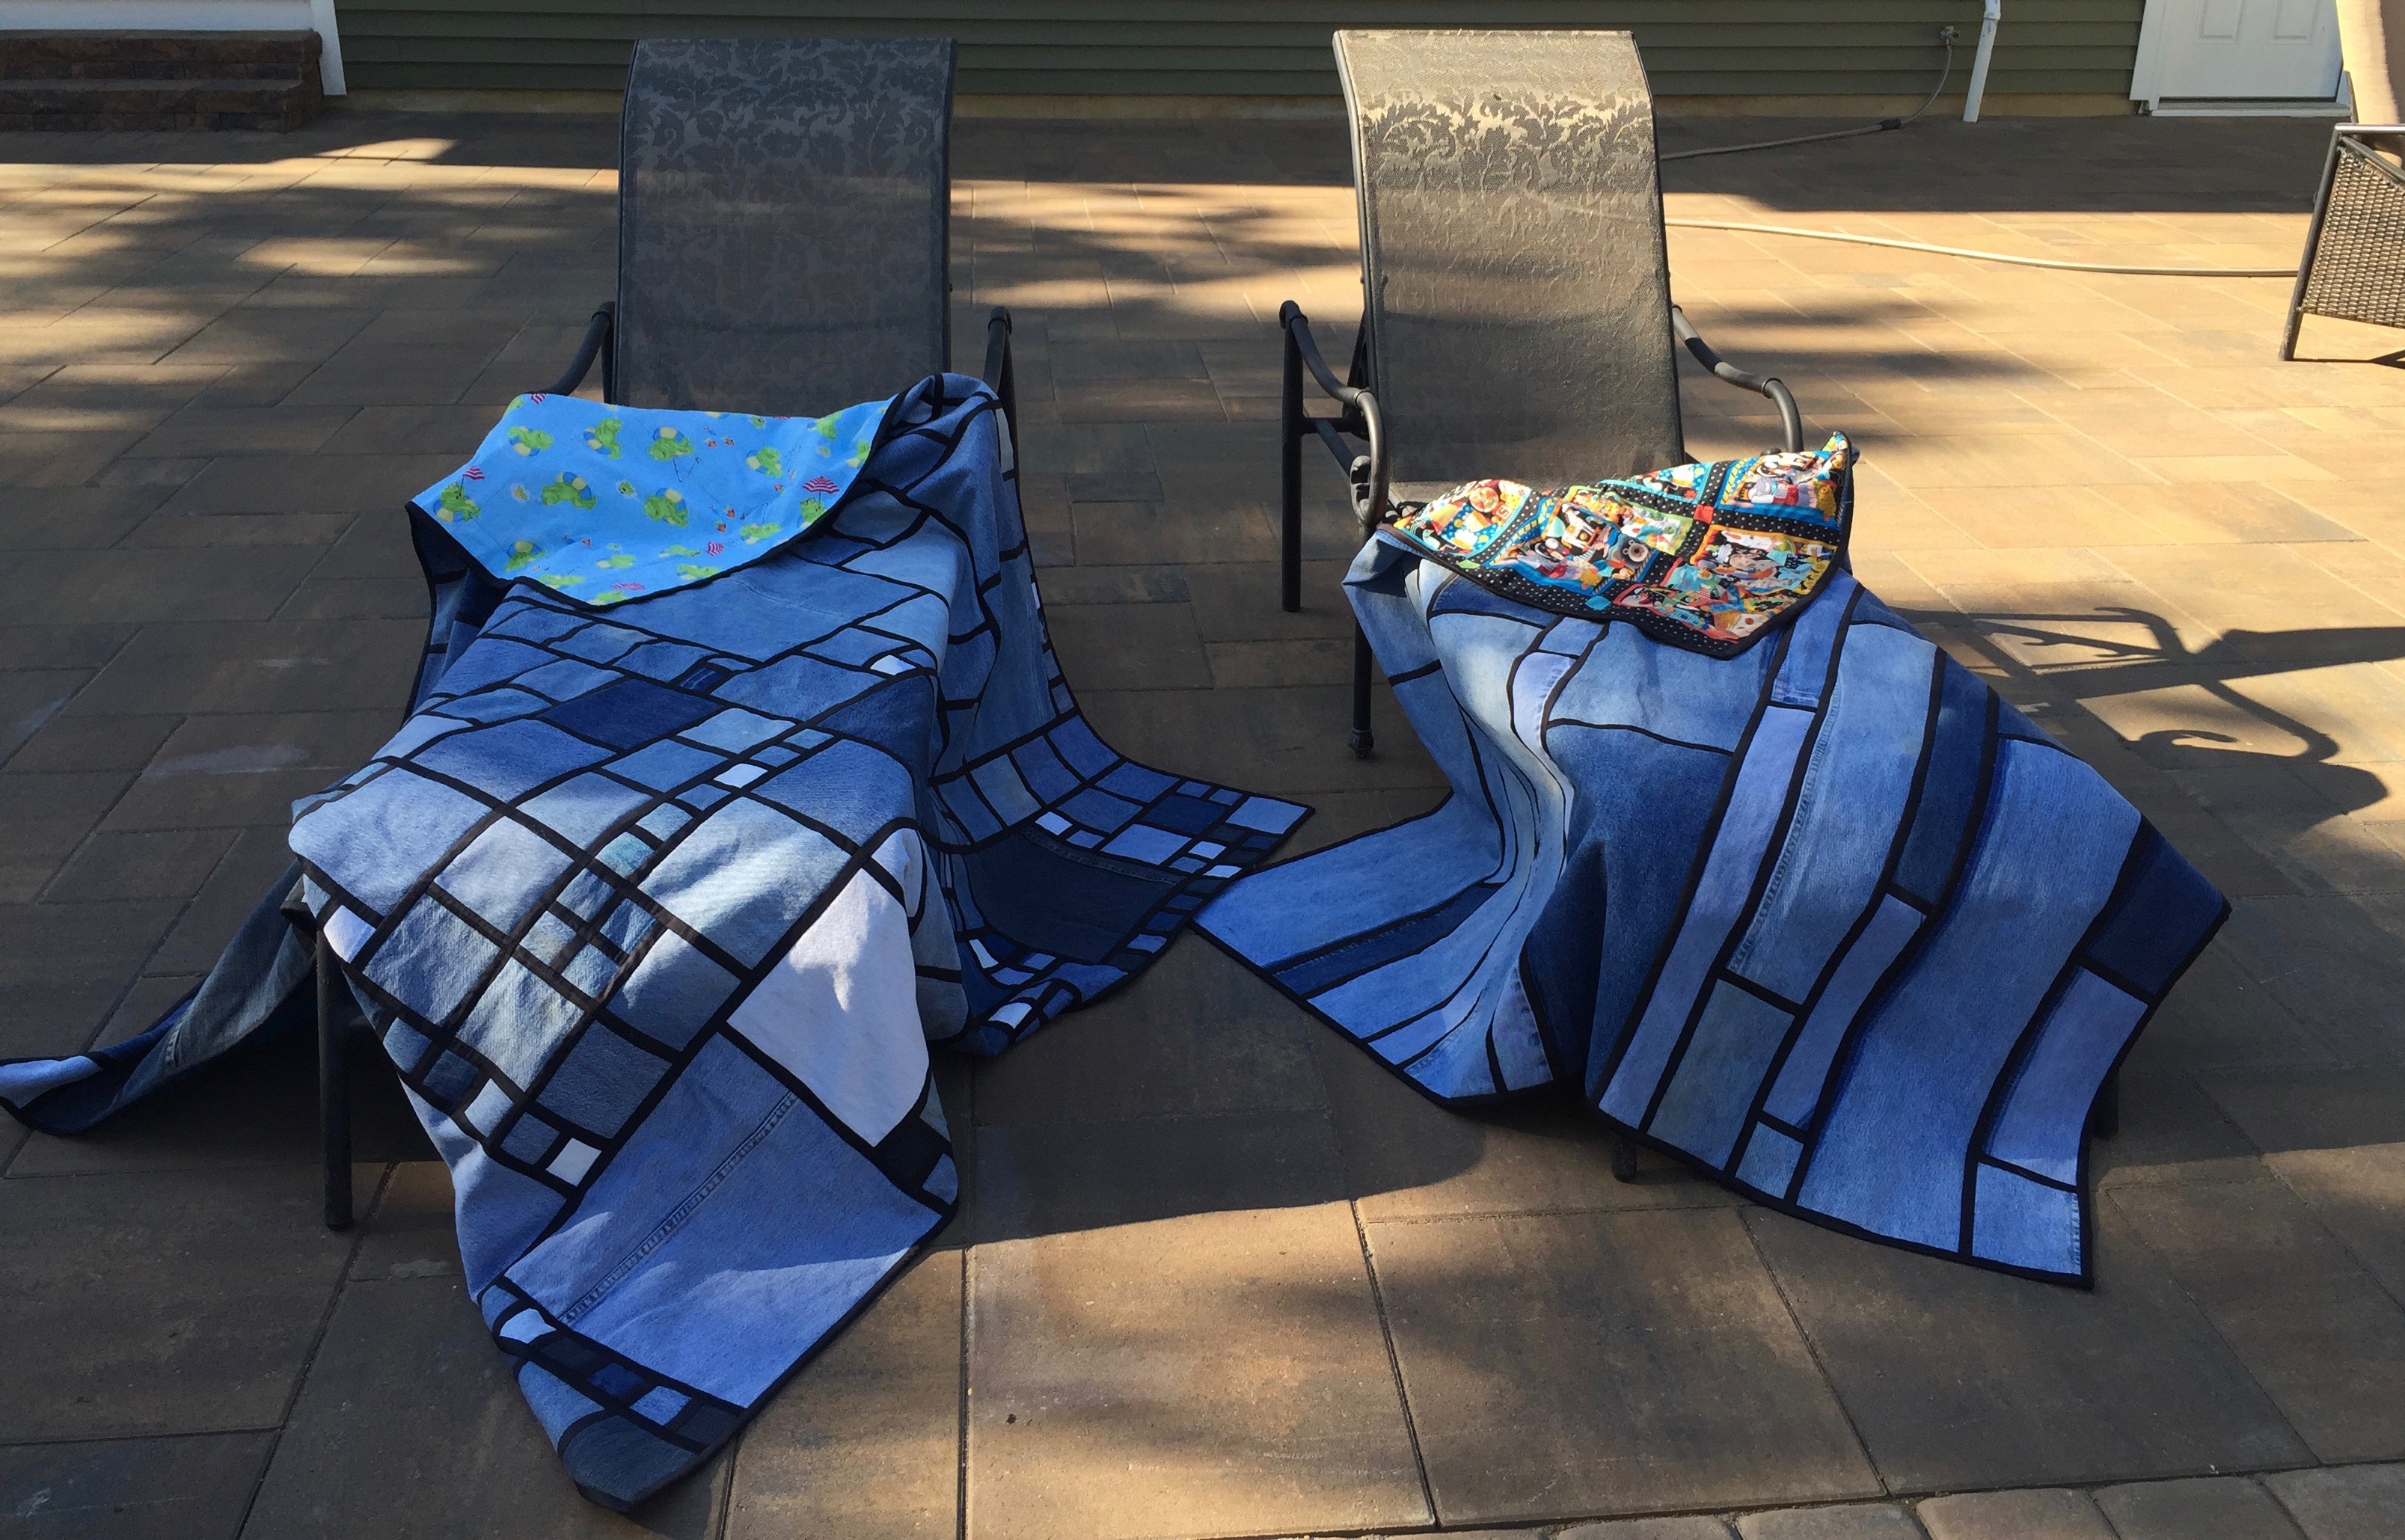 Of course, I spent this winter yearning for summer time. Now I’m longing for fall, when my husband and I can enjoy the quilts together while the doggies play in the yard.
Denim Improv

I love it when I can use my seam ripper the way you describe! I think seeing the two quilts side by side is lovely and I’m sure both will get lots of use when it finally cools off. Congratulations on the finish!
Thanks! Now I have to get to cutting out my Snowflake Shimmer.
I love your quilt, and you did a good job of describing your process. I’ve used this technique of using the one inch strips to join the denim in a couple of pillows, but I haven’t tried it on a big quilt yet. It looks great hanging out with the other denim quilt. I’m sure you will get lots of great use out of these.
Love these quilts soooo much!!! I’m glad we connected!