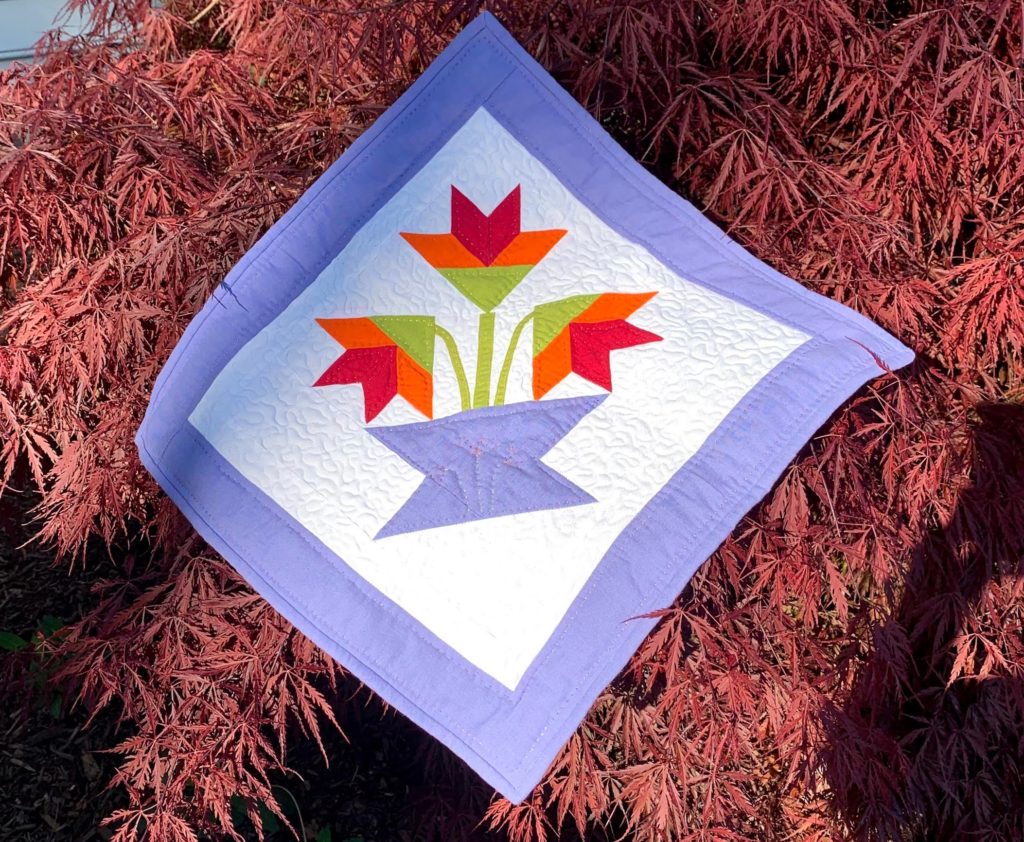
I’m so happy to share my Basket of Lilies Mini quilt with you today. I made it using Accuquilt’s brand new spring die, Basket of Lilies.
Special thanks go out to Accuquilt for providing me with the die I used to make this quilt.
My inspiration for this little project began when the die arrived at my house. I couldn’t wait to rip into the Accuquilt box and check out my latest shipment of goodies. (I’ve got more to share next month!) I knew I wanted to make something with this die immediately. I will be making a large quilt with it, but first I needed to do a test block, just to make sure I understood the process.

Basket of Lilies is a BOB, or Block on Board die. BOB dies are designed to cut all the pieces you need for one block on one pass through the die cutter. This isn’t my first BOB die, but it is the first one where I read the directions. In order to keep all 5 of the fabrics organized, I followed the cutting directions on the package. It helped tremendously, and my block went together easily and accurately.
My color inspiration came from a sample set of Trailhead Yarns Tencel thread. It is very similar to 8 weight perle cotton, but made from rayon rather than cotton. Trailhead yarns reached out to me last month on Instagram and sent me five different “acorns” to play with. They are so pretty. The thread is hand dyed, which gives it amazing depth of color.
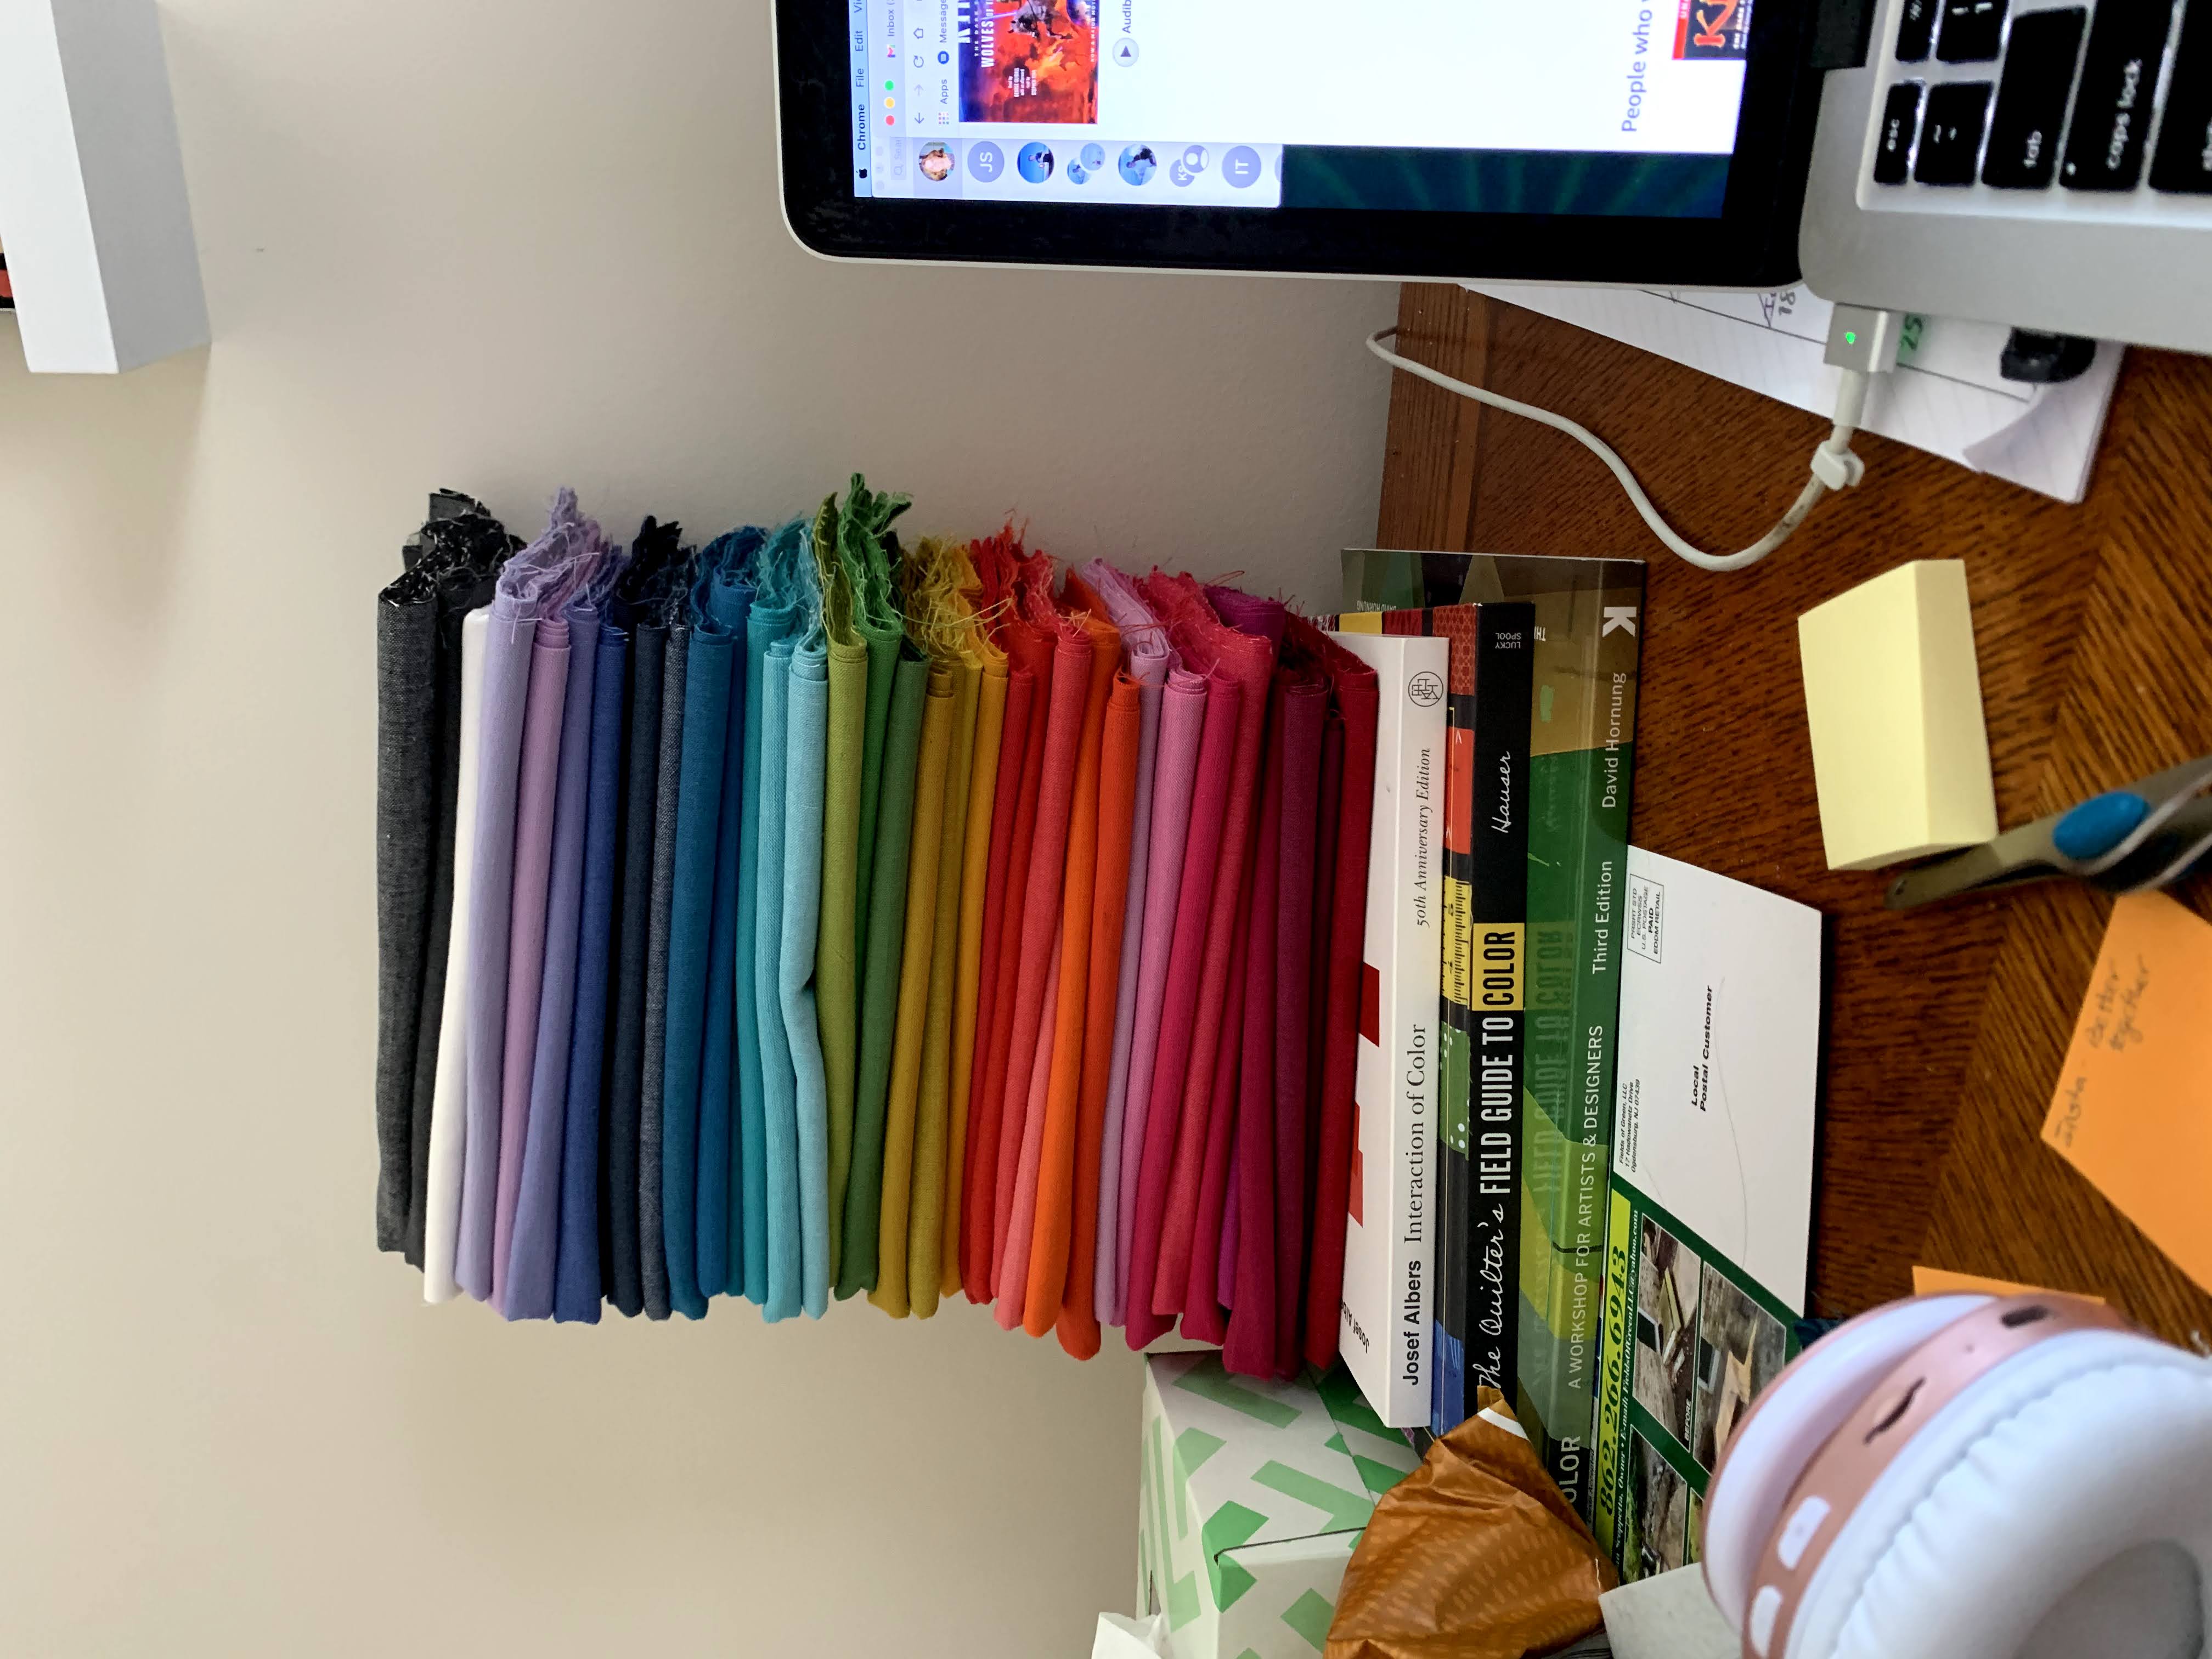
Since my thread colors were chosen for me, I picked out fabrics to match. Luckily, my stash is obscene, so matching fabric to threads is not even a challenge. I decided to use fabrics from my Alison Glass Kaleidoscope Wovens collection. (Thanks, Sherry, for selling them in the de-stash!) I’ve got it folded up and stacked on my desk to tempt me into playing every day.
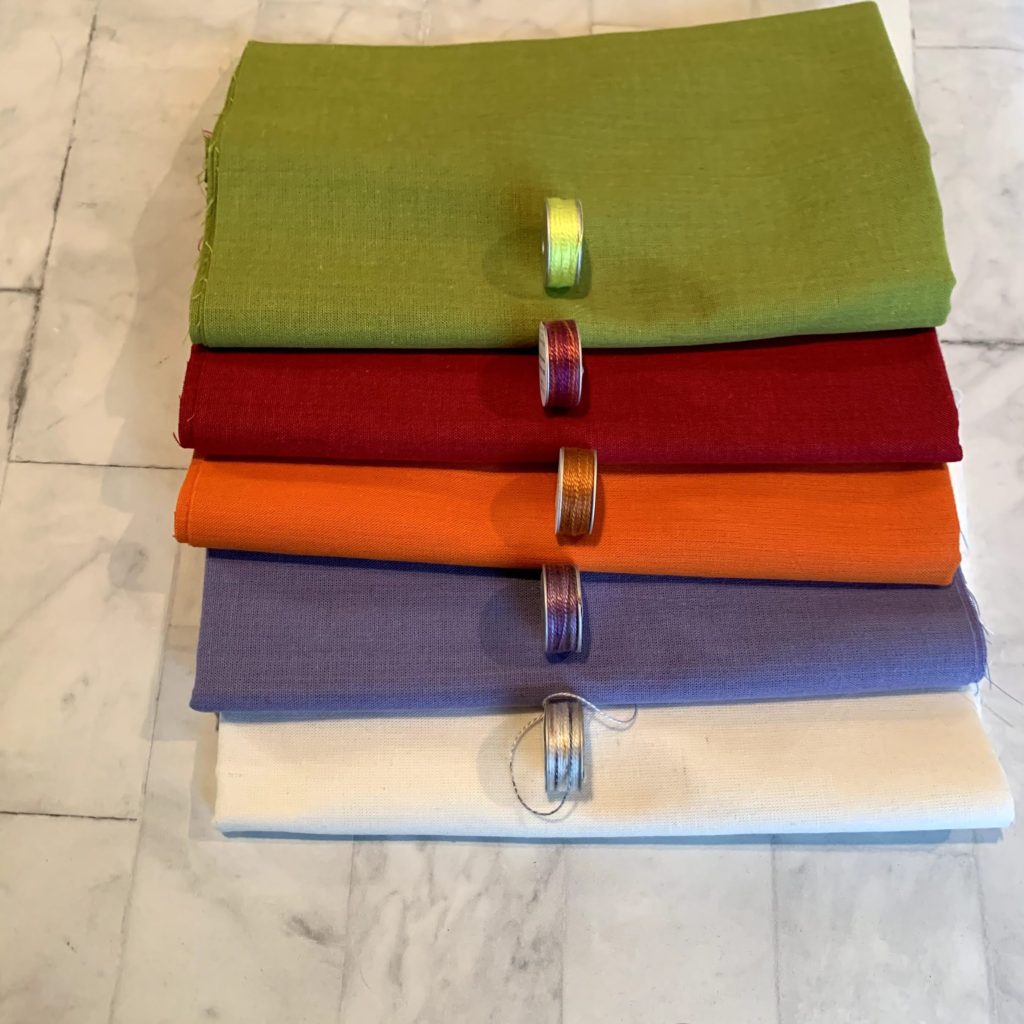
Here are the fabrics I chose for this project, along with the threads for hand quilting. I ended up not using the white one on this project.
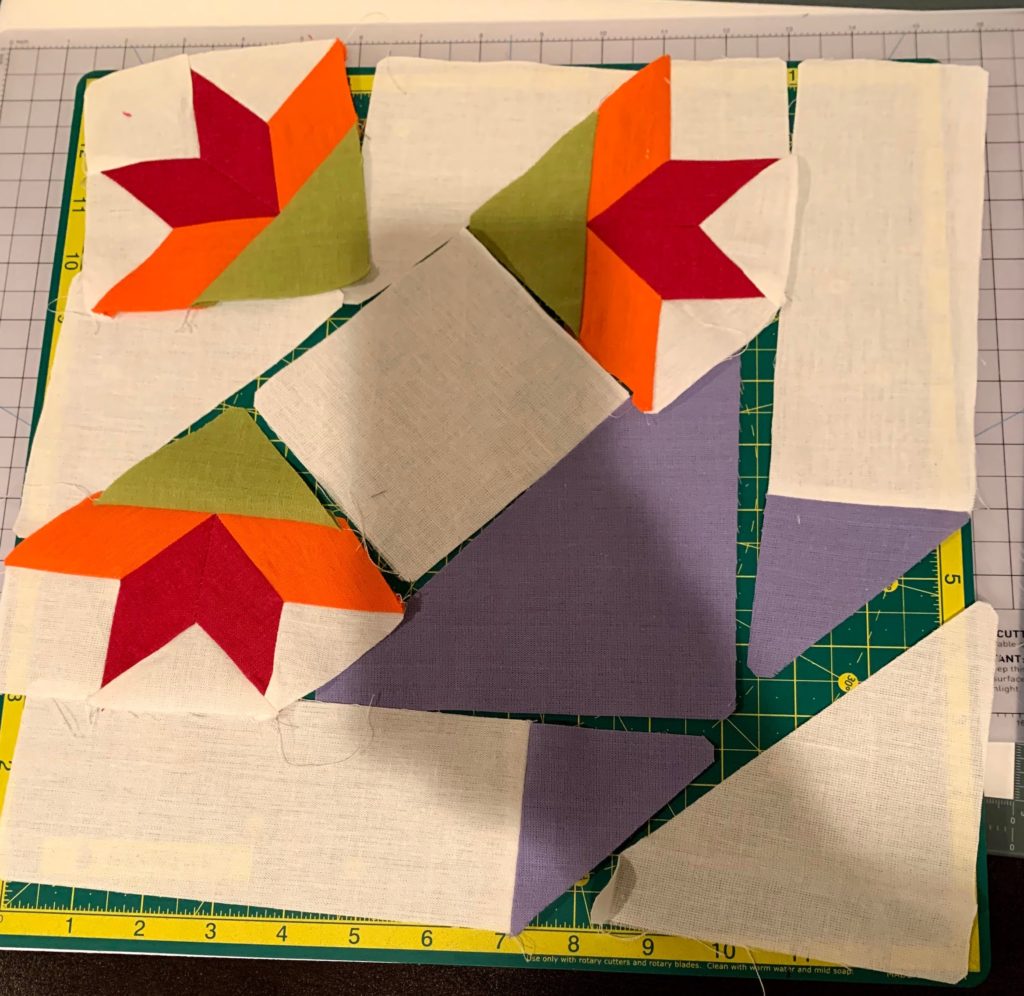
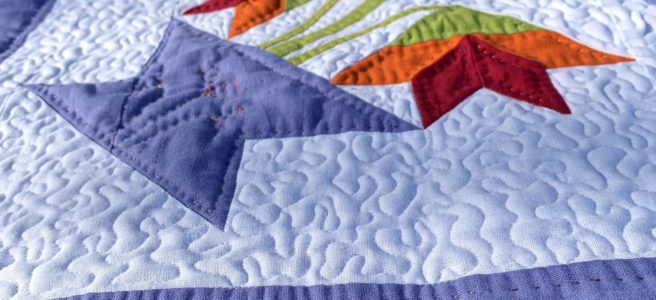
The block went together insanely fast, even with the y-seam construction in the flowers. Shoutout to Gyleen Fitzgerald for her awesome Butterfly Seams technique. Just like any other “terrifying” quilting technique, y-seams get easier with practice.
One interesting part of this block is the skinny stems. They are appliquéd onto the center bit before the block is assembled, so part of the stem is caught in the seam. I thought that was pretty clever, and it was just a little bit of blanket stitching. I used my machine for that, with an Aurifil thread to match. Pellon Wonder-Under 805 was used for the fusible. I was a little concerned that the stems would be stiff with the fusible, but they are as soft as the rest of the block.
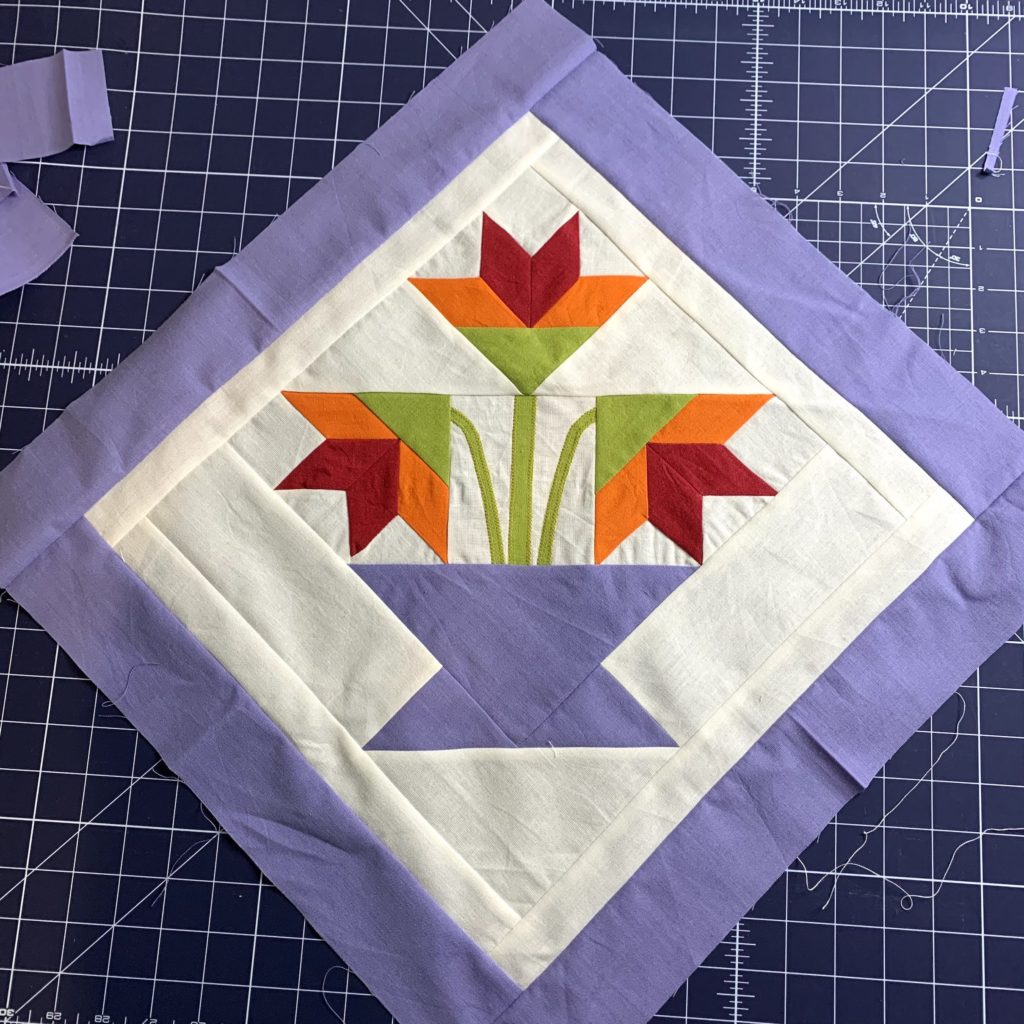
I added two borders. There is a 1″ finished border in the same fabric as the background, allowing my basket of lilies to float. The outer border is 2″ finished. I used my Accuquilt strip cutter dies for both of those borders, and also for the binding.
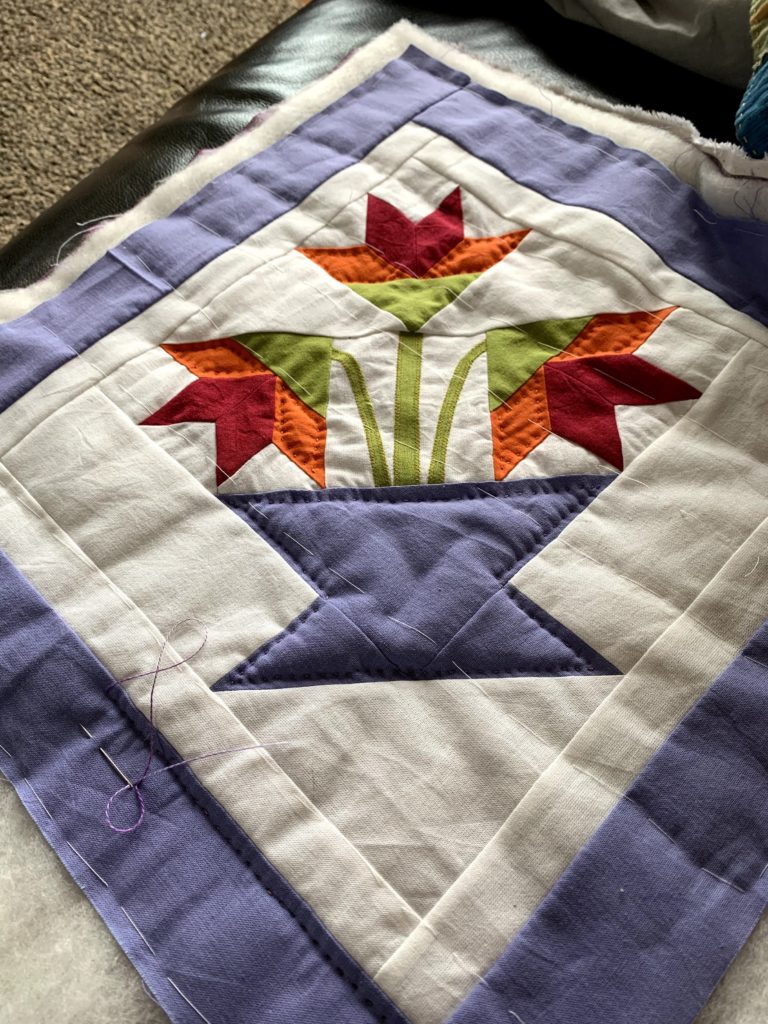
Once the piecing was done, I layered the backing, wool batting, and the top, and hand basted it. Then it was time to put the Trailhead Yarns Tencel through it’s paces. It was easy to thread into my preferred needle, which is an embroidery needle with a large eye that I use for any big stitch quilting, including my Kawandi stuff. I was able to use rather long lengths without the thread tangling, which is a big plus in my book. It also looks gorgeous. The other nice thing about the sheen is that it gives you some color flexibility. The thread I used in the green areas is actually pretty yellow. But, since it is shiny, it picks up the green color and blends beautifully.
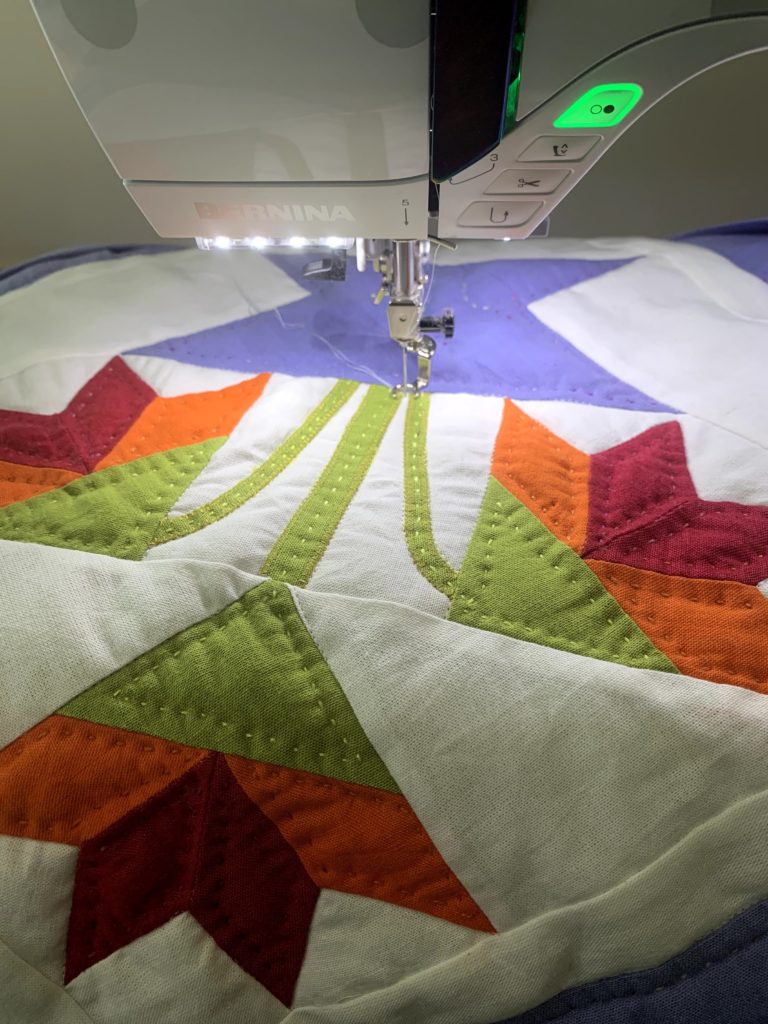
Once I had done all of the hand quilting, I put it under my Bernina for a little bit of machine stitching. I stitched in the ditch around exterior of the pieced design, and along the border. Then I stippled the background. I find this combo gives the piecing the attention it deserves, and stitching in the ditch adds a polished look to the finished piece.
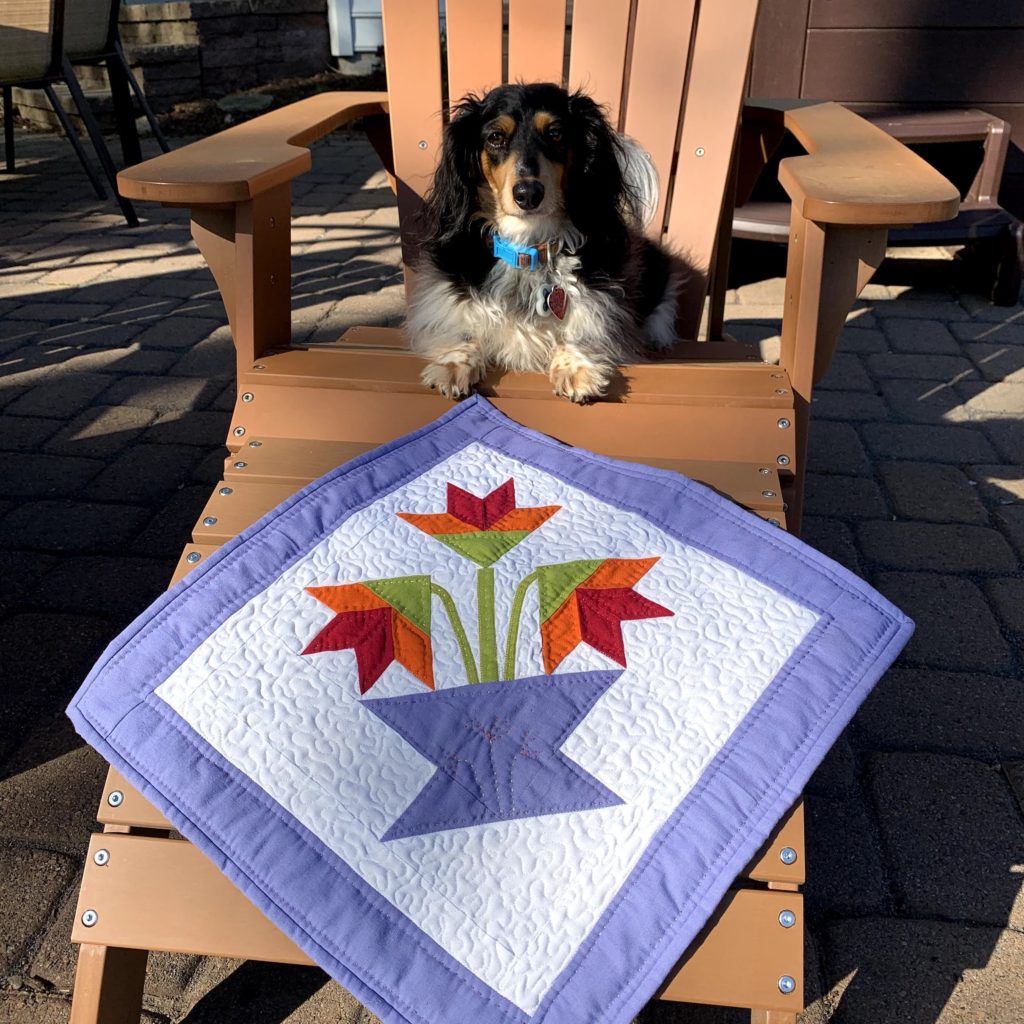
Once it was done, Oscar and I took a lot of photos before hanging it on the wall. I’m so pleased with this piece, and I am eager to get started cutting out the larger quilt version I have in mind.

My Basket of Lilies Mini Quilt finished at 18″ square, and looks beautiful on the wall with my other floral mini quilt.
Haha, reading the directions is also something that I struggle with. I like how you hung the finish on point; did you use a dowel or anything to keep it open and full across the width?
Beautiful! And you are an enabler, I did not know this BOB existed! Thank you!