The color this month is yellow green. A bright, cheerful tone for the sultry summer we are having.

Welcome back to the 2018 Monthly Color Challenge! Business first:
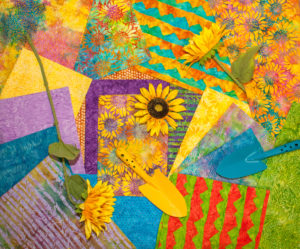
The 2018 Monthly Color Challenged is hosted by Jen, of Patterns by Jen. Check out her blog to see her block design for the month. Later this month, you can join the linkup and enter the prize drawing. This month the prize has been donated by Island Batik (yay!) They are giving away a bundle of this gorgeous Morning Sunshine fabric.

Be sure to check out my fellow bloggers. Some have original patterns, and others have eye candy. This group is always great for inspiration.
Jen at Patterns by Jen
Sherry at Powered by Quilting
Dione at Clever Chameleon
Jen at A Dream and a Stitch
Joanne at Quilts by Joanne
Nancy at Masterpiece Quilting
Circle Play
For the Circle Play quilt we are playing with improv curves again this month. I haven’t quite gotten them out of my system. At the rate I’m going, I may never get them out of my system.
Supplies Needed
6 1/2″ quarter circle ruler – I get mine from Betty Crocker Ass
6 1/2″ or larger square ruler
4 – 10″ pieces of yellow green fabric
White fabric for background arcs
Normal sewing supplies – sewing machine, iron, cutting mat, rotary cutter, pins
This month I started with a stash dive and a hazy idea hatched while showering (my most creative time of day.) I chose five different yellow greens, being sure to give myself a range of values, from light to dark. Sometimes I struggle with values on tertiary colors, but a quick google search of “yellow green color inspiration” helped. 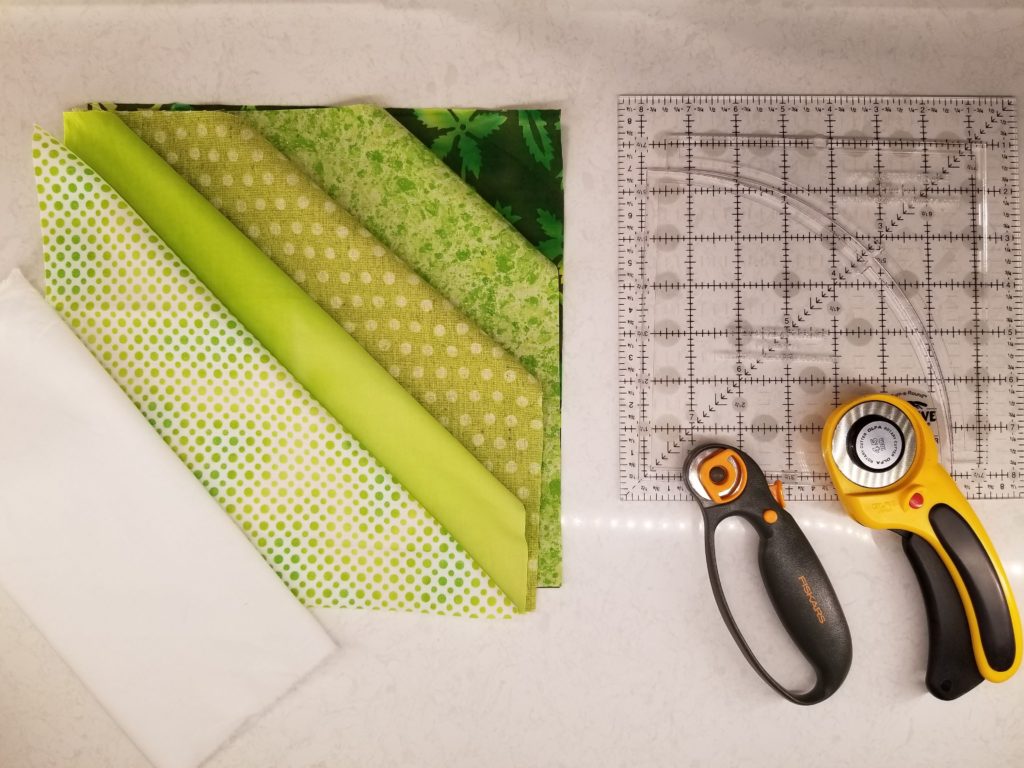
I pressed my fabrics, then cut out 10″ squares of each. You can definitely get away with smaller pieces here, but I chose to be safe and went pretty big. I would rather have some odd sized scraps than work and get a piece that is too small to use. You can also just use four pieces of fabric. I’m not sure why I went with five, other than I like scrappy quilts, and I don’t mind having the extra arc to play with.
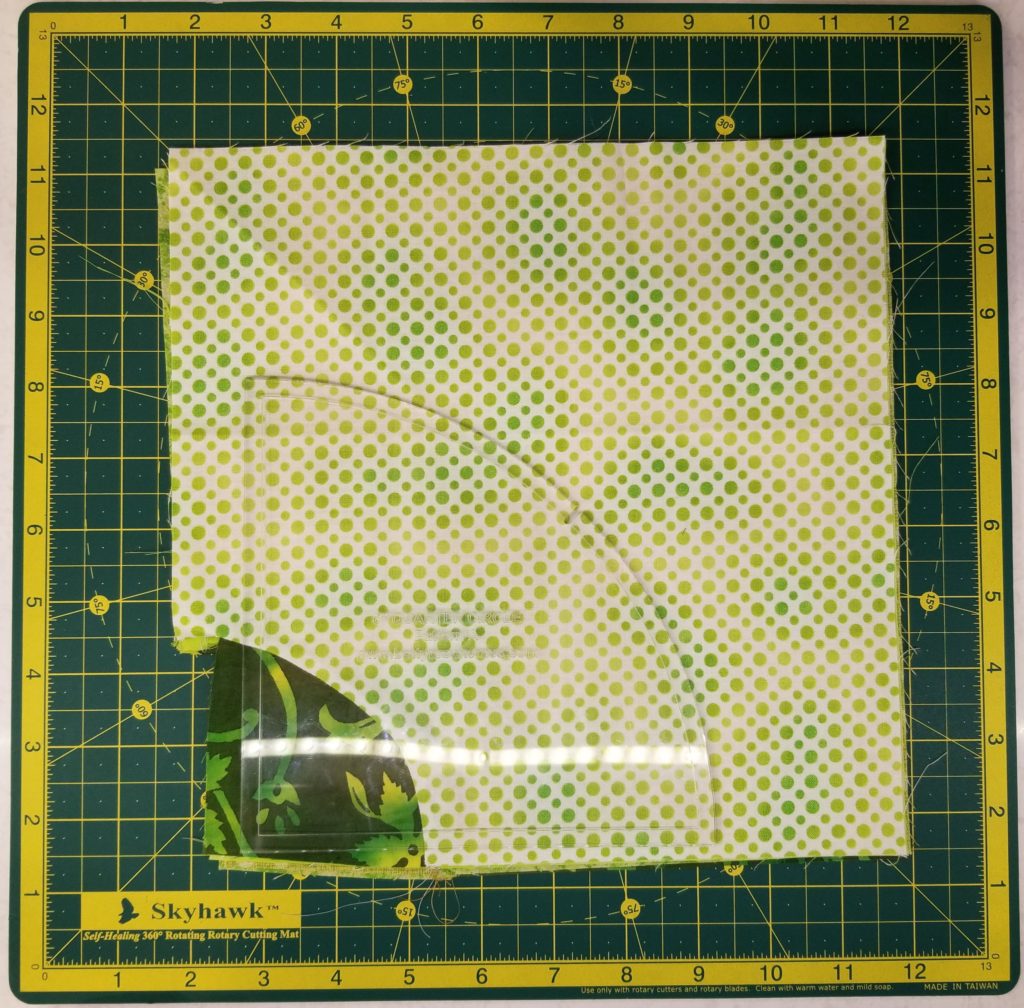
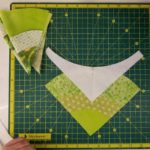
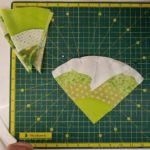
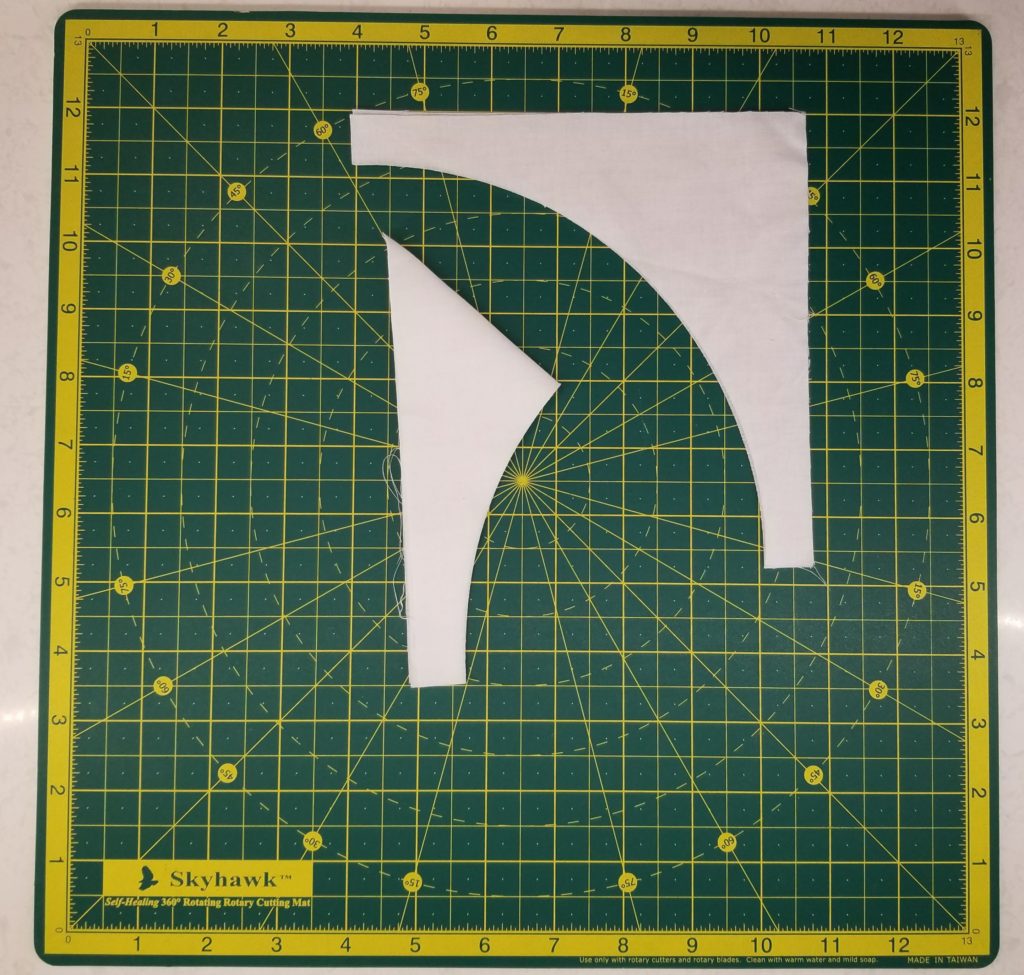 Using the “Piece B” template, cut out your background arcs from your white fabric. Fold them in half and press, making a light crease in the middle. Set them aside.
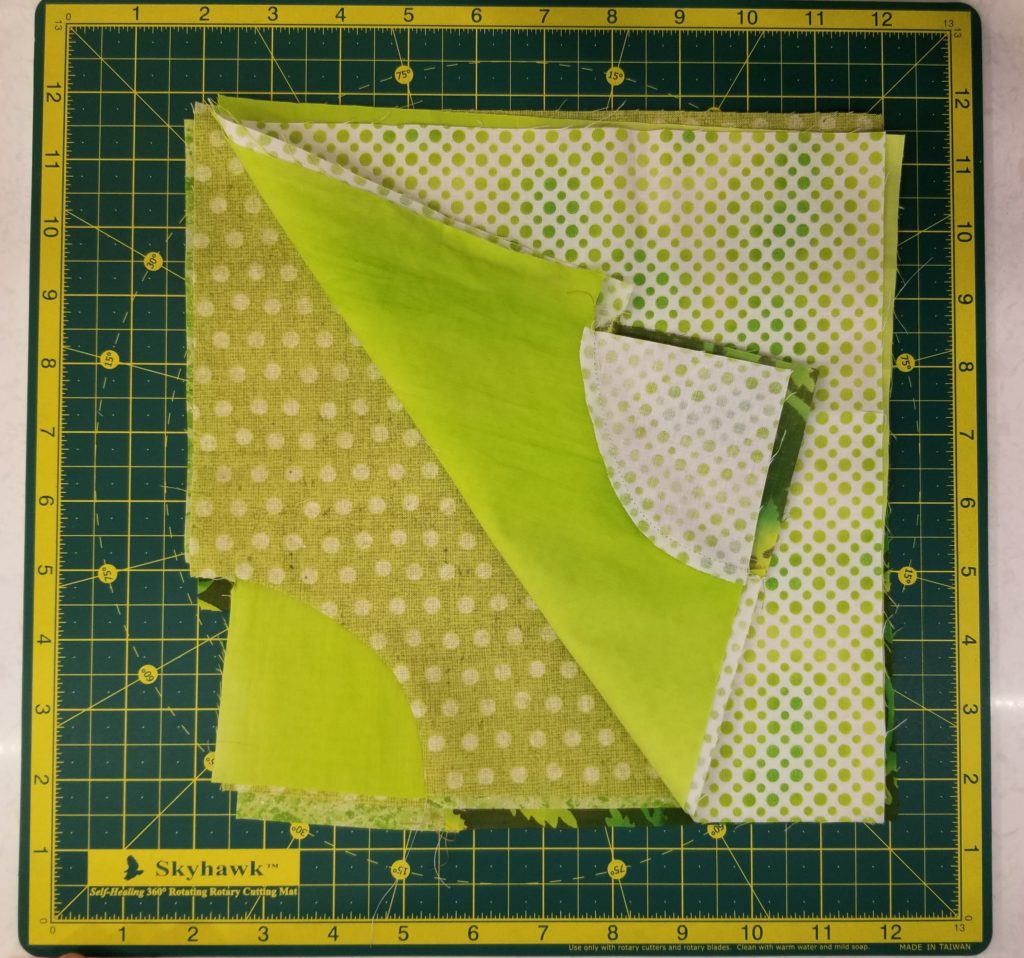
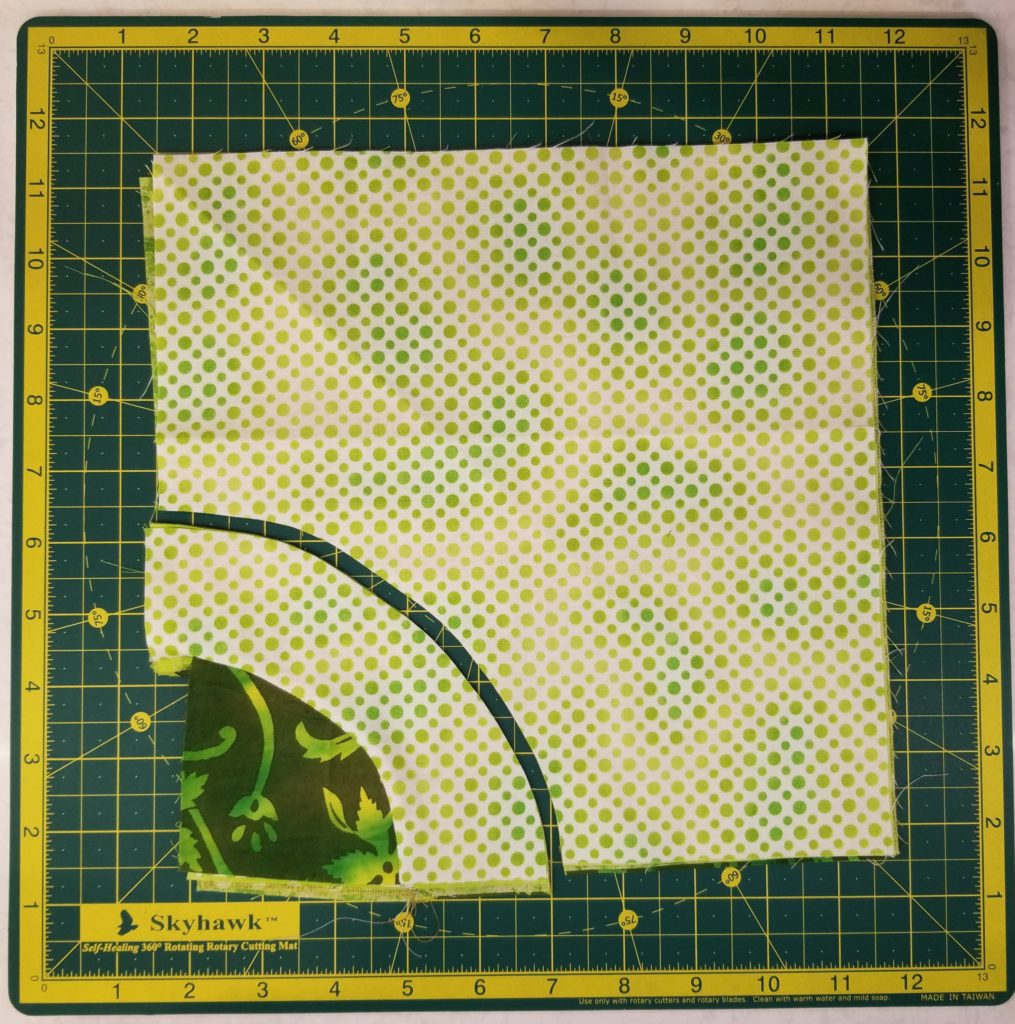
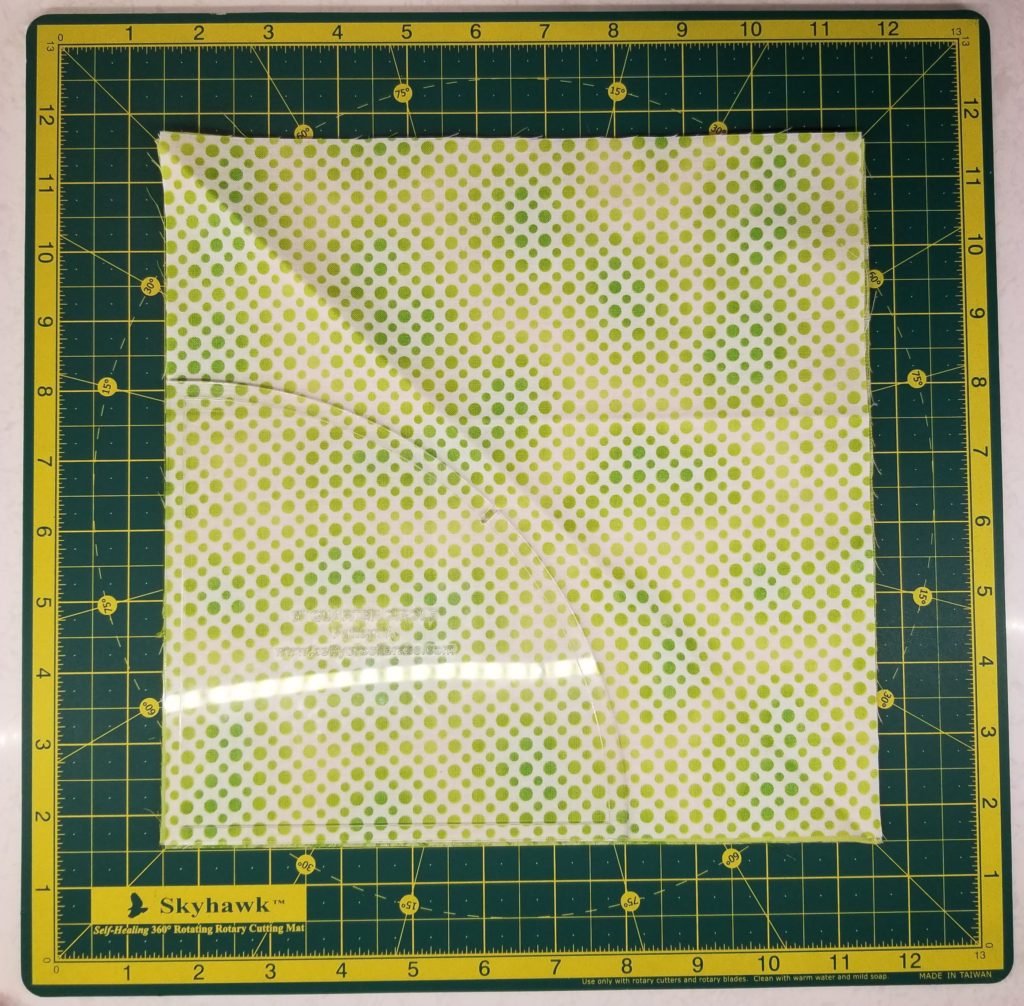 Now for the fun part. Neatly stack up all five of your fabrics. I layered them with the darkest fabric on the bottom, and the lightest on the top. Lay your “Piece A” template over the corner, to get a feel for how large it is.
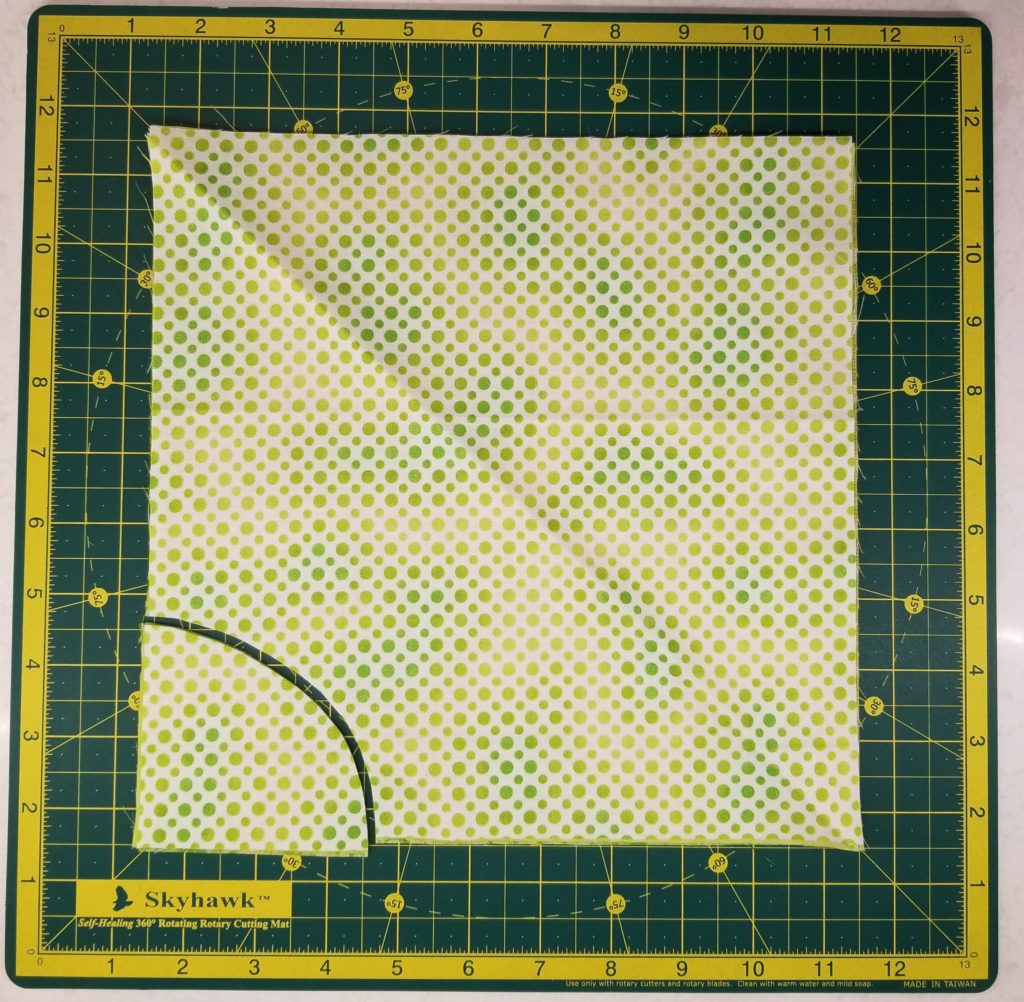 Remove the template, and cut an arc with your rotary cutter, freehand. I tried to start roughly at the middle of the template, and end up at the middle of the other side, with a smooth curve.
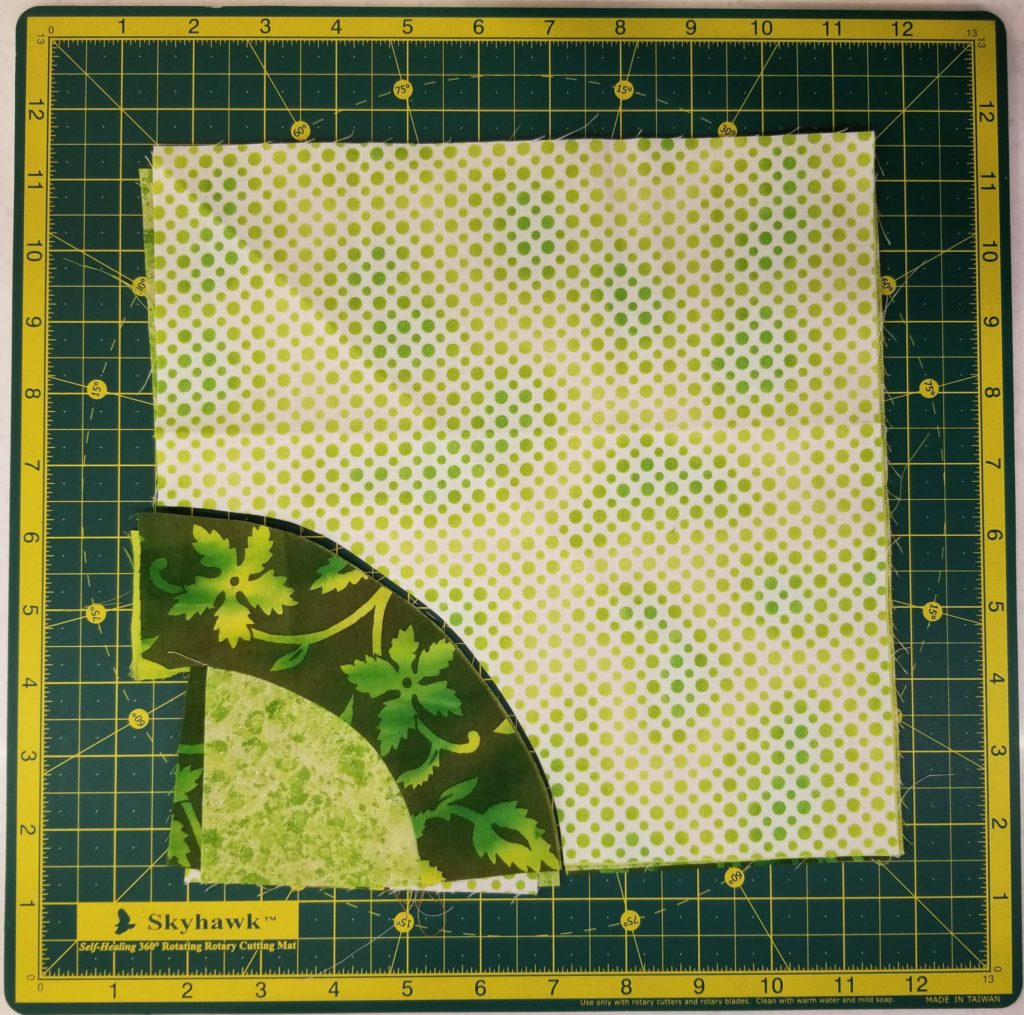
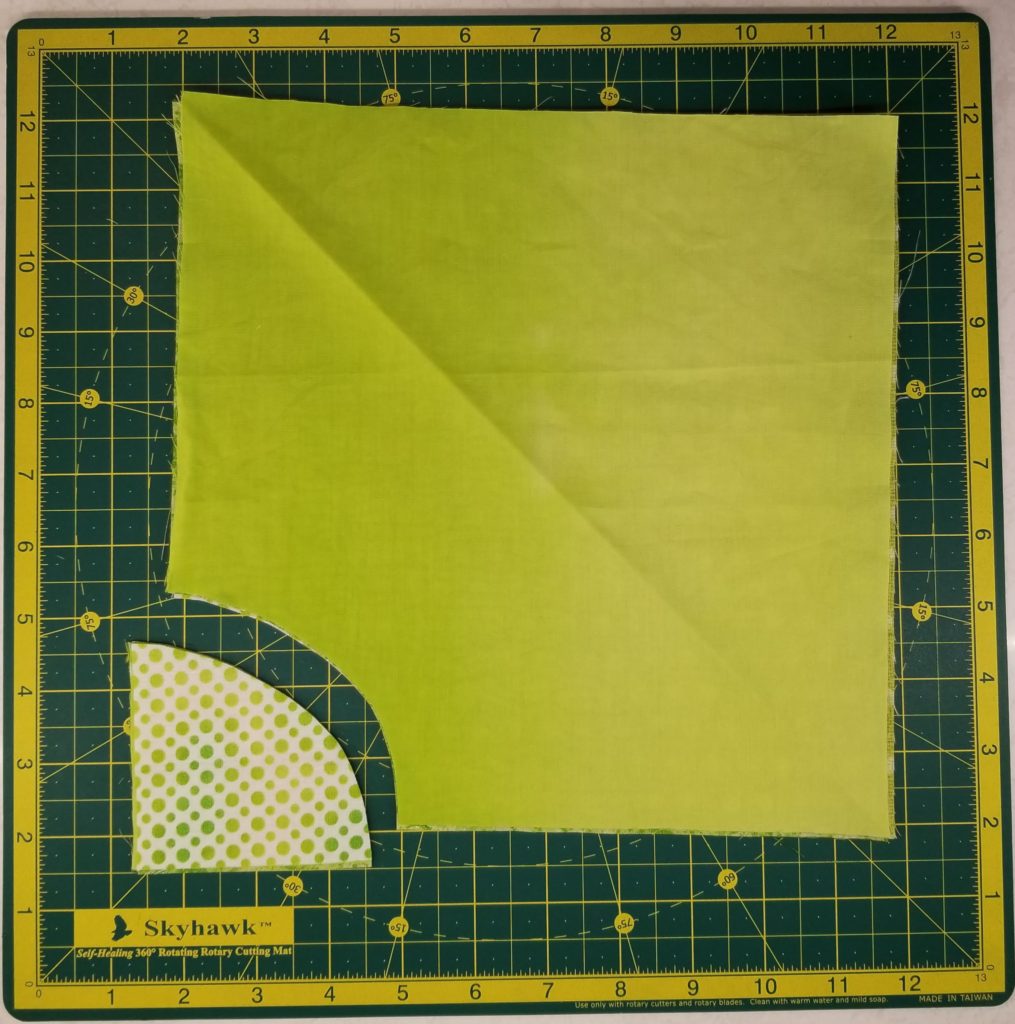 Take the top fabric from the larger pieces and move it to the back of the stack.

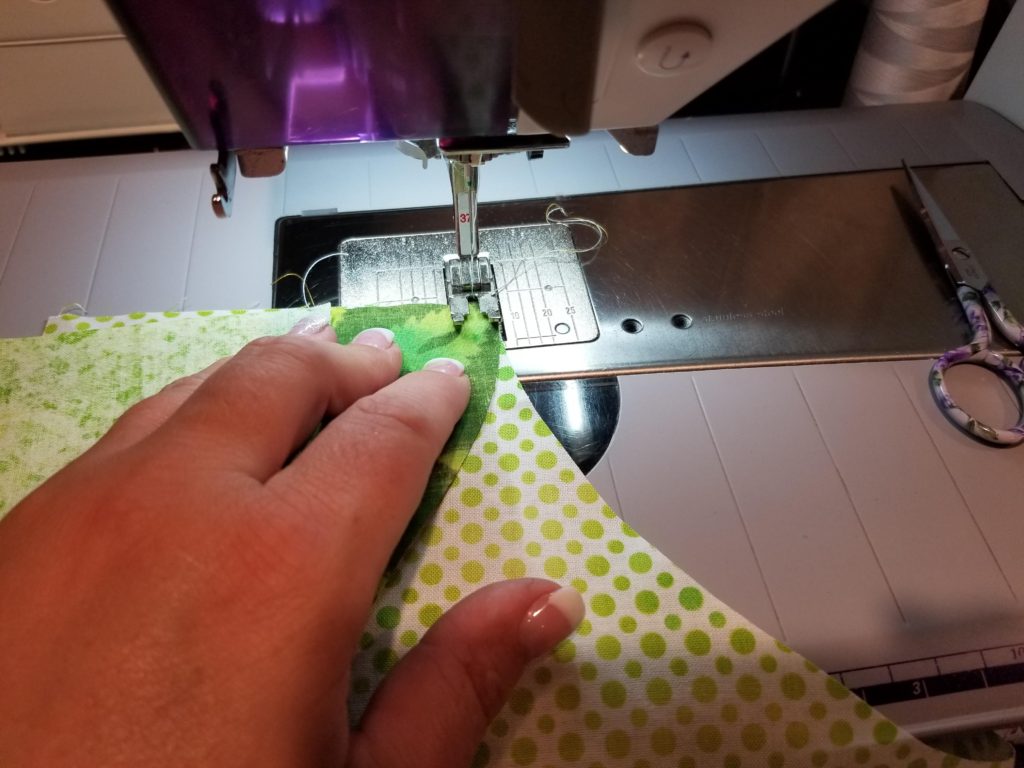
Take both stacks of fabric to your sewing machine. Place the little piece on top of the larger piece, right sides together. Line up the starting point, using a pin if you need it.
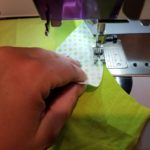
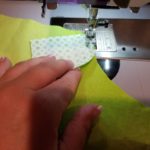
Stitch slowly, stopping after 2-3 stitches to pull the fabric edges together. Your ends will not line up. Don’t worry – that is why we started with large squares.
 Repeat this for all four pieces of fabric (five pieces if you are a nut like me.) Press towards the larger piece of fabric.
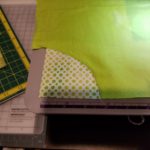
 Stack your pieces up neatly, lining up the corners as closely as possible. Once again, lay your template on top of the stack, to get a feel for where you want your next curve.
 I cut about 1 1/2″ away from the first curve.
 Again, move the top fabric to the bottom of the stack.
 Take your blocks to the sewing machine. Line up the smaller piece on top of the larger one, right sides together, with the cut edges lined up.
 Start stitching slowly, pausing every 2-3 stitches to pull the raw edges of the fabrics into alignment. The ends will not line up.
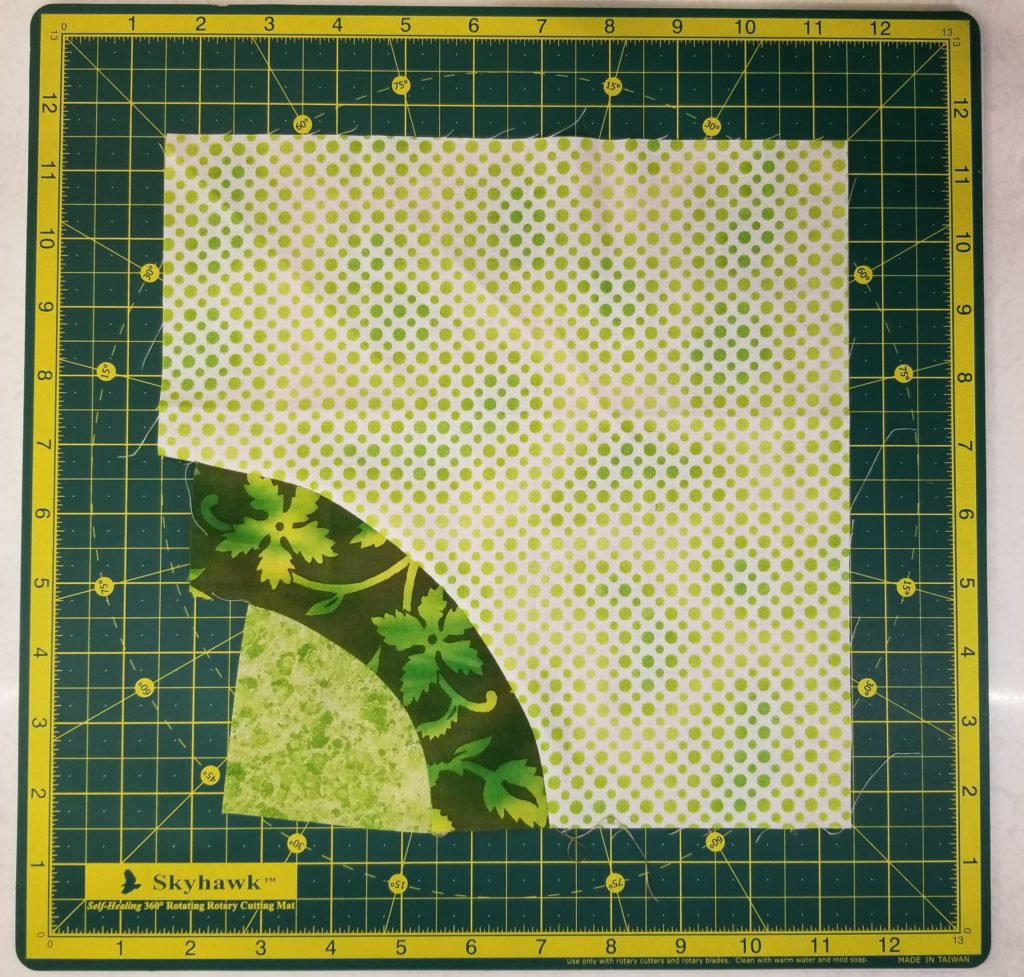 Press towards the larger segment of fabric.

Using your “Piece A” template, trim your arc. I tried to make the smaller piece as large as possible.
Repeat the trimming with your remaining blocks.
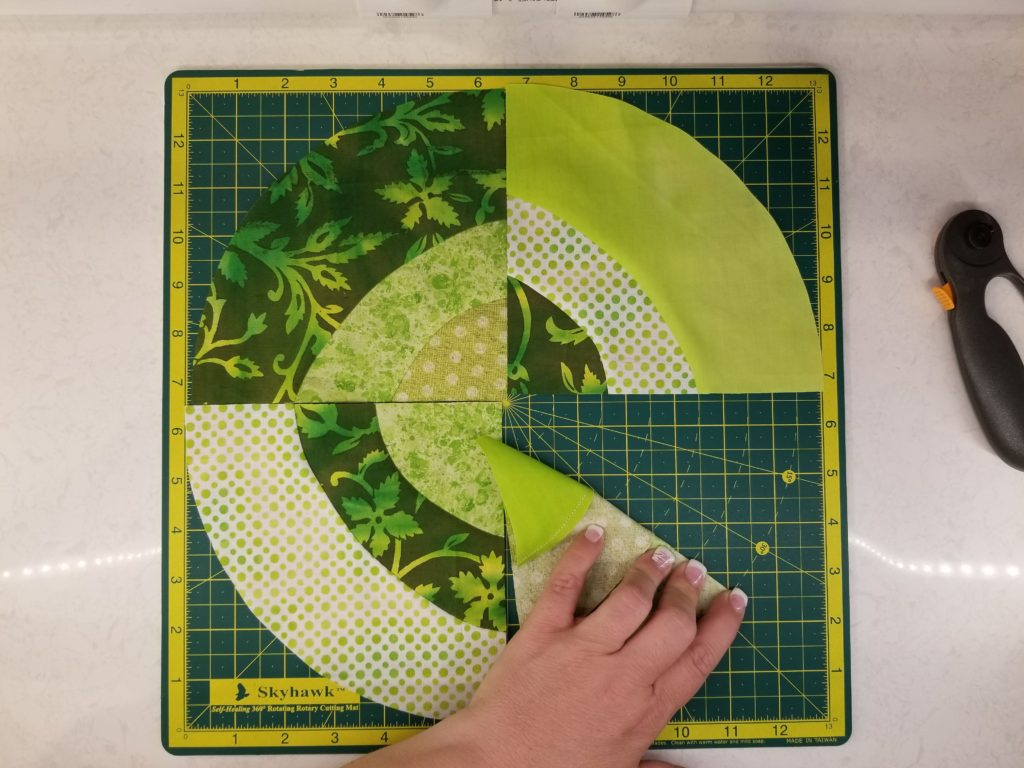
Fold the arcs in half, finger pressing a crease at the middle point.
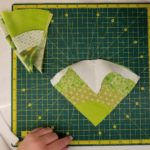
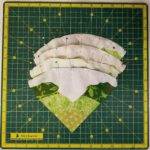
Line up the crease on the arc with the crease on the background, pinning together. Drop a pin into either end. Then, add two more pins in between each of the first three. Repeat for all four blocks.
 Stitch together, then press towards the background fabric.
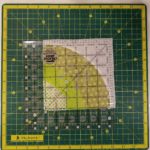
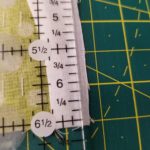
Trim your blocks to 6 1/2″ square. I like to line the 3/8″ line up with the seam of the arc.
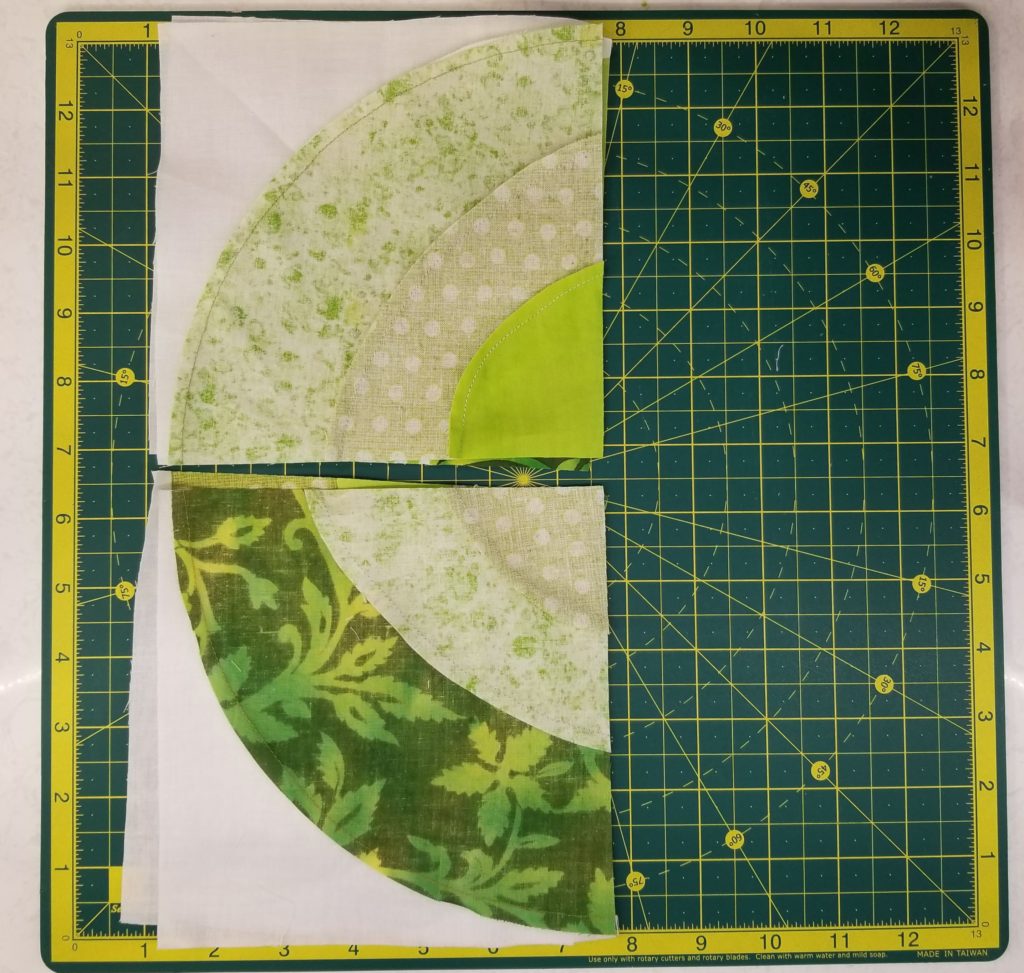
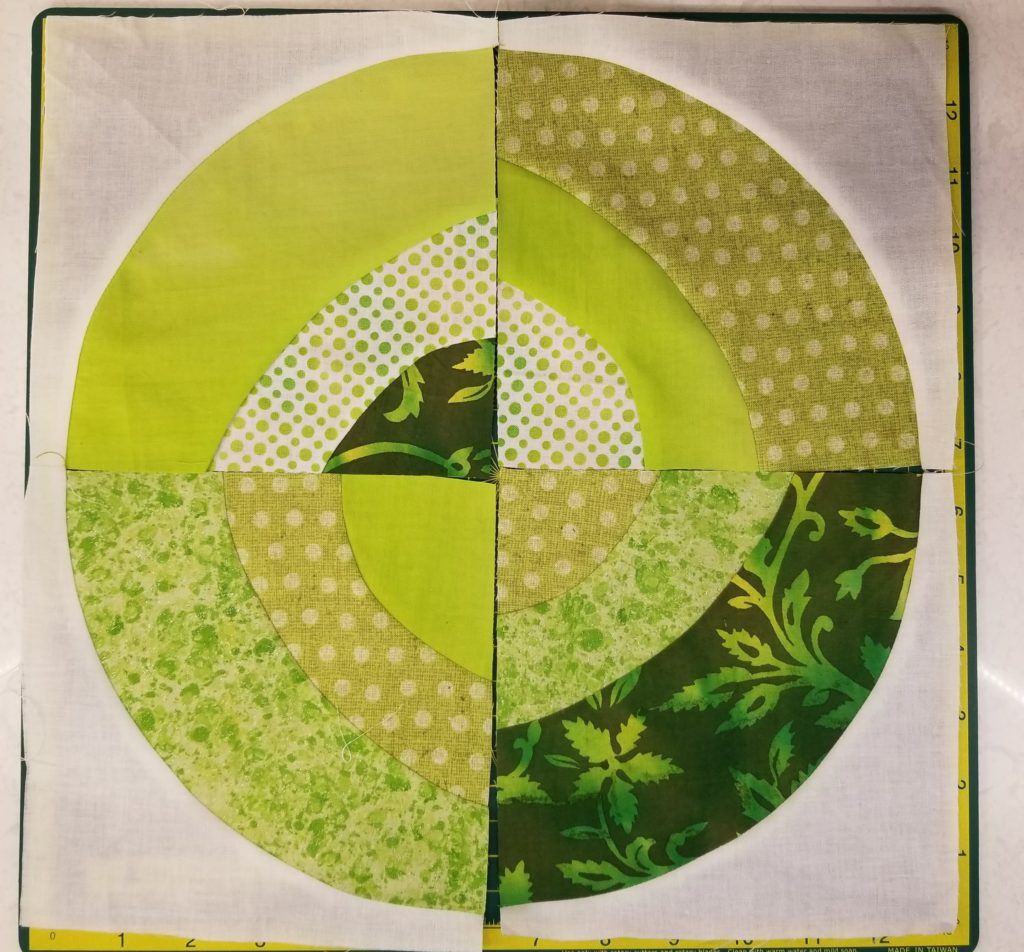
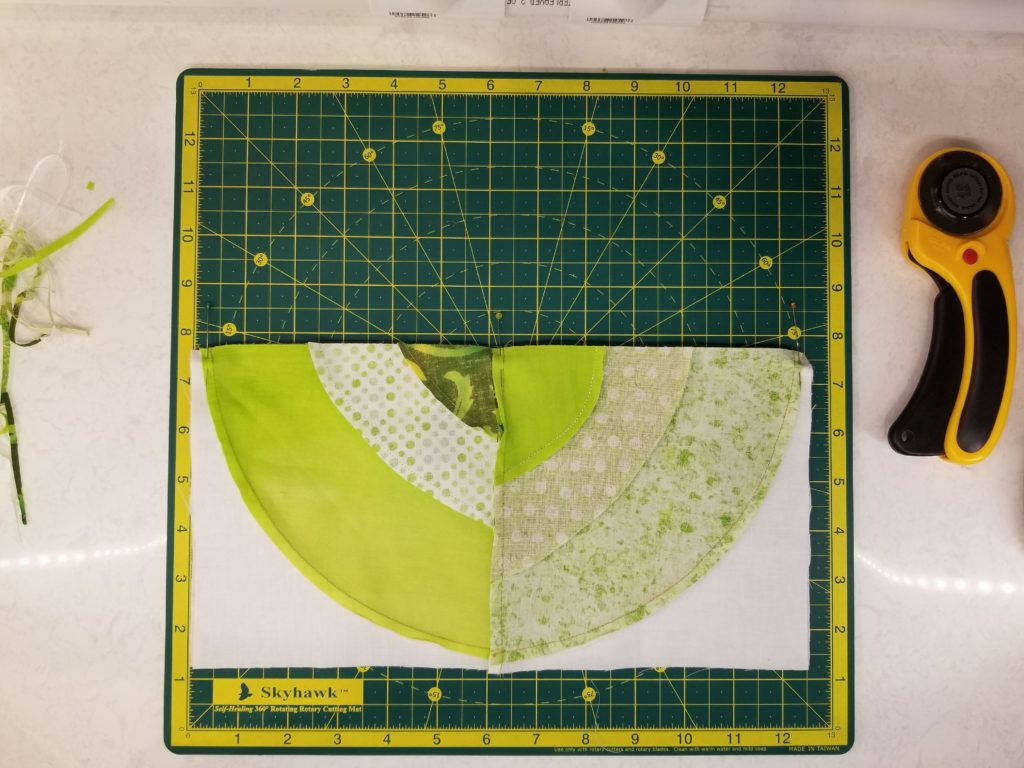
Join the pairs of blocks, pinning carefully to make sure your outer seams match.

Press seams to one side, so that the seams will nest in your finished block.
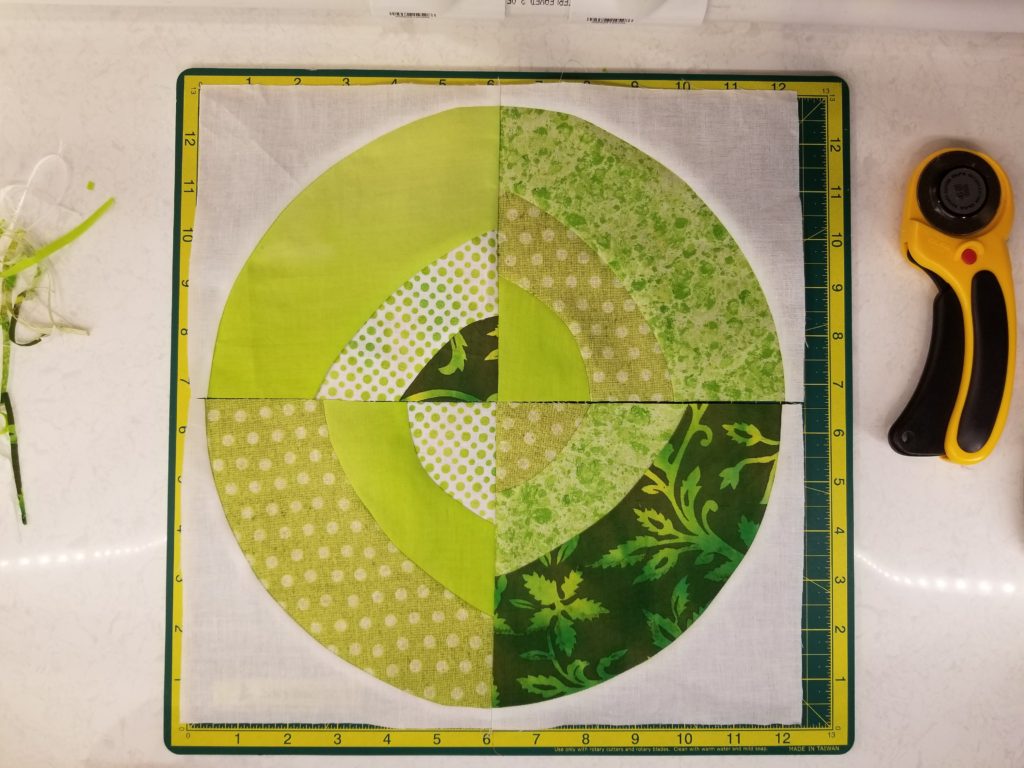
Join the pairs, pinning carefully at the center, and also where the circle seams meet.
You can press the final seam open, or press so that the seams twirl at the center.
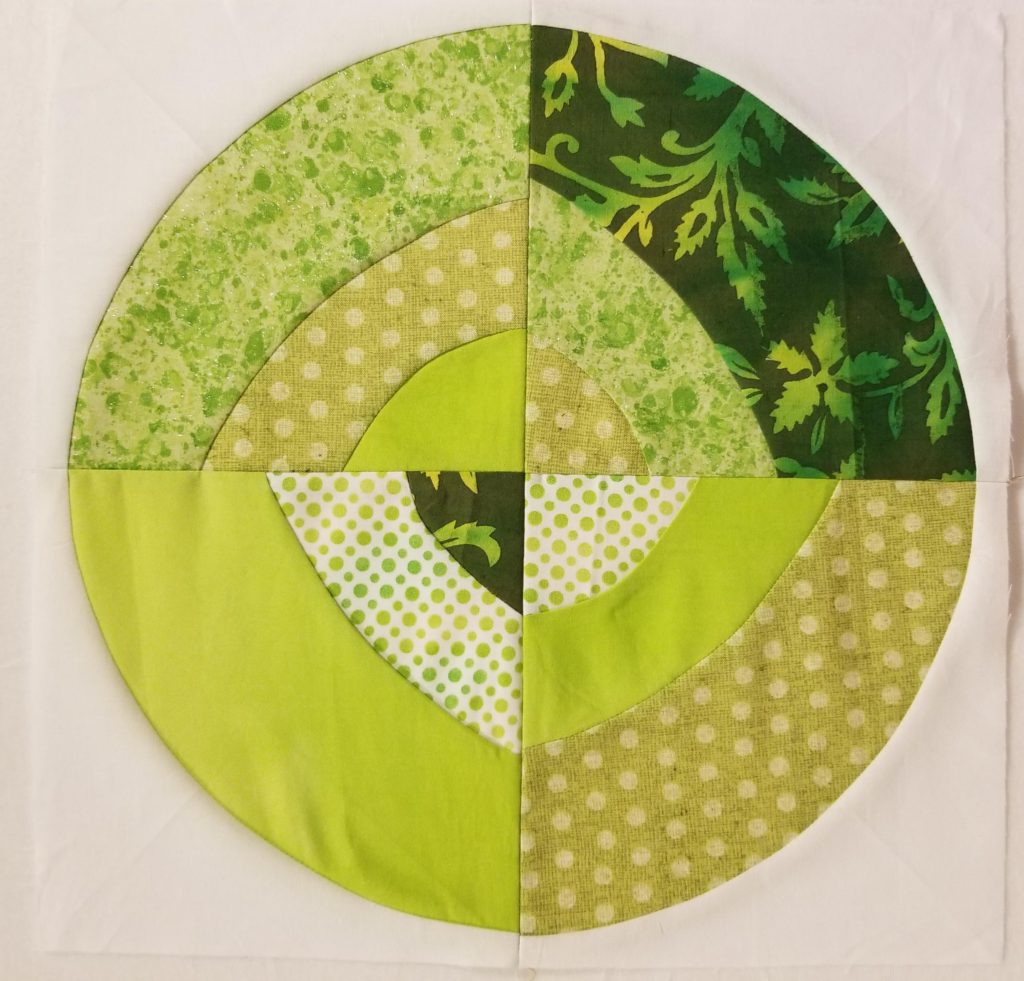
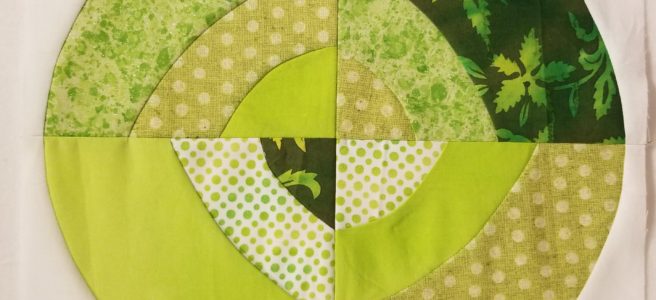
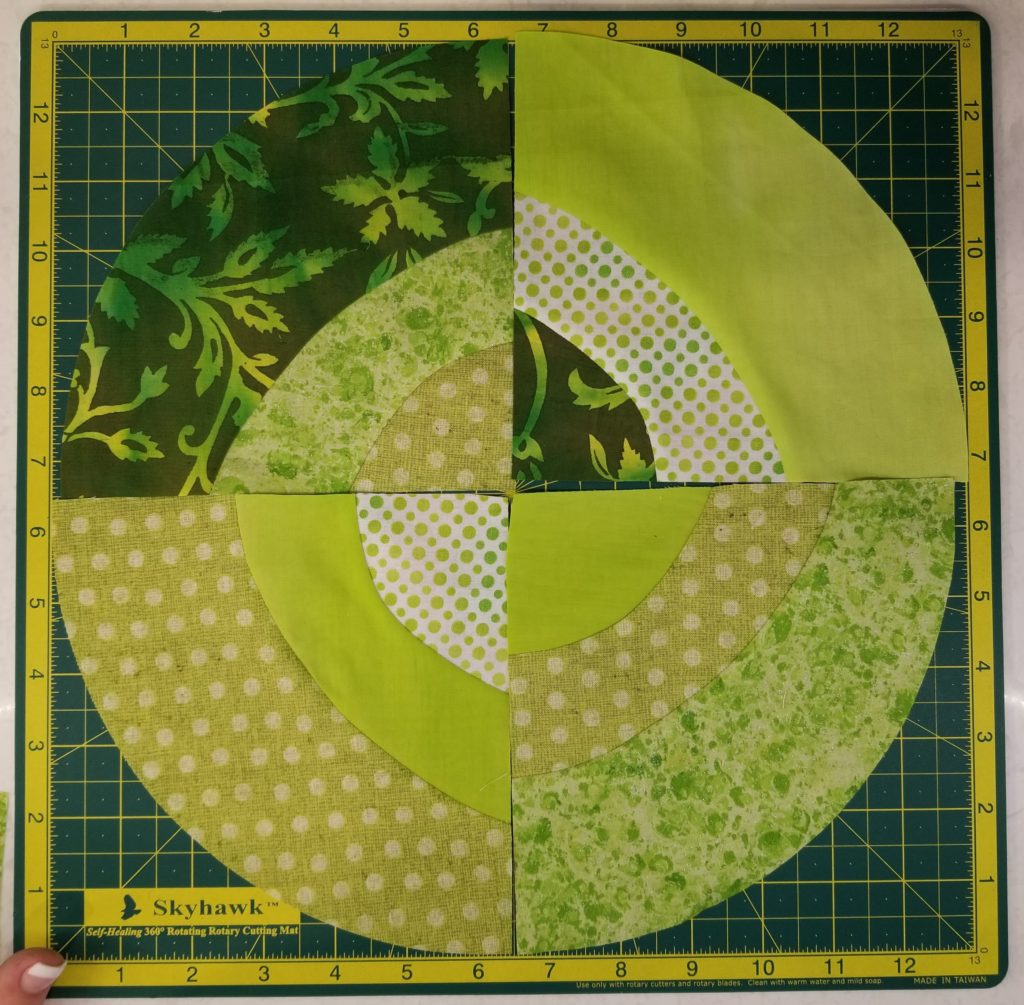
Tah dah! You have made it through another month, and we are now more than halfway through the quilt top.
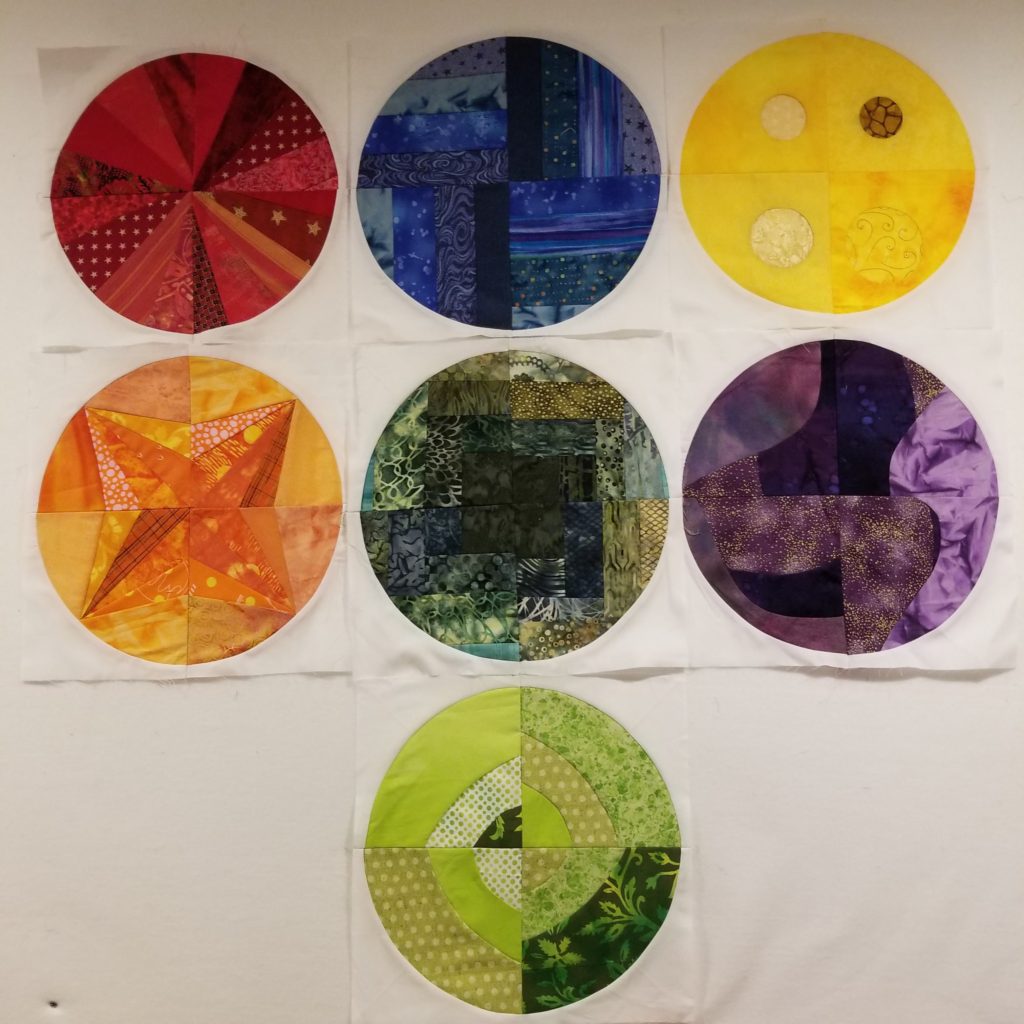
Here are my blocks so far. I am really not liking that dark spot in my yellow block. I’m going to try to tough it out and ignore it, but I suspect it won’t look like that much longer.
Thanks for joining me again this month. If you decide to stitch along with me, make sure to tag me on social media. I am jenstrauser on Instagram, and Dizzy Quilter on Facebook.
Previous Color Challenge Blocks:
January Color Challenge
February Color Challenge
March Color Challenge
April Color Challenge
May Color Challenge
June Color Challenge
I have try since the beginning of this challenge to print your pattern and instruction where do you hid the pdf or don’t you have a system to print have none of your patterns would love to have them
Hi, Pat –
I am not using set patterns in this project. I use a template set and use different techniques to make foundations or use improv techniques.
This looks like a fun block. I’m starting to get a little braver about the concept of curves.
You can do it, Cate! They just take a little bit of patience, and a lot of pins, unless you are doing improv. Then they just take courage. Just try a little one – if it stinks, it is just a few scraps in odd shapes.