Thank you to Paula Willett for showing me your soft version of the Moravian Star. I’ve become addicted to this form.
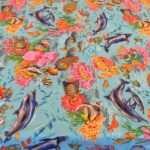

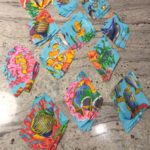
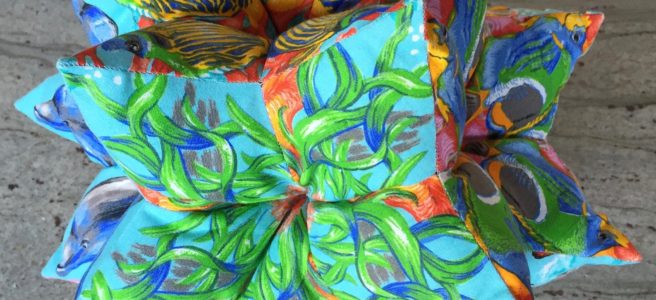
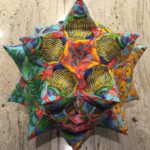
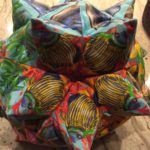
I used the same technique detailed in my original Moravian Star tutorial. I used 3″ diamonds, a 2 yard cut of a fabric I’m no longer in love with, and fussy cut the fish. My fussy cutting technique definitely needs improvement, but I’m happy enough with my fishy kaleidoscopes. For some reason I am having a hard time just tossing the rest of the fabric. Quilter problems.
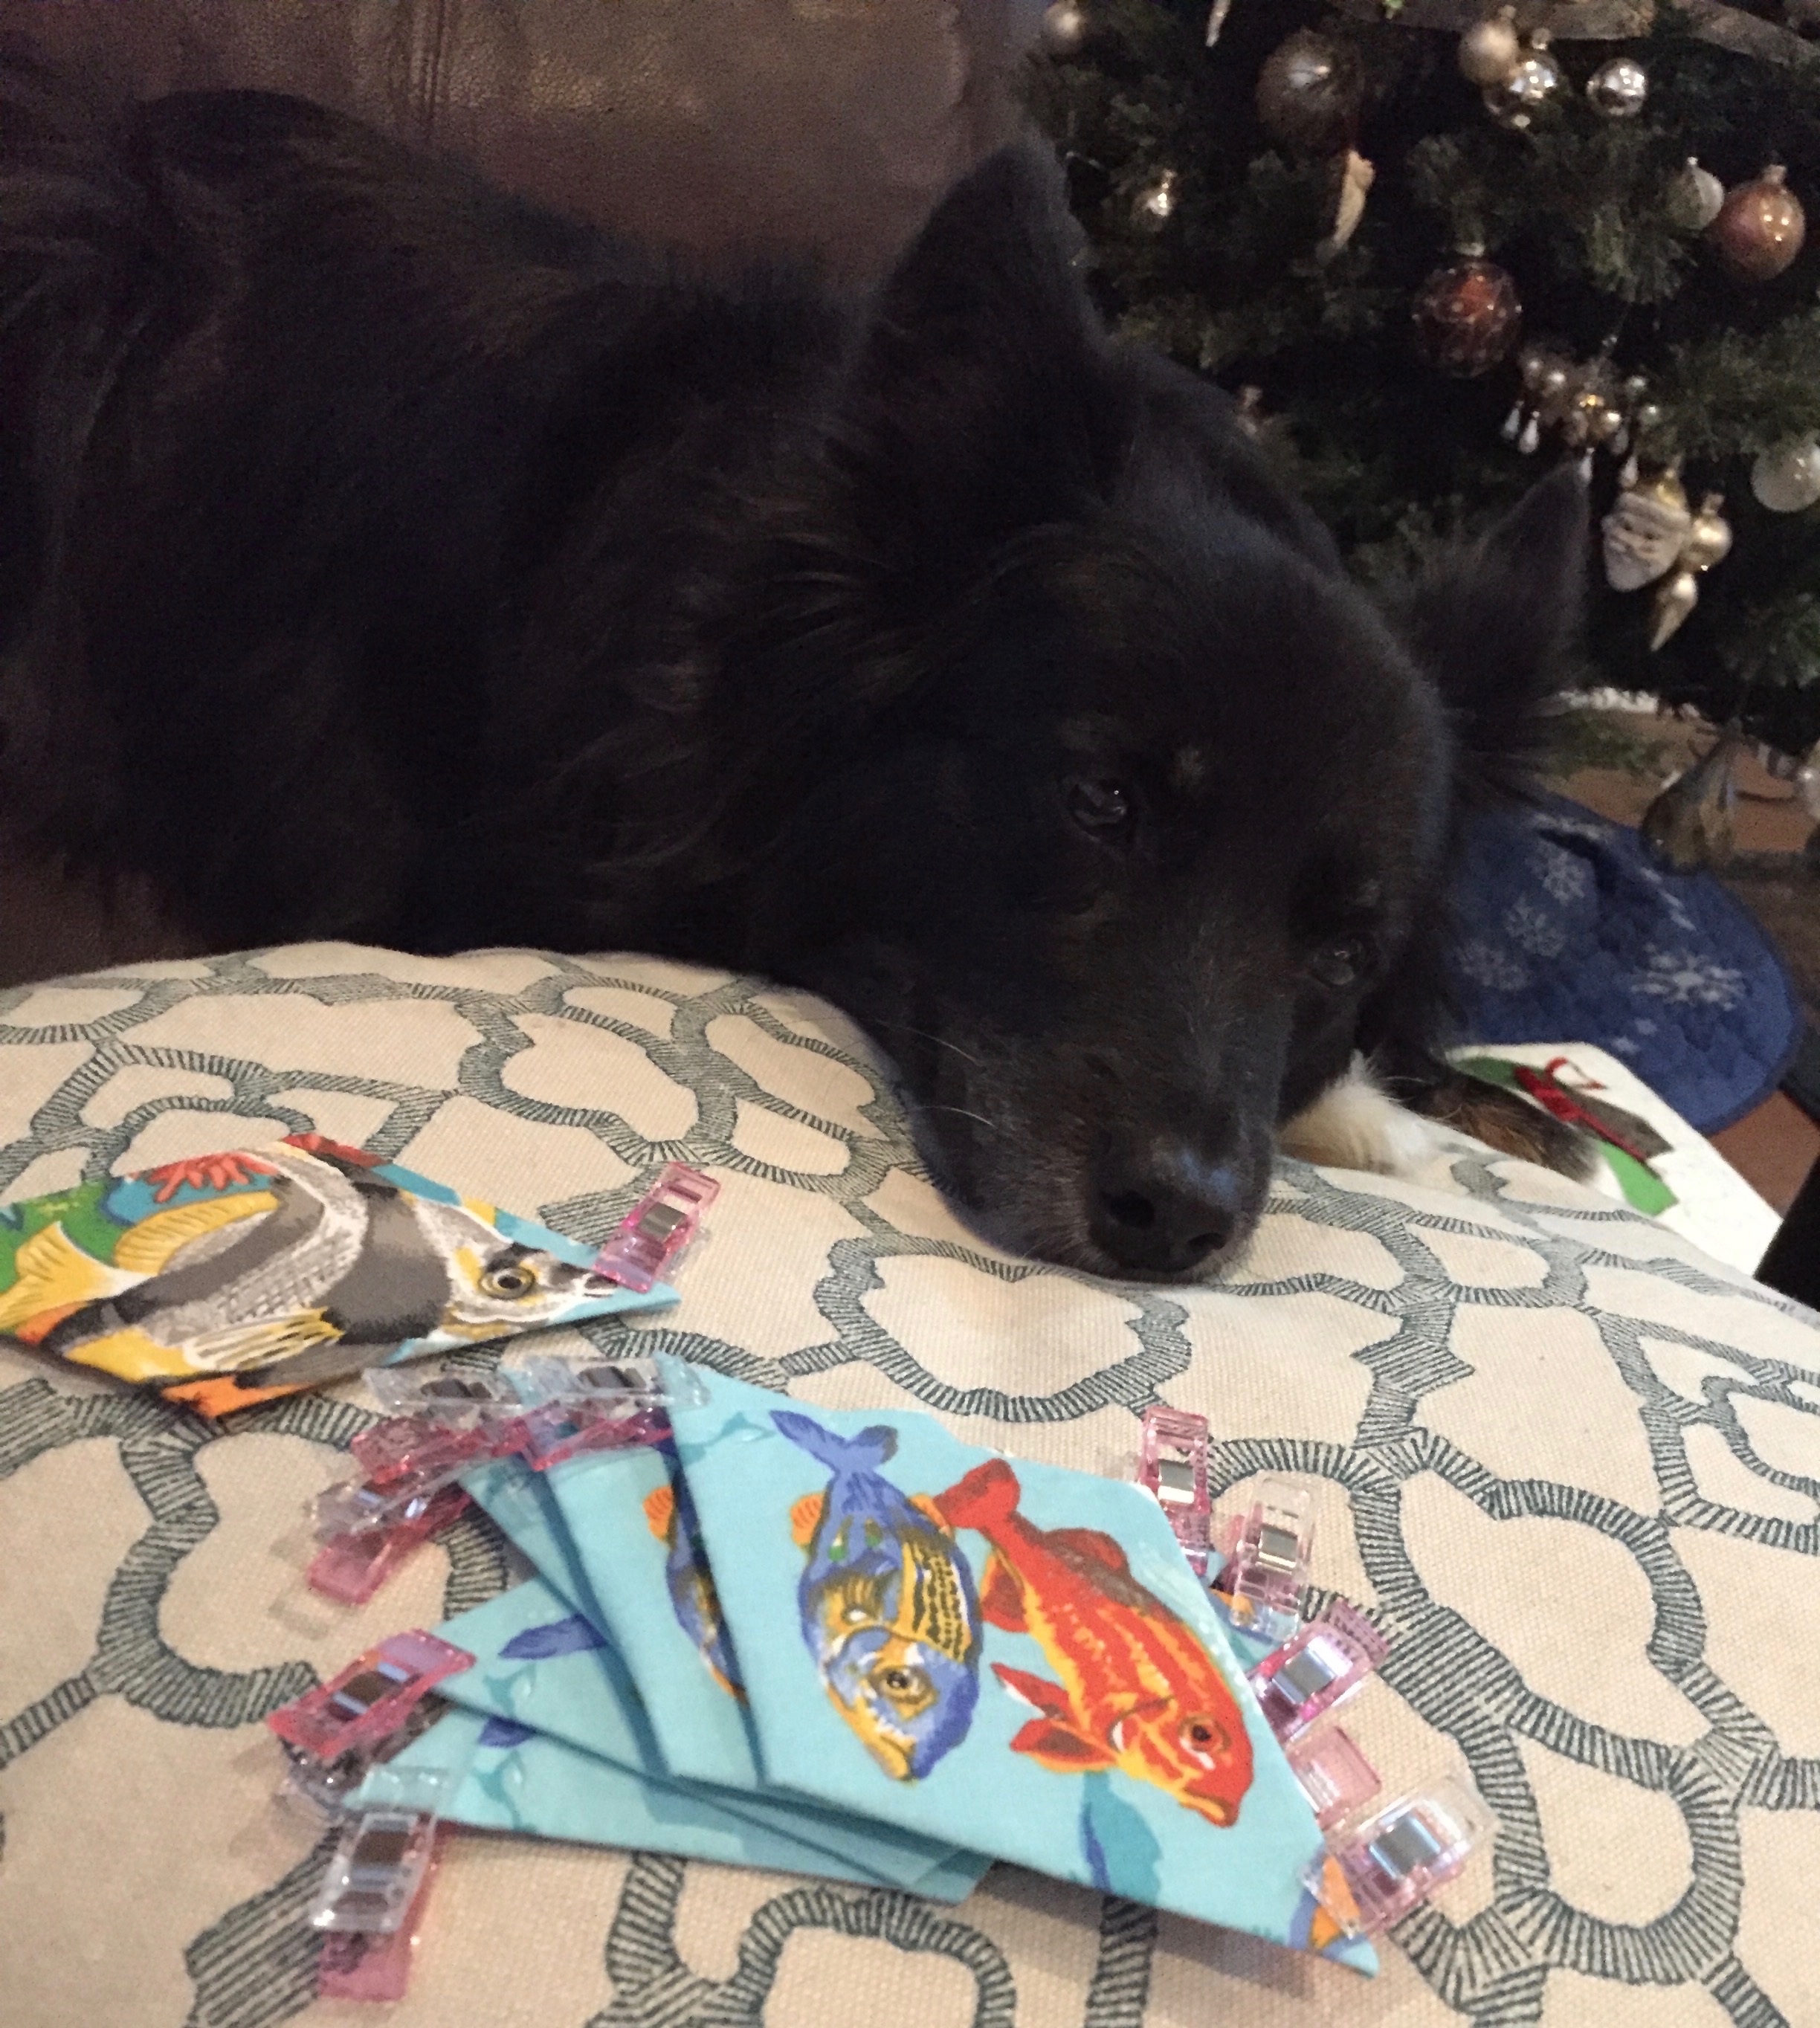 Some days Beauty is over the whole sewing thing.
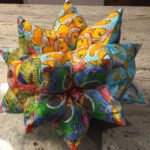
The biggest challenge here was getting the star into its final shape. After stuffing, including manipulation with a Purple Thang to get the tips full, the star looked swollen. Paula had told me the secret is taking stitches across the ball to get the concave bits to pull in together. It was a bit more complicated than I expected.
I needed to get larger needles – I was very concerned that I might lose the needle in the middle of the ball. Joann’s carries an assortment of upholstery needles. The 12″ looked best, but it was too thick to force through the fabric. The smallest needle in the pack was 6″ and slender-ish. (If anyone knows of a better needle, please share.) It worked well enough. I used a triple strand of embroidery floss for strength.
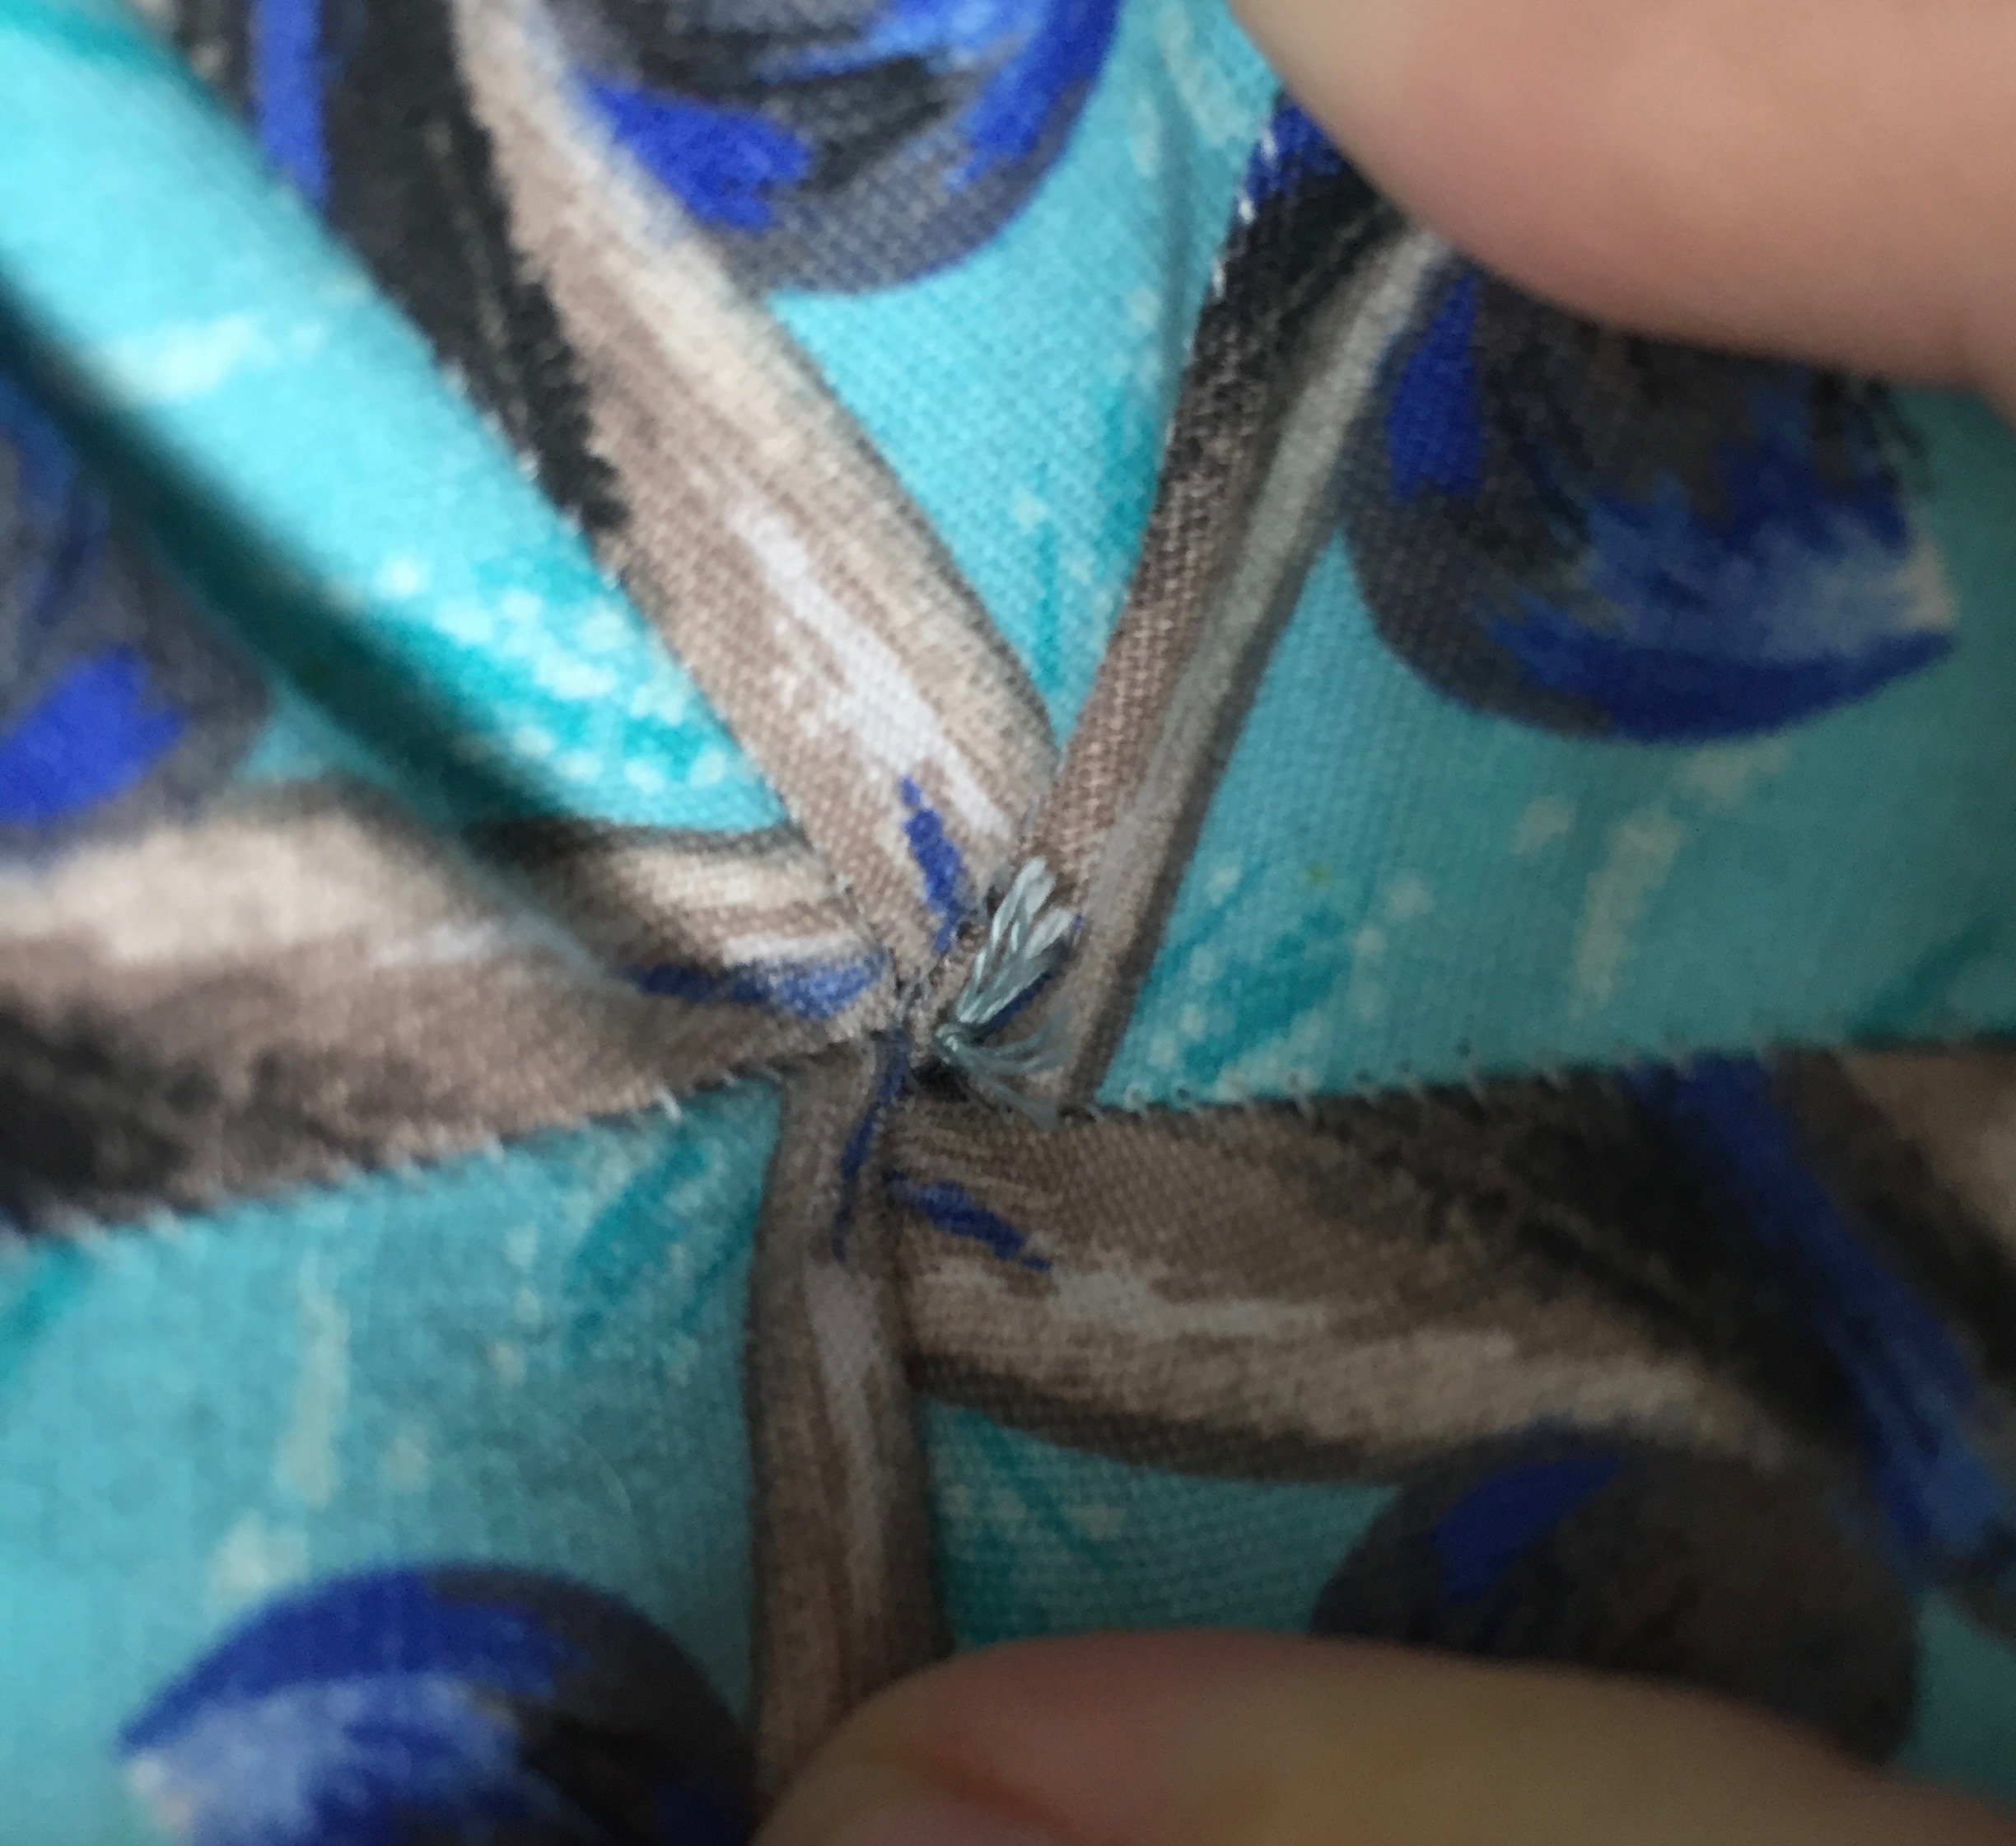
Through trial and error I discovered that I needed to take a fairly large bite of the fabric to give the thread something to hang onto, or after the knots are tied, the thread pops loose. My technique is:
- Take a long length of thread and push the needle through the ball, straight across.
- Once the needle is almost all the way in, use a cutting board to push the needle through the rest of the way. (This prevents finger and/or table damage.)
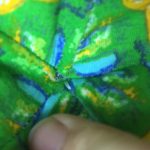
- I push down on the top of the needle carefully, until I line up the tip of the needle near the edge of a diamond. I pull it through, leaving several inches of thread hanging out of the other end.
- I push the needle back through, going through the center of the star this time, leaving a visible stitch of about 1/8″ of an inch.
- I pull it though, pulling tight and pushing down on the center of the star. Tie a knot, trim close, and repeat for each side.
The star ball looks totally wrong once the first side gets pulled in, until you get to the end. My son was very encouraging when he saw my project. “I don’t think you are doing it right, Mom.” Thanks, kid.
My new puppy, Oscar, was kind enough to stress test the ball for me. He has requested squeakers or bells be put into the next one.
You can see a video of me using my sewing machine to help speed up the process here.
Oh, that video of Oscar is simply adorable! Love the puffy star!!!
He was a fun baby back then.